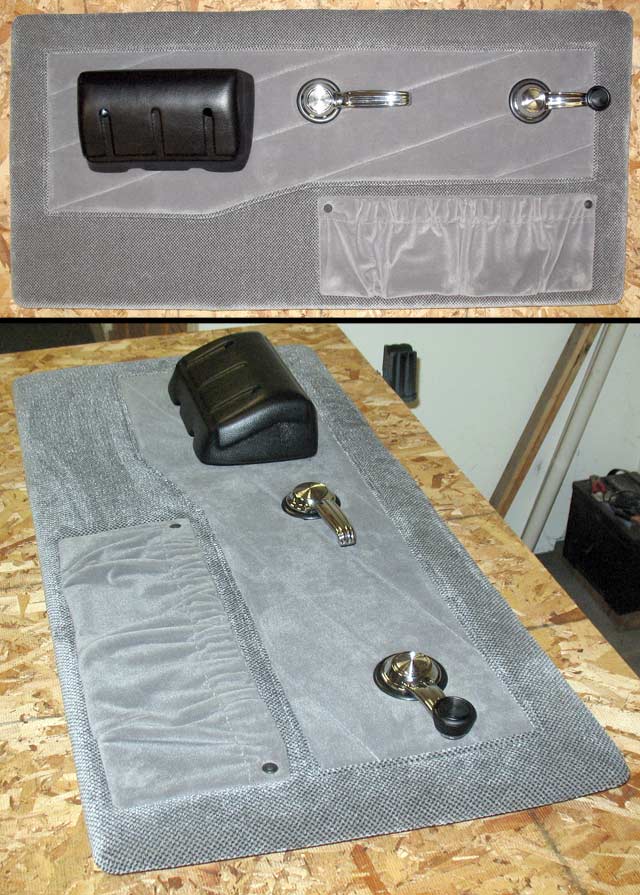
The old panels have a new covering
The door panels are back from the upholstery shop
With the seat matching material, my pattern design and a thin layer of foam, the upholstery shop has brought it all together for a different look than the original painted steel panel that lies underneath.
Sorry the pictures dont due it justice, with the material texture, lighting, and the angle that you look at it, its hard to get a good representation.
Body and paint update
On Monday of this week I went into the shop to finish up the seam sealing. The primary sealing of the cab was done with a two part, brush-able, commercial sealer except for the drip rail area. The brush-able sealer was simple to apply, just apply it to the seam and brush it out with in its 10 minute working life. Note; over sealing can be just as bad as under sealing because it can cause water traps, I generally try to fallow factory sealing unless Ive welded up the seam.
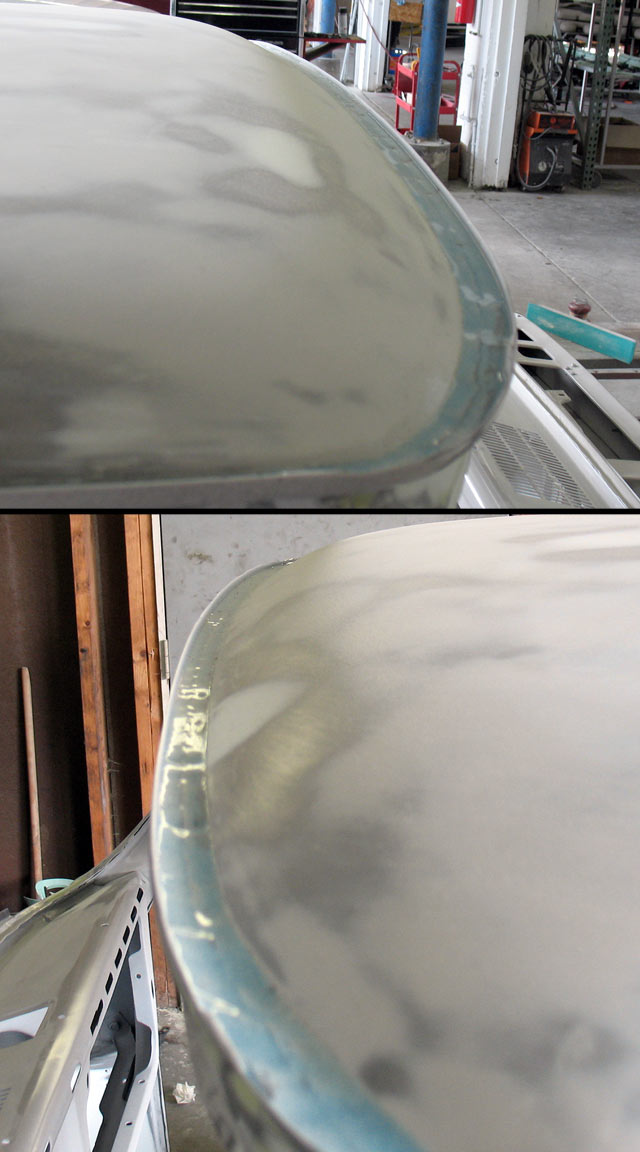
In the drip rail area I used a two part, self leveling, commercial sealer. Not having any experience using this type of sealer in the drip rail area I sot some tips from the body man. I cleaned out any old seal that was not removed during the media blasting (a very small amount). Used some red scotch bright and wax & degreaser to clean and prep the area. Taped the area off and one final cleaning with wax & degreaser. Applied the sealer on half the drip rail area and brushed it out with a ¾ inch brush so that the complete area is covered and there is enough seal to fill the metal seams. Tip; dont over work brushing it in let the self leveling properties of the seal do its work. Remove the tape as soon as possible after brushing it out. Dont try to do any re-brushing/repairs to the seal until its completely cured. There was about a 3 inch long run/drip at the end of the drip rail, this is normal and can be cleaned up after its cured. After doing the other half of the drip rail all thats left to do is sit back and let it cure (smile)
The sealer I used was almost clear with a slight blue tint, after the next coat of primer the area will be checked for any pin holes/gaps that where missed and need to be sealed.
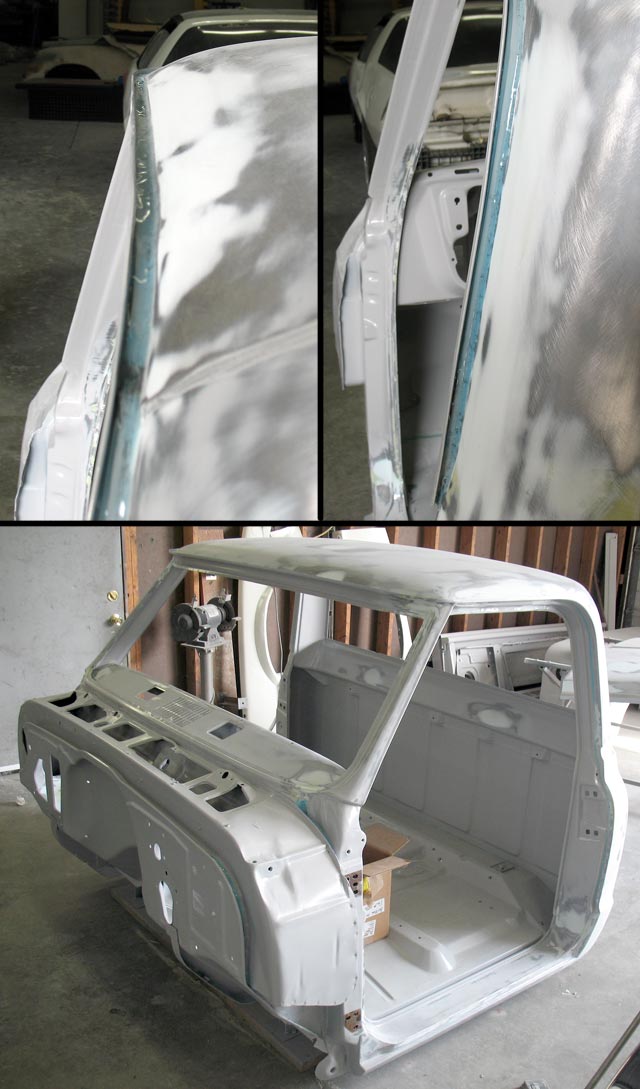
The original seal across the top of the cab was in good shape, even after media blasting (no cracking, separation, voids or missing seal). Decided to leave the original seal in place and not to redo this seam.
Stop into the shop on Thursday and took the below pictures, all the primary body work and sealing is done on the cab and it will be getting another coat of primer.
Another week or two in the life of a build (smile)
Enjoy your build