Thanks guys, those latch mechanisms were a bit of a bugger to figure out! The driver side went quickly though, and I just found a vendor that sells lockable replacement outer handles so I may spring for a pair of those. I am just waiting till I have my final list of missing bits and pieces so that I can do it all in one order, as shipping fees are brutal.
Little things
..I still had a pile of little things to do, but I have been severely slowed down by a basement renovation and the addition of a golden retriever puppy to our household in November. I had forgotten how much work puppies can be. I had been picking away at the Fargolet, but I had been lucky to get a couple of hours into it every few days. Heres whats happened:
Door weatherstripping turned out to be fun. My vendor listed a door weatherstripping kit for this model and year of truck, but I later found out that these trucks only had a seal on the bottom edge of the door, and the rest of the sealing was handled by the interior windlace. My vendor sent me the wrong bottom seal, and a generic universal seal for me to figure out how to do the rest of the door. I was not impressed. I lucked out though as the generic seal was really decent and easy to work with. Im not sure if anyone else has used this, but its a Clesters model 8122-315.

By applying it to the door, I was able to go all the way around (top, sides and bottom), and the seal would squish beautifully into the recessed lip that runs around the door like this:

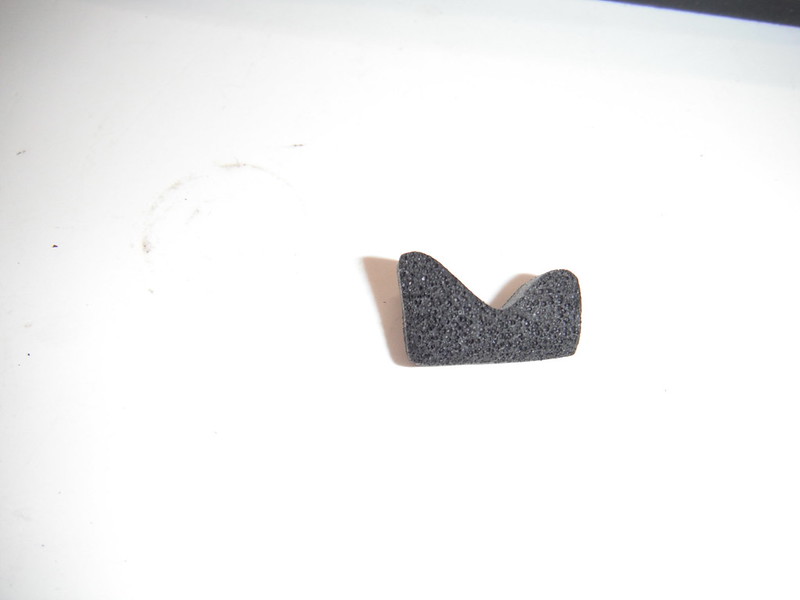
Of course there had to be a problem. That little lip does not exist in the area of the original door latch:

So it was back to metalwork
..I grabbed a piece of sheet steel and bent it in half so that I would have a smooth, rounded edge that won't catch on clothing, and then bent/shaped it to conform to the weird body line in the area of the original door latch:

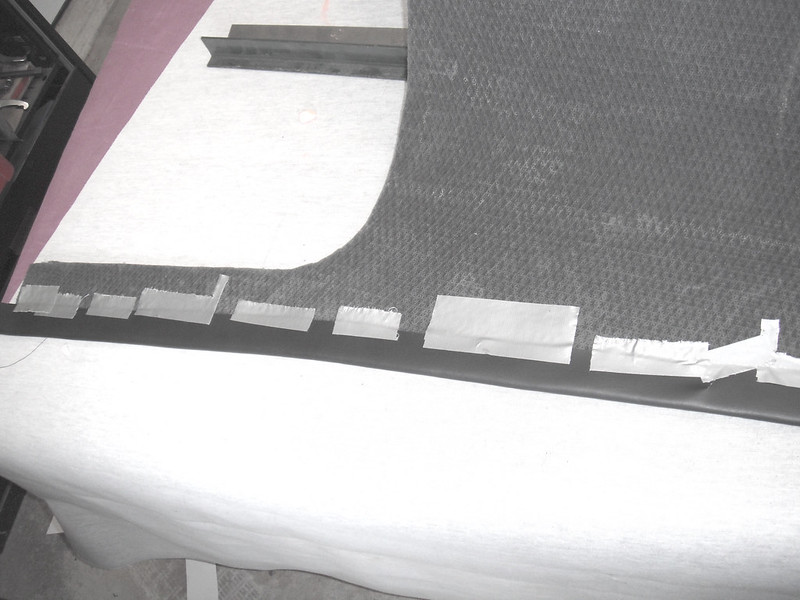
And then I grabbed the welder and air grinder and installed it:

Now I could glue down that weatherstripping into the corner of the doors, all the way around the doors:

I used the 3M weatherstrip adhesive, and that stuff is a treat to work with. After the 24 hour full cure time was done, I gave the doors a few gentle pushes to see how they closed (I had already done some tests earlier with the weatherstrip temporarily taped in place so I knew it should work). I was very happy with the results. The doors did require a gentle slam at first in order to squish down that brand new weatherstrip, but within a day it had broken in and both doors required only fingertip pressure to close firmly, with a satisfying thunk sound. The bearclaws worked perfectly, and the doors pop open slightly as soon as you turn the handles. On my last build, the weatherstripping kit included rubber that was so hard it took months before the doors would close without having to slam them.
A flashlight test around the doors indicated no obvious daylight coming past the weatherstripping, but only a road test will confirm this. Time will tell, but so far I really like that weatherstrip. It squishes easily, and bounces right back to full size when I open the doors.
Next came the door window sweepers. I was looking forward to popping them into place and seeing how it looked, but again my vendor sent me some generic universal clips instead of the originals. Here's the original clip in my hand, surrounded by what I received:

The originals (which are still reproduced) can be snapped onto the sweepers and then pushed into place in the door holes in seconds, and they are easily removable. The new universal ones were so tight (and shaped wrong) that I had to modify each one with a die grinder, then carve out some fuzzy material in the sweeper as the sharp prongs were too short, then use a hammer and punch to force the prongs to bend over and grab the sweeper.


Next came carpet. I put down some butyl vibration dampener first, then added a jute layer. I had made a template for the carpet piece out of construction paper and I transferred the pattern to the carpet I bought and then carefully cut it out. Of course I marked the carpet on the underside (where it's smooth and easy to mark), but I forgot to reverse the template. When I went to test fit it, I realized that I had done a perfect job of cutting out a mirror image of what I actually needed. My leftover carpet section was of course a few inches too small, so I had to run to town to get more carpet. I got the carpet, did it all over again (but remembered to flip the template this time), and did some test fitting and trimming.
I had cut the carpet so that it slips under the kick panels and the firewall pad, but there were still exposed edges along the doors which are very visible. Someone had posted a video about dressing up carpet edges (it was here on this site, but I cant remember where), so I decided to give it a try. I cut up some black vinyl strips and sewed them down with the rear of the vinyl facing upwards, about a half inch in from the carpet edge:

The vinyl then gets wrapped around the edge, and secured by tape so that it does not shift during the next step:
Another stitch line on the top surface is then added to secure the vinyl that is wrapped over the edge and taped underneath. The black thread completely disappears into the black carpet, and this is the trimmed up edge that results:

And here it sits where the carpet edge is most visible:

The bulk of the carpet is held firmly down by the kick panels and firewall pad, but I needed something along the door edges to keep it firmly in place. I used industrial velcro in my previous build and it worked well (actually too well, that stuff grabs like you wouldnt believe).

I also put carpet/jute/vibration damper under the seat and on the thin strip of floor behind the seat:

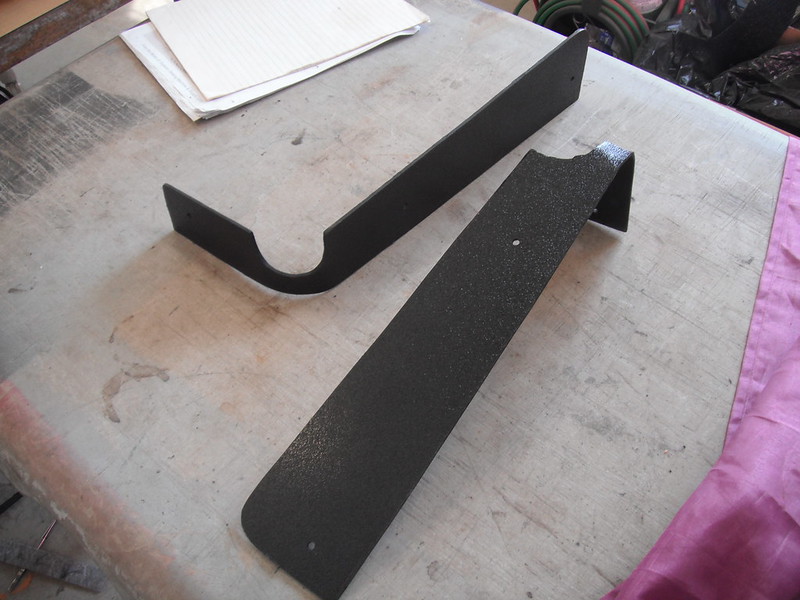
It was starting look kinda sharp, but the exposed seat frame detracted from it, so I grabbed some ABS scraps and made a couple of covers to dress up that area:

I now started to get quite excited about how things were shaping up, so I ran to town, grabbed a bunch of trim screws and started putting everything back together. I installed the rear window and added its trim, as well as remaining interior panels, door surround trim, seatbelts, etc. I eventually will cover the doors with matching vinyl, but I need to get my hands on something thinner to use as a backing material. Those black ABS panels are 1/8th thick, and by time I wrap the vinyl around them that's way too big to fit into that trim channel that runs across the top and one side.


As I had the sewing machine set up (and had retaught myself how to use it) I made up the required 4 strips of hood and cowl lacing seals and installed them (and yes, I still plan on replacing that horrible orange overflow hose with something more subtle!):


I finally got the wiper arms installed and set to the correct angles (I tried to figure out the resting position of both arms by looking at internet pics, only to discover that everybody does it differently). I opted for this:

I was pretty much ready, and was doing some pre-safety inspection checks when I realized that my brake pedal was spongy. I went through a bit of an ordeal before finally getting things sorted out. After that it was inspection time. I was pleasantly surprised when
it passed! I then had to deal with some paperwork and get an appraisal done for insurance. Once that was completed it was off for a test drive and any required debugging.
I was very pleased with the ride. Its tight and responsive (OK, its no sports car but it has a nice, firm feel). Braking is beautiful, potholes dont knock out my fillings, and best of all, its super quiet inside the cab. I am in the debugging stage, but so far all Ive identified has been some minor wind noise and a fuel gauge problem that appears to be the sender (which sucks because of its location). For now I will simply keep the tank topped up, as I will likely change the gauges in the future and the sender I need will depend on which gauge set I buy.
To all of the members who have answered my many questions, as well as those who posted detailed descriptions of their S10 swaps, thanks!!!!!!!
