Budget first:
previously: 4027.96
new money:
another, correct flexplate: 40, advance
exhaust clamps, amazon: 37.50
driveshaft rebuild and mods: 125
rear main seal: 24.99
billet wheels: 250
fluids, crimp connectors, locktite, etc were generally on the shelf.
Cooper discoverer HT tires in 245/75/16, pretty new: 100
total to date: 4605.45
the last couple of weeks have been pretty nuts, between work and trying to thrash this thing together.
However, ill do my best to cover the work we did. I may miss something, or a lot of somethings. So please, don't consider this comprehensive by any means.
Anyway, we took it down to dads, and disassembled. Drained the fluid, took the driveshafts to the shop for modification, removed the cooler lines, exhaust, manifolds, etc. this thing has been apart before. They RTV'd the converter cover on, missed half the bolts, etc. the cat was also gutted at some point, and the muffler replaced with a two inch in/out piece. Not a lot of pictures, so take my word for it.
 20210222_200425
 by
Michael Crawford, on Flickr
 20210223_201226
 by
Michael Crawford, on Flickr
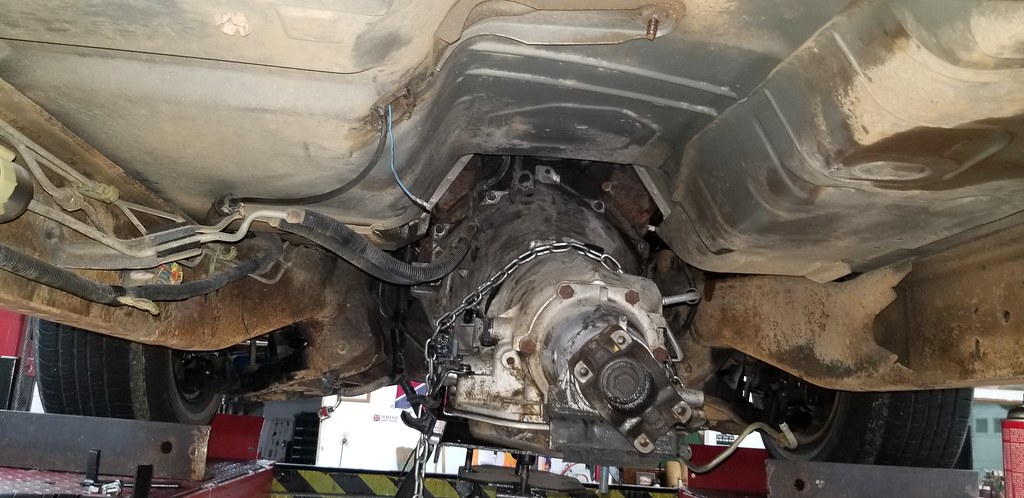
when we went to drop the actual trans, we learned that the truck is shaped exactly wrong for our lift and shop arrangement. The back of the cab lined up EXACTLY with the garage door opener, and we couldn't go up the whole way. Which meant that we couldn't get the trans jack and trans under and out of the truck. So, doing the trans swap on the lift resulted in me pulling it with a floor jack on my back after having dad lower the lift down once I was underneath. Not fun. But, we did it. Left the converter bolted to the flexplate when we did it to reduce weight id have to handle.
 20210223_201232
 by
Michael Crawford, on Flickr
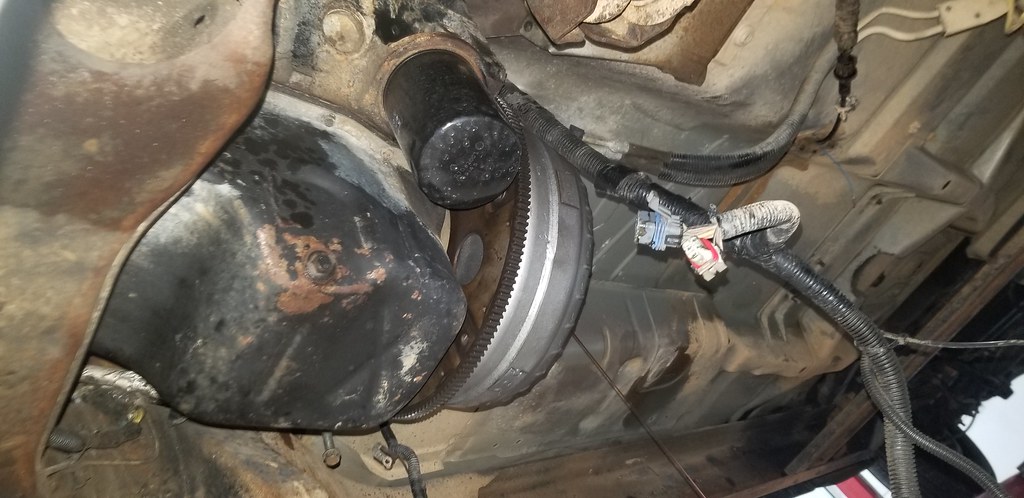
got the converter and flexplate pulled, found a leaking rear main. Replaced the leaking rear main. My those have gotten expensive from the FLAPS.
 20210224_190256
 by
Michael Crawford, on Flickr
 20210225_181059
 by
Michael Crawford, on Flickr
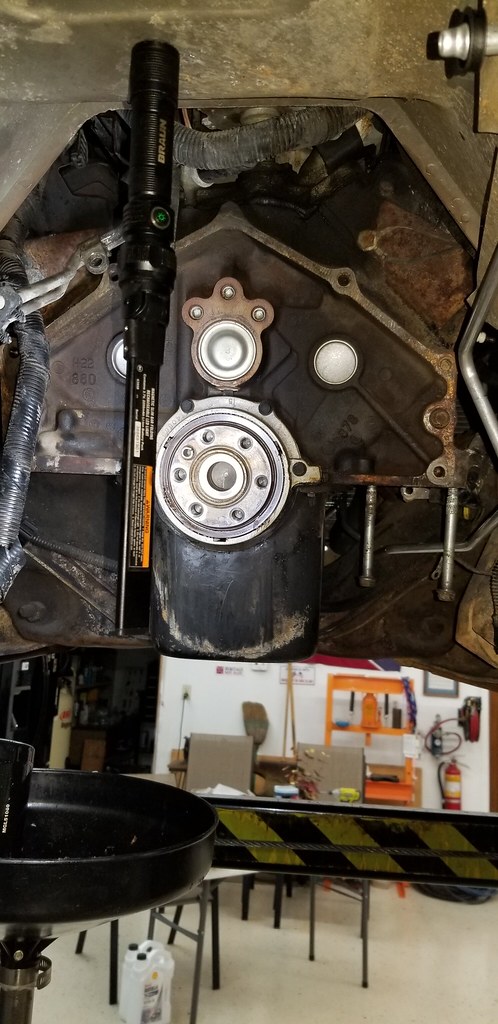
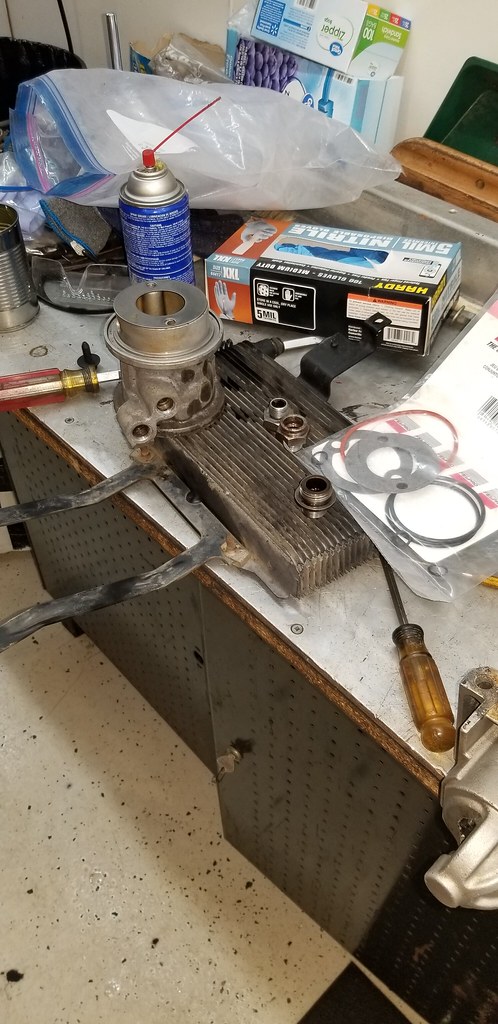
went ahead and cleaned up the vortec oil cooler adapter, resealed all the threads, etc, really went the whole way on it in hopes of a long, leak free life. I even did it twice! Improper install first time, used the dorman kit from the FLAPS the second time, following some guidance I got online. Success! I also got the new hoses in, the hole in the motor mount for the line clips, cleaned the cooler out in the radiator, etc. you can also see the new trans cooler lines fo rthe 4l80. Well, one new line, one cleaned parts truck line.
 20210225_181046
 by
Michael Crawford, on Flickr
 20210228_171049
 by
Michael Crawford, on Flickr
about this time we put the new trans in. we figured out that the two of us could move it from the tailgate to the rolling cart, roll the trans on the cart under the truck, get the trans jack under the truck, then manhandle the trans onto the jack from the cart under the truck that we couldn't fully stand up under. Yes, it was as sketchy and painful and difficult as it sounds. But that mother****er went in!!!
 20210226_185254
 by
Michael Crawford, on Flickr
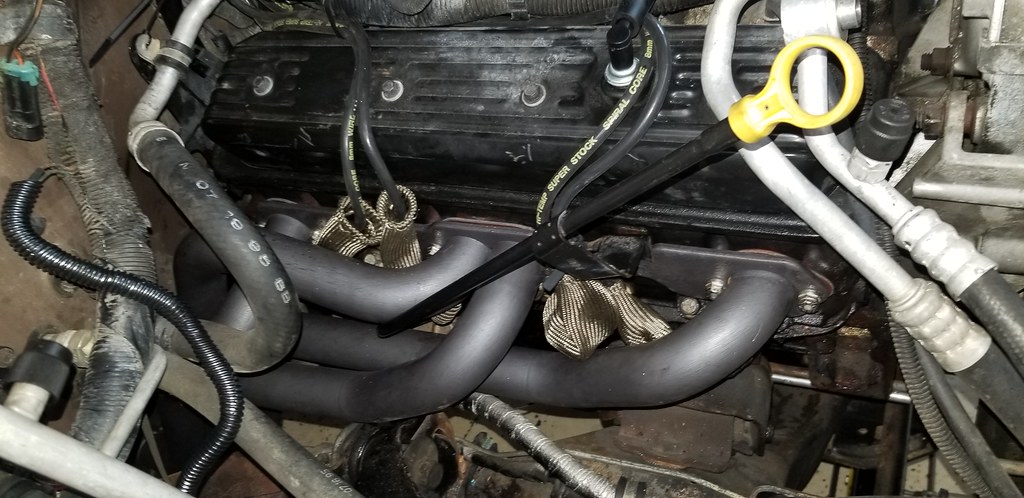
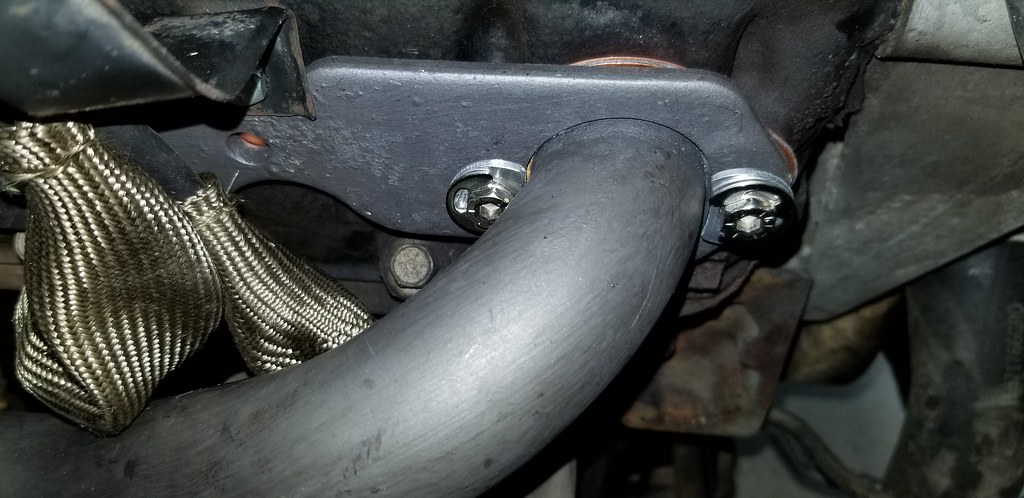
went ahead and got the long tubes in next. The drivers side fell in, passengers put up a bit of a fight but finally went in with brute force and leverage. Got the copper gaskets in, and the insulation on the plug wires. Getting all the header bolts in was definitely tough, especially with carpal tunnel. But after a few hours of aggravation, we got them all in and tight. After a few heat cycles, I put the locks on the bolts. Needed to tweak a couple, and there were two bolts that COULD NOT get locks due to tube proximity. But, done.
 20210226_204057
 by
Michael Crawford, on Flickr
 20210226_205513
 by
Michael Crawford, on Flickr
 20210228_151811
 by
Michael Crawford, on Flickr
 20210308_181210
 by
Michael Crawford, on Flickr
the exhaust came next. Unfortunately, the y pipe met with the crossmember pretty hard. Solution was to cut the pipes, shorten a few inches, and clamp back together with the stainless band clamps. Worked out just fine. Sounds good as well! Seems like we make more power with the headers, but too many variables have changed for me to know for sure.
 20210228_171008
 by
Michael Crawford, on Flickr
 20210304_190307
 by
Michael Crawford, on Flickr
im a little out of chronological order here. Sorry. Just too much going on at one time here to really do things justice. Sorry....
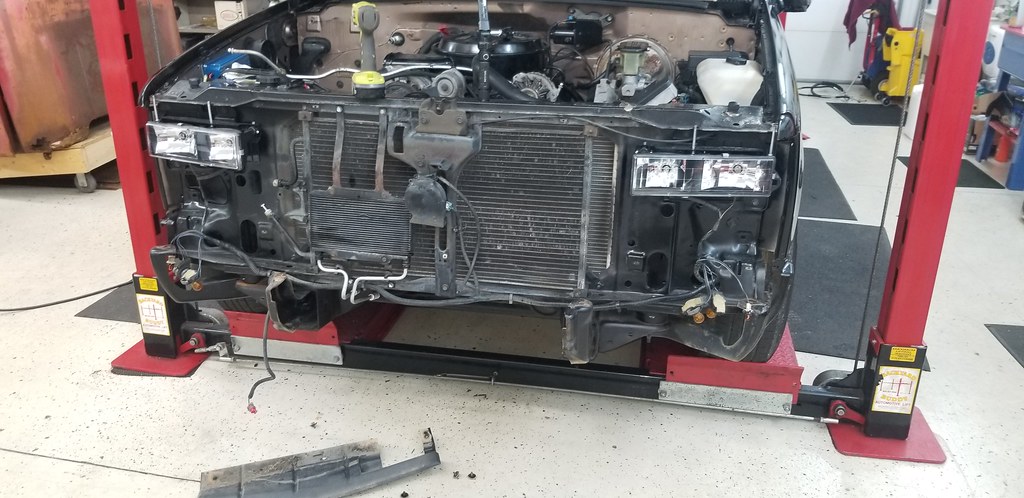
anyway, I resealed the trans. New o rings on the sensors, new output shaft seal, filter, trans pan gasket, etc. swapped out the wiring that needed changed and altered, extended the oxygen sensor leads to reach the new location. No sludge in the pan, and it seemed like a great trans. No concerns noted. Went ahead and pulled the grille and front bumper to hook up the auxiliary cooler, as well as the in radiator cooler. And I finally installed the sensor for the outside temp in the overhead console. I was there after all....
the behind bumper air guide was different to clear the cooler lines, FYI. Also the 2500 crossmember was significantly different fron the 1500, so I reused the 1500 piece. I also added the temp sensor in the test port on the trans, and reused the range switch from the 4l60 as I knew it worked.
 20210228_170959
 by
Michael Crawford, on Flickr
 20210301_183146
 by
Michael Crawford, on Flickr
while I was in there, I went ahead and converted to the later AC system parts, except for the compressor and brackets. Just haven't gotten there yet. But its on the short list, cause im fat, live in the south, and drive a black truck....
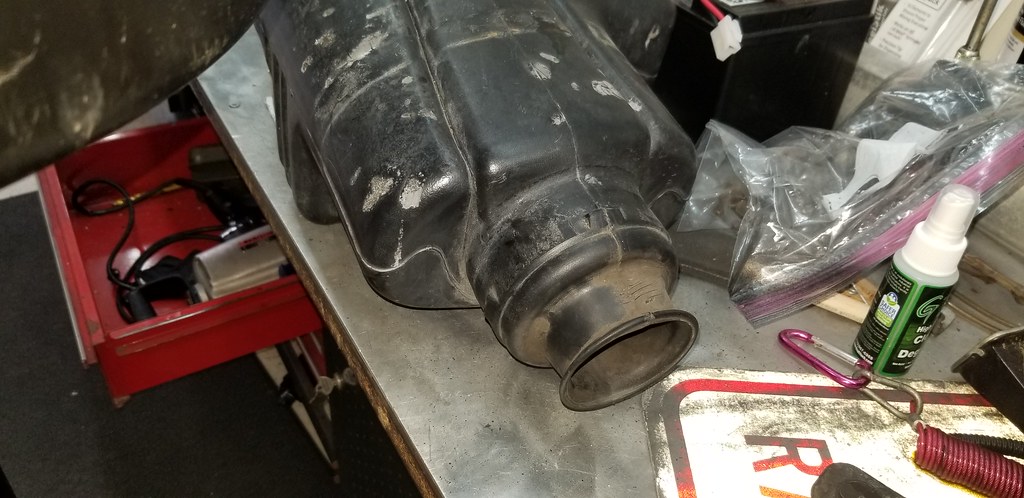
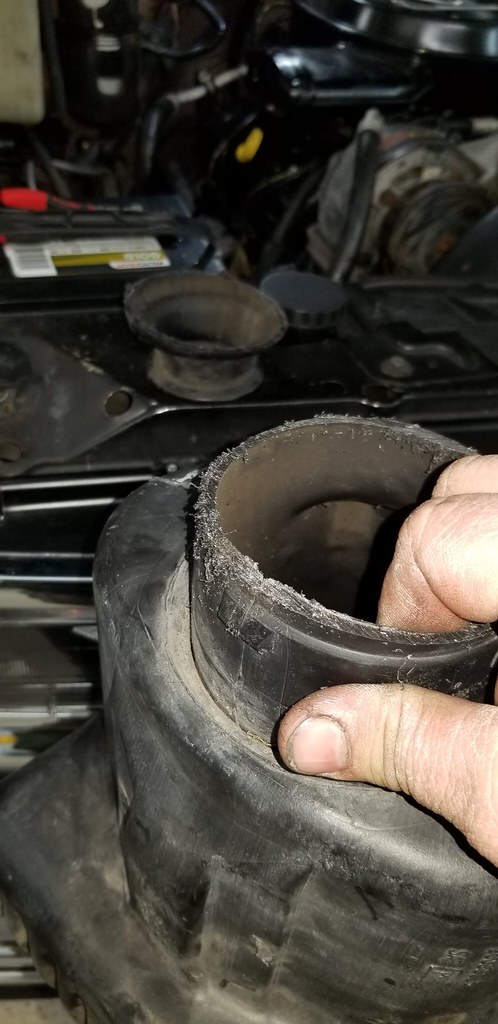
anyway, getting stuff buttoned up, I noticed that the intake tube to the fender has a restriction at the end. My bet is for NVH reasons, and I could see it choking off power. So I cut it off.
 20210228_171109
 by
Michael Crawford, on Flickr
 20210308_181240
 by
Michael Crawford, on Flickr
 20210308_181336
 by
Michael Crawford, on Flickr
some point in here, I trimmed up the new floor mats. Not mission critical, but felt good to do.
 20210228_172008
 by
Michael Crawford, on Flickr
anyway, today the replacement chip burner came in. the one I had died of old age. Got the new prom burned, put in, and proceeded to do this:
 20210311_164521
 by
Michael Crawford, on Flickr
 20210311_164518
 by
Michael Crawford, on Flickr
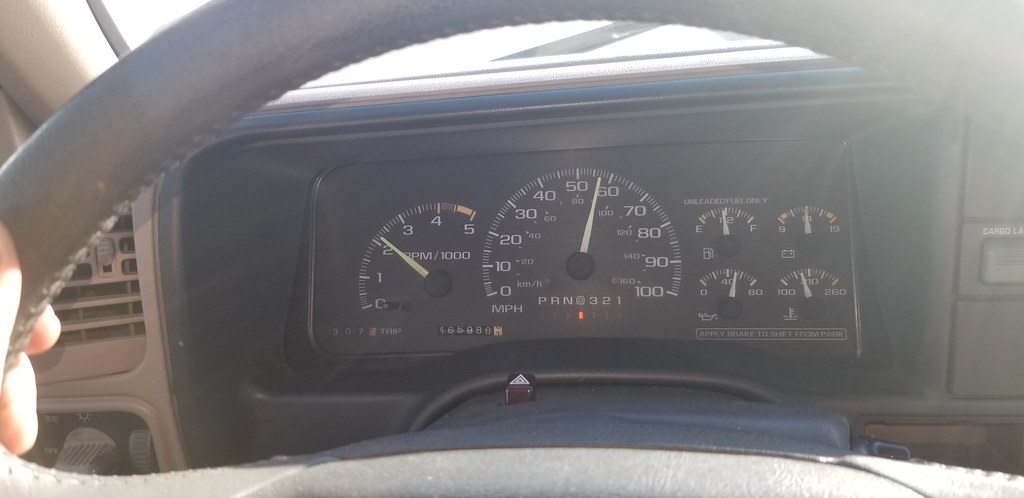
runs good, shifts FANTASTIC. Seems slower on takeoff, but thats probably due to the different gearing in the trans.
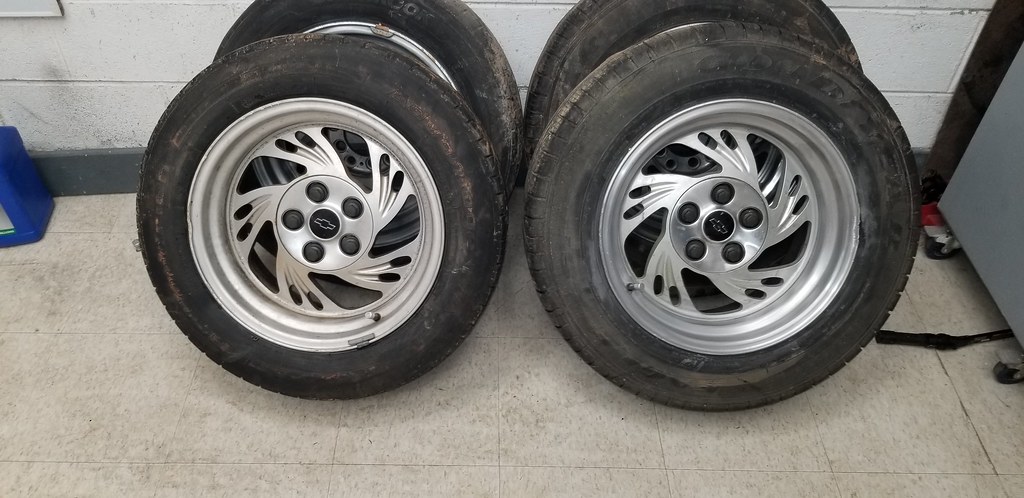
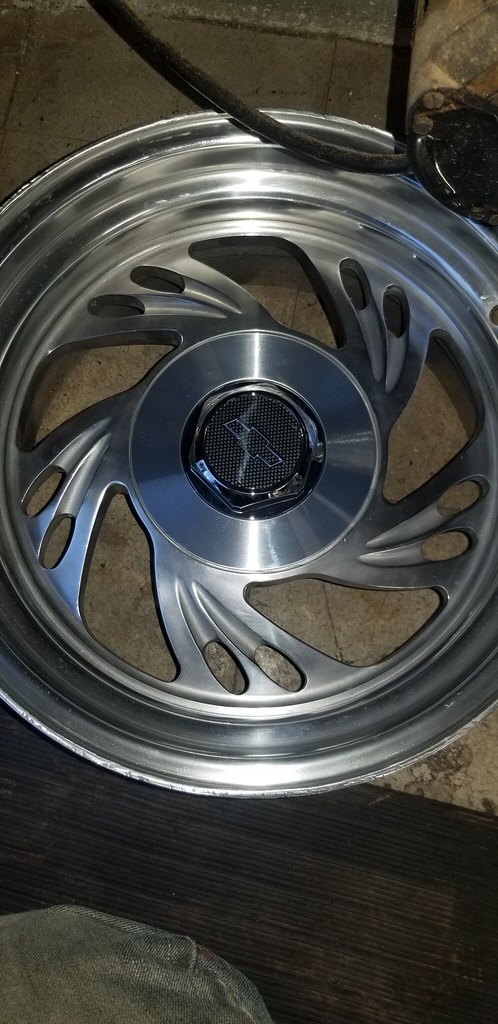
To finish out this update: I love billet wheels. Im a 90s kid, sue me.
Id been hunting a set for this truck, and came across a fair deal on some eagle alloy 206 wheels, 16x8, wrong center caps, dead tires, and scruffy. $250, which was CHEAP in my area. So I bought them.
 Screenshot_20210226-104309_Messages
 by
Michael Crawford, on Flickr
 20210226_144536
 by
Michael Crawford, on Flickr
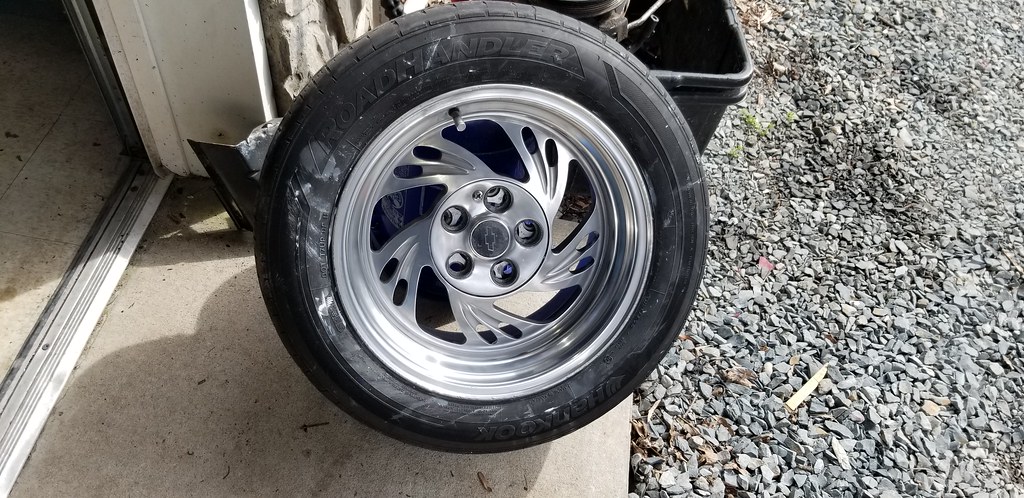
spent some time with some 1500, 2000, 3000, 4000, and various compounds, and got here.
 20210306_141211
 by
Michael Crawford, on Flickr
mounted up, found the caps didn't even come close to fitting, and started hunting another set. Not about to spend 75 each on ebay, so I went trolling factory caps that may work. Came across these from impala ss. Well see....
 20210306_170736
 by
Michael Crawford, on Flickr
 20210311_182609
 by
Michael Crawford, on Flickr
negotiated a deal for the tires off the service body, which are cooper discoverer Hts, in 245/75/16. should fill out nicely on here with the mudflaps and such.
Stay tuned, more to come later.