I had a very productive last couple of days and got a lot done on the '64. I finished the caster mod I posted about earlier, so I'll continue where I left off:
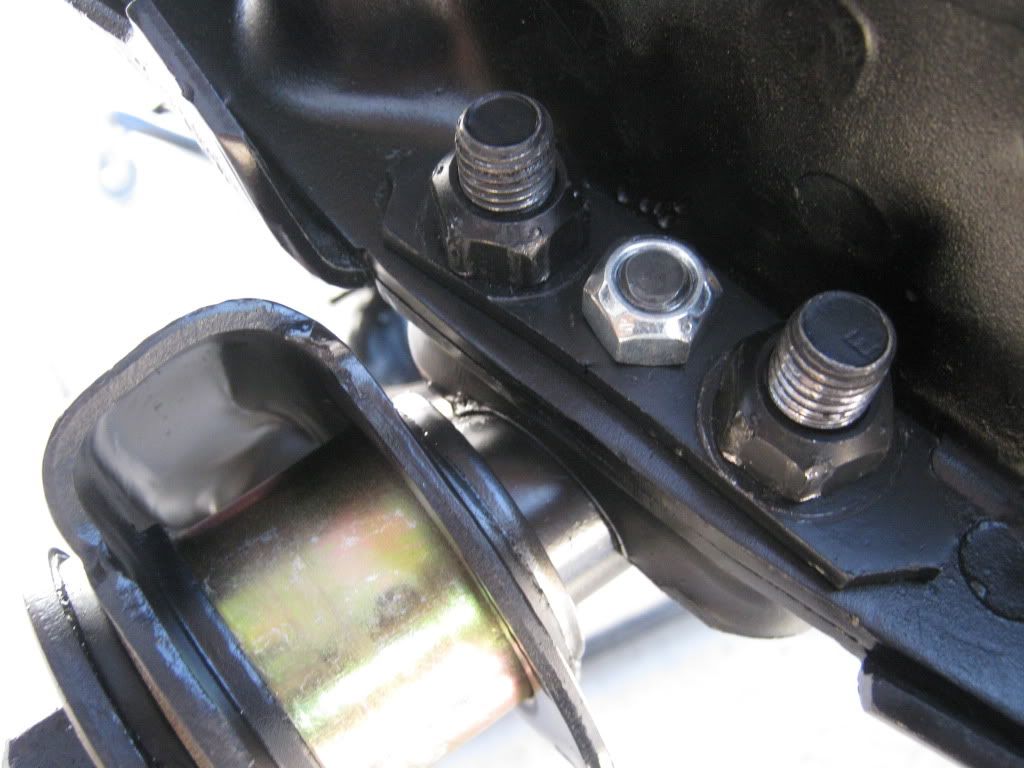
In my earlier post, I showed the portion of the mod where the locating pins (the factory rivets) needed to be removed and replaced with 7/16-20 x 1.5" long socket head cap screws. For added insurance, I used Loctite and a stover nut. Here's a shot of the finished installation:
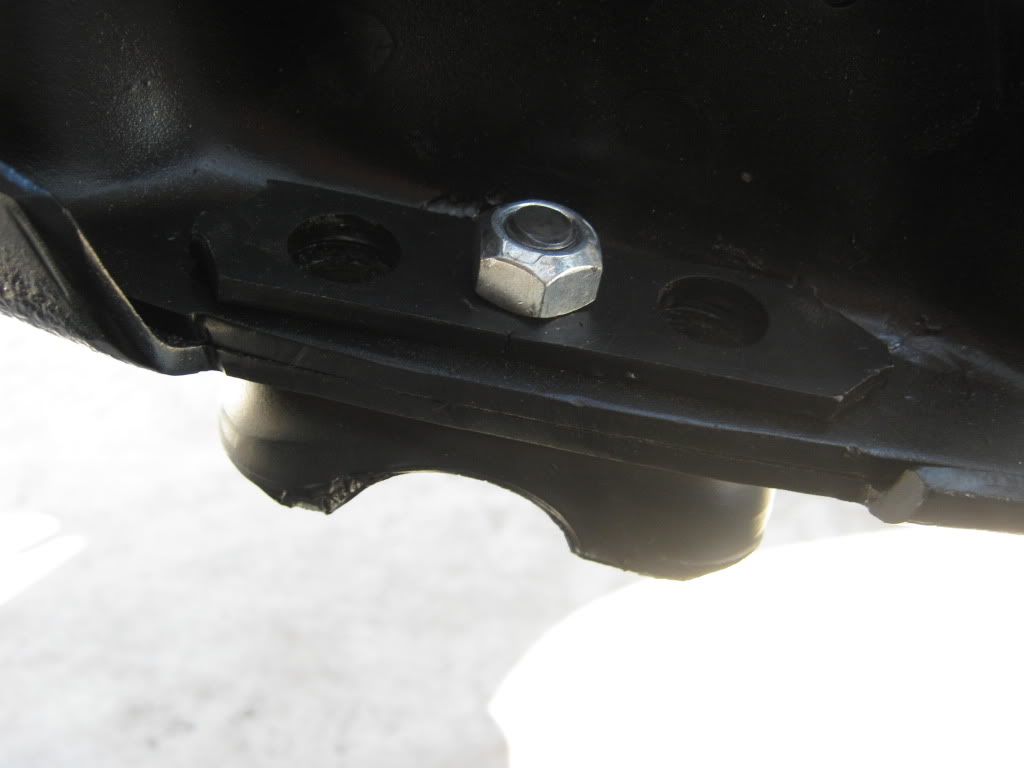
In this shot, you can see the head of the fastener, which will locate perfectly in the new spot face positions in the lower control arm cross bar.

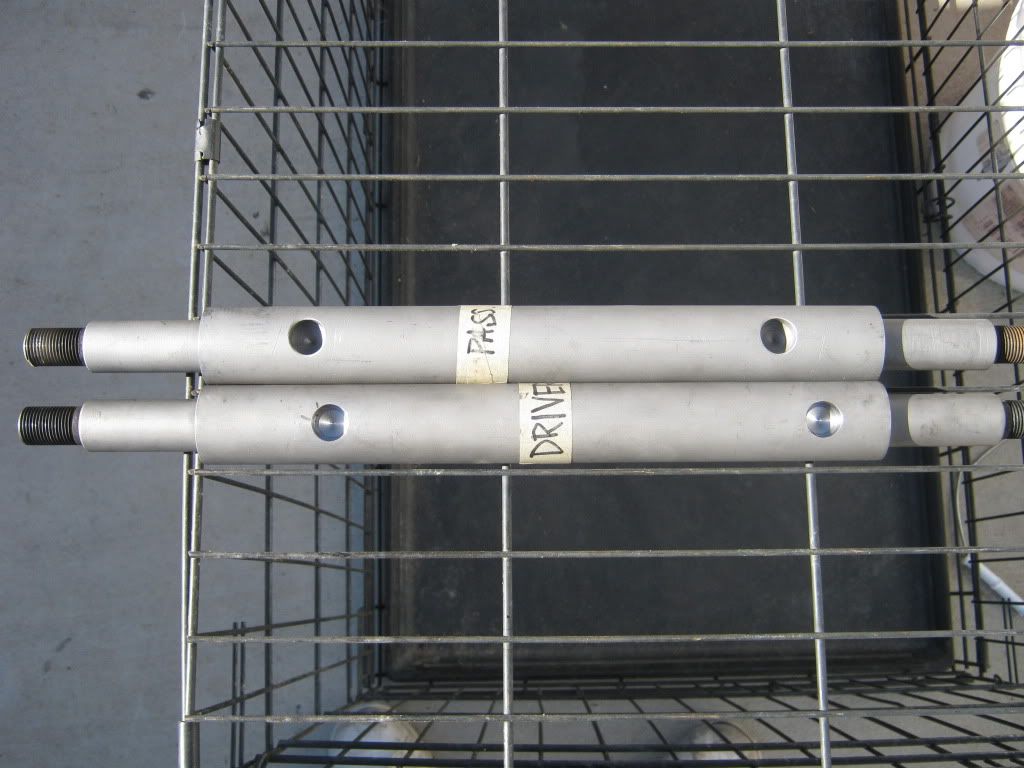
In this picture, you can see the difference between a stock crossbar and a modified crossbar. The upper bar is stock, and the lower bar is the modified bar with the newly-located spot faces.
For an added bit of fluff, I primed and painted the front half of the chassis. I gave it a good shot with the steam cleaner and another last blast with the pressure washer, and then primed it. It's not a show vehicle, and the chassis isn't 1000% clean, but it'll suffice. It's a driver and it'll get abused.

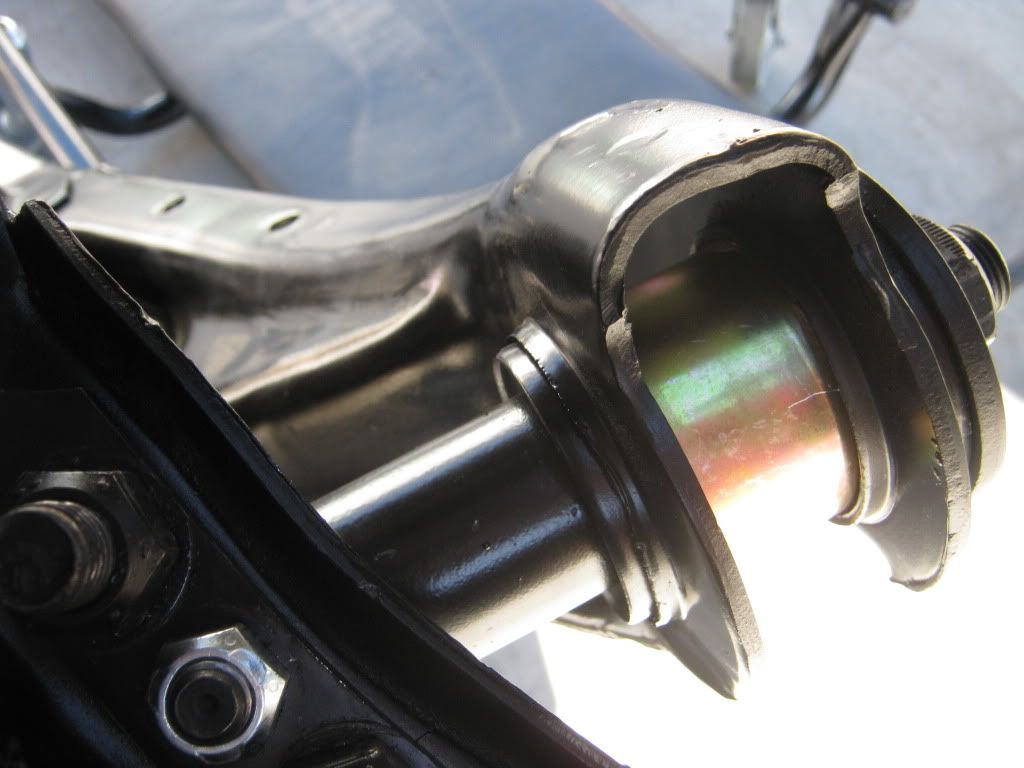
While the control arms were out, they got blasted and painted. New Energy Suspension bushings were installed and all the balljoints were replaced with Moog parts. Then the moment of truth arrived, and it was time to install the control arms and see if the caster mod was a success. Everything fit perfect. The clearances were excellent, and the locating pins lined up exactly as planned. Here is a shot of the driver's side control arm. You can see just how much the control arm moved forward.
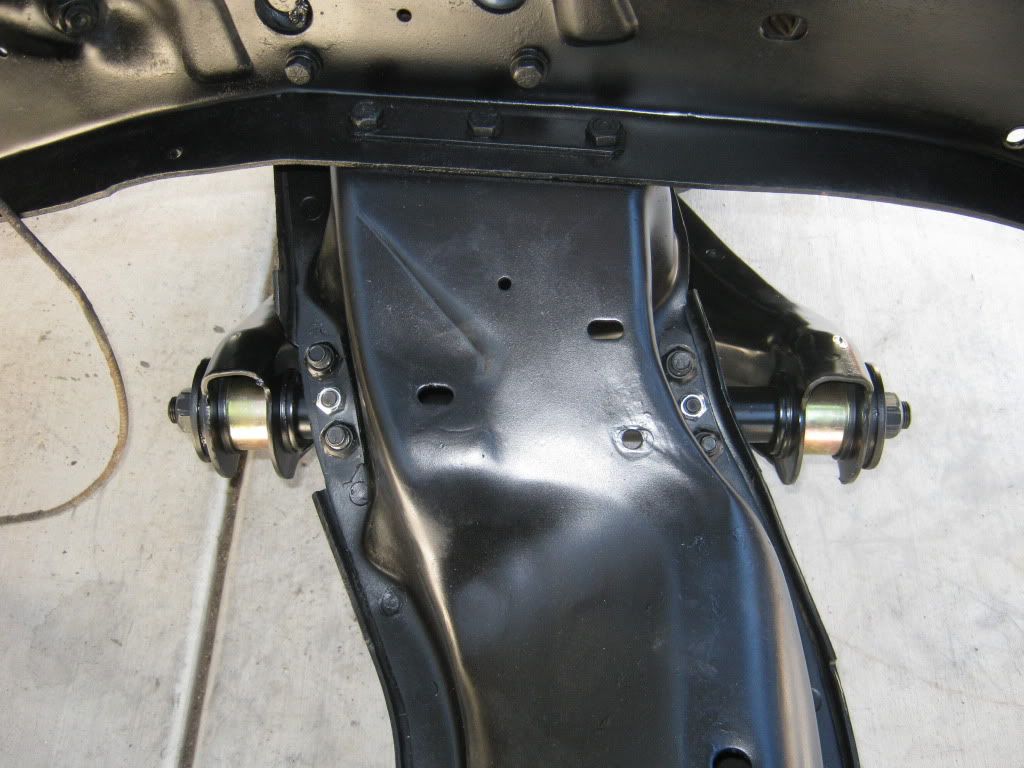
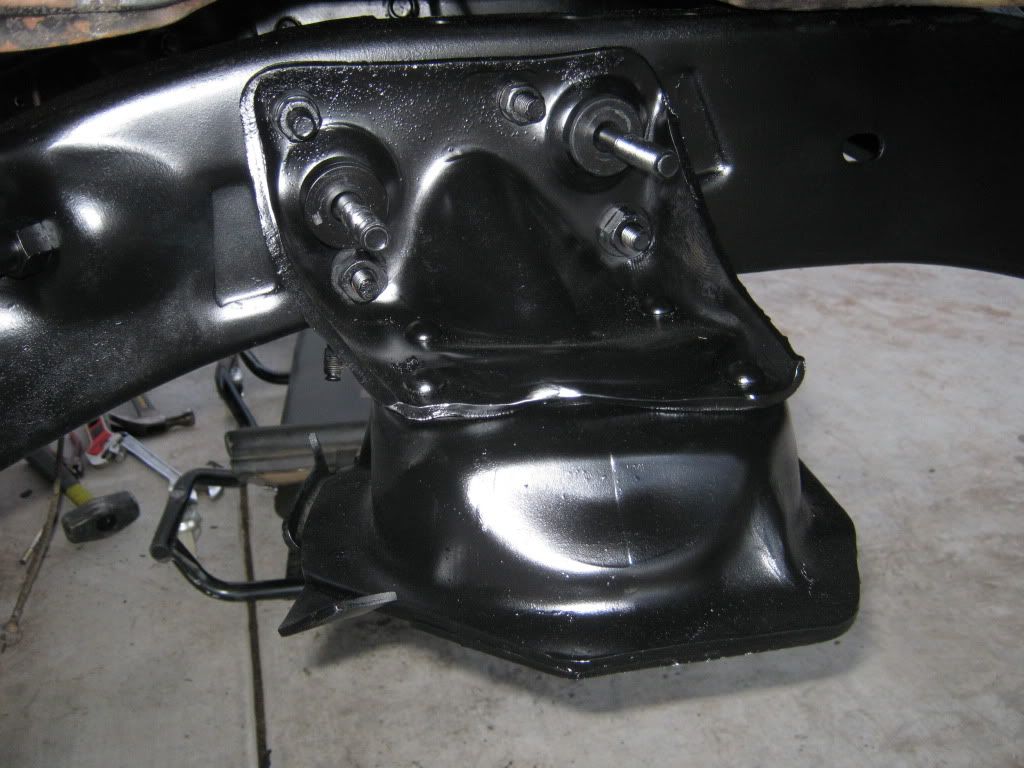
Here's a close-up shot of the back-side. If you recall, I had to clearance the crossmember. I now have plenty of room with the control arm at full up/down.
Here's a shot of the front side. You can really the .75" difference in position from stock.
Here's another trick I did to eliminate a huge shim stack in the upper control arm. On the half-tons, GM utilized spacers on the control arm bolts, along with the normal shims. Because I cut a coil from the stock spring, I knew that the alignment shop would have to add more shims to get the camber correct. So, I went to the wrecking yard and grabbed some other spacers(the fat ones) and added them to the mix. The original set-up was: 1 skinny spacer on the forward bolt, and one fat spacer on the rear bolt. The new set-up is: 1 fat spacer on the front, and 1 fat and 1 skinny spacer on the rear. Not much of a difference, but I don't like the look of a huge spacer stack on lowered vehicles.
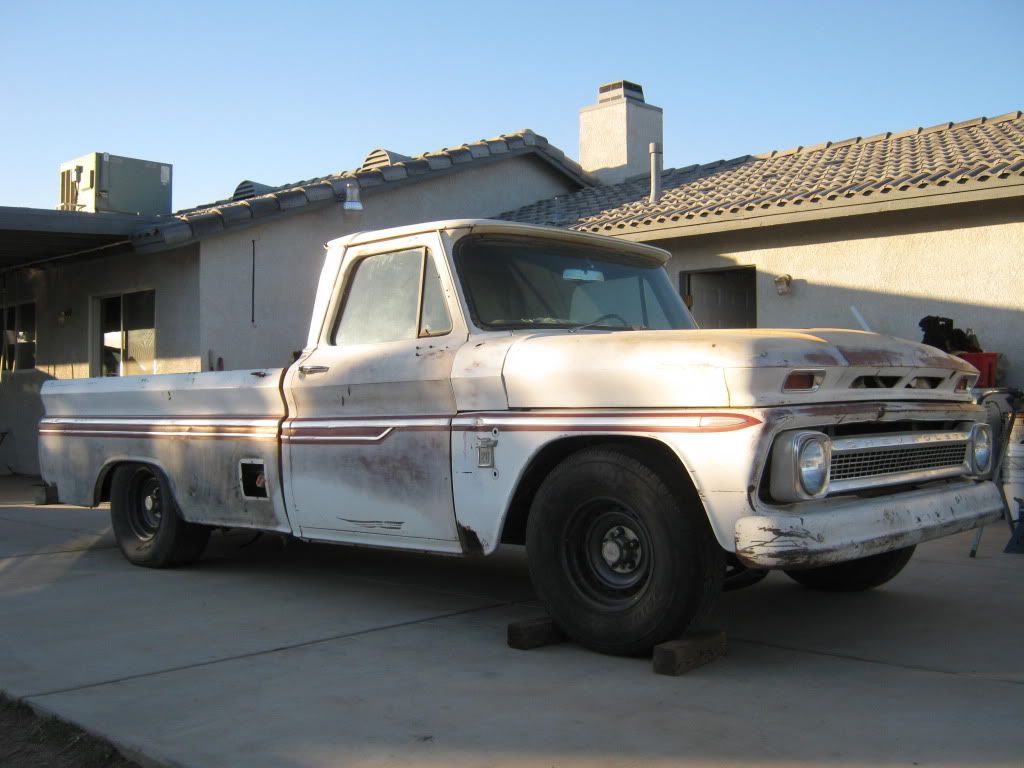
I finally got to set the truck on it's wheels. The engine and trans are not installed, so it'll come down a bunch when they finally get installed. The wheels and tires are from the donor Suburban, and they are NOT going to be what I am going to run. I am going to have a big/little wheel and tire combo, and I'm still trying to decide what I'm going to go with. In this shot, you can also see the rear height after the spring changeout. It's finally getting there!