I had today off so I spent a portion of the day in the shop while my wife was at work.
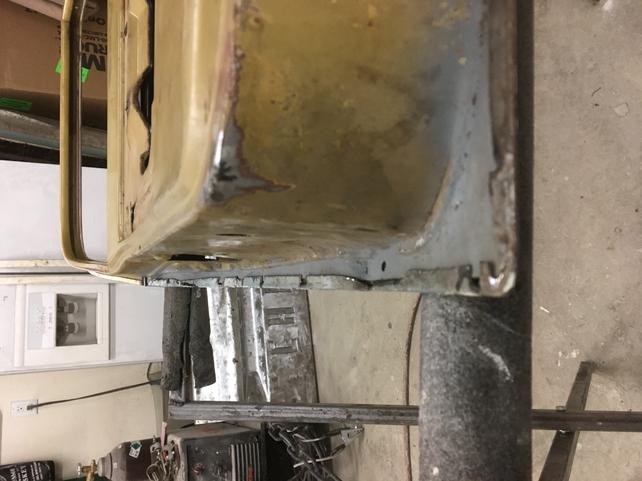
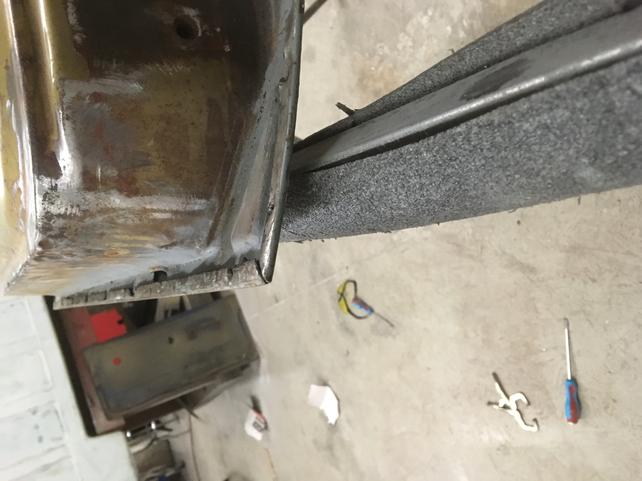
Started off by working on piecing the two skins together. I was very cautious when bending the flange as to not mess up the edges. I did this by backing the panel with a dolly and using visescripts/screwdriver to bend the flange up. It was quite the process, but I only had to do one side and the bottom.
The fit was super tight so to increase my odds of not fudging it up, I slightly trimmed up the side flange on the inner skin. Then using a rubber mallet and long dolly, I slowly tapped the outer skin into place.
A screwdriver was also used to help slip the outer skin over the inner skin flange. After an hour and a half I had the skins joined together.
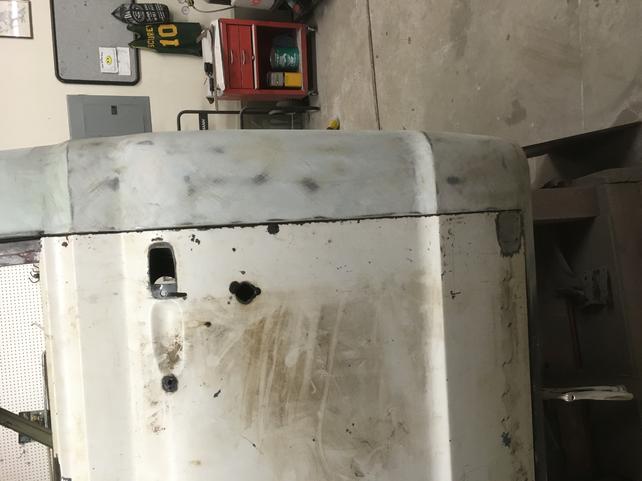
Prior to securing the panels together, I test fit the door to make sure it fit alright. It checked out pretty good.
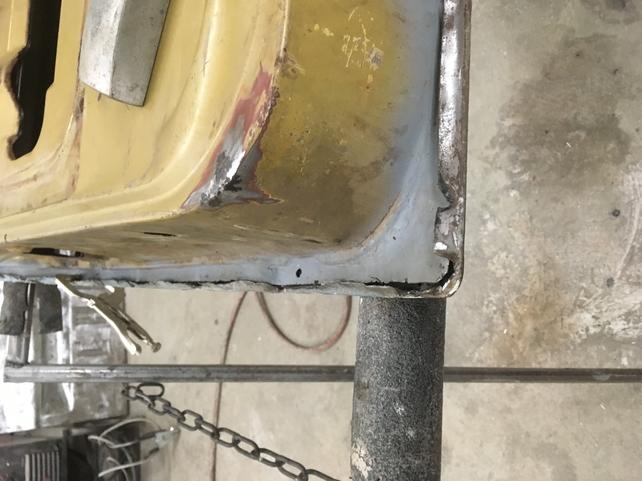
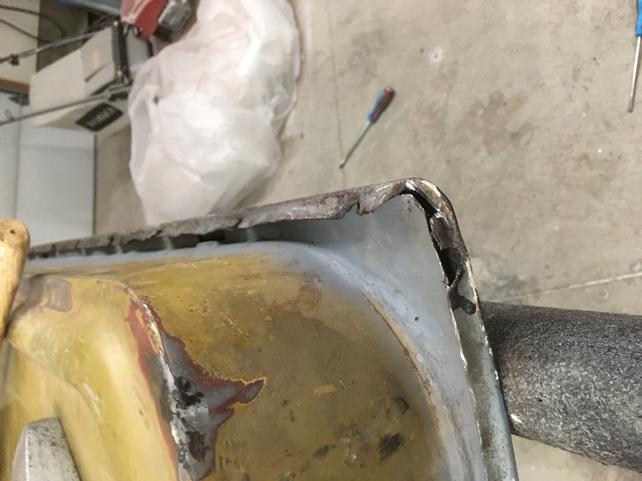
After the check, I used a hammer and dolly to slowly bend the flange back into place.
Turned out pretty good. Was pretty stoked that I was able to do this repair. Last thing it needs is some spot welds.