
|
|
|
 08-20-2013, 03:51 PM
|
#1 |
|
Registered User
Join Date: Jul 2011
Location: Des Moines, Iowa
Posts: 3,016
|
Re: Project "My Happy Mess"
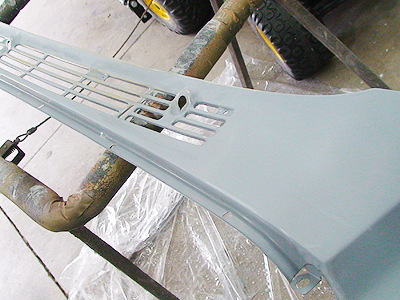
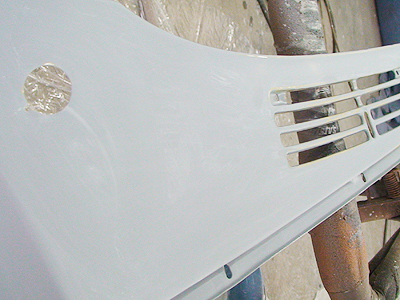
Thanks, they turned out good. Here's a variety of pics, enjoy!
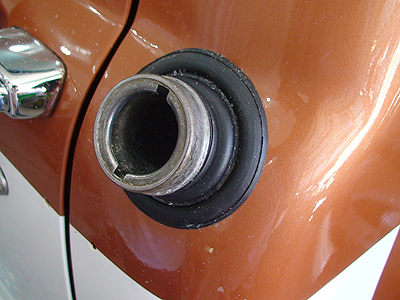
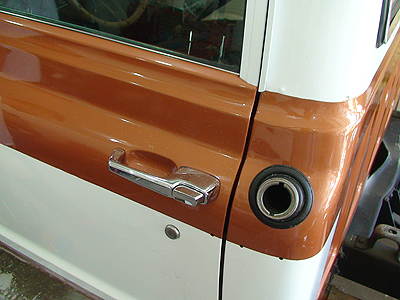
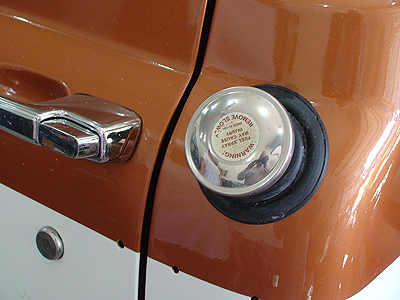
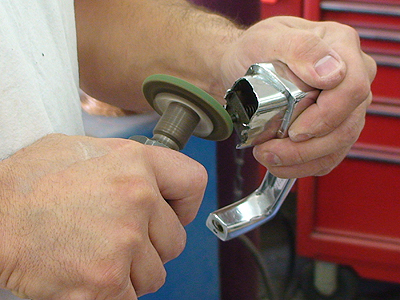
  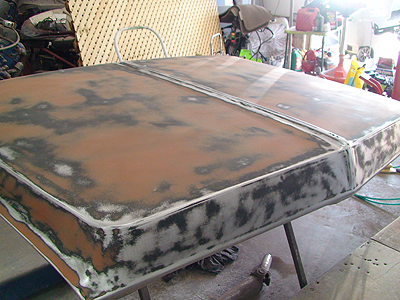 PO hood ornament holes cleaned up. 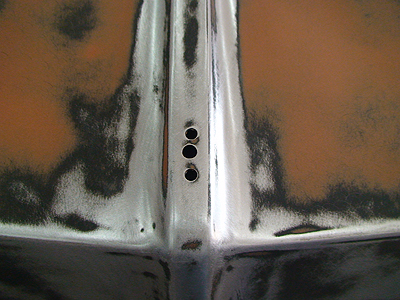 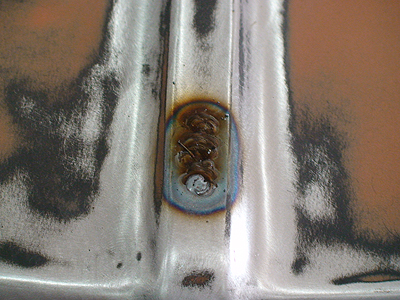 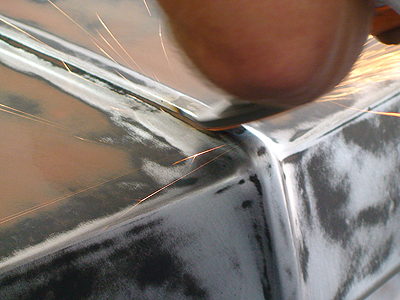 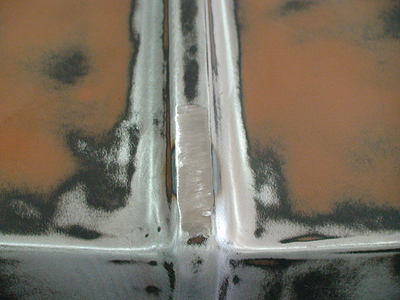 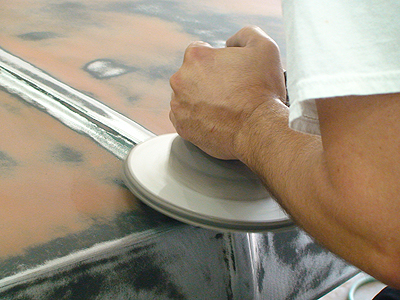 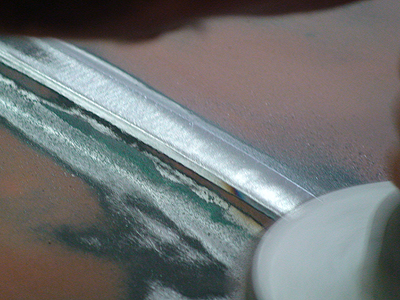 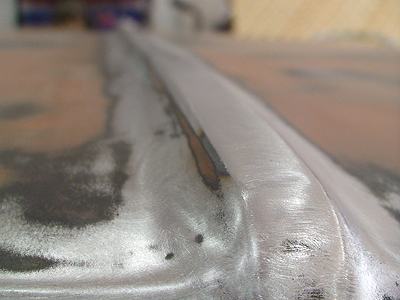 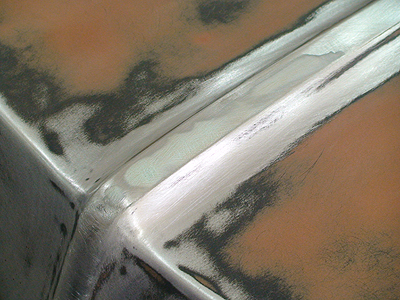 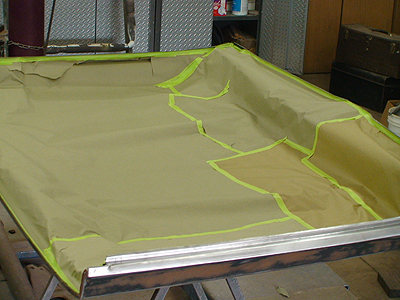  Gas prices near all time low!   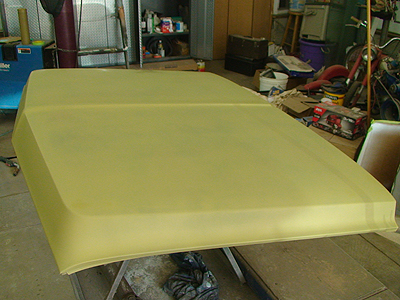 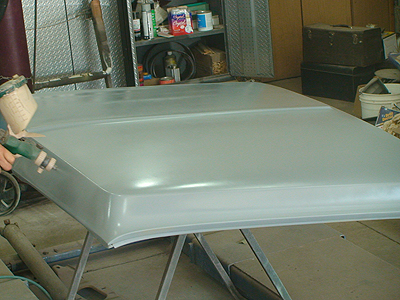 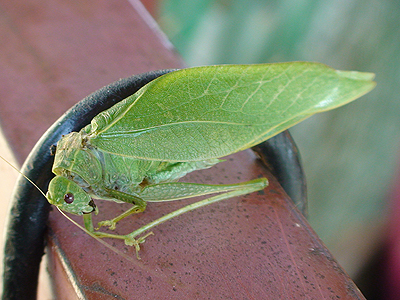 IA State Fair 2013  Next to where we parked. 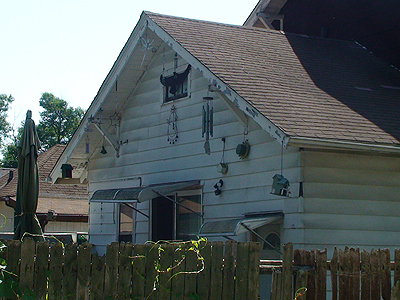 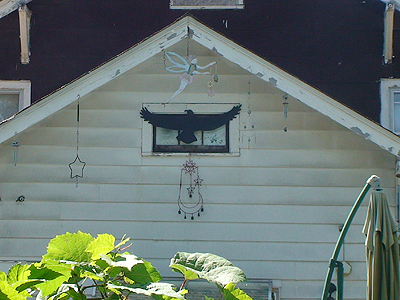 Inside the fairgrounds                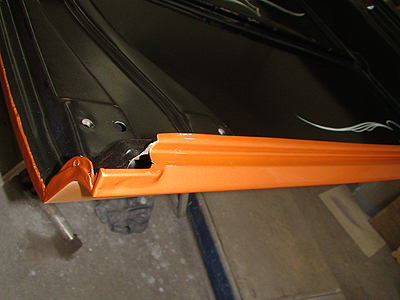 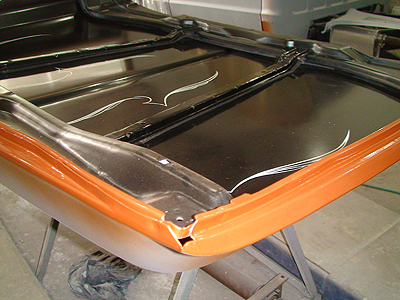 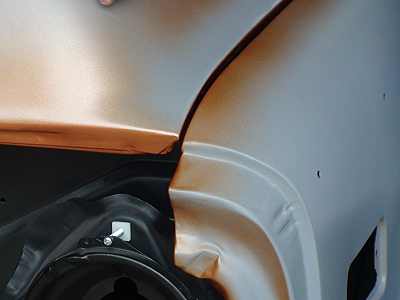 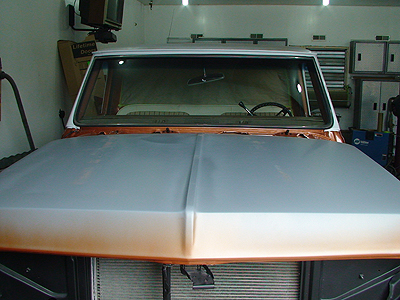 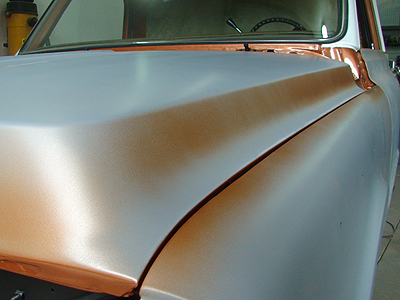 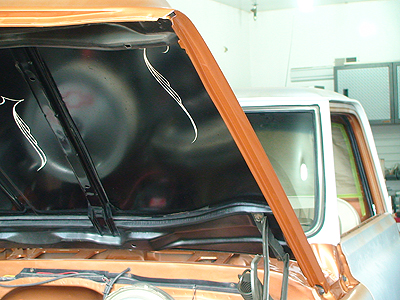 Found this in my backyard this morning.   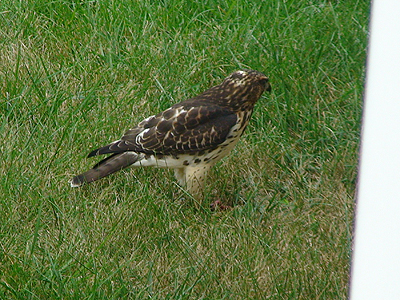 
__________________
project: "my happy mess" |

|

|
|
08-21-2013, 02:12 PM
|
#2 |
|
Registered User
Join Date: Jul 2011
Location: Des Moines, Iowa
Posts: 3,016
|
Re: Project "My Happy Mess"
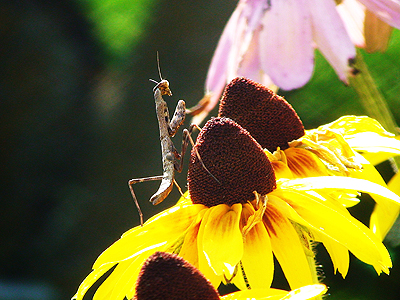
Praying mantis. Yeah, you're camo alright
 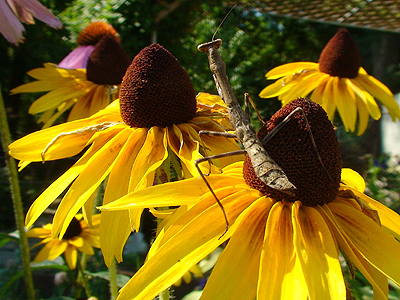 Nothing to see here, it's just a leaf. It's not alive :/
__________________
project: "my happy mess" |
|
|
|
|
08-21-2013, 03:09 PM
|
#3 |
|
Registered User
Join Date: Jul 2011
Location: Des Moines, Iowa
Posts: 3,016
|
Re: Project "My Happy Mess"
@ the IA state fair 2013. Prohibition officially over
 I cut out the faces from this photo, but we had all 4 filled 
__________________
project: "my happy mess" Last edited by litew8; 08-21-2013 at 03:21 PM. |
|
|
|
|
08-26-2013, 02:52 PM
|
#4 |
|
Registered User
Join Date: Jul 2011
Location: Des Moines, Iowa
Posts: 3,016
|
Re: Project "My Happy Mess"
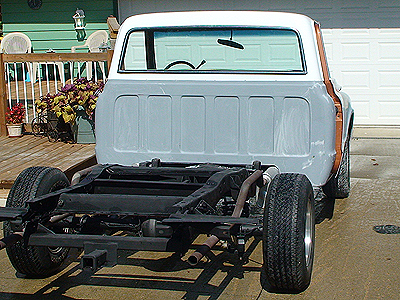
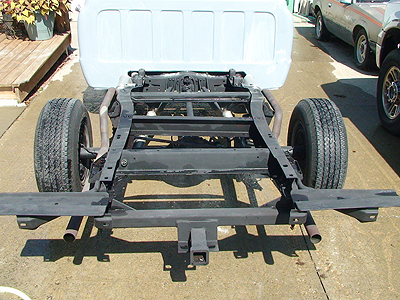
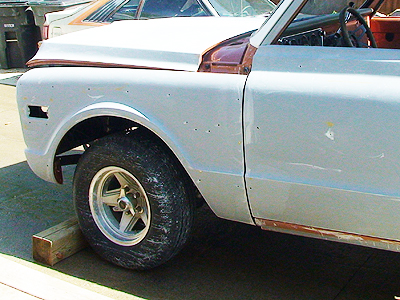
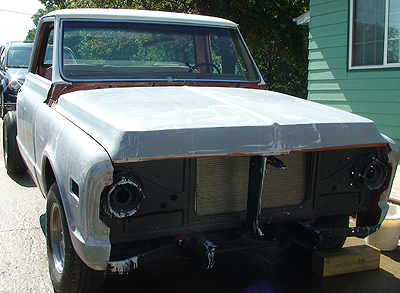
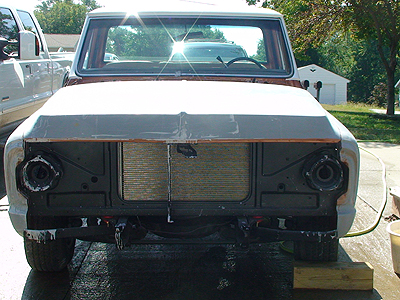
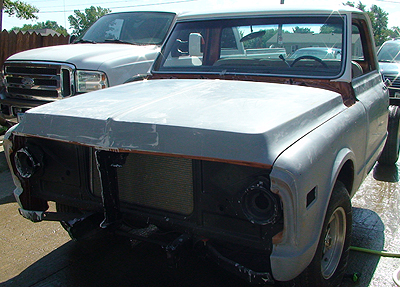
Well, it's about 100 degrees here today, with humidity.
We didn't get much finished, but thinking the cab might be painted before week's end. Got the truck spun around and ready for the next phase: sanding. Should we dry or wet sand? What are your experiences or preference? Thanks  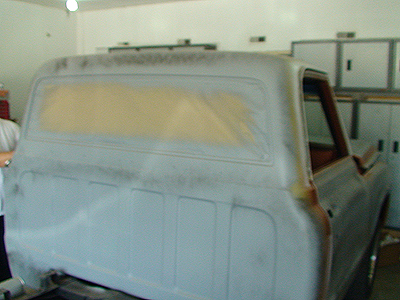 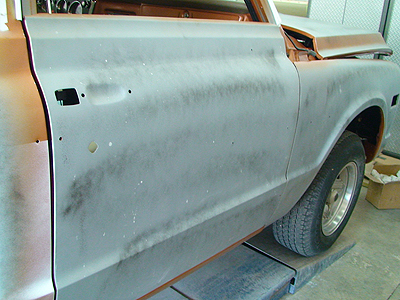 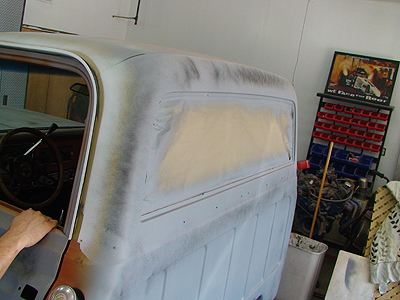
__________________
project: "my happy mess" |
|
|
|
|
09-04-2013, 10:03 AM
|
#5 | |
|
Still Learning
Join Date: Jul 2009
Location: Central Oklahoma
Posts: 10,108
|
Re: Project "My Happy Mess"
Quote:
|
|
|
|
|
|
09-04-2013, 11:28 AM
|
#6 |
|
Registered User
Join Date: Jul 2011
Location: Des Moines, Iowa
Posts: 3,016
|
Re: Project "My Happy Mess"
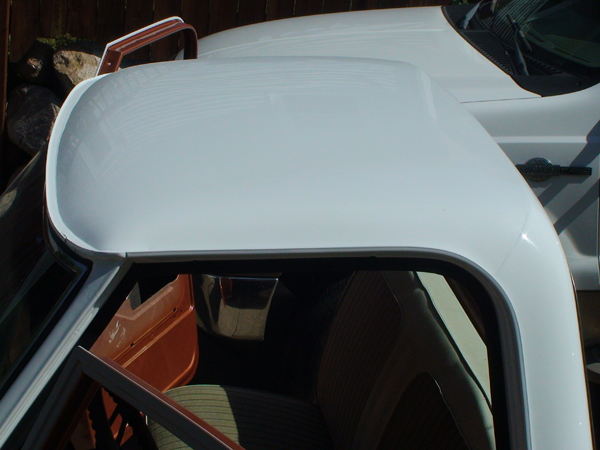
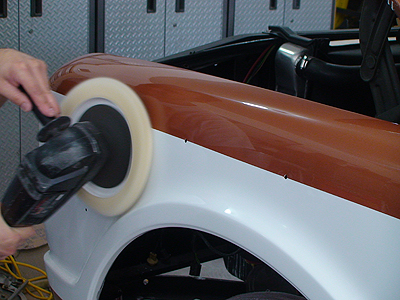
Thanks Mike
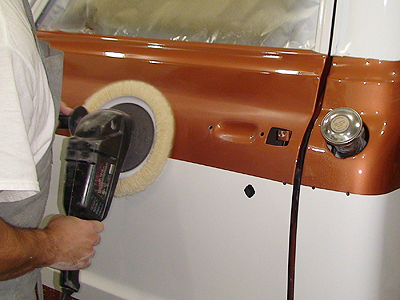
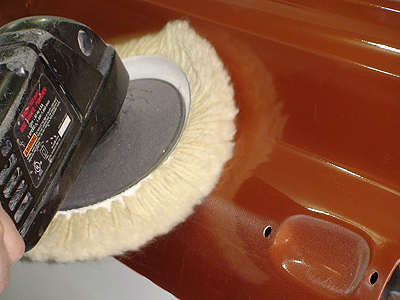
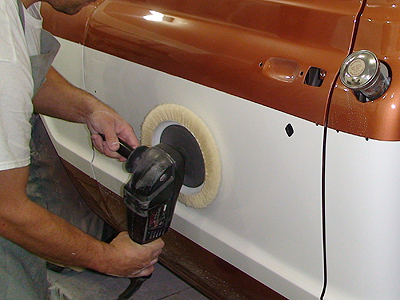
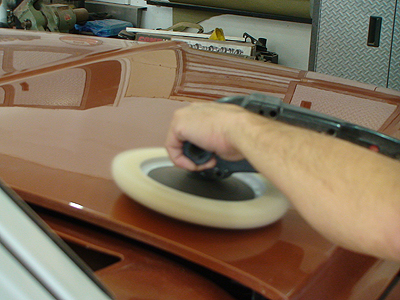
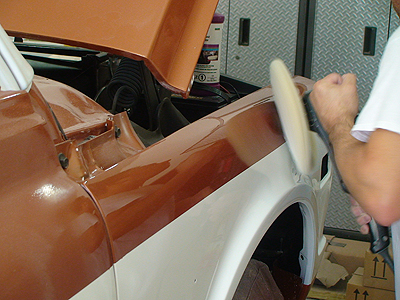
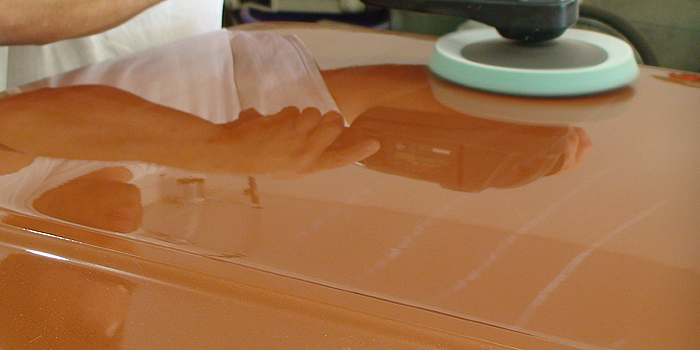
My younger brother is an x-body man who is set in his ways but likes to see what others think for some stuff. Grab your cup of coffee and check out some pics Taped up and wet sanded. 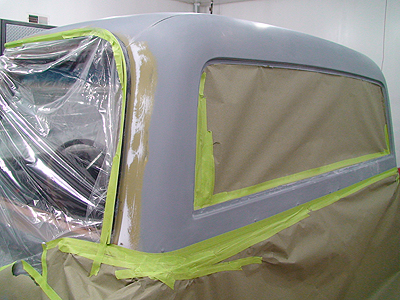 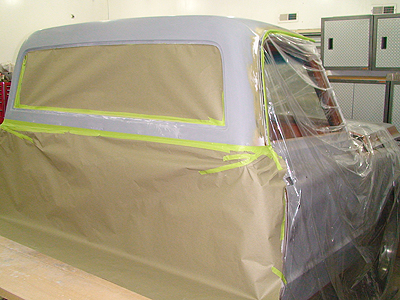 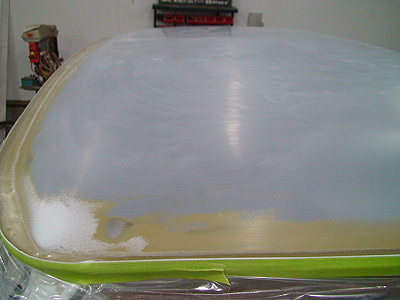 Grease remover after finished sanding and right before primer/paint. 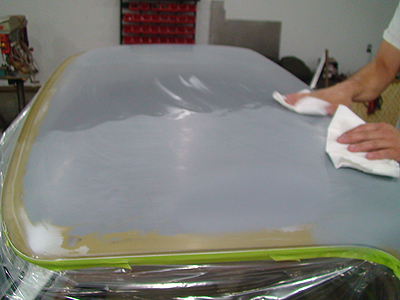 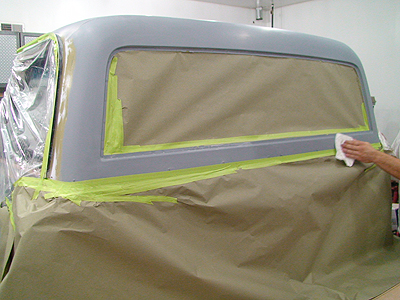 Non-sanding primer 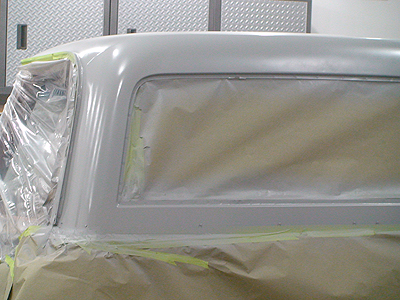 Some white 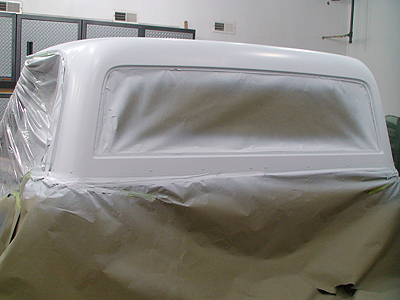 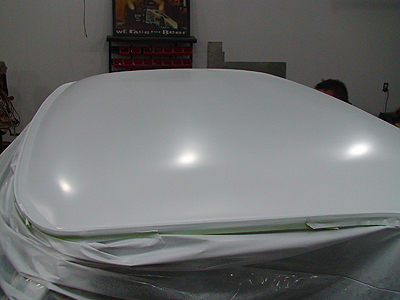 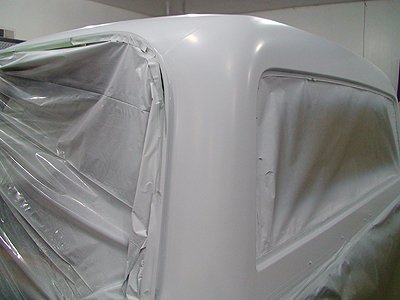 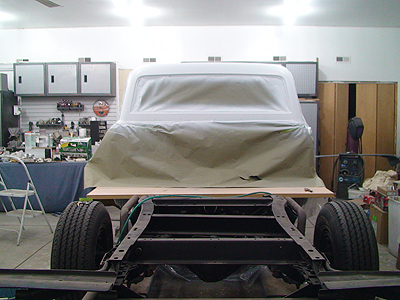 No A/C running (throughout any painting process) at this stage of the game. Here's where the temps climbed. 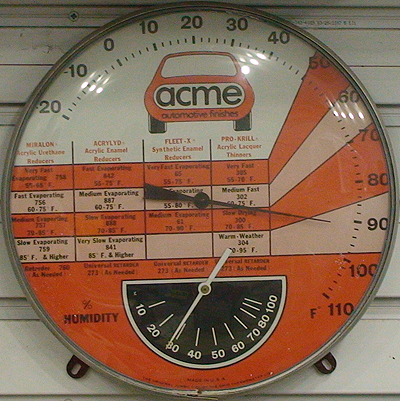 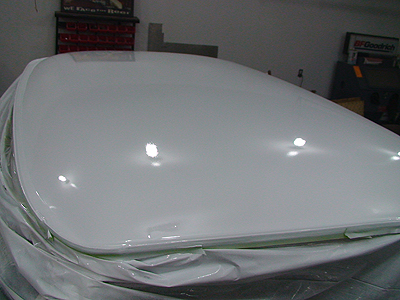 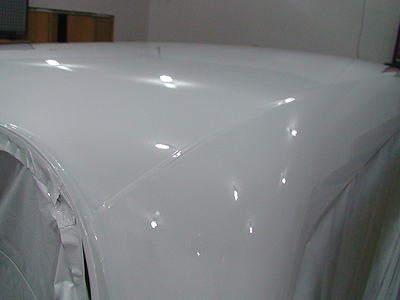  Yesterday. Sanding clear. 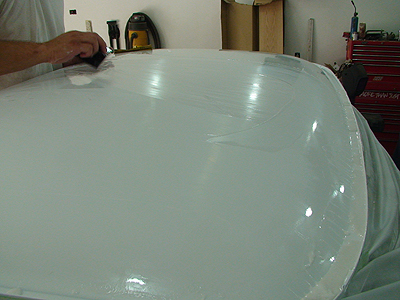 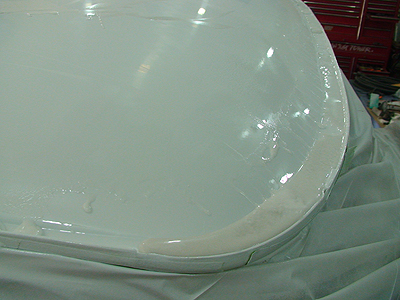 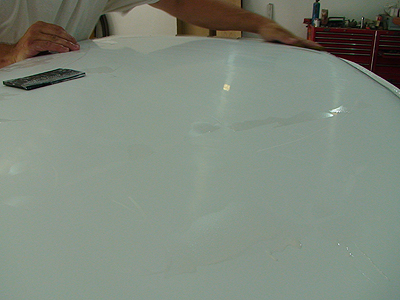 On to buffing 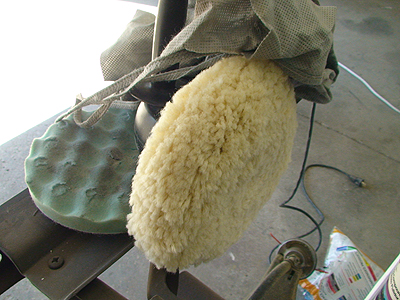   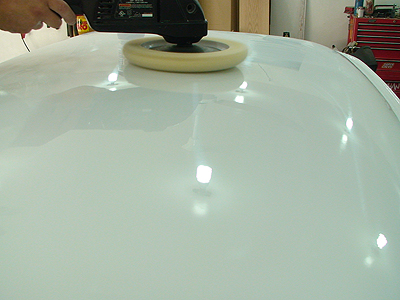 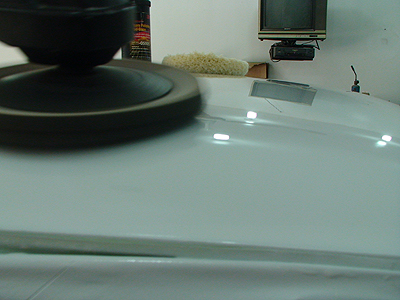 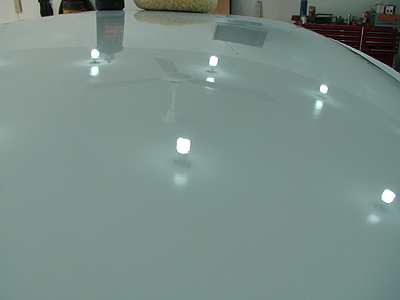 a good feeling the top is out of the way, finished! a good feeling the top is out of the way, finished!
__________________
project: "my happy mess" Last edited by litew8; 09-04-2013 at 11:34 AM. |
|
|
|
|
09-08-2013, 03:01 PM
|
#7 |
|
Registered User
Join Date: Jul 2011
Location: Des Moines, Iowa
Posts: 3,016
|
Re: Project "My Happy Mess"
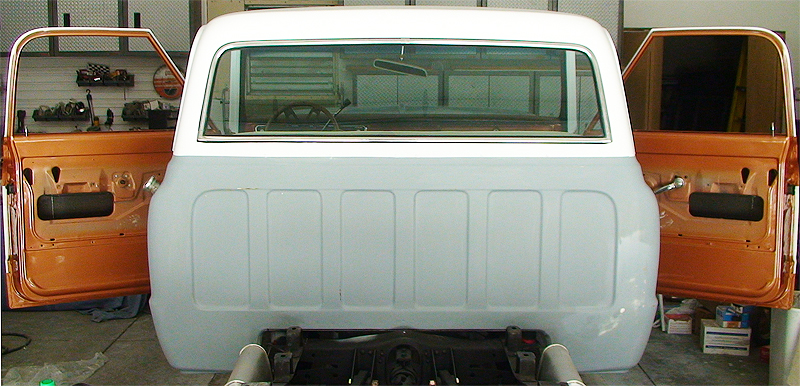
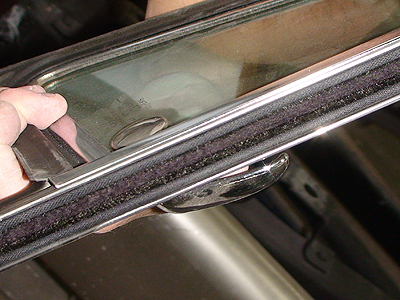
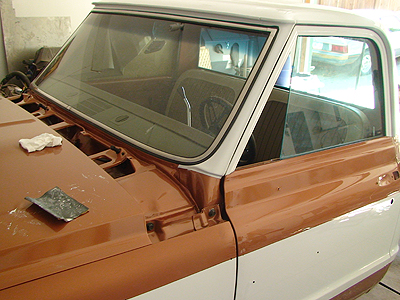
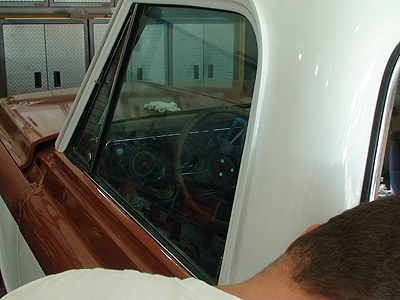
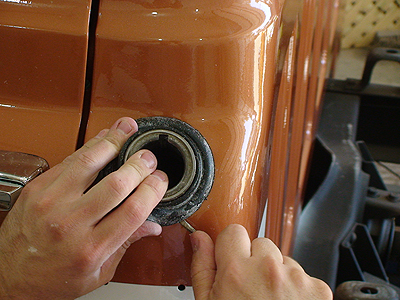
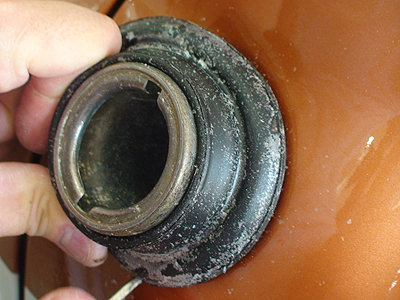
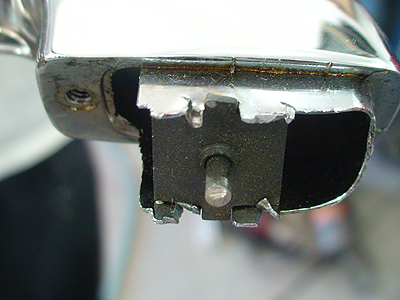
Pictures as promised. Here's what the deluxe chrome rear window trim is doing.
I think the seal shrunk while off of the truck, and now, well 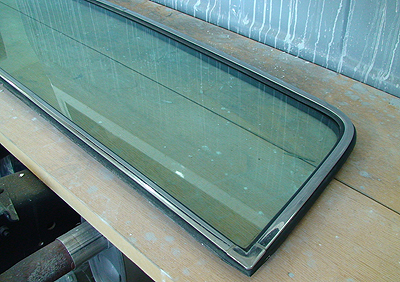 Both sides (top corners) look like this: 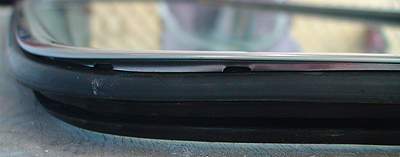
__________________
project: "my happy mess" |
|
|
|
|
09-10-2013, 02:47 PM
|
#8 |
|
Registered User
Join Date: Jul 2011
Location: Des Moines, Iowa
Posts: 3,016
|
Re: Project "My Happy Mess"
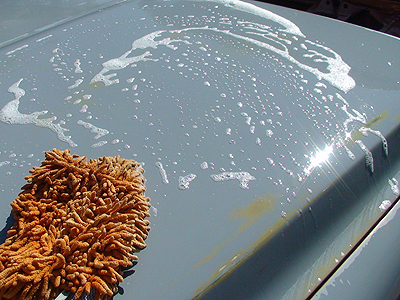
Thanks rou. I wouldn't trust it unless it's in the manuf. packaging. I'll know soon if the one I ordered is or not.
More pics Wet sanding with 400. We've spent only 4hrs on sanding so far.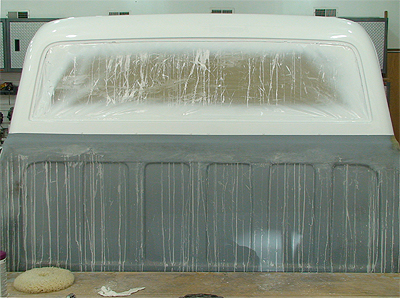    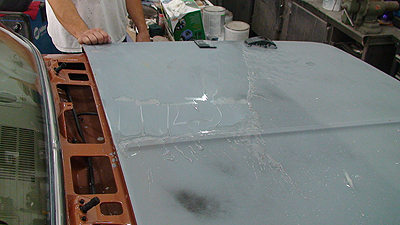 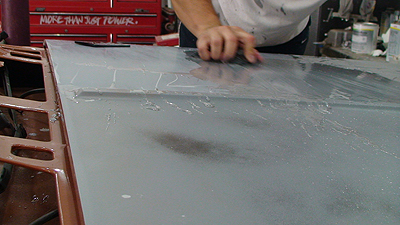  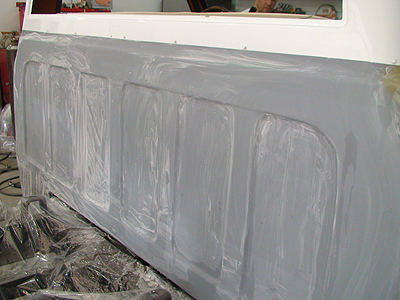 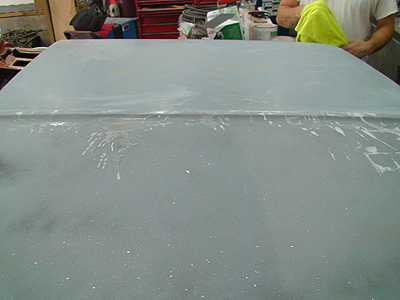 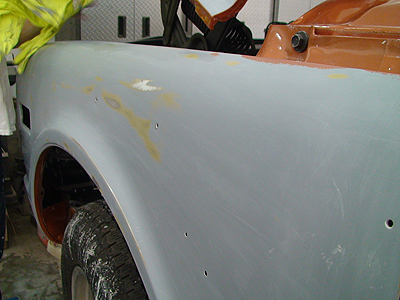 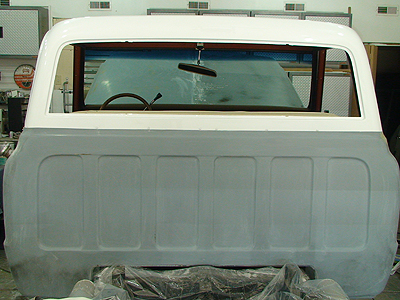  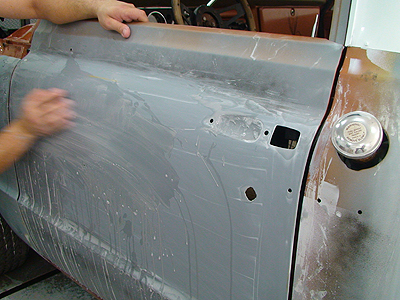 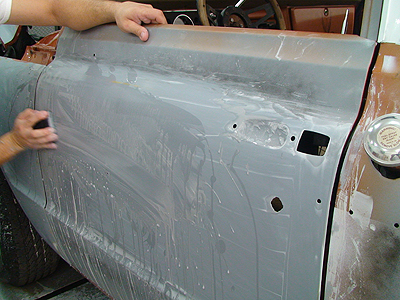 Will need a thorough (whole cab) wash after we've finished sanding. 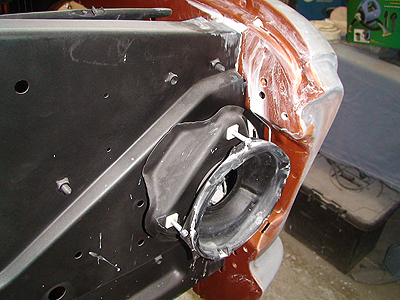 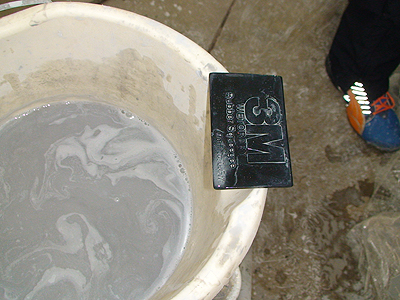  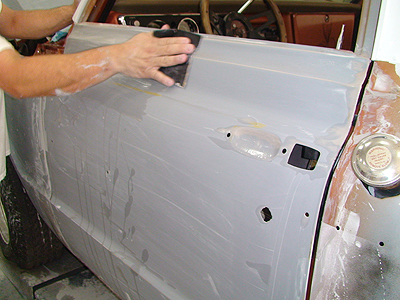 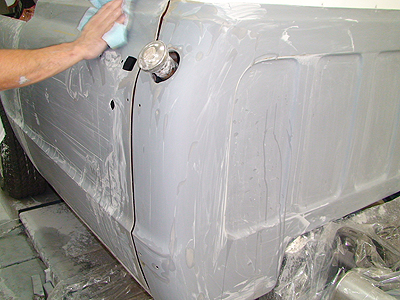 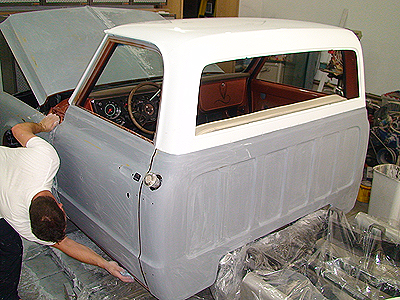 1/2 the hood, pass. fender & door and pass. cab corner left to sand this week. We're planning on shooting more paint next Tues. or Wed.
__________________
project: "my happy mess" |
|
|
|
|
09-10-2013, 11:26 PM
|
#9 |
|
Senior Member
 Join Date: Mar 2011
Location: West Plains, Missouri
Posts: 7,555
|
Re: Project "My Happy Mess"
Lots of work, been there done that
, your doing a great job...Jim
__________________
my build thread: http://67-72chevytrucks.com/vboard/s...d.php?t=459839 Jimbo's long bed step build:http://67-72chevytrucks.com/vboard/s...t=464626<br /> |
|
|
|
|
09-11-2013, 02:06 PM
|
#10 |
|
Registered User
Join Date: Jul 2011
Location: Des Moines, Iowa
Posts: 3,016
|
Re: Project "My Happy Mess"
Thanks Jim, I know you are with us and not at us. Got the rear window seal today. It says Precision on a white label. Came in a clear bag, not the green type the windshield seal came in. We'll see... Got more sanding done today. We only spend a couple hours a day working on it, none over the weekends.
__________________
project: "my happy mess" |
|
|
|
|
09-12-2013, 03:32 PM
|
#11 |
|
Registered User
Join Date: Jul 2011
Location: Des Moines, Iowa
Posts: 3,016
|
Re: Project "My Happy Mess"
Almost finished with sanding. Just got the pass. cab corner left for tomorrow.
The rear window seal arrived yesterday. It'll be installed tomorrow morning. 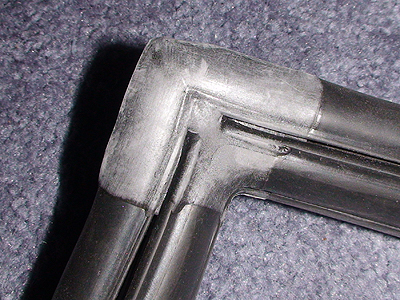 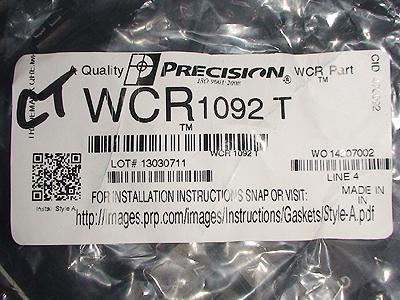    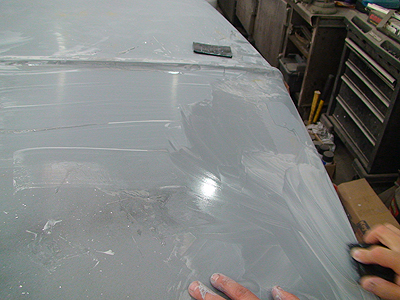 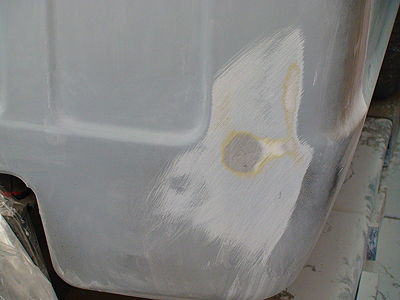 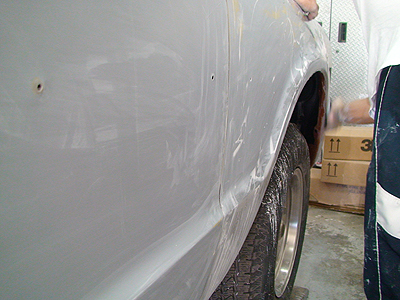 
__________________
project: "my happy mess" |
|
|
|
|
09-14-2013, 11:10 PM
|
#12 |
|
Registered User
Join Date: Jul 2011
Location: Des Moines, Iowa
Posts: 3,016
|
Re: Project "My Happy Mess"
Shooting in Marshalltown, IA what's up with that Ryan
__________________
project: "my happy mess" |
|
|
|
|
09-14-2013, 11:12 PM
|
#13 |
|
Registered User
Join Date: Jul 2011
Location: Des Moines, Iowa
Posts: 3,016
|
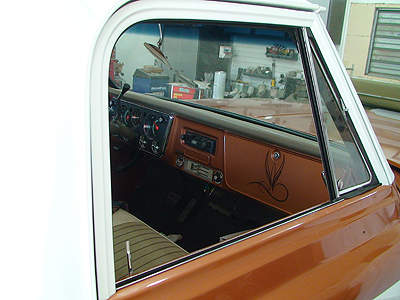
Re: Project "My Happy Mess"
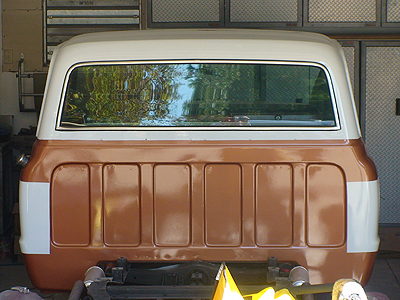
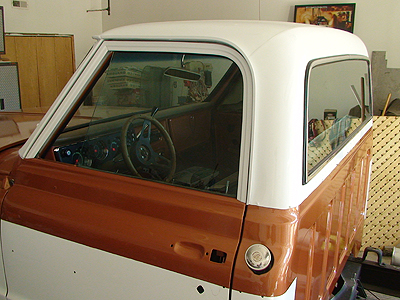
Got the rear window installed. The Precision rear seal worked ok. Not too excited about the bottom corners, but they may work out after a bit. YTBD Ready for a wash, possibly Sunday. On track for paint on Tuesday. Pics up in a few.
__________________
project: "my happy mess" |
|
|
|
|
09-15-2013, 12:35 AM
|
#14 |
|
Registered User
Join Date: Jul 2011
Location: Des Moines, Iowa
Posts: 3,016
|
Re: Project "My Happy Mess"
 Spot the dragonfly. 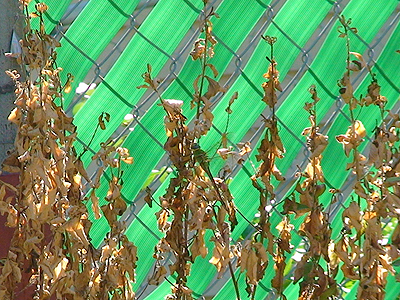 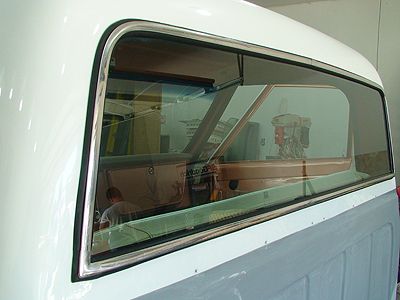 Best we got. Good enough. 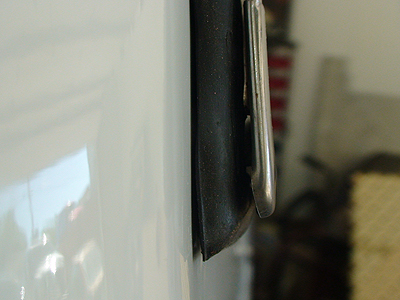 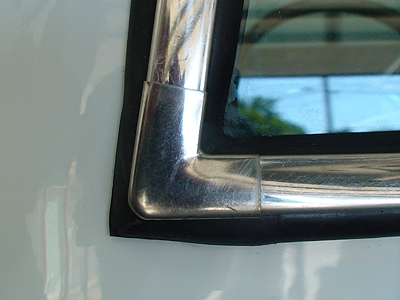  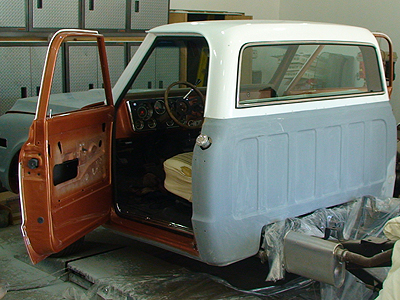 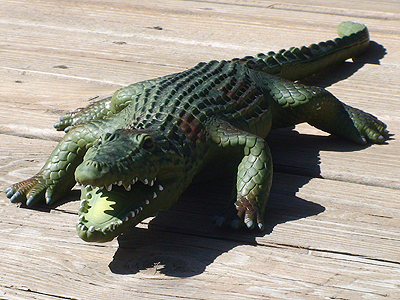 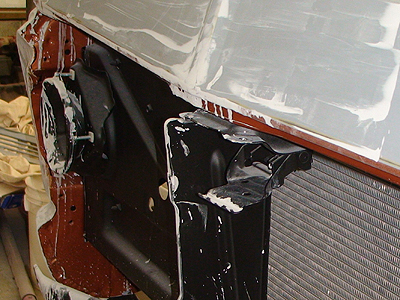 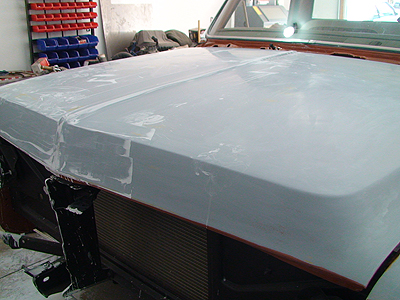 Bodywork, not an exact science 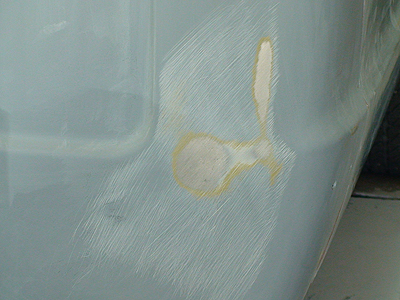 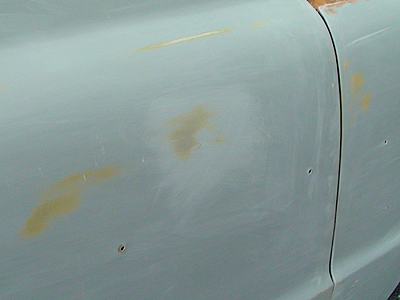   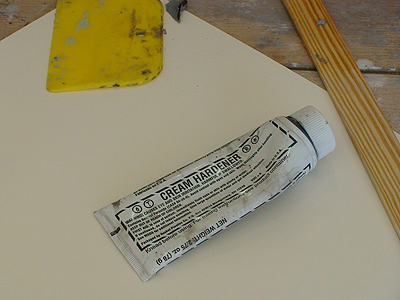 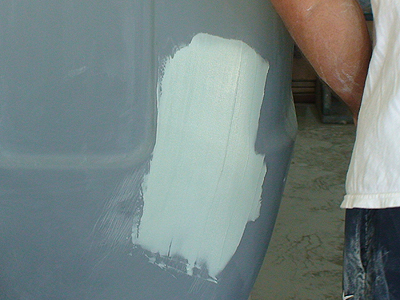 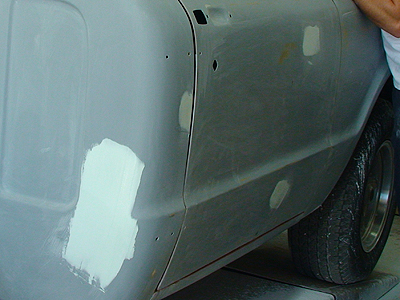 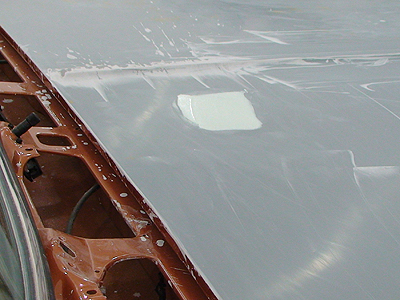 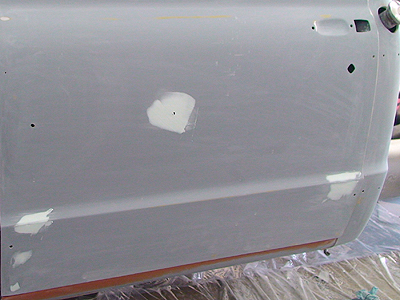    
__________________
project: "my happy mess" |
|
|
|
|
09-19-2013, 02:11 AM
|
#15 |
|
Registered User
Join Date: Jul 2011
Location: Des Moines, Iowa
Posts: 3,016
|
Re: Project "My Happy Mess"
__________________
project: "my happy mess" |
|
|
|
|
09-19-2013, 09:18 AM
|
#16 |
|
I can see the finish line!
Join Date: Apr 2010
Location: York County, Maine
Posts: 88
|
Re: Project "My Happy Mess"
Here are some updated pics on the window install. I went and ordered Precision seals from GMCPaul and chucked the junk I got from Brothers. I can't believe the difference in the quality of material and fit. The rear went in fairly straightforward. I had a similar protrusion on the bottom corners and took the plastic flat stick and bent over the little lip and things settled in nicely.
The windshield was a bit tougher. I had my brother and wife outside pushing up while I started at the top. Once I went down the sides, the top trim popped out. It has been tough getting it back in. The more I push on it, the more little dents I put in. SOOO, I ordered a new windshield trim kit and am going to pull it out and start fresh. Here is what I learned: The bend of metal trim is close, but you need to massage the ends of the top piece and the bend on the bottom pieces so they are really close. I am using the knee anvil this time. If it does not sit right on the bench, it won't sit right on the truck. I absolutely stole your masking scheme on the windows. This may be common, but I saw it on your build and had my guy replicate. Bed is being painted tomorrow and will be on the truck next week. |
|
|
|
|
09-19-2013, 02:14 PM
|
#17 |
|
Registered User
Join Date: Jul 2011
Location: Des Moines, Iowa
Posts: 3,016
|
Re: Project "My Happy Mess"
__________________
project: "my happy mess" |
|
|
|
|
09-26-2013, 02:42 AM
|
#18 |
|
Registered User
Join Date: Jul 2011
Location: Des Moines, Iowa
Posts: 3,016
|
Re: Project "My Happy Mess"
Homemade
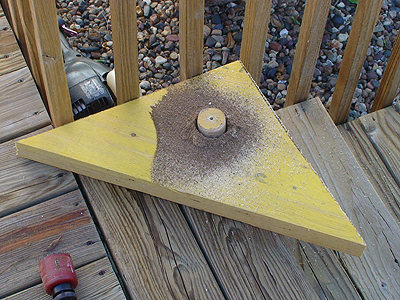 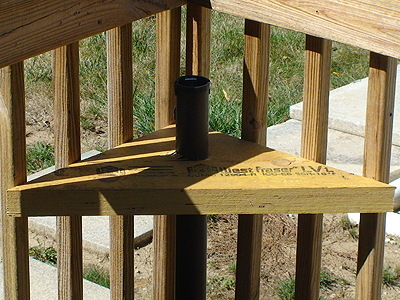 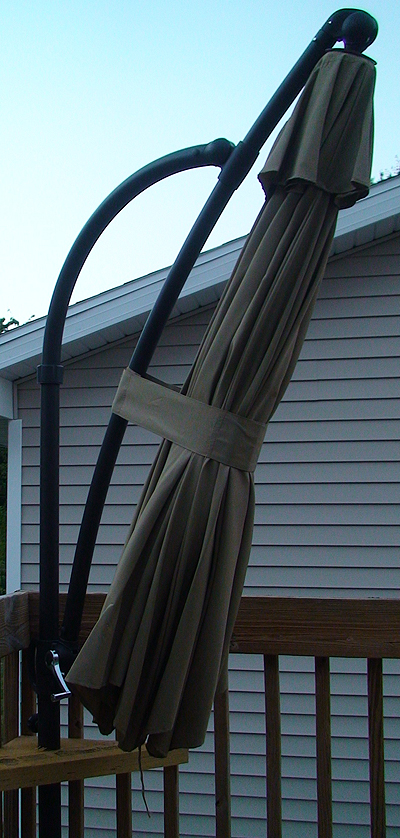 Night vision 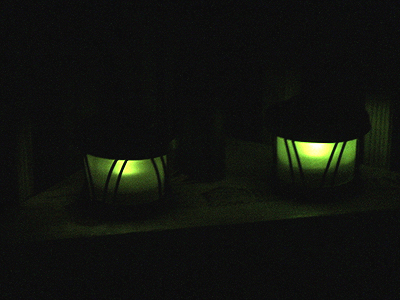 Top/inside corners of windshield weatherstrip (Precision brand) 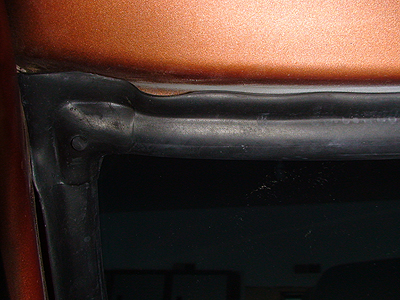 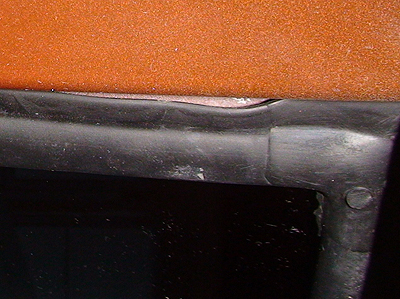 Masking off areas (more w/paper tomorrow)    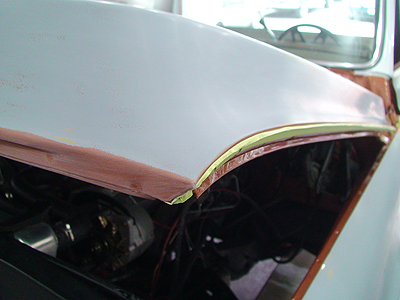 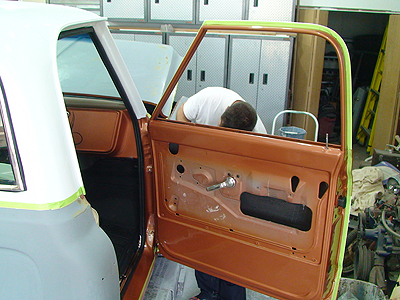 Scuffed some edges with red 3M Scotch-Bright 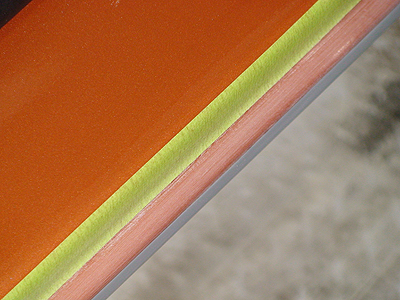 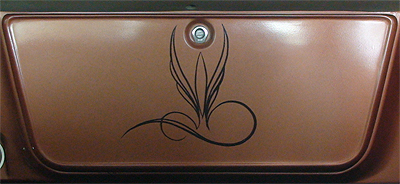  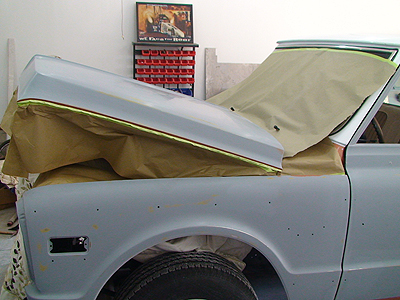 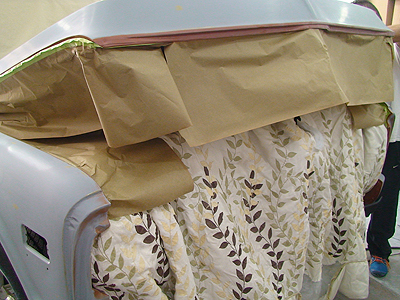 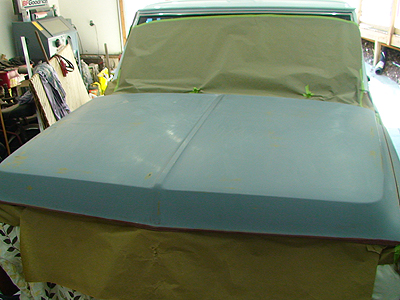
__________________
project: "my happy mess" |
|
|
|
|
10-01-2013, 03:58 PM
|
#19 |
|
Registered User
Join Date: Jul 2011
Location: Des Moines, Iowa
Posts: 3,016
|
Re: Project "My Happy Mess"
Now we're cooking with charcoal!
Starting with finishing up masking, then the stages of primer, paint and clear. 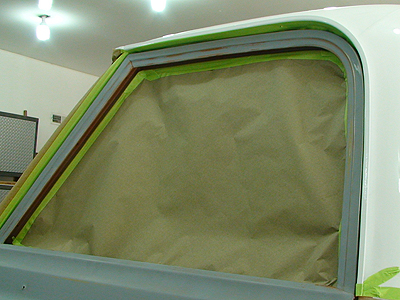 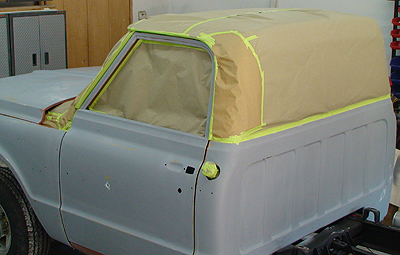 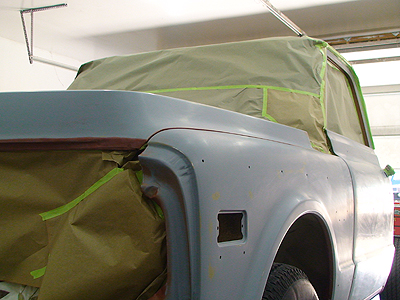 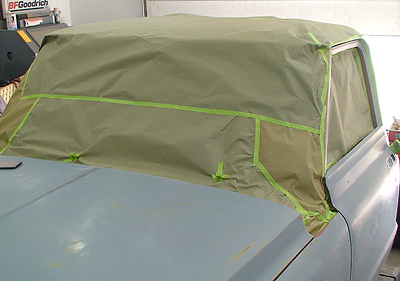 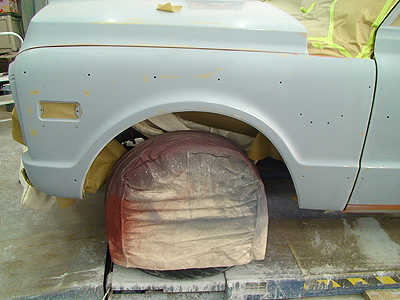   Nice sticker on back window/right. :lo:  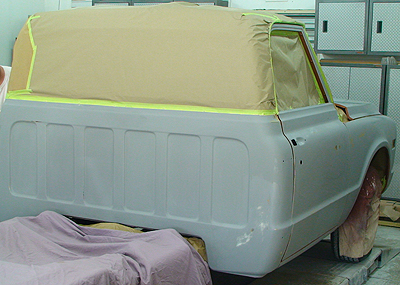     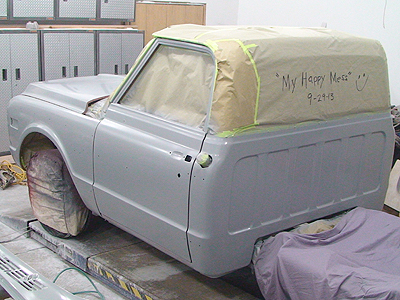 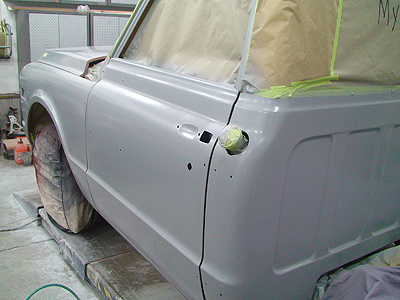 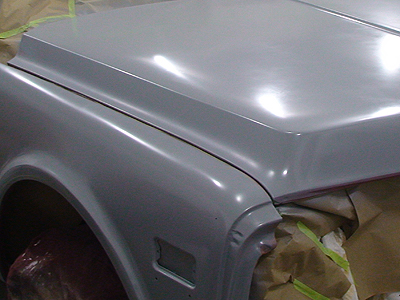 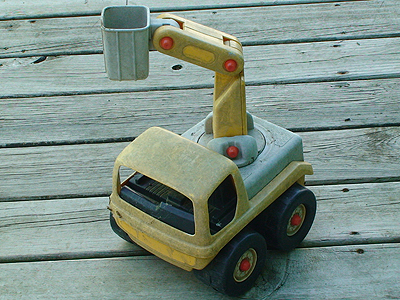 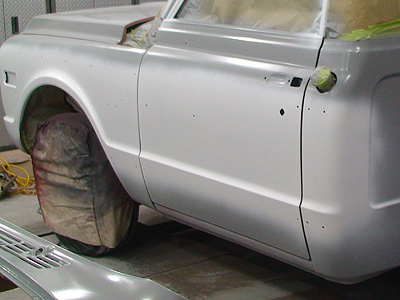  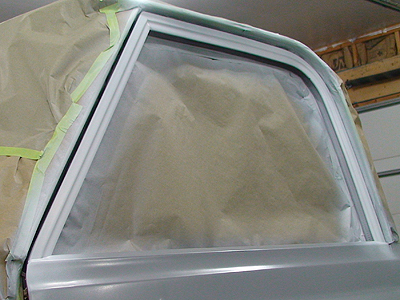 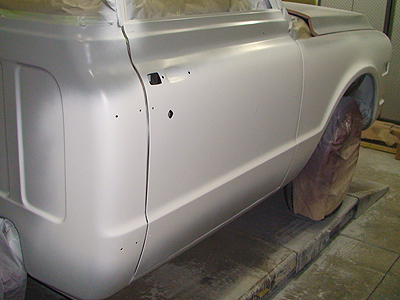 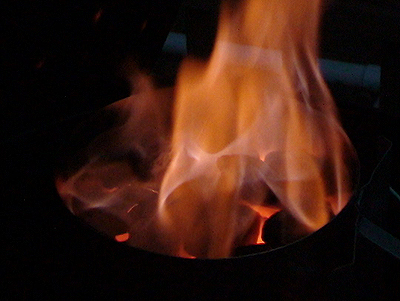 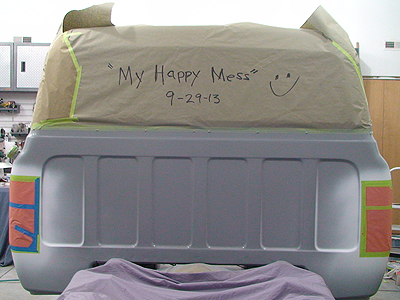  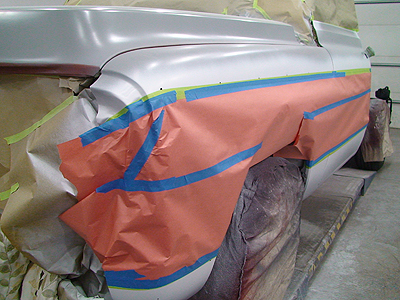 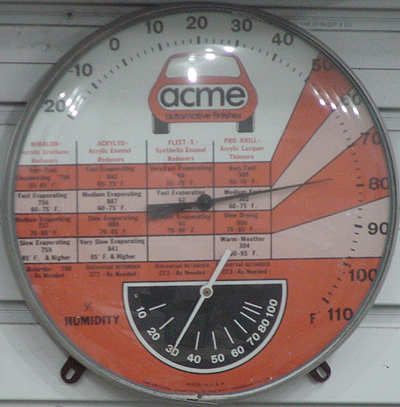 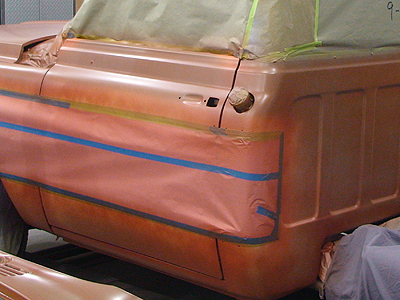 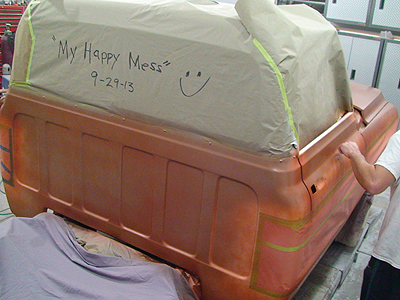 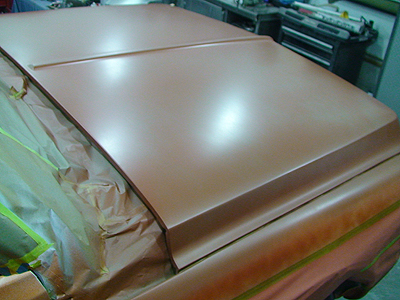 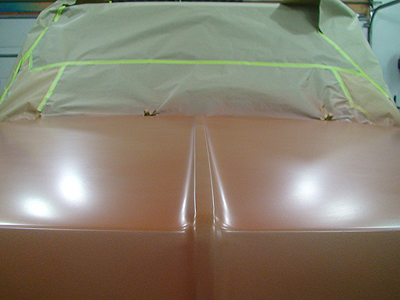 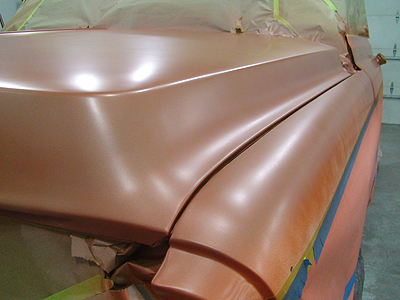 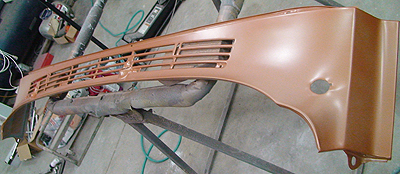 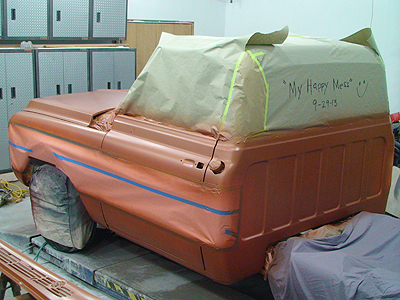 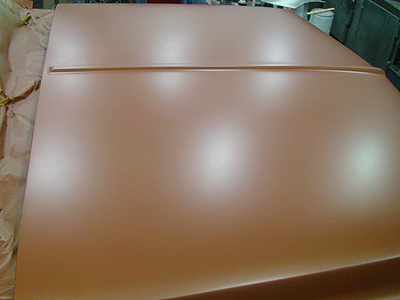 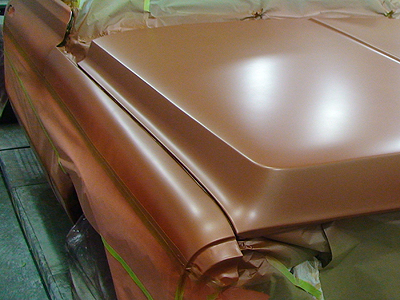 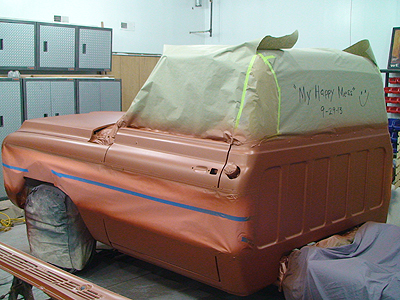 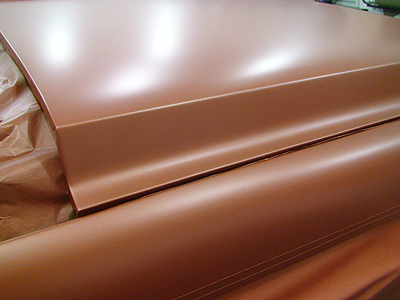 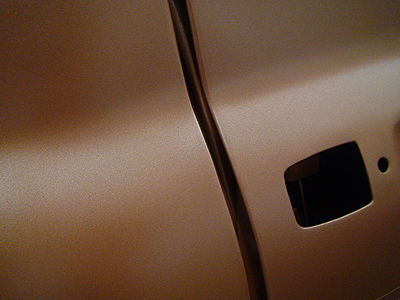 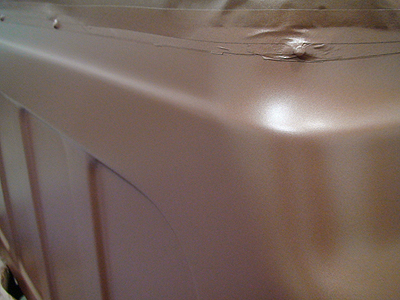 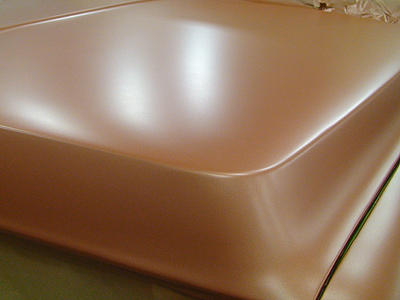 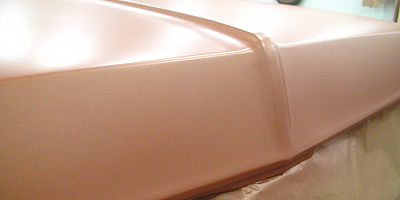  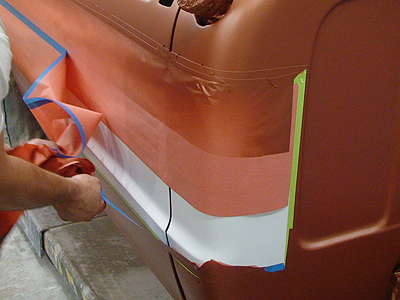 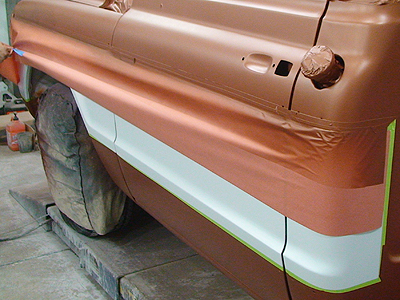 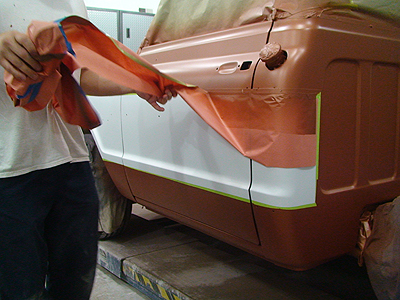 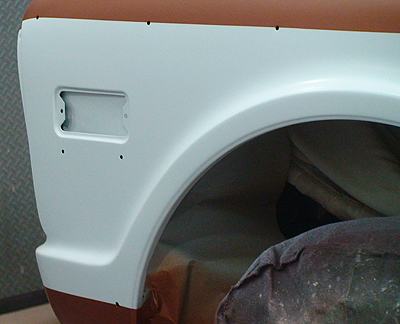 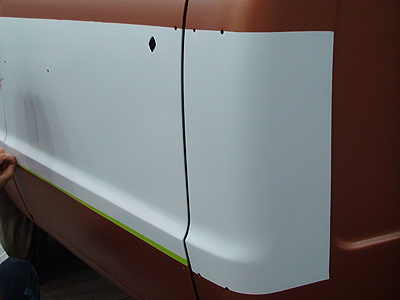 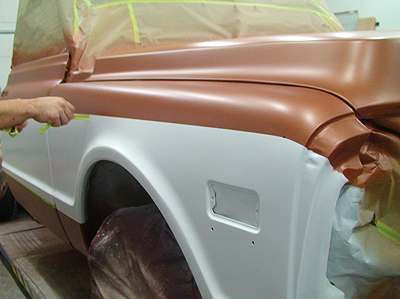 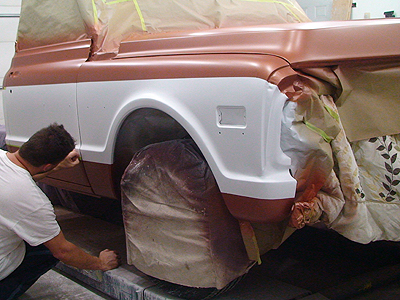 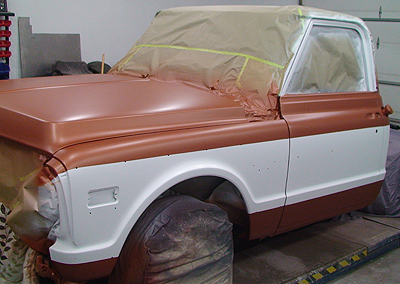  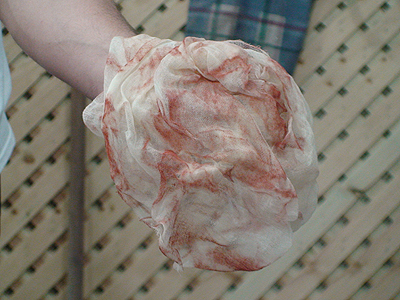 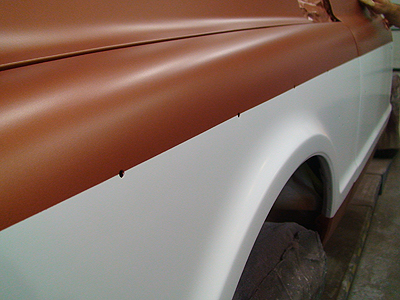 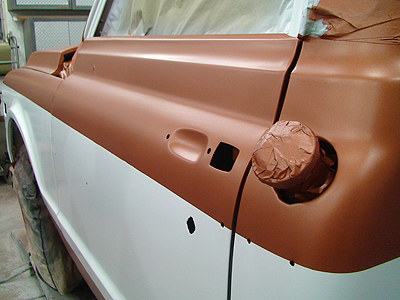 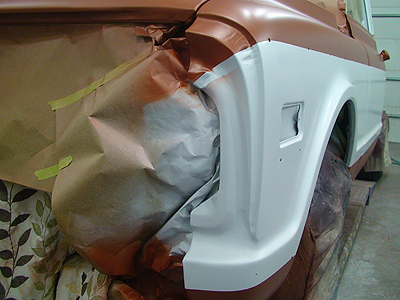 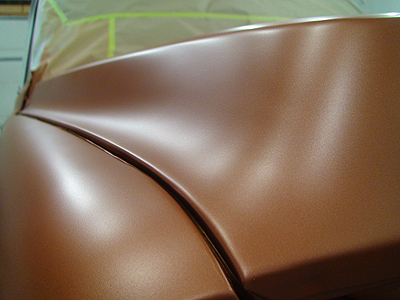 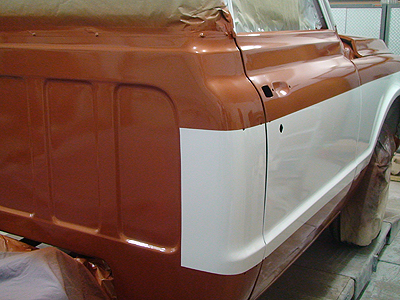 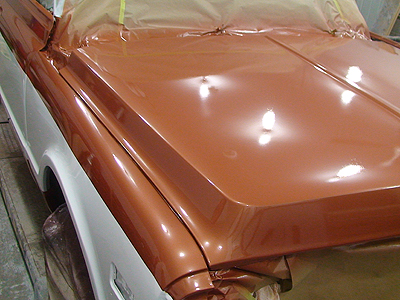 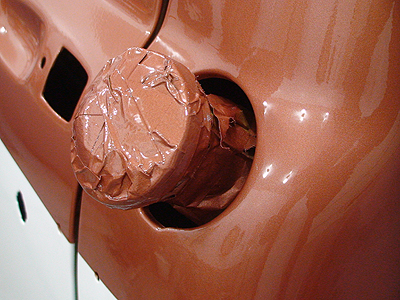 
__________________
project: "my happy mess" |
|
|
|
|
10-10-2013, 07:06 PM
|
#20 |
|
Registered User
Join Date: Jul 2011
Location: Des Moines, Iowa
Posts: 3,016
|
Re: Project "My Happy Mess"
__________________
project: "my happy mess" |
|
|
|
|
10-17-2013, 03:46 PM
|
#21 |
|
Registered User
Join Date: Jul 2011
Location: Des Moines, Iowa
Posts: 3,016
|
Re: Project "My Happy Mess"
__________________
project: "my happy mess" |
|
|
|
|
10-18-2013, 03:59 PM
|
#22 |
|
Registered User
Join Date: Jul 2011
Location: Des Moines, Iowa
Posts: 3,016
|
Re: Project "My Happy Mess"
__________________
project: "my happy mess" |
|
|
|
|
10-21-2013, 04:04 PM
|
#23 |
|
Registered User
Join Date: Jul 2011
Location: Des Moines, Iowa
Posts: 3,016
|
Re: Project "My Happy Mess"
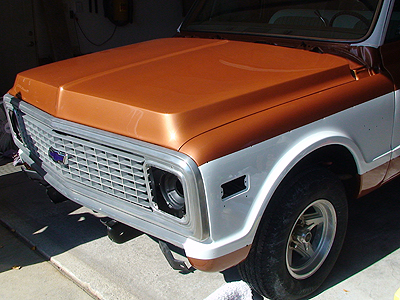
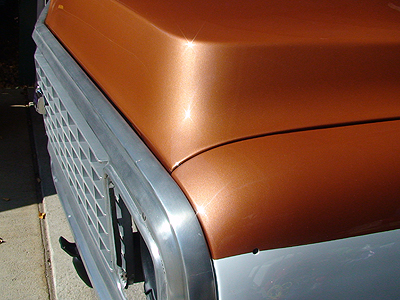
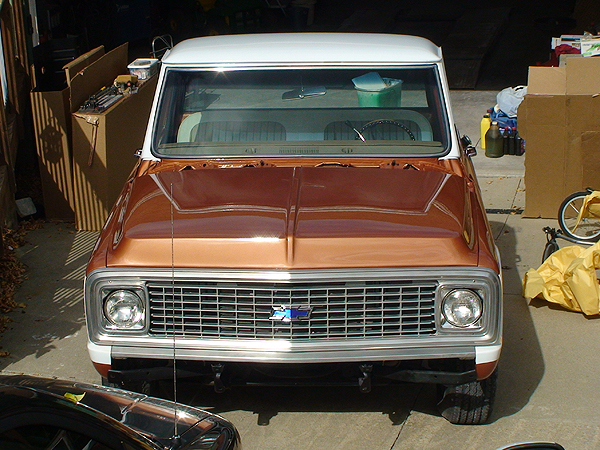
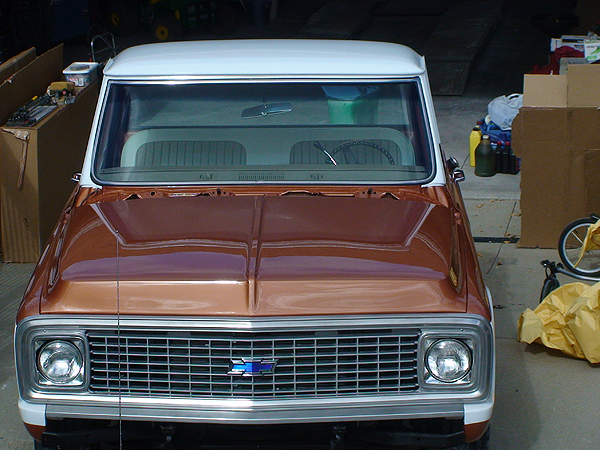
Sun & no sun shots.
__________________
project: "my happy mess" |
|
|
|
|
10-23-2013, 03:10 PM
|
#24 |
|
Registered User
Join Date: Jul 2011
Location: Des Moines, Iowa
Posts: 3,016
|
Re: Project "My Happy Mess"
Bad news. The seat cover is only offered in SM, not FULL.
I haven't measured yet, but I'm almost certain it won't fit the bench seat  No flash   Hood to cowl seal 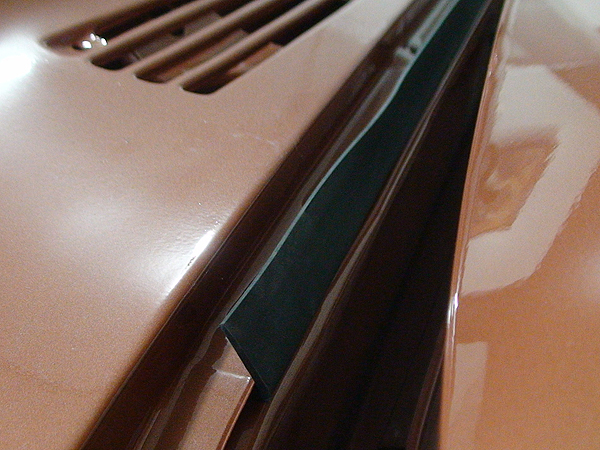  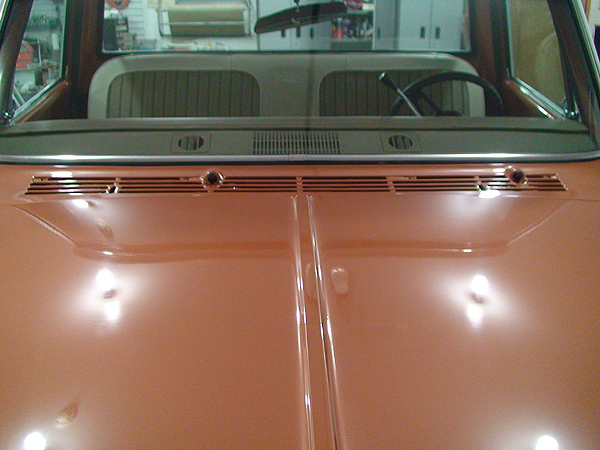
__________________
project: "my happy mess" |
|
|
|
|
10-24-2013, 03:20 PM
|
#25 |
|
Registered User
Join Date: Jul 2011
Location: Des Moines, Iowa
Posts: 3,016
|
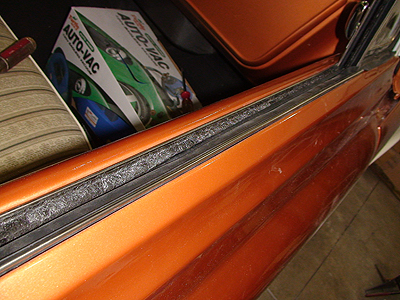
Re: Project "My Happy Mess"
 Up next: 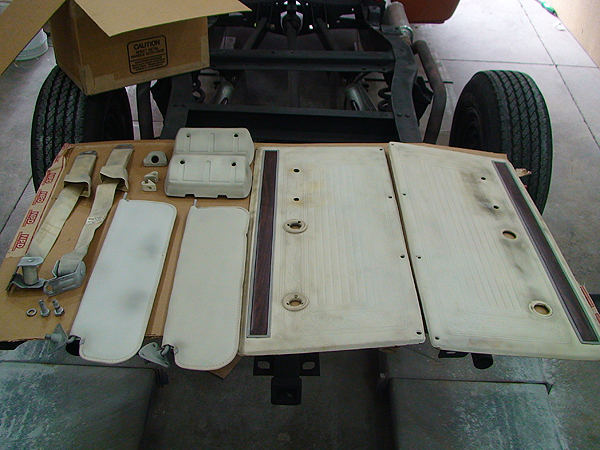 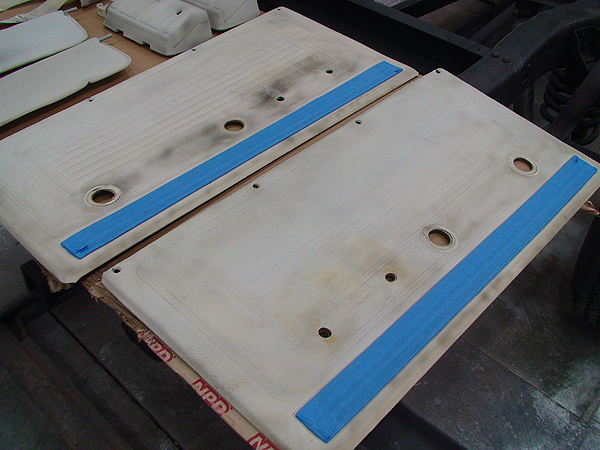 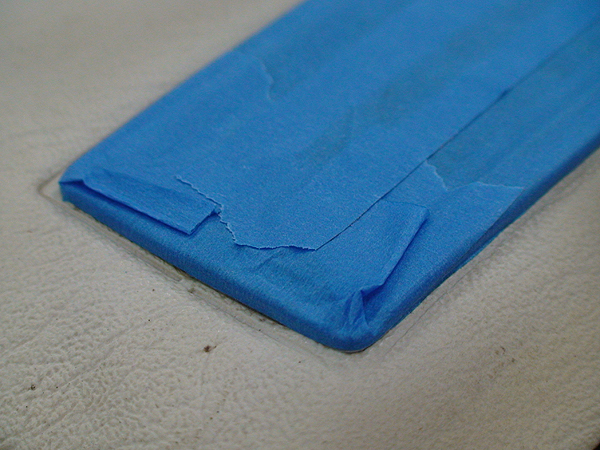 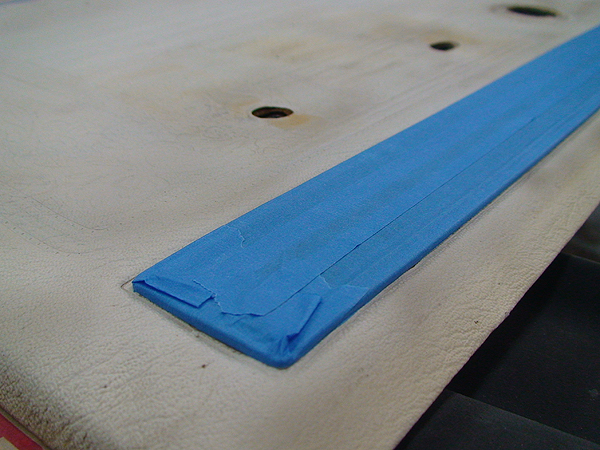 The chrome trim around the wood grain has left the building. It's now just grey plastic. Anyone know where I can buy some thin interior chrome tape to replace with? Or something that would work?   
__________________
project: "my happy mess" |
|
|
|
 |
| Bookmarks |
|
|


 Hybrid Mode
