
|
Register or Log In To remove these advertisements. |
|
|
|
|||||||
 |
|
|
Thread Tools | Display Modes |
 06-28-2016, 09:31 PM
|
#26 | |
|
Registered User
Join Date: Oct 2014
Location: Location:
Posts: 8,153
|
Re: Introduction, nostalgia, and '68 build, oh my
Quote:
. Enjoy your updates and deliberate approach on this truck. I'm all for preserving original paint. That said, IMO it appears dry and sorta neglected. Bet you could get the single stage looking healthy w/ minimal effort. Check out this thread on reviving dry paint for motivation: http://www.autogeekonline.net/forum/...ead-paint.html Don't think yours would be too shiny using the aforementioned method. It wouldn't be nothing like when people spray excessive clear coat on faux patina. . .
__________________
... Click here to see thousands of 'Abandoned & Neglected' Chevy trucks rotting away... ... |
|

|

|
|
06-28-2016, 10:11 PM
|
#27 |
|
Registered User
Join Date: Sep 2009
Location: ottawa,canada
Posts: 4,550
|
Re: Introduction, nostalgia, and '68 build, oh my
I'm liking your plans for this truck, looking great!
__________________
my build threads '86 C10 http://67-72chevytrucks.com/vboard/s...d.php?t=415628 '67 C10 http://67-72chevytrucks.com/vboard/s...d.php?t=635078 '63 GMC http://67-72chevytrucks.com/vboard/s...d.php?t=674682 |
|
|
|
|
06-28-2016, 11:42 PM
|
#28 |
|
Registered User
 Join Date: Oct 2008
Location: los angeles, ca
Posts: 926
|
Re: Introduction, nostalgia, and '68 build, oh my
subbed
|
|
|
|
|
06-29-2016, 03:45 AM
|
#29 |
|
Registered User
Join Date: Sep 2005
Location: S. Georgia
Posts: 254
|
Re: Introduction, nostalgia, and '68 build, oh my
I'm just getting caught up with this thread. Awesome story behind your love of these trucks. You made a incredibly good buy (wish I had it) love everything about it. Probably the only thing I would do is clean up under the hood to match the exterior. Your a very blessed young man with a beautiful family. Can't wait to see what the future holds for your build.
|
|
|
|
|
06-29-2016, 08:14 AM
|
#30 | |
|
Senior Member
Join Date: Jun 2014
Location: Mocksville, NC
Posts: 1,723
|
Re: Introduction, nostalgia, and '68 build, oh my
Quote:
Thank you everyone else for the nice comments! |
|
|
|
|
|
08-20-2016, 09:59 PM
|
#31 |
|
Senior Member
Join Date: Jun 2014
Location: Mocksville, NC
Posts: 1,723
|
Re: Introduction, nostalgia, and '68 build, oh my
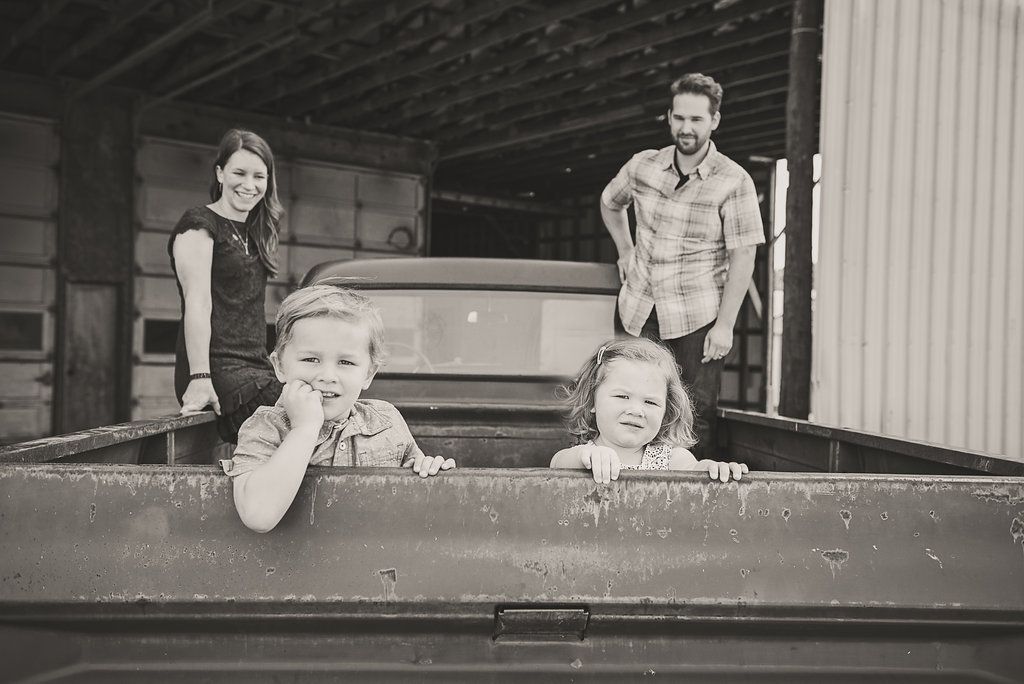
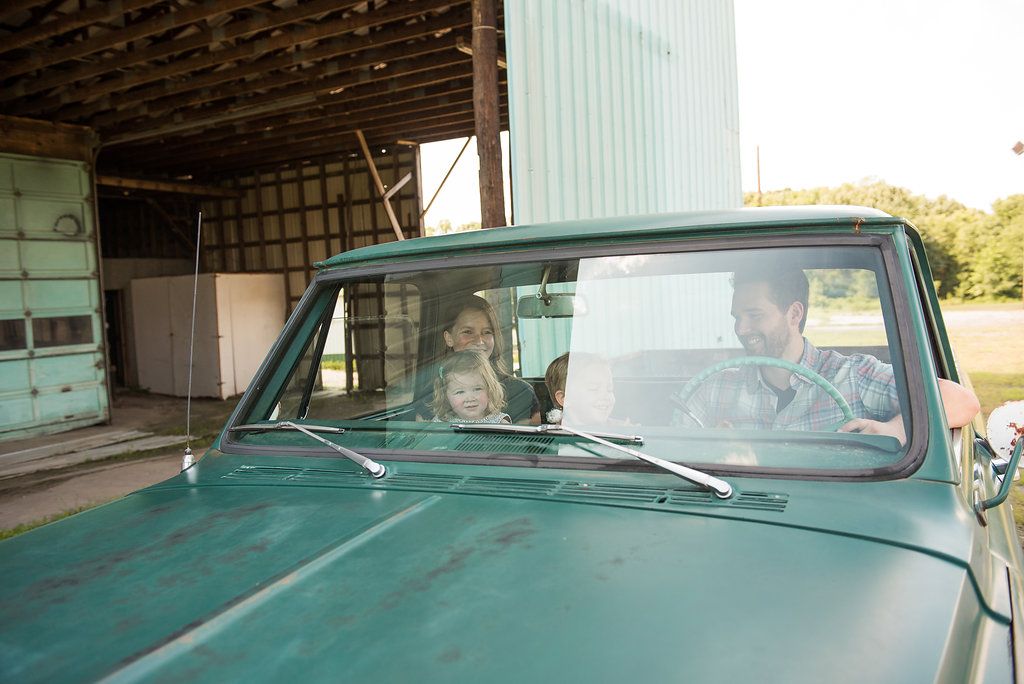
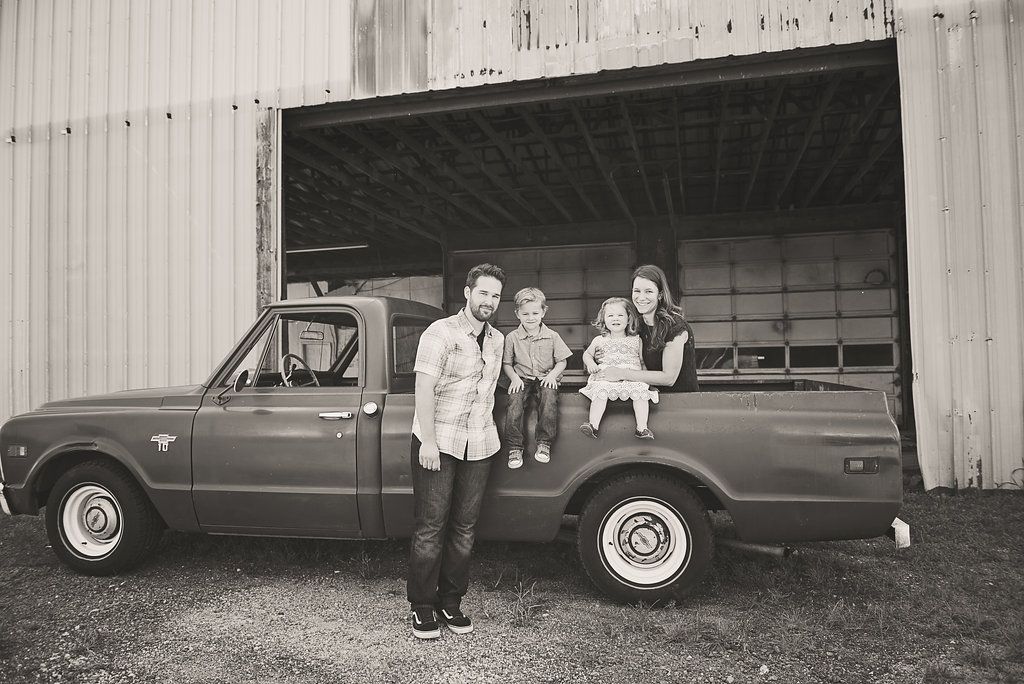
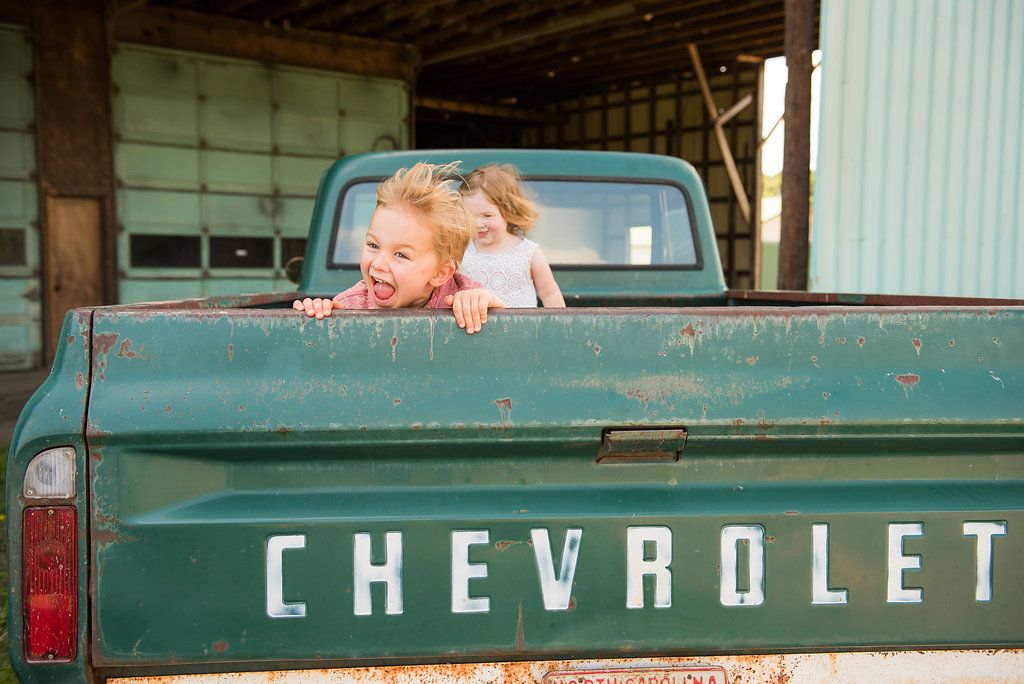
I have not been able to work on the truck lately for several reasons, however, I do have an update to share related to my nostalgic theme. My family and I recently had professional photos taken and we ended up using the truck as a prop in a few of them! I thought some of the photos would fit right in here and help keep the thread alive while I wait out this summer heat before I start tearing into the truck again. Enjoy!
__________________
Builds: Green Gus the 68 C10 ; Sullii the 72 1500 - Instagram: @dr.hewitt - C10 Concept/Development Photos: Master Thread |
|
|
|
|
08-21-2016, 11:23 AM
|
#32 |
|
Registered User
Join Date: Oct 2009
Location: canton ga
Posts: 12,729
|
Re: Introduction, nostalgia, and '68 build, oh my
Great pics ,cute kids too.
|
|
|
|
|
08-21-2016, 01:53 PM
|
#33 |
|
Senior Member
Join Date: Jul 2012
Location: Oblong, Illinois
Posts: 7,017
|
Re: Introduction, nostalgia, and '68 build, oh my
Great pictures, adorable kids, solid upgrade plans and I will be tagging along!
Curious, what do you do in the nanotechnology field? |
|
|
|
|
08-21-2016, 08:40 PM
|
#34 | |
|
Senior Member
Join Date: Jun 2014
Location: Mocksville, NC
Posts: 1,723
|
Re: Introduction, nostalgia, and '68 build, oh my
Quote:
I am a research scientist/lab manager at the Wake Forest University Nanotechnology Center. Our main focus is on energy scavenging technologies like thermoelectrics, piezoelectrics, pyroelectrics, and solar. We basically work on modifying materials at the atomic level to improve overall energy conversion efficiency. We are also equipped with quite a few high resolution microscopes that let us image these materials on the atomic scale. As lab manager, I am in charge of keeping the microscopes running and repairing them when they go down (which is quite often!).
__________________
Builds: Green Gus the 68 C10 ; Sullii the 72 1500 - Instagram: @dr.hewitt - C10 Concept/Development Photos: Master Thread |
|
|
|
|
|
08-23-2016, 12:53 PM
|
#35 |
|
Registered User
Join Date: Apr 2003
Location: Indep, MO
Posts: 5,893
|
Re: Introduction, nostalgia, and '68 build, oh my
Dude, you should get off this site RIGHT NOW! We'll slow you down like you were eatin' paint chips! Cute kids, the boy looks like a pistol!
__________________
Boppa's Old Yeller Truck Build, Old Yeller's New Heart! Project Buzz Bomb Flyin' Low! |
|
|
|
|
08-23-2016, 01:54 PM
|
#36 | |
|
Senior Member
Join Date: Jun 2014
Location: Mocksville, NC
Posts: 1,723
|
Re: Introduction, nostalgia, and '68 build, oh my
Quote:
__________________
Builds: Green Gus the 68 C10 ; Sullii the 72 1500 - Instagram: @dr.hewitt - C10 Concept/Development Photos: Master Thread |
|
|
|
|
|
08-23-2016, 03:20 PM
|
#37 |
|
Registered User
Join Date: Feb 2010
Location: Dodge city Ks
Posts: 620
|
Re: Introduction, nostalgia, and '68 build, oh my
subscribed
__________________
My Build Thread Here http://67-72chevytrucks.com/vboard/s...d.php?t=457417 |
|
|
|
|
08-23-2016, 04:43 PM
|
#38 |
|
Registered User
Join Date: Sep 2005
Location: S. Georgia
Posts: 254
|
Re: Introduction, nostalgia, and '68 build, oh my
Absolutely beautiful pics of the family! Thank you for sharing.
|
|
|
|
|
08-23-2016, 05:54 PM
|
#39 | |
|
Senior Member
Join Date: Jul 2012
Location: Oblong, Illinois
Posts: 7,017
|
Re: Introduction, nostalgia, and '68 build, oh my
Quote:
Enjoy the build! |
|
|
|
|
|
08-24-2016, 01:12 AM
|
#40 |
|
Registered User
Join Date: Apr 2014
Location: Azle,Texas
Posts: 2,249
|
Re: Introduction, nostalgia, and '68 build, oh my
Love it love it love it! i want mine to look the same but im leaning toward a patina'd blue.
|
|
|
|
|
08-31-2016, 01:44 PM
|
#41 |
|
Registered User
Join Date: Aug 2013
Location: Calgary, Alberta
Posts: 674
|
Re: Introduction, nostalgia, and '68 build, oh my
Beautiful family. Great planning for the truck. Sub'ed.
__________________
1972 Cheyenne Super SWB PS, PB, Tach, A/C, Tilt. Drivetrain: Built 402BB, TCI Streetfighter 700R4, 2,500 stall, Eaton posi, 3.73. Suspension/Chassis: ECE 4.5/6.5 drop, CPP nitrogen shocks, CPP front and rear sway bar, CPP cross members. Exhaust: 3" exhaust with x-pipe, Spintech 3000 mufflers, Hooker ceramic coated headers. Best 1/4 mile time: TBD. |
|
|
|
|
09-05-2016, 03:56 PM
|
#42 |
|
Registered User
Join Date: Feb 2012
Location: Lynd, Minnesota
Posts: 199
|
Re: Introduction, nostalgia, and '68 build, oh my
Looking forward to seeing more!
__________________
Semi professional heavy equipment operator Amateur mechanic |
|
|
|
|
09-26-2016, 12:41 PM
|
#43 |
|
Senior Member
Join Date: Jun 2014
Location: Mocksville, NC
Posts: 1,723
|
Re: Introduction, nostalgia, and '68 build, oh my
During the summer months I put the truck to work doing jobs around the house, but I finally have a window of opportunity to get the short bed conversion done. I am in the process of doing that work right now, but will withhold updates on that until I am finished and can include the entire process and results in one post.
In the meantime, however, I do have one small update to share. The brakes were in serious need of refreshing, made especially evident when I had to lean on the brakes a bit more than normal and ended up skidding about 10 feet into an intersection where the light had just turned red. After this eye opening experience, I drove the truck straight home, parked it, and started gathering what I needed for a brake job. Ultimately, I stuck with the 4 wheel power drums for now and replaced wheel cylinders, drums, shoes, springs, and all brake lines. While the wheels were off, I figured I would try out a new wheel color as well. This is left over anthracite grey from when I thought I was going to repaint my Beetle. It was a standard brake job so I won't bore you with details or pictures, except for one I took during the successful test drive. 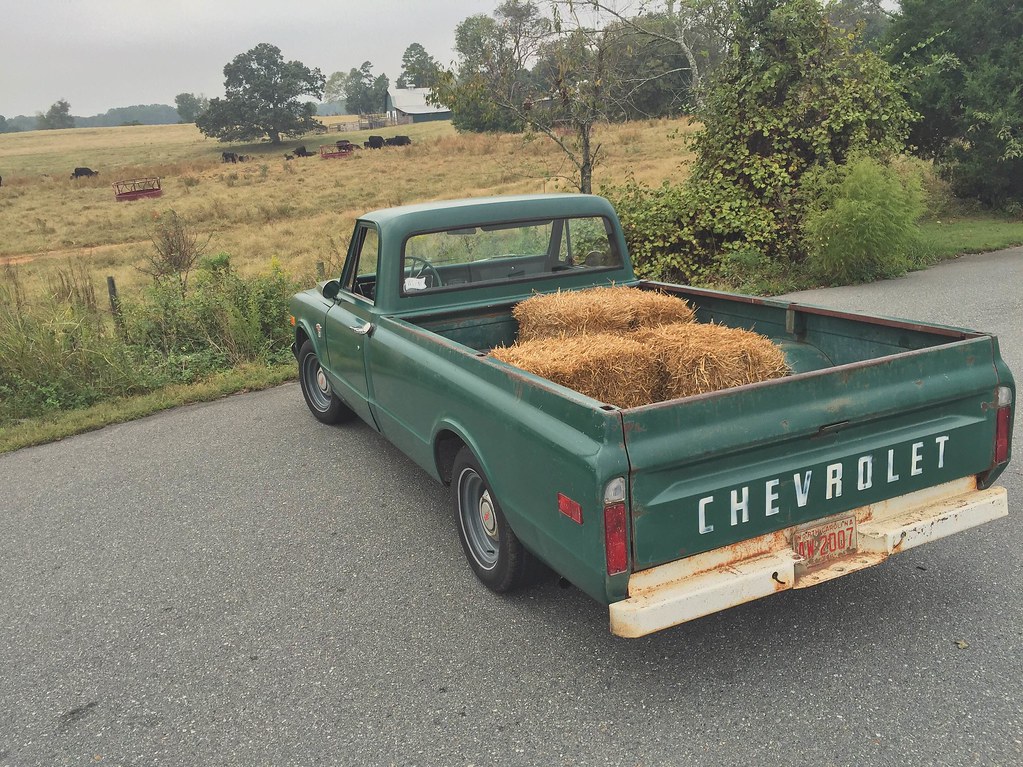
__________________
Builds: Green Gus the 68 C10 ; Sullii the 72 1500 - Instagram: @dr.hewitt - C10 Concept/Development Photos: Master Thread Last edited by hewittca; 09-26-2016 at 03:40 PM. |
|
|
|
|
09-27-2016, 12:58 AM
|
#44 |
|
Registered User
Join Date: Feb 2012
Location: turlock
Posts: 2,177
|
Re: Introduction, nostalgia, and '68 build, oh my
Great looking color if I must say. Most would probably just assume it to be a flat version of the color on the body. I felt that same death experience in my 72 one day when the left right locked up on me and sent me one lane over to a merging lane off an old highway. Thankfully my background in offroad riding helped my reaction time tremendously and kept me from freakin out. A plus that the lil woman wasn't with me that day or else the truck surely would've been sold lol
__________________
 Project NewType 1972 Chevy C/10 Cheyenne Super ( Daily Driven Showtruck ) http://67-72chevytrucks.com/vboard/s...d.php?t=507903 Project NewType 1972 Chevy C/10 Cheyenne Super ( Daily Driven Showtruck ) http://67-72chevytrucks.com/vboard/s...d.php?t=507903Project Great Grandpa's Legacy 1973 Chevy C/10 Cheyenne ( Current daily driver collecting big time parts ) http://67-72chevytrucks.com/vboard/s...89#post7084289 - Dylan (209)-985-7721 |
|
|
|
|
10-16-2016, 12:57 PM
|
#45 |
|
Registered User
Join Date: Sep 2012
Location: Midway, NC
Posts: 3,275
|
Re: Introduction, nostalgia, and '68 build, oh my
Cool truck and great story. Late to the party as usual for me but man I dig your truck. I can't wait to see where this goes.
__________________
http://67-72chevytrucks.com/vboard/s...d.php?t=581873 The low buck build threads. Check'em out! http://67-72chevytrucks.com/vboard/s...d.php?t=666022 My build thread Crossmembers CC |
|
|
|
|
11-08-2016, 04:08 PM
|
#46 |
|
Senior Member
Join Date: Jun 2014
Location: Mocksville, NC
Posts: 1,723
|
Shortbed Conversion, Part 1
Shortbed Conversion, Part 1
For the last two months or so I've been working on the shortbed conversion and thought I would share an update on the progress. Originally, I wanted to include the entire conversion in one complete post, however, the process is taking much longer than I hoped since I don't have that much time to dedicate to the project. That being the case, I thought I would split it up into two posts. This first post will document the overall plan for the conversion, disassembly, modifications, and fab work. The second part will document paint and reassembly. My plan from the beginning was to do a static dropped shortbed truck with ~2" of tire tuck. To get there, I would need a few additional inches of drop over the standard spring/blocks/spindles static drop recipe. Therefore, I decided I would incorporate a 2.5" step up in the rear frame during the frame shortening process. This would be just enough to get the fenders down over the tires without going crazy with a full drop member suspension. The overall plan was simple, then. Use original GM shortbed sides, shorten/step my frame, and shorten the bed floor, driveshaft, and brake lines. First, I disassembled the bed and cut 12" directly off the front of the bed floor. I chose this route instead of sectioning it so I didn't have a seam in the bed floor. I lost the flat front edge of the floor, but it still looks factory when reassembled. 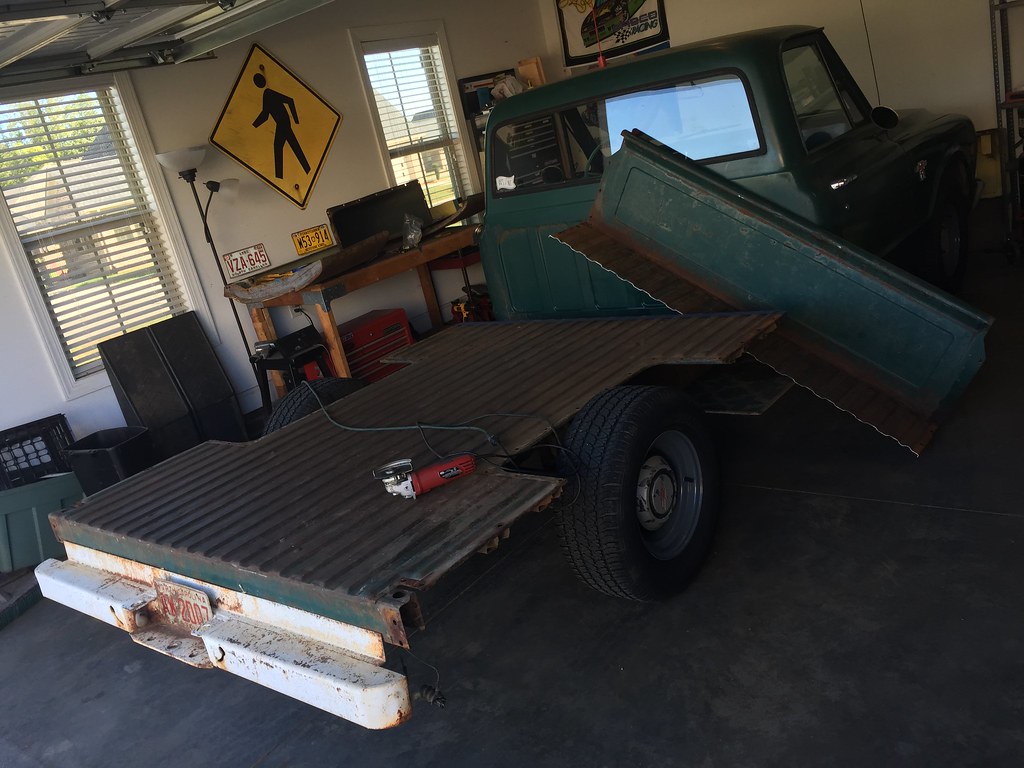 For the back, I ultimately decided to section 8" from the floor instead of cutting it directly off the back like 65standard did in his shortbed conversion. Reason being that I do not posses the metal working skill to be able to rework the rear edge of the bed floor without beating it to death with a hammer 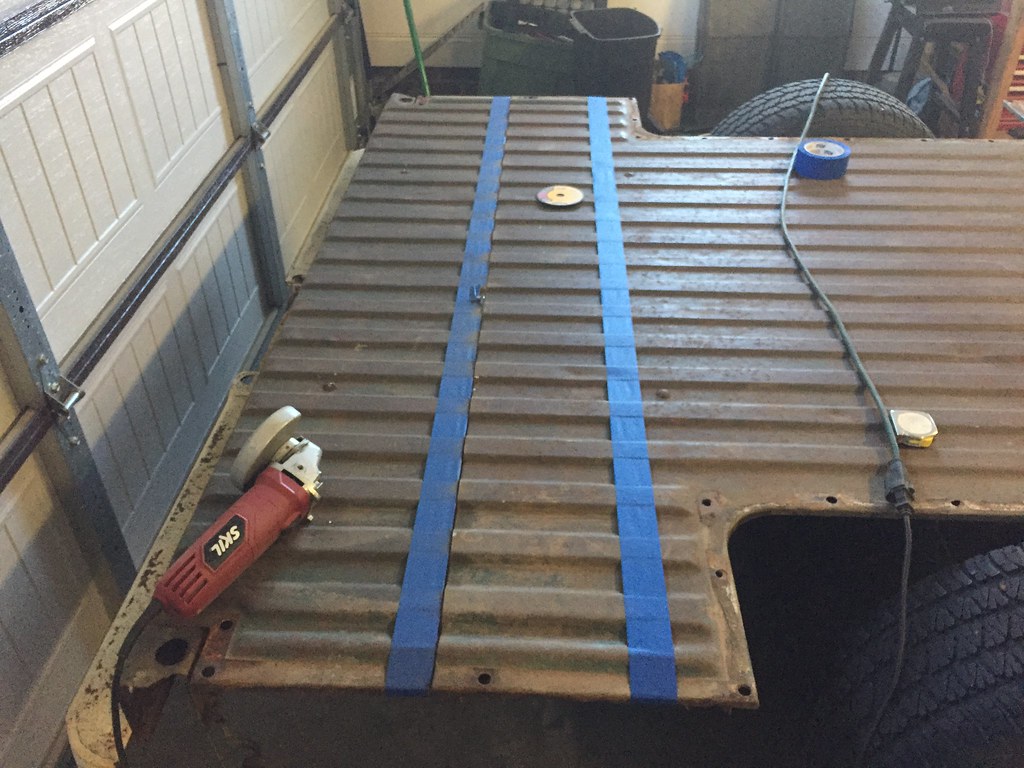 This is where I started to lean on my dad for help by welding up the bed floor. 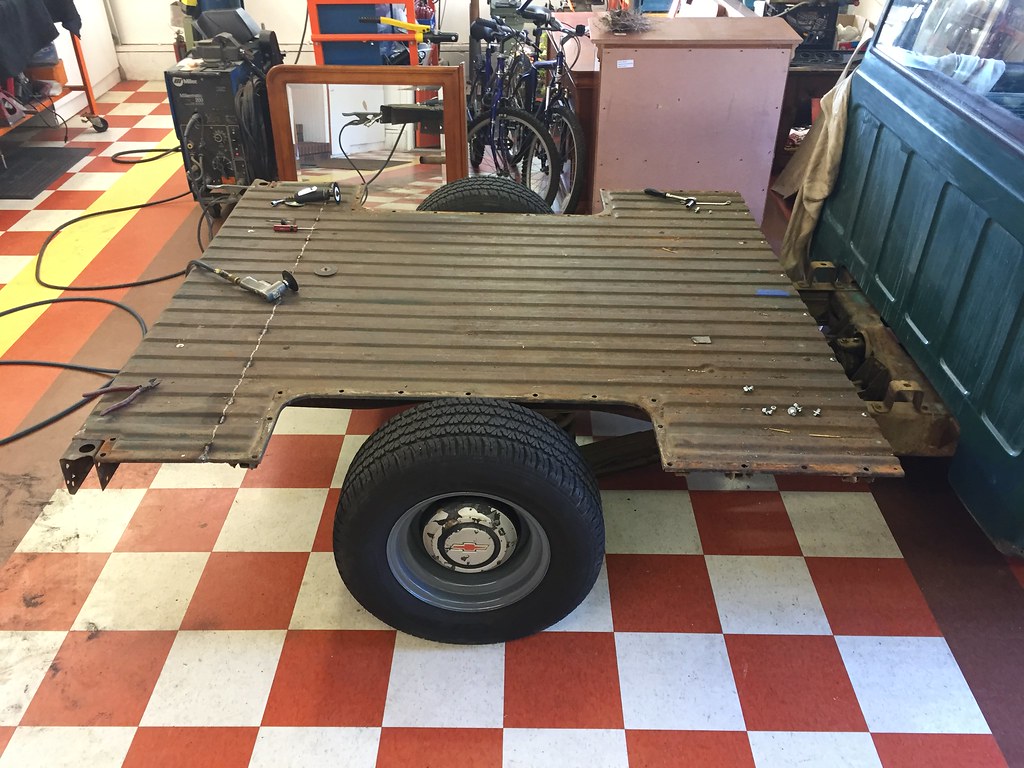 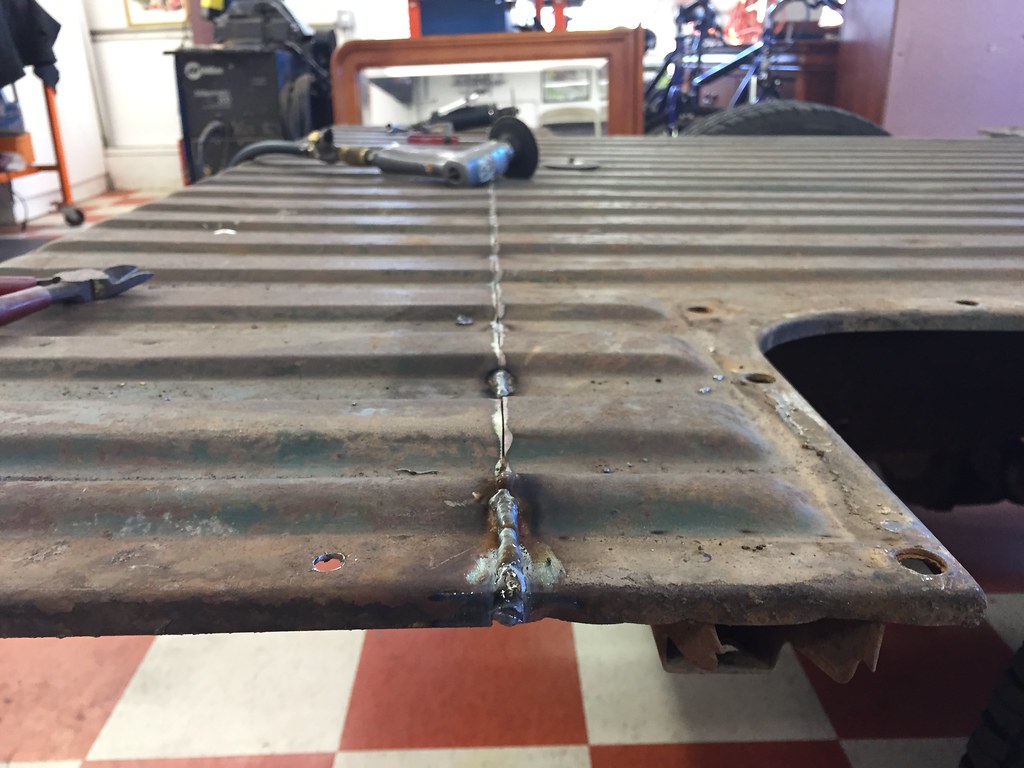 Next up was to modify the shortbed sides that I got from Gr8-68. 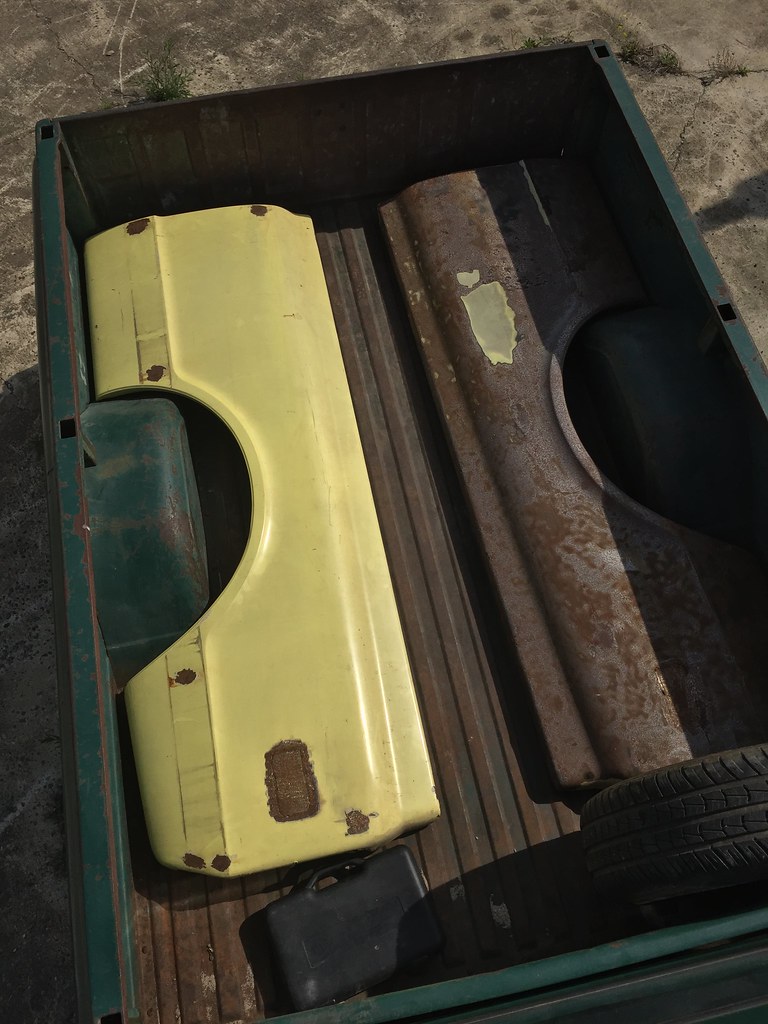 In order to accommodate the 2.5" step up in the frame, I had to drop the bedsides 2.5" in relation to the bed floor. I did this by cutting 1.5" up from the original mounting flange, and then bending over the remaining 1" to make the new mounting flange. In this way, the bedsides retained their factory look. 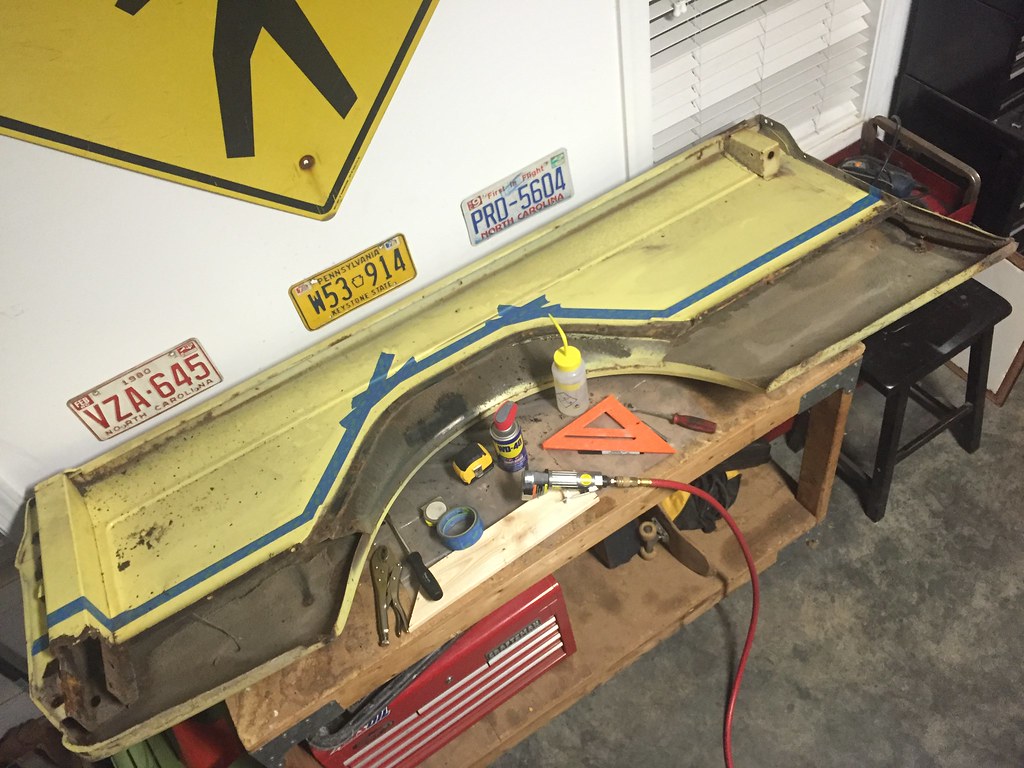 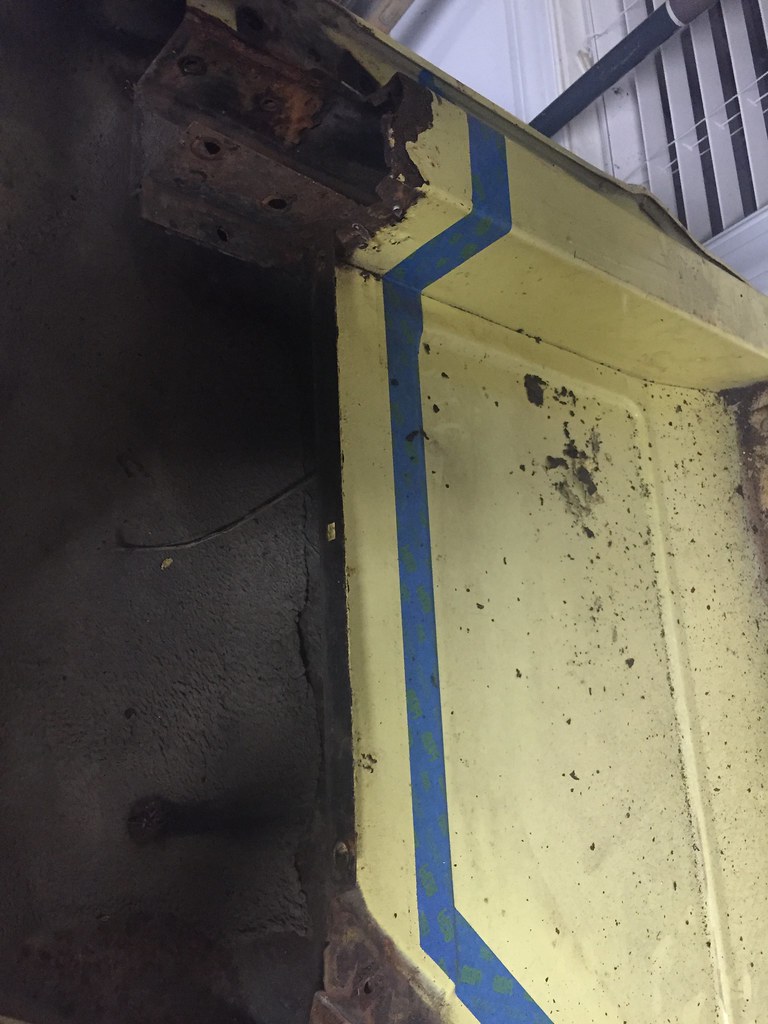 At this point, I reassembled the bed to mock everything up and check alignment. Not pictured above was the 8" I cut directly off the rear of the frame. 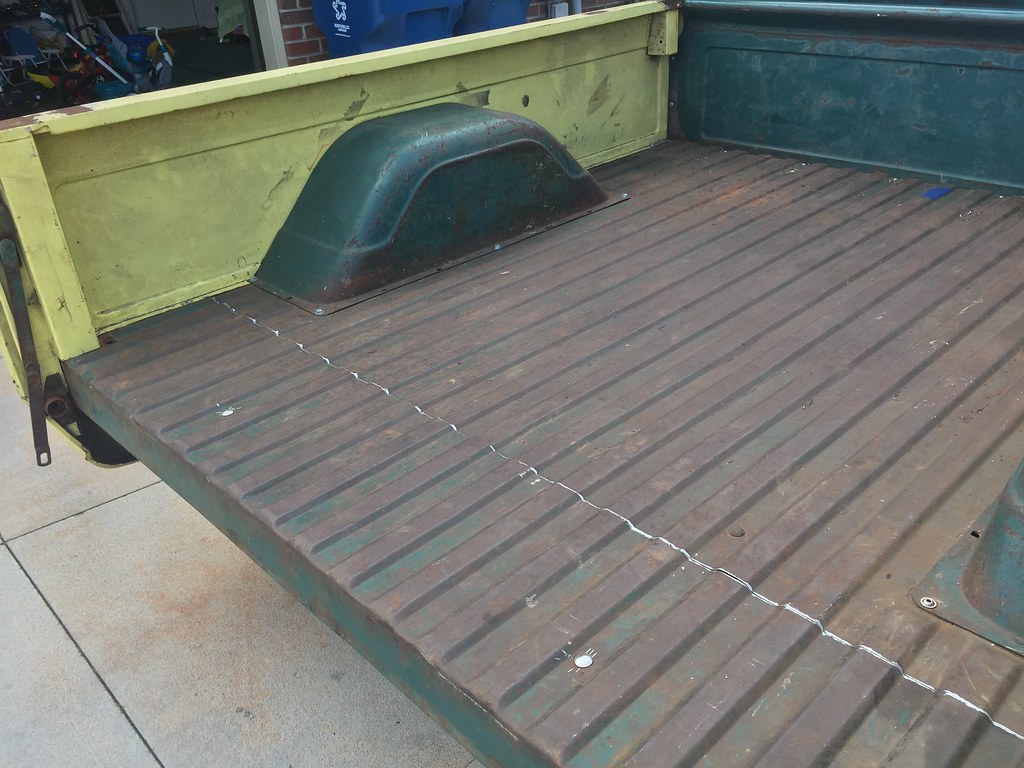 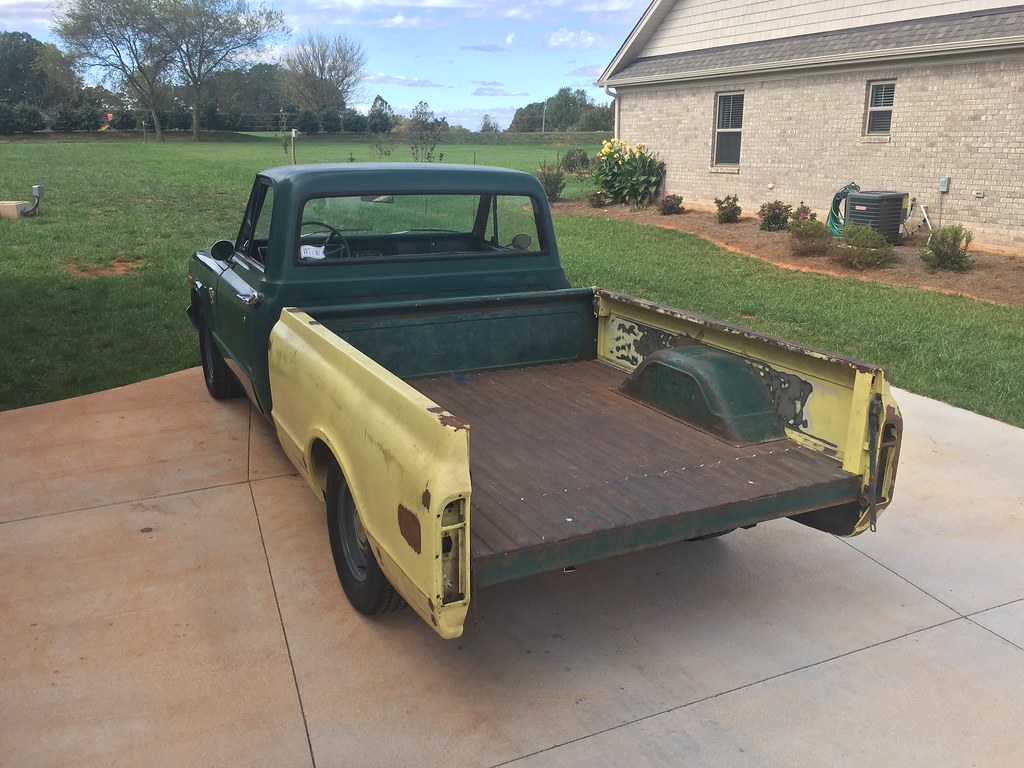 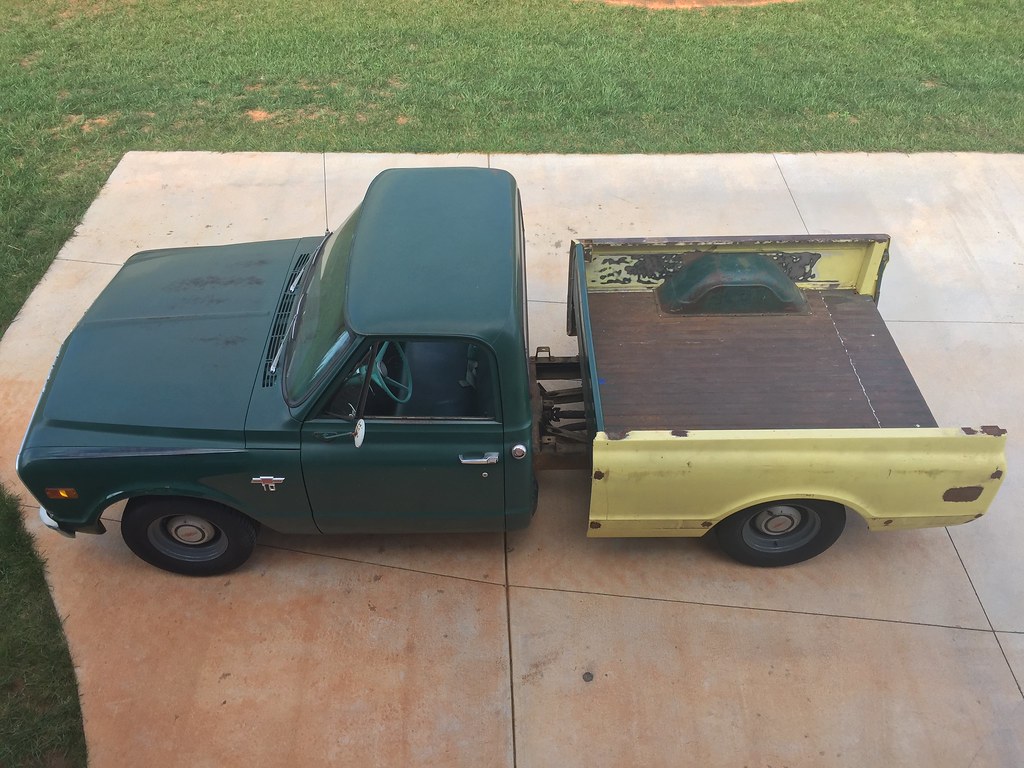 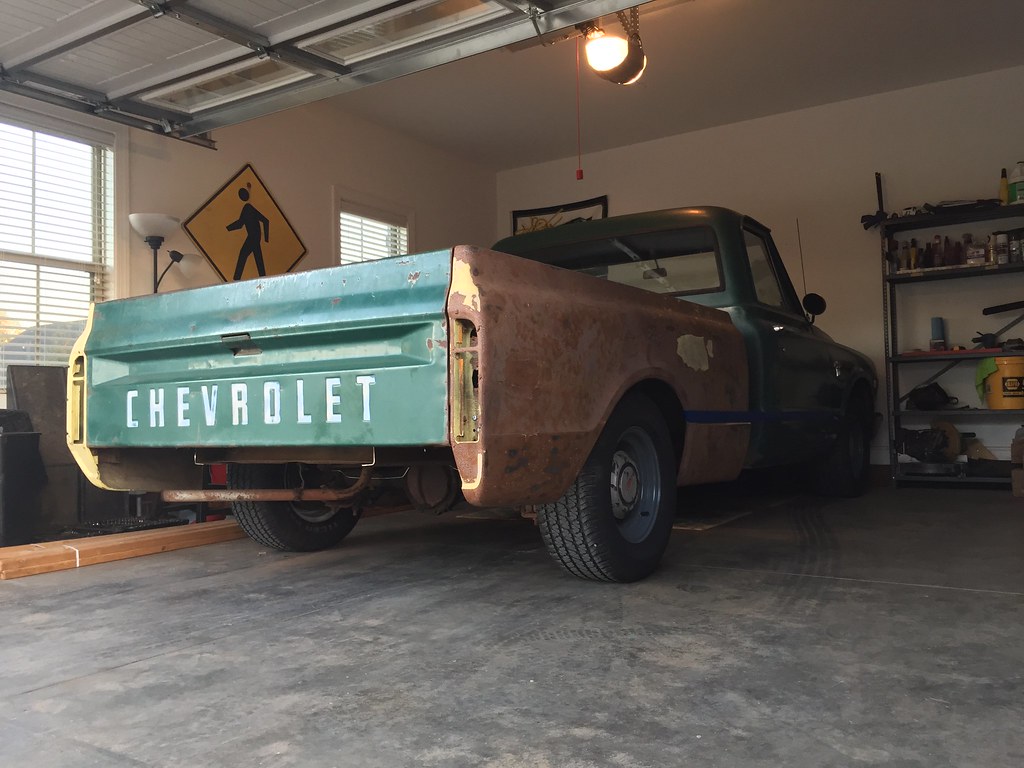 My kids were excited to have their truck back together for a few days. 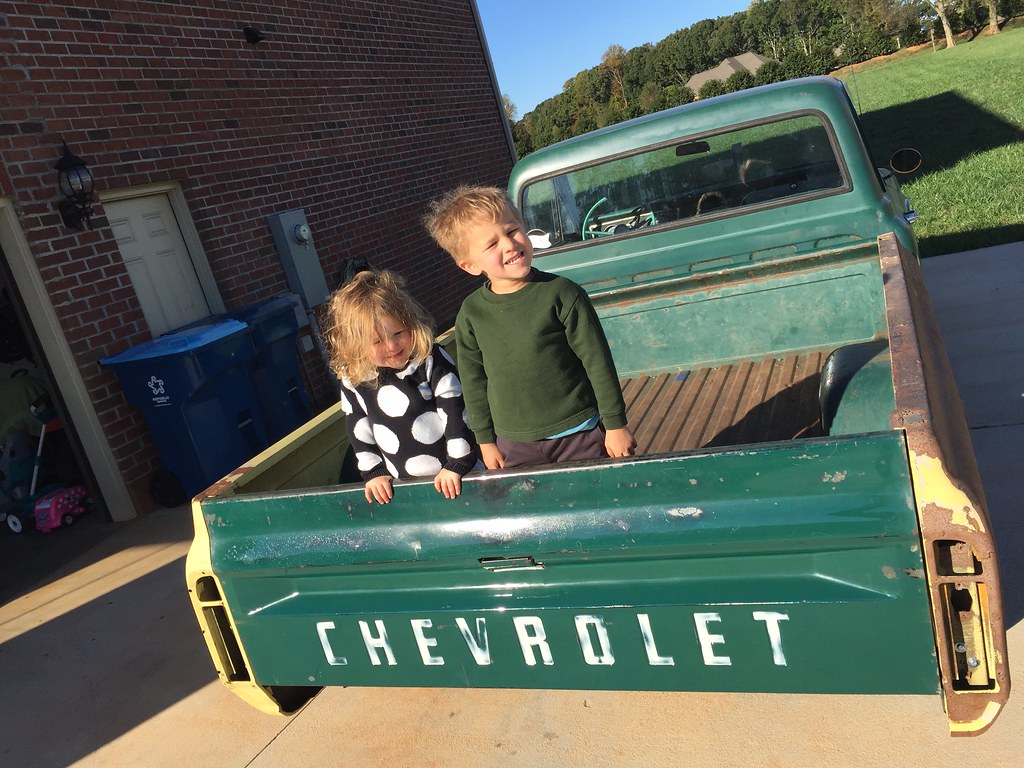 Next, the bed and all suspension came off in preparation for the frame shortening process. If you've been following along from the beginning, you may notice the '75 crew cab in the background. This is the same truck pictured from the 80's in my project introduction post. Over the years, my dad eventually converted it to a dually and it went through a few different paint jobs. 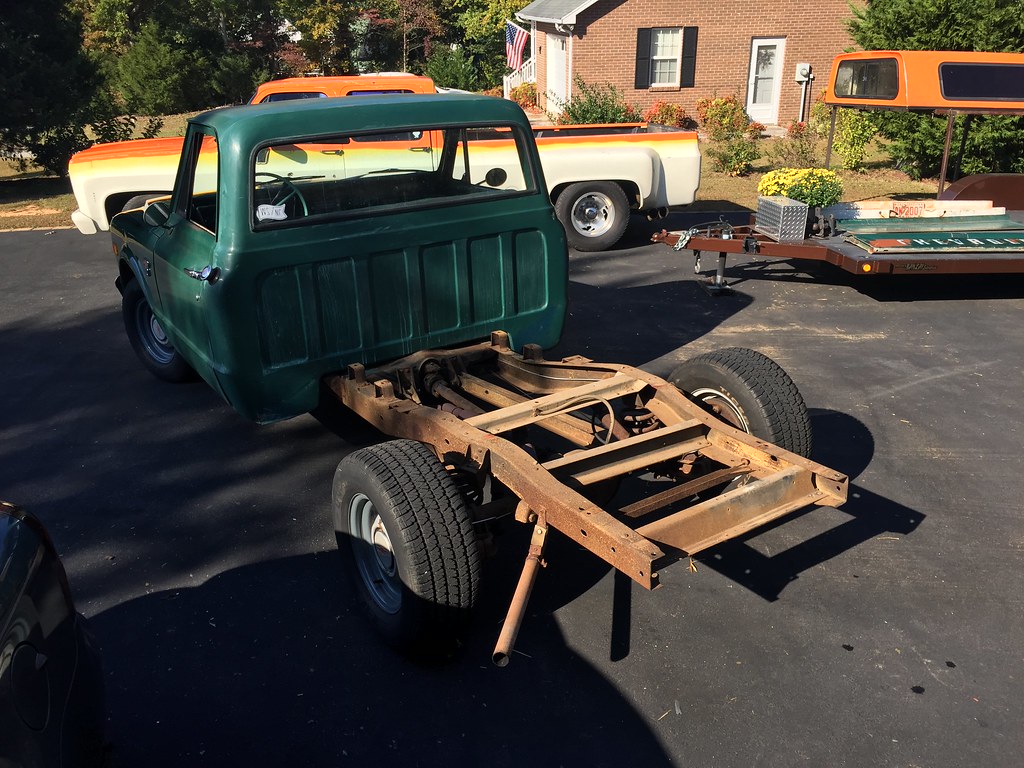 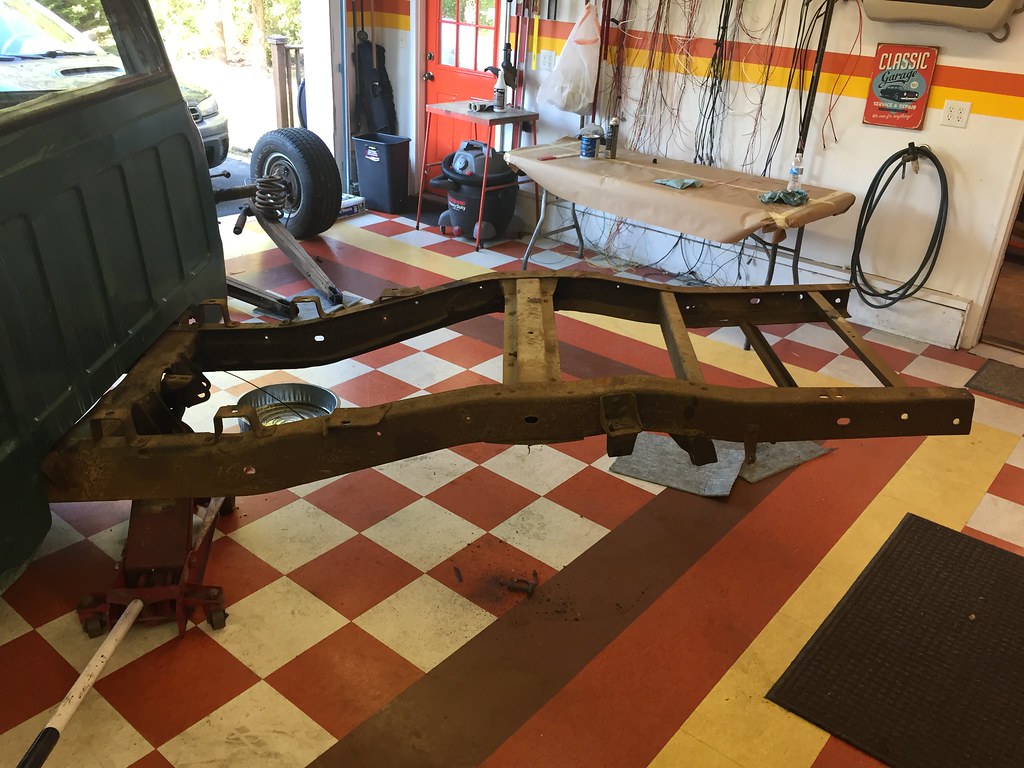 The first thing to do was move the crossmember forward 12". I chose to shorten the truck behind the cab so I had room to incorporate the 2.5" step up in the frame.  My dad has back halved and built full chassis for many cars before, ranging from personal and customer drag cars to Cup cars in NASCAR, so he made this look easy, but without him I could not have completed this process. We temporarily mounted angle iron to the front frame section to serve as our reference points for when we hacked off the rear frame. 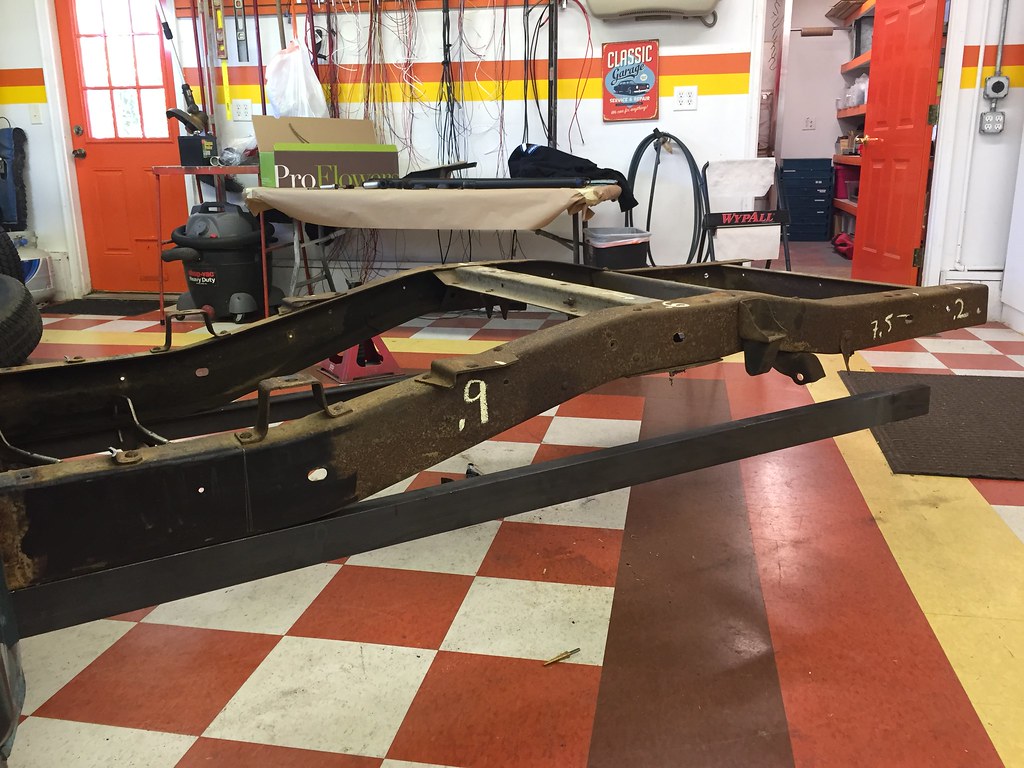 This photo illustrates the cuts we made to shorten the frame 12" and raise the rear section 2.5". The colored marks on the rear frame section match up with the marks on the front section after cutting out the extra piece in between.  After cutting the frame apart and removing the excess material, we simply slid the two pieces back together, and then aligned and clamped them for welding. Pictured here is my dad measuring the frame. 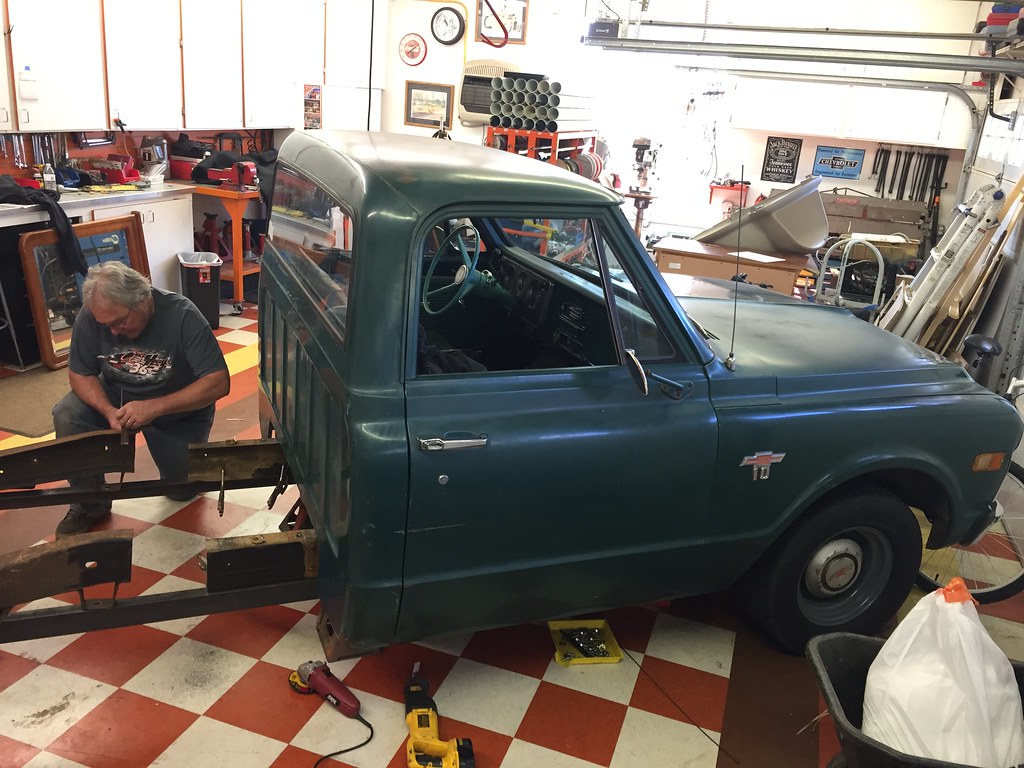  While my dad was welding, I was busy taking a photo for Instagram... 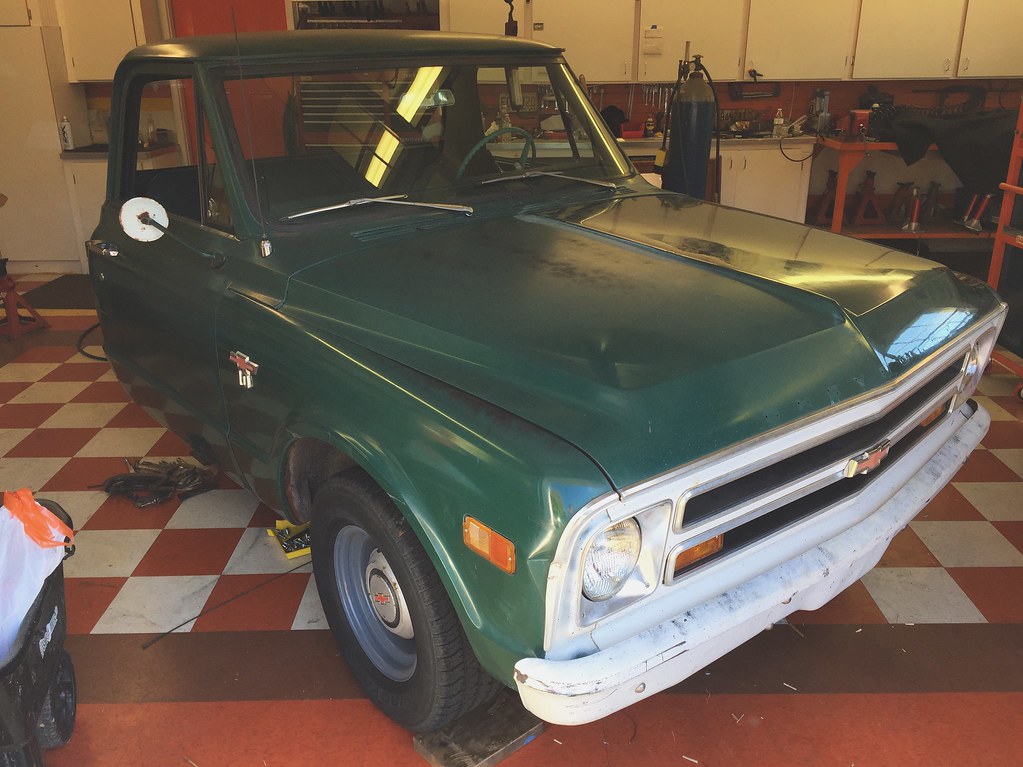 After my dad finished welding, we double checked everything and it was spot on. We also welded up the insides of the frame. We do plan on adding in a brace plate to strengthen the area further. 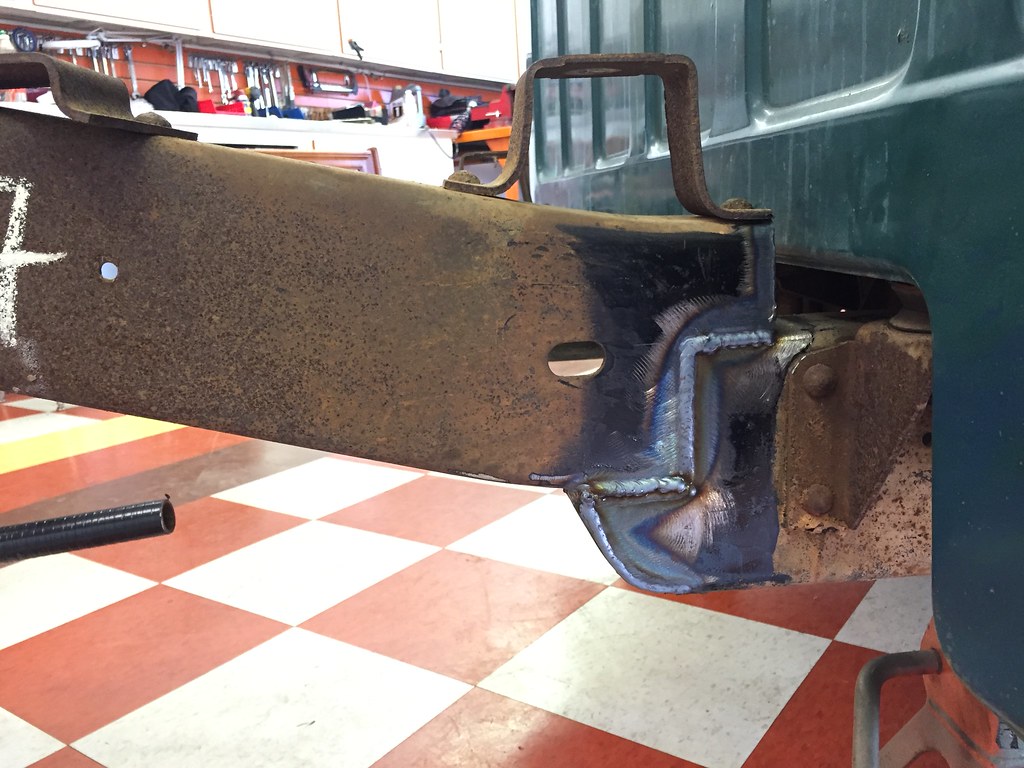 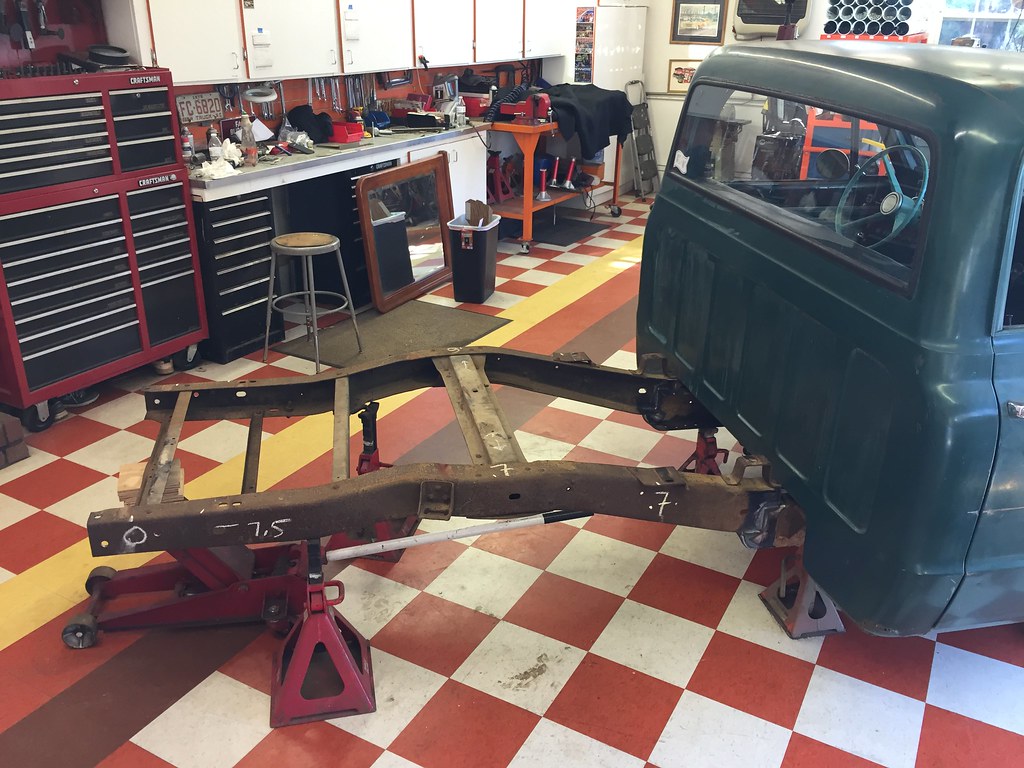 From this point on, it is all finishing work and reassembly. In Part 2 I will show the brace plate we added and the completed and cleaned sectioned frame area, along with painting of the bedsides and reassembly.
__________________
Builds: Green Gus the 68 C10 ; Sullii the 72 1500 - Instagram: @dr.hewitt - C10 Concept/Development Photos: Master Thread |
|
|
|
|
11-08-2016, 11:30 PM
|
#47 |
|
Registered User
Join Date: Apr 2014
Location: Azle,Texas
Posts: 2,249
|
Re: Introduction, nostalgia, and '68 build, oh my
^^^ Nice work man!

|
|
|
|
|
11-08-2016, 11:43 PM
|
#48 |
|
Senior Member
Join Date: Jul 2012
Location: Oblong, Illinois
Posts: 7,017
|
Re: Introduction, nostalgia, and '68 build, oh my
Nice work very well documented. Pat on the back for Dad! I like that shop too with the pattern floor.
|
|
|
|
|
11-09-2016, 09:07 AM
|
#49 |
|
Registered User
Join Date: Apr 2003
Location: Indep, MO
Posts: 5,893
|
Re: Introduction, nostalgia, and '68 build, oh my
Nice tidy work!
__________________
Boppa's Old Yeller Truck Build, Old Yeller's New Heart! Project Buzz Bomb Flyin' Low! |
|
|
|
|
11-09-2016, 09:17 AM
|
#50 |
|
Registered User
Join Date: Dec 2006
Location: Toms River, NJ
Posts: 5,518
|
Re: Introduction, nostalgia, and '68 build, oh my
Very nice work!
__________________
Keith 66 Suburban Burb Build Thread: http://67-72chevytrucks.com/vboard/s...d.php?t=751361 IG: bennett68c10 |
|
|
|
|
| Bookmarks |
| Thread Tools | |
| Display Modes | |
|
|


 Linear Mode

