
|
|
|
 05-13-2018, 04:07 PM
|
#1 |
|
Post Whore
  Join Date: May 2015
Location: Alabama
Posts: 14,608
|
Re: Wife's 48
you'll find that not ever situation is the same....I've used magnets, panel clamps, clecos, slight flange, and just whatever gets the job done.....not saying I'm right but it works....you can't always use the exact same process. ....
__________________
Mongo...aka Greg RIP Dad RIP Jesse 1981 C30 LQ9 NV4500..http://67-72chevytrucks.com/vboard/s...d.php?t=753598 Mongos AD- LS3 TR6060...http://67-72chevytrucks.com/vboard/s...34#post8522334 Columbus..the 1957 IH 4x4...http://67-72chevytrucks.com/vboard/s...63#post8082563 2023 Chevy Z71..daily driver |

|

|
|
05-13-2018, 06:37 PM
|
#2 |
|
Senior Member
Join Date: Sep 2017
Location: Bryan, Texas
Posts: 2,292
|
Re: Wife's 48
Guys, thank you all. Very informative! I will try and improve with your suggestions. Thanks!
|

|
|
|
05-18-2018, 07:56 PM
|
#3 |
|
Senior Member
Join Date: Sep 2017
Location: Bryan, Texas
Posts: 2,292
|
Re: Wife's 48
OK, this isn't all I got done today, but it shows that I am listening.
First I had a hole in the cowl. 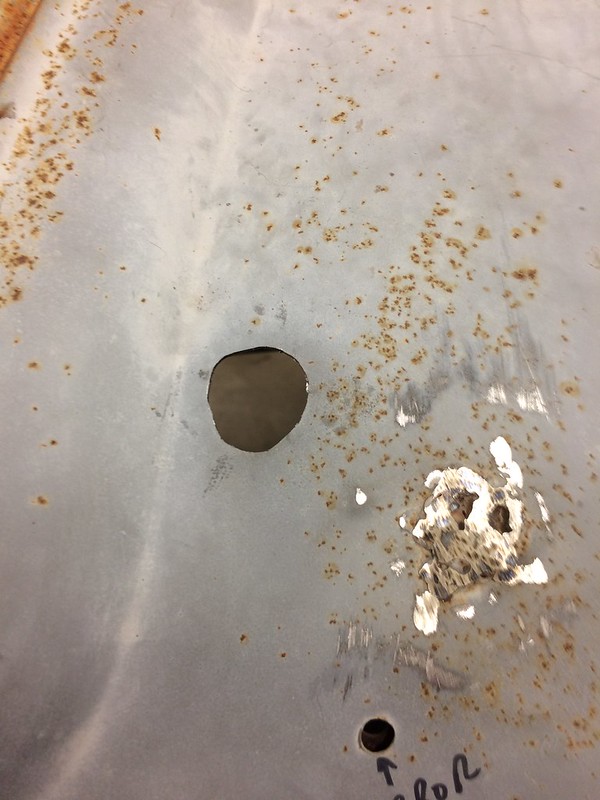 IMG_1929 by Robert Moorman, on Flickr IMG_1929 by Robert Moorman, on FlickrThat patch to the right isn't mine, it came with the truck. So I used my new metal snips to fit a patch, first scribing the piece to be cut and then test fitting. I filed the hole until it fit. 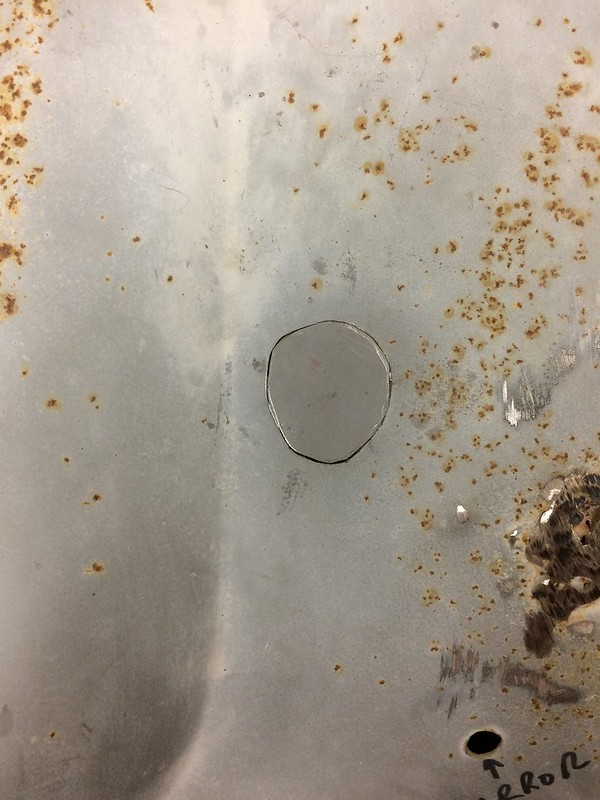 IMG_1928 by Robert Moorman, on Flickr IMG_1928 by Robert Moorman, on FlickrThen I welded it in place and used a die grinder with a cutting wheel to take off the excess weld. 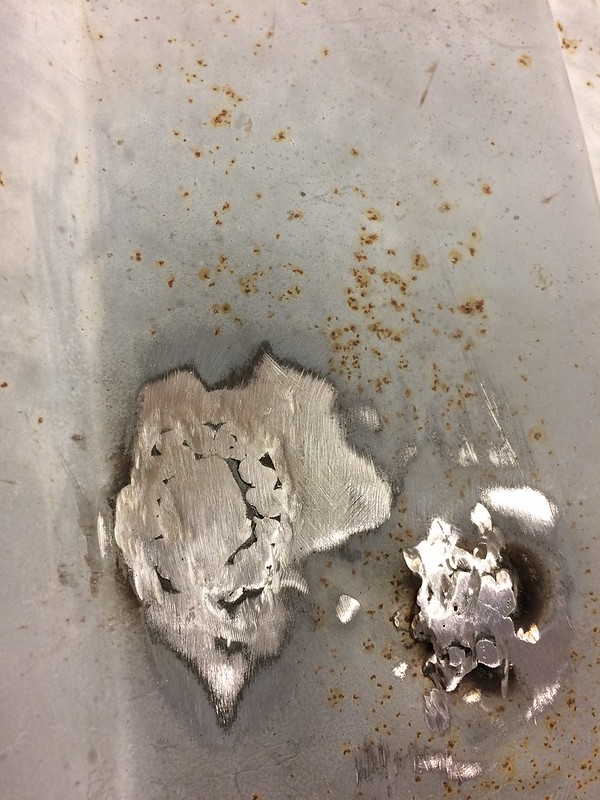 IMG_1930 by Robert Moorman, on Flickr IMG_1930 by Robert Moorman, on FlickrYes, I still need to work some more on that old patch. It is right over a support brace and in a very difficult spot. I tried to hammer and dolly it up and got some of it to come up, but not enough. Back to my patch Then I grabbed a flap disc and here is what I have. 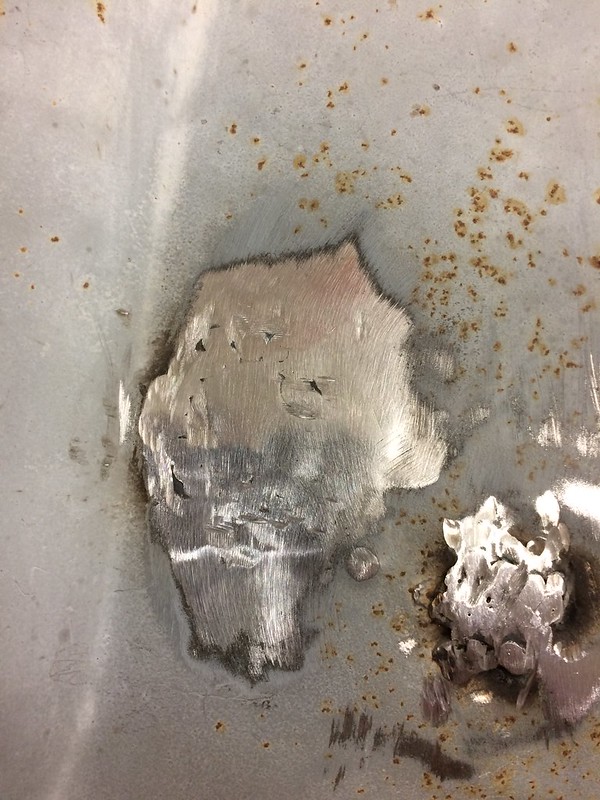 IMG_1932 by Robert Moorman, on Flickr IMG_1932 by Robert Moorman, on FlickrI then took a hammer and dolly and started practicing on raising it where it was low and lowering where it was high, and it is pretty close. Oh, no pinholes. I used a light on the outside with me on the inside looking, and then vice versa. It is solid. |
|
|
|
 |
| Bookmarks |
|
|


 Hybrid Mode
