
|
 06-25-2010, 09:24 PM
|
#1 |
|
Senior Member
 Join Date: Aug 2006
Location: LaSalle Mi
Posts: 498
|
My Blazer
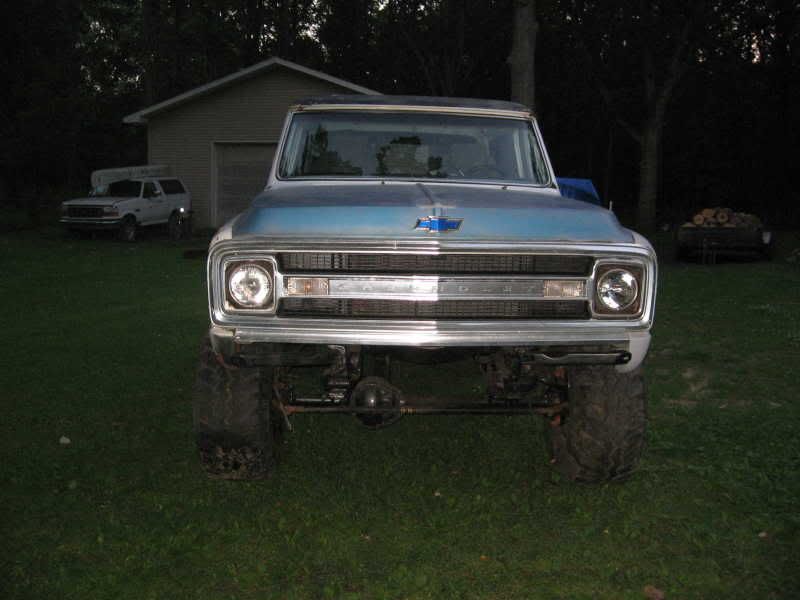
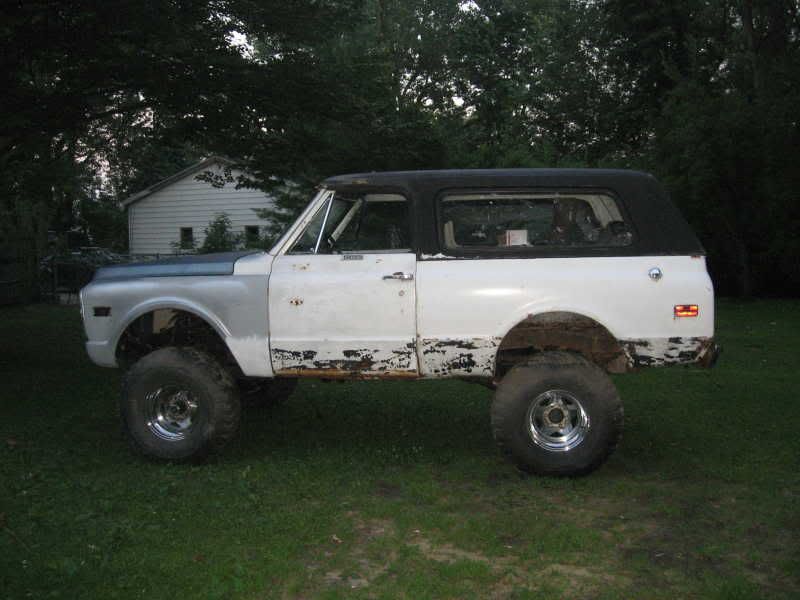
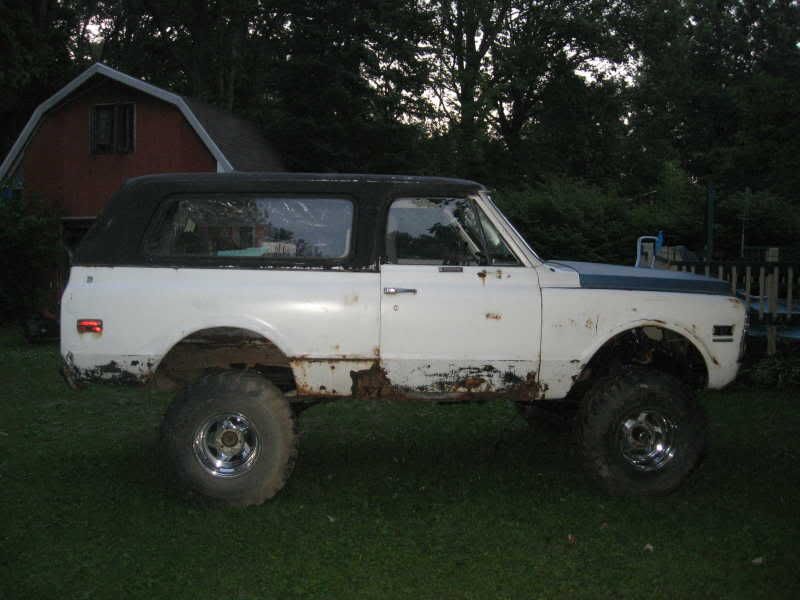
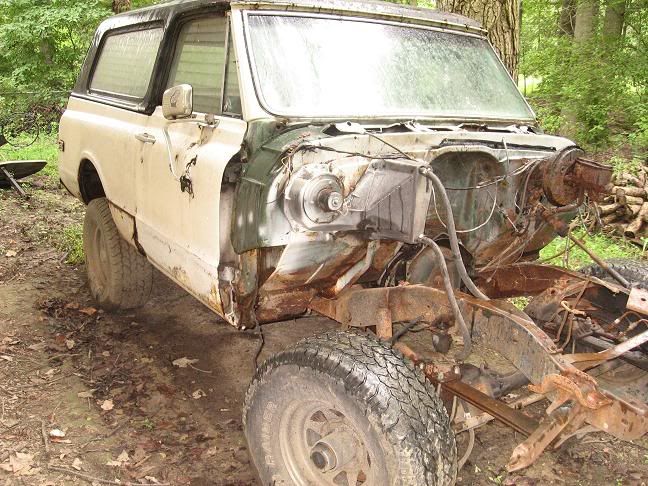
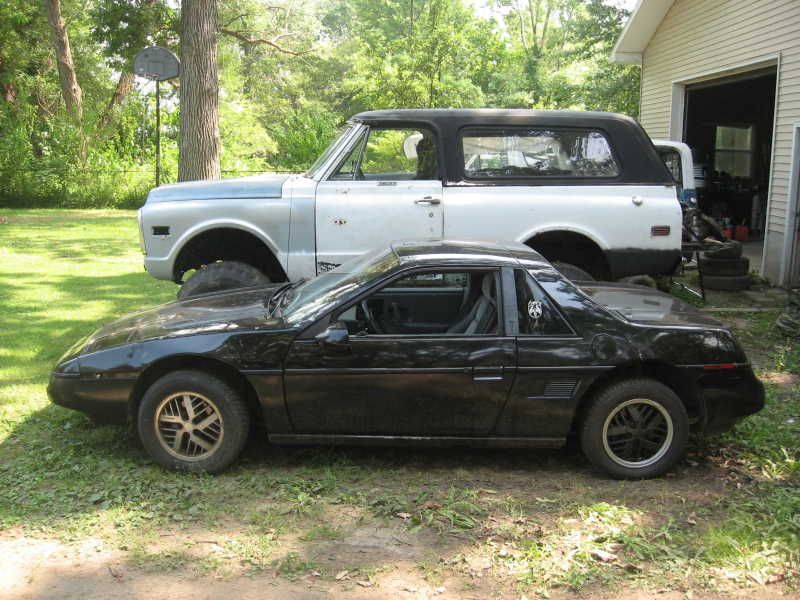
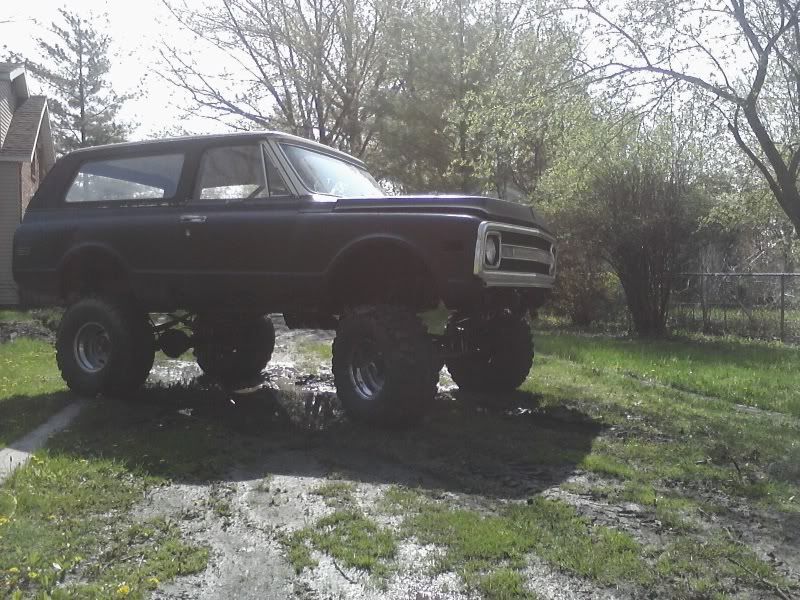
I drove it up to the house for a bath. I want to get a set of doors from my dad and do some quick body work so I can throw a cheap paint job on.
|

|

|
|
06-25-2010, 09:36 PM
|
#2 |
|
Insert Title Here
Join Date: Feb 2006
Location: Dyer, Indiana
Posts: 5,679
|
Re: My Blazer
Looks cool
__________________
BOBBY _69 SWB_ 1000 pics of 67-72's>> http://s193.photobucket.com/albums/z...-72/?start=all << |
|
|
|
|
06-25-2010, 09:37 PM
|
#3 |
|
Registered User
Join Date: May 2007
Location: Marion, Mi.
Posts: 2,429
|
Re: My Blazer
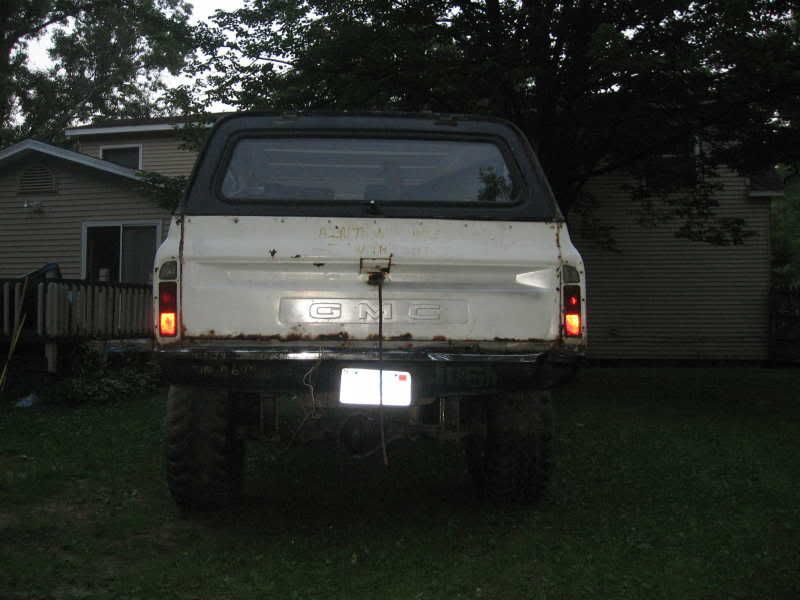
WOW, pic's! Awesome dude, that's kinda funny, mine had a Jimmy tailgate on it when I bought it too! Nice work on getting it rolling again!
|
|
|
|
|
06-25-2010, 09:46 PM
|
#4 |
|
Senior Member
Join Date: Aug 2006
Location: LaSalle Mi
Posts: 498
|
Re: My Blazer
I was worried my steering was going to be frozen like the time I went to drive it to it's last parking spot. Stupid wheel joints. It had mechanical secondary on the carb, which I had to disconnect to get it to move.
I have a rust free Chevrolet tail gate I could put on it, but it is dented pretty good. The OJ mobile in the first pic ended up with my canoe. I am wanting to throw a cheap bright red paint job on it, or maybe a dark hunter green? I don't know yet, but I have a while to make up my mind while I try to get some money saved up and fix up the body a bit. |
|
|
|
|
06-25-2010, 09:59 PM
|
#5 |
|
Senior Member
Join Date: Aug 2006
Location: LaSalle Mi
Posts: 498
|
Re: My Blazer
This is how it looked before I got it
   Where I got my lift 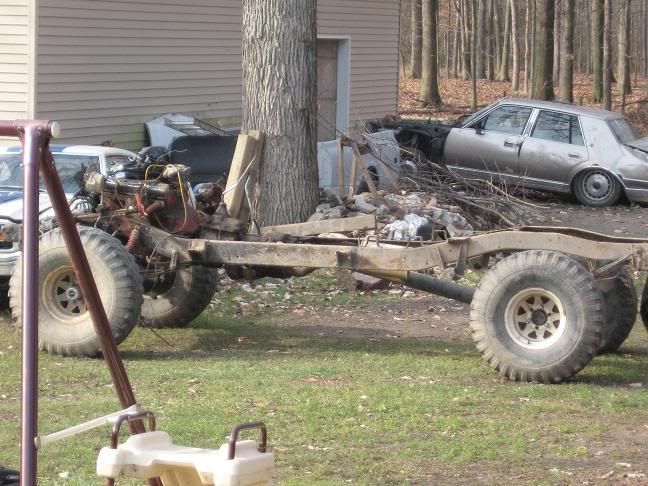 And when I was putting the lift on. The back of it is hanging from the tree 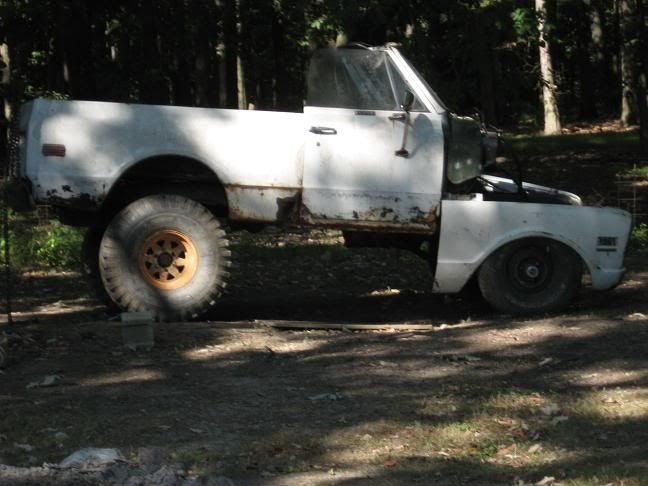 This is when I had my dad's tires on the one side 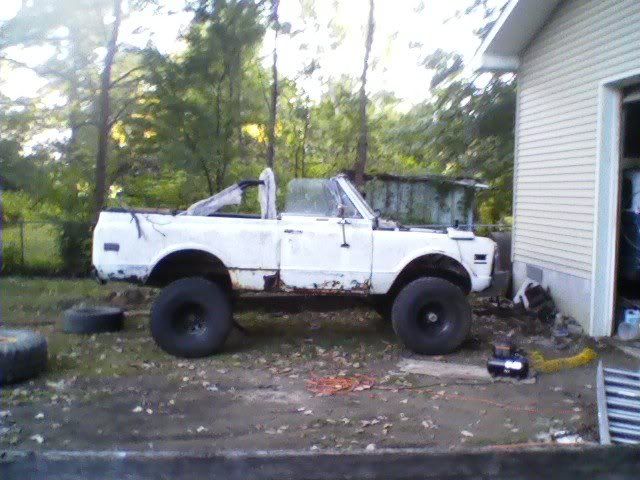 These tires were on the other side 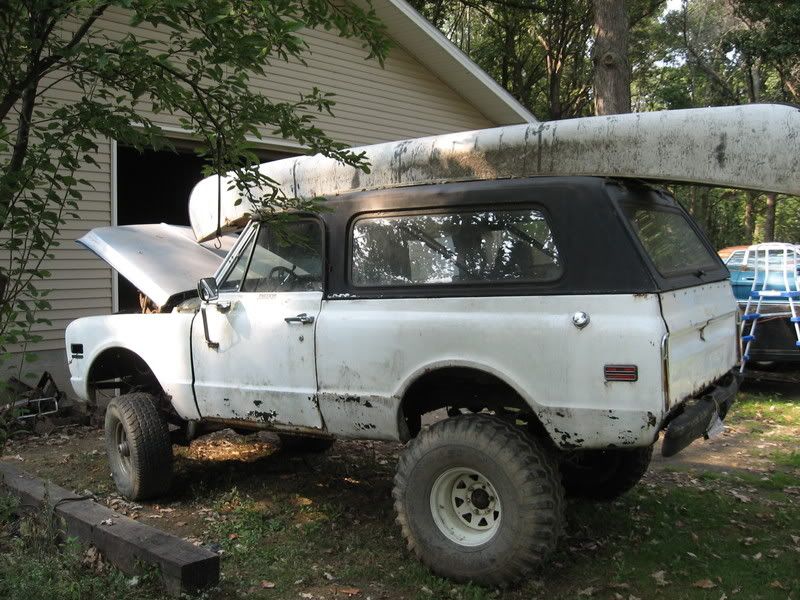 My dad never let me put these tires he has on it. 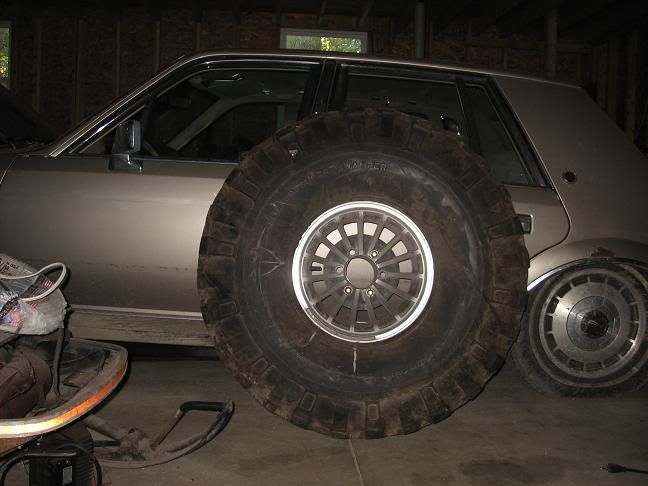
Last edited by litebulblsc; 06-25-2010 at 10:02 PM. |
|
|
|
|
06-27-2010, 03:14 PM
|
#6 |
|
PROJECT 7DEUCE
Join Date: Dec 2002
Location: GRANTS PASS OR
Posts: 21,589
|
Re: My Blazer
Thoise tires are huge....
__________________
GO BIG GREEN  GO DUCKS GO DUCKSMEMBER #6377 72 k-5 daily driver 6'' lift 35'' 350-350-205 slowly getting rust free. Project "7DEUCE" check out my build http://67-72chevytrucks.com/vboard/s...d.php?t=267665 Tim Powell..R.I.P EastSideLowlife..... R.I.P.. |
|
|
|
|
06-30-2010, 08:01 PM
|
#7 |
|
Senior Member
Join Date: Aug 2006
Location: LaSalle Mi
Posts: 498
|
Re: My Blazer
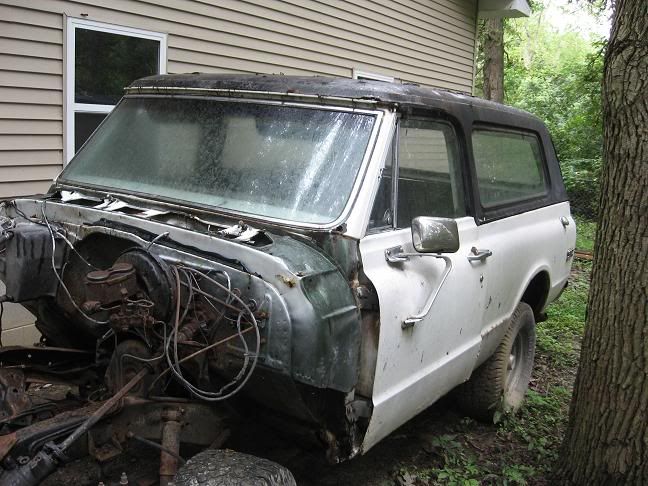
Stripped the lower back end of the drive's bedside. Only have a little rust hole and some trim holes that need filled, and it is dented up where it wraps underneath.
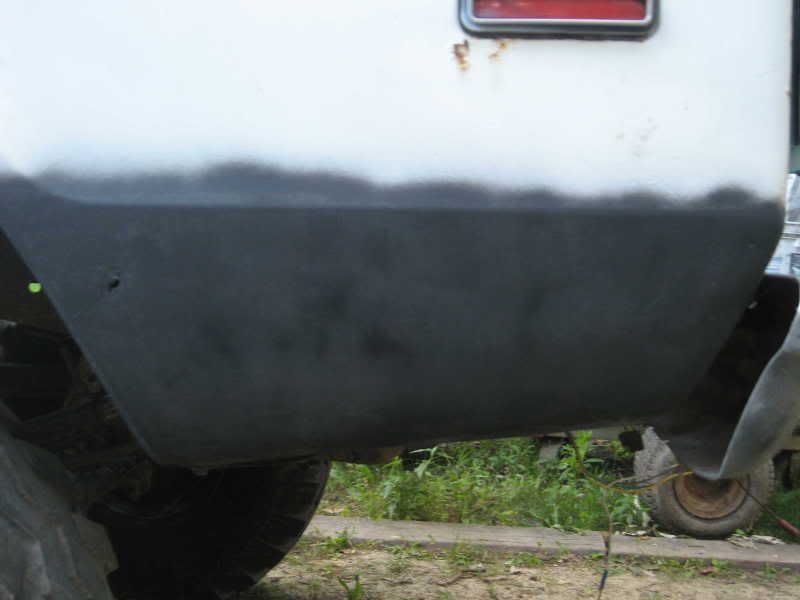 Te passenger side looked like a bigger mess, so I figured I would just concentrate on the drivers side for now, so I sprayed the passenger side white real quick so it looked good from far away. 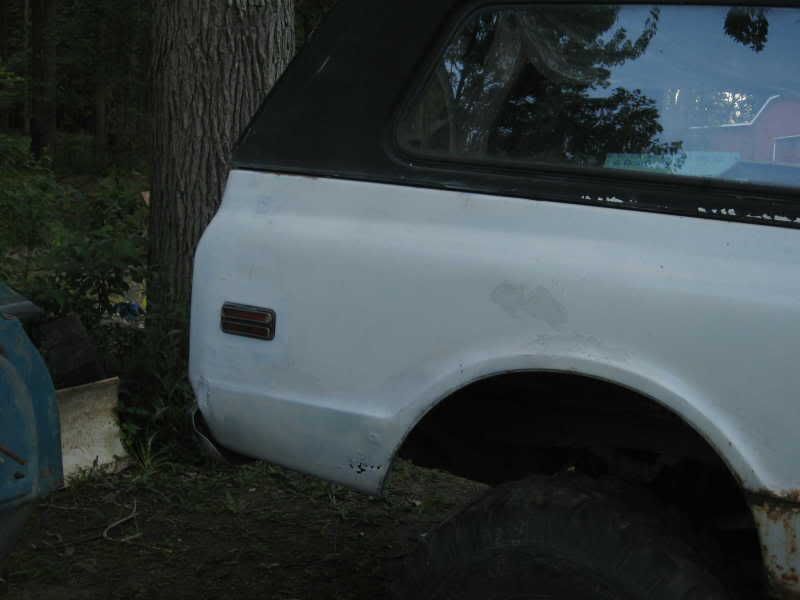 Tomorrow I want to get the welder out and get used to it, while practicing filling holes on some scrap metal. I have done it before a few years ago with a different welder, so I feel confident enough. |
|
|
|
|
06-30-2010, 09:29 PM
|
#8 |
|
72 K/5 Junkie
Join Date: Feb 2010
Location: Western PA
Posts: 453
|
Re: My Blazer
Wow! nice progress......
|
|
|
|
|
07-15-2010, 06:48 PM
|
#9 |
|
Senior Member
Join Date: Aug 2006
Location: LaSalle Mi
Posts: 498
|
Re: My Blazer
I feel like posting more pictures of my never no new progress Blazer. This time I included my daily driver in with the Blazer
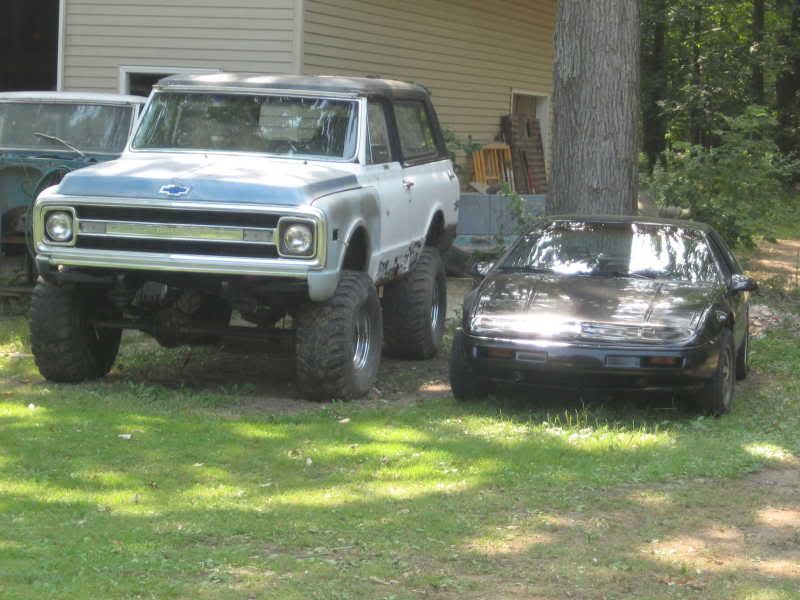 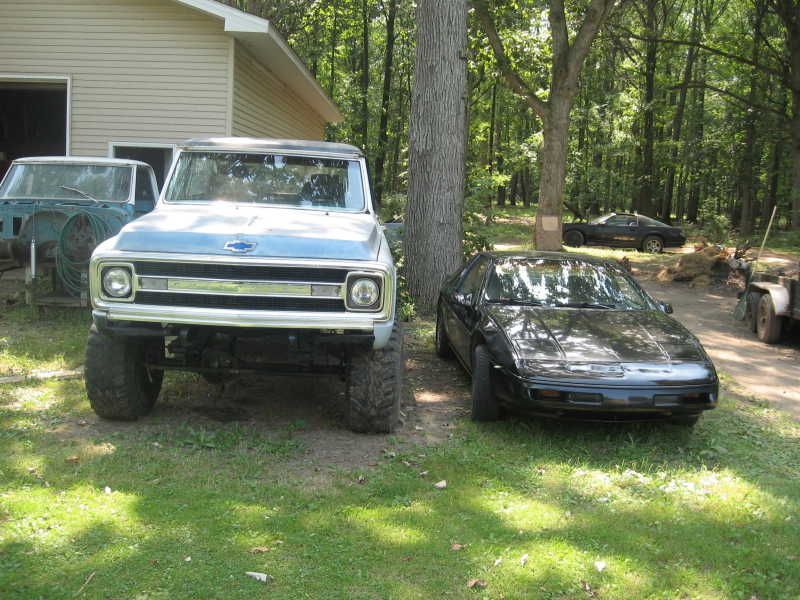  This one didn't work out the way I wanted it to 
|
|
|
|
|
01-08-2011, 08:48 AM
|
#10 |
|
Senior Member
Join Date: Aug 2006
Location: LaSalle Mi
Posts: 498
|
Re: My Blazer
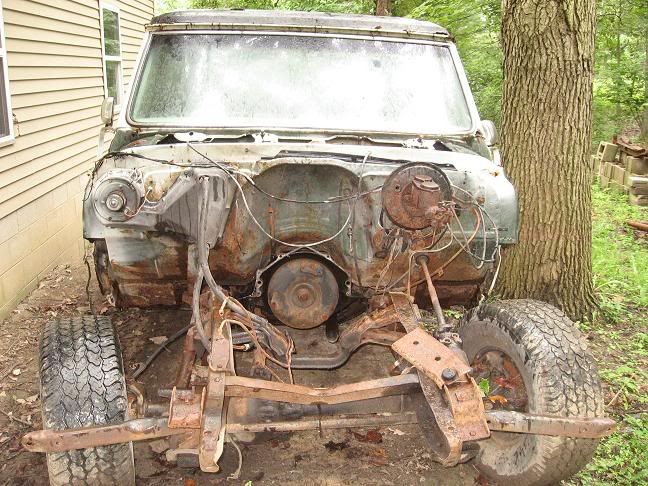
Been a while since I have updated this. Since then I have bought some doors and fenders from a board member and started to do some engine work. The Camaro in the back ground is a hint as to what I am doing with the motor. Also ordered a shackle flip kit to do while the gas tank is out.
|
|
|
|
|
01-08-2011, 11:02 AM
|
#11 |
|
Registered User
Join Date: May 2007
Location: Marion, Mi.
Posts: 2,429
|
Re: My Blazer
Good to hear your still working on it! Good luck!
|
|
|
|
|
01-09-2011, 05:20 PM
|
#12 |
|
Senior Member
Join Date: Aug 2006
Location: LaSalle Mi
Posts: 498
|
Re: My Blazer
a lot easier to work on it now that i have a job. Working on installing a tuned port fuel injection system. Getting close to getting it done. Have one more big purchase to make and then install and should be able to fire it up. I will post some pictures when i get to a computer.
Posted via Mobile Device |
|
|
|
|
01-09-2011, 08:47 PM
|
#13 |
|
Senior Member
Join Date: Aug 2006
Location: LaSalle Mi
Posts: 498
|
Re: My Blazer
As far as motor work, here are a before and after pic.
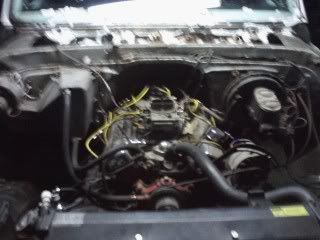 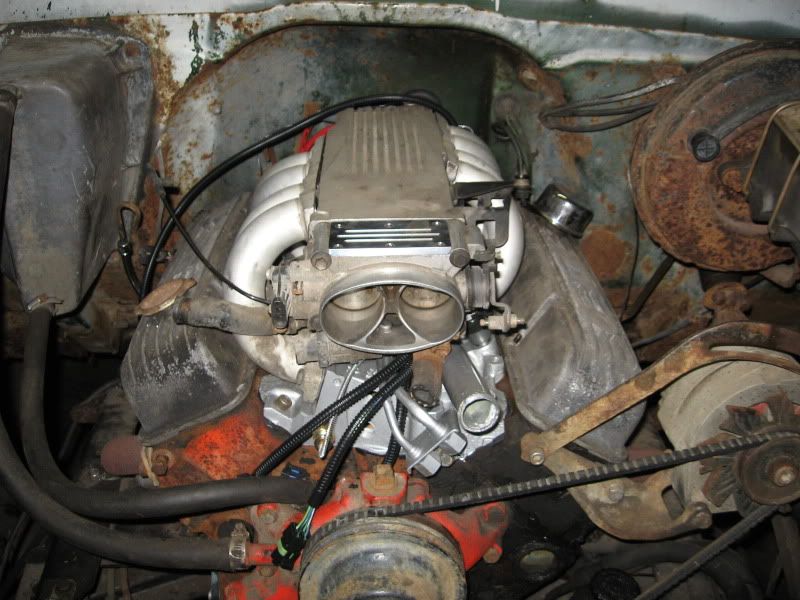 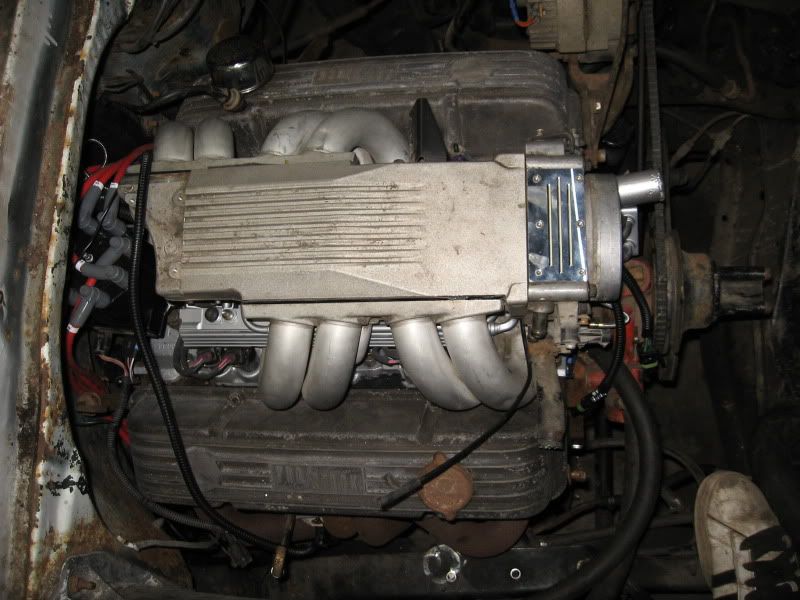  Going to figure out the fuel system this week. Just going to run the stock tank with an inline pump. The real problem to figure out now is the throttle cable. Last edited by litebulblsc; 01-09-2011 at 08:49 PM. |
|
|
|
|
01-09-2011, 09:14 PM
|
#14 |
|
Active Member
Join Date: Mar 2005
Location: Annapolis, MD
Posts: 183
|
Re: My Blazer
Look in Lokar website, I think they have a set up for this.
|
|
|
|
|
01-09-2011, 09:22 PM
|
#15 |
|
Senior Member
Join Date: Aug 2006
Location: LaSalle Mi
Posts: 498
|
Re: My Blazer
yes i just saw lokars setup. About 100 bucks to my door. Going to have to measure and see how good it will fit. Also not sure on the pedal end how it works...
Posted via Mobile Device |
|
|
|
|
01-17-2011, 12:04 AM
|
#16 | |
|
Account Suspended
Join Date: Dec 2010
Posts: 87
|
Re: My Blazer
Quote:
|
|
|
|
|
|
01-17-2011, 01:00 AM
|
#17 |
|
Registered User
Join Date: May 2007
Location: San Antonio
Posts: 993
|
Re: My Blazer
Post more pics on this. I just bought a tpi set up and want to know all the little things I'm gonna need to get. Looking good. Keep the good work.
|
|
|
|
|
01-17-2011, 01:15 AM
|
#18 |
|
Account Suspended
Join Date: Dec 2010
Posts: 87
|
Re: My Blazer
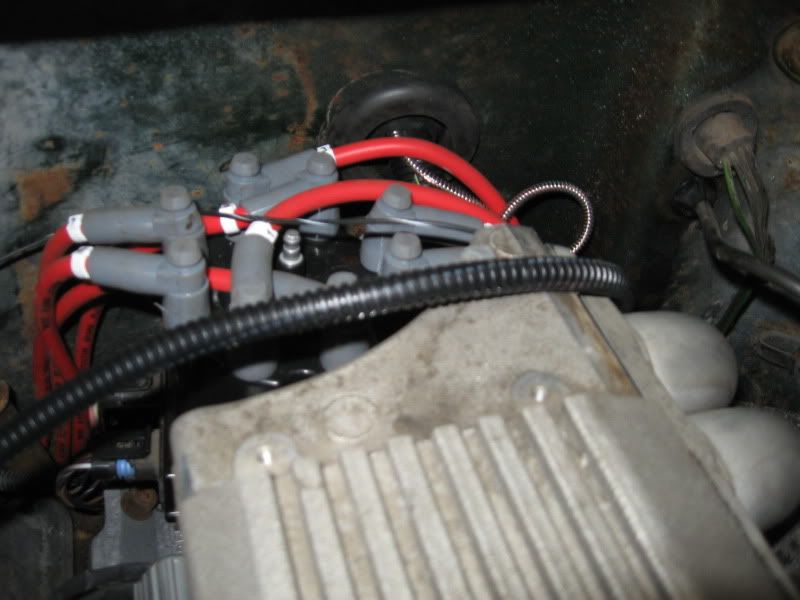
I used a stand alone harness from larry electronics and a trick flow tpi/ls high pressure fuel pump. I sent my fuel rail off to AZ TPI to have it modified for rear pressure and relief entrys. This makes it so much easier to set up. I used the factory hardlines and spliced them with compressed 5/15 and 3/8 with an fittings. Then I ran high pressure loc lines to the frame up the fire wall into the back of my fuel rail. From start to finish it took me a little over 9 hours. I did it myself and on my daily driver. Heres a few pics.. the wires are now much more placed than in last pic. Also go heated O2..
|
|
|
|
|
02-13-2011, 10:05 PM
|
#19 |
|
Senior Member
Join Date: Aug 2006
Location: LaSalle Mi
Posts: 498
|
Re: My Blazer
Rear suspension looks different now.
 Time to work on the fuel system so I can get this thing started up. Also link to an old, unaswered question of mine. http://67-72chevytrucks.com/vboard/s...d.php?t=413502 Last edited by litebulblsc; 02-13-2011 at 10:07 PM. |
|
|
|
|
06-17-2011, 07:45 PM
|
#20 |
|
Senior Member
Join Date: Aug 2006
Location: LaSalle Mi
Posts: 498
|
Re: My Blazer
|
|
|
|
|
06-17-2011, 09:40 PM
|
#21 |
|
Registered User
Join Date: May 2007
Location: Marion, Mi.
Posts: 2,429
|
Re: My Blazer
Looking real good lite!
|
|
|
|
|
06-21-2011, 03:32 PM
|
#22 |
|
Senior Member
Join Date: Aug 2006
Location: LaSalle Mi
Posts: 498
|
Re: My Blazer
Rear suspension consists of ORD shackle flip with the longer shackles, greasable bolts and poly bushings, 1'' zero rate with eht e axle offset 1.5" back, and the old stock leaf pack with 2" add a leaf I put on years ago.
Front suspension is 8" lift spring bolted one with ORD greasable bolts and poly bushings, longer shackles and 1" zero rate with no offset. Engine starts but the injectors keep sticking open so I have to pull them to get cleaned/ rebuilt. Saving up my money for something good, not yet sure what for yet. Either new car, Blazer parts, or 250r parts. We will have to see what happens.... |
|
|
|
|
03-01-2021, 09:13 AM
|
#23 |
|
Senior Member
Join Date: Aug 2006
Location: LaSalle Mi
Posts: 498
|
Re: My Blazer
I am going to be updating this.
|
|
|
|
|
03-13-2021, 08:06 PM
|
#24 |
|
Senior Member
Join Date: Aug 2006
Location: LaSalle Mi
Posts: 498
|
Re: My Blazer
First picture is what I started with. The bed floor was in horrible shape. The picture does not show how badly it bows down.
The second picture shows after removing some of the patch panels that were welded over the rust and the inner fender removed. Third is the floor removed. Fourth is the Blazer with the back of the body removed The last picture is of the LWB truck bed floor I made the new floor from |
|
|
|
|
03-14-2021, 06:09 PM
|
#25 |
|
Senior Member
Join Date: Aug 2006
Location: LaSalle Mi
Posts: 498
|
Re: My Blazer
Picture 1: Got it shortened
Picture 2: Had to replace a tall sill with a short sill. Also working on patching. Picture 3: Patching the rust Picture 4: All patched and cleaned up. Picture 5: Front sill notched for the Blazer body mount |
|
|
|
 |
| Bookmarks |
|
|


 Linear Mode

