
 |
Register or Log In To remove these advertisements. |
|
|
|
|||||||
 |
|
|
Thread Tools | Display Modes |
|
|
#1 |
|
Registered User
 Join Date: Nov 2010
Location: Southeastern, KY
Posts: 52
|
Powder Coat Homemade Oven
Ive been wanting to get into PC for the last couple years ever since I got a motor done on my drag four wheeler so I was just wondering if anyone on here does powdering coating and if so if they built their own oven and might be able to give some insight on it..
__________________
1970 C-10 CST 2003 Silverado 2004 Avalanche LTZ |
|
|

|
|
|
#2 |
|
Registered User
 Join Date: Apr 2008
Location: San Diego California
Posts: 1,316
|
Re: Powder Coat Homemade Oven
I have and will be glad to answer any questions you have. I am on my iPhone now bu I will post pics later.
Posted via Mobile Device
__________________
I'd rather attempt something great and fail.. than try something ordinary and succeed. Norman Vincent Peale Project: Barn Raising http://67-72chevytrucks.com/vboard/s...d.php?t=414961 Project: 30 Be Low https://67-72chevytrucks.com/vboard/...d.php?t=830583 |
|
|

|
|
|
#3 |
|
Registered User
 Join Date: Nov 2010
Location: Southeastern, KY
Posts: 52
|
Re: Powder Coat Homemade Oven
alright I sure do appreciate it
__________________
1970 C-10 CST 2003 Silverado 2004 Avalanche LTZ |
|
|

|
|
|
#4 |
|
Registered User
 Join Date: Apr 2008
Location: San Diego California
Posts: 1,316
|
Re: Powder Coat Homemade Oven
There are a couple of kits that I am familiar with on the market that are designed for the home hobbyist. Harbor freight and Eastwood. I bought the HB one but use Eastwood powder many more color options.
The key to achieving a good powder coat is a good sandblaster, and the key to a good sand blaster is a good compressor. One the can deliver a constant 120 psi at minimum. Mine will do constant 150 psi and it works well for most jobs I have. I chose a 70 grit media because I mostly do light paint or rust removal. Having multiple dryers in the line is a must, if your media gets moist then you can forget it. The sand blaster allows you to prep the parts very clean and not get any chemicals on the metal that might contaminate the powder. I use two compressors for my system, one big one for the blaster and a smaller one for the powder so I don't have to keep adjusting the psi. You need very little psi for powder application. Have some sort of cardboard box or drip pan under where you are spraying the powder to catch the over spray, it can be reused if it is clean. Wear a respirator! I bought an old electric oven on Craig's list for sixty bucks and took the heating elements out and the control board, everything else went in the dumpster. I had an old stainless steel restaurant plate waiter (the kind that is spring loaded so when you pick a plate off the top the rest of the plates rise up out of the box a bit) and gutted that so I only had a s.s.shell. Mine was going to be stored outside so I needed s.s. so it would not rust. I have seen guys make ovens out of 55 gallon drums, Home depot steel studs and galvanized sheet metal, etc... you need to make it to fit your needs and what you are going to be coating. I was going to be coating mostly brackets and such so I elected to have a top loader like a washing machine. The electronics in the ovens work this way; bake= bottom burner, broil= top burner. You can wire in such a way that both come on at the same time for even cooking. Remember it only need to be cooked at 400*. I have seen some guys run only one burner and they have said to have good results but I ran both to make sure I got even coverage and no hot or cold spots. Here is the oven that I got, partially disassembled 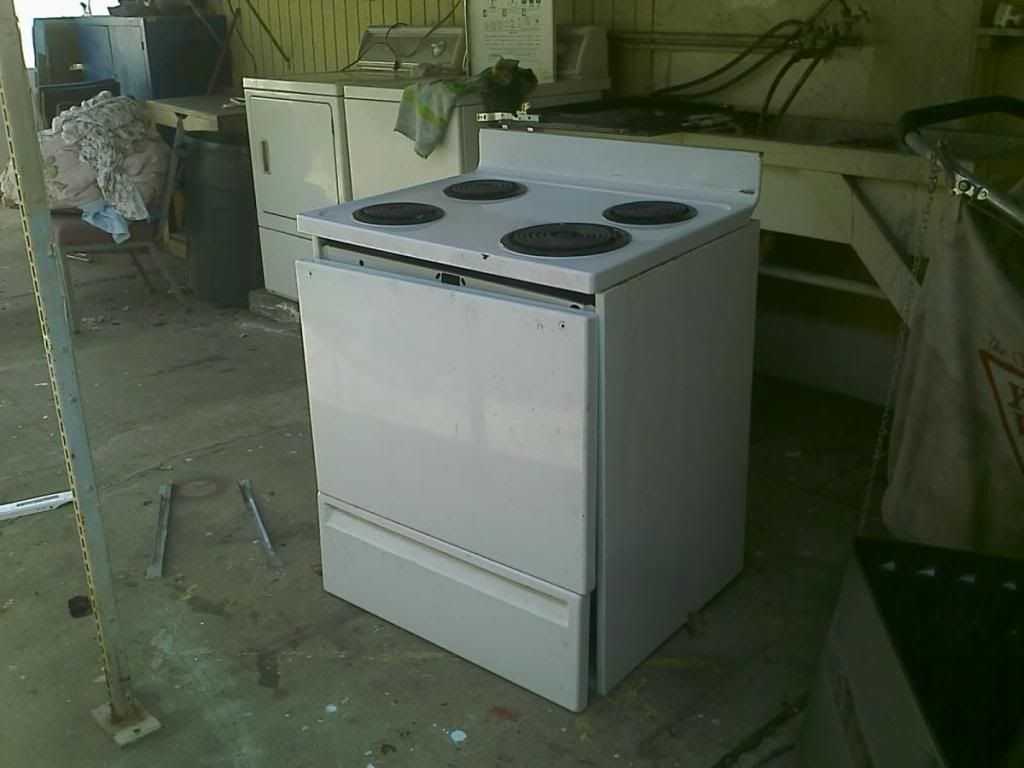 Thought i was going to use the insulation but I did not have enough in the oven so I just went to home depot and got a roll of the pink NON PAPERED insulation and it has been working fine. 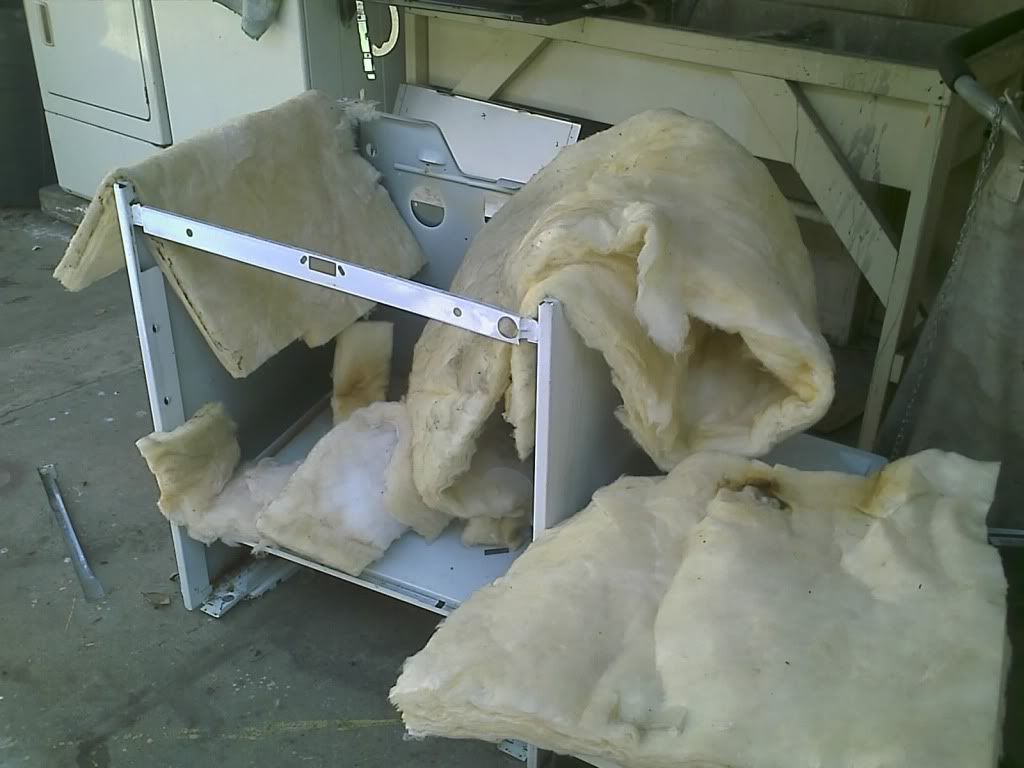 The plate waiter I had already, it was only single walled and I needed to make it double walled and insulate it. 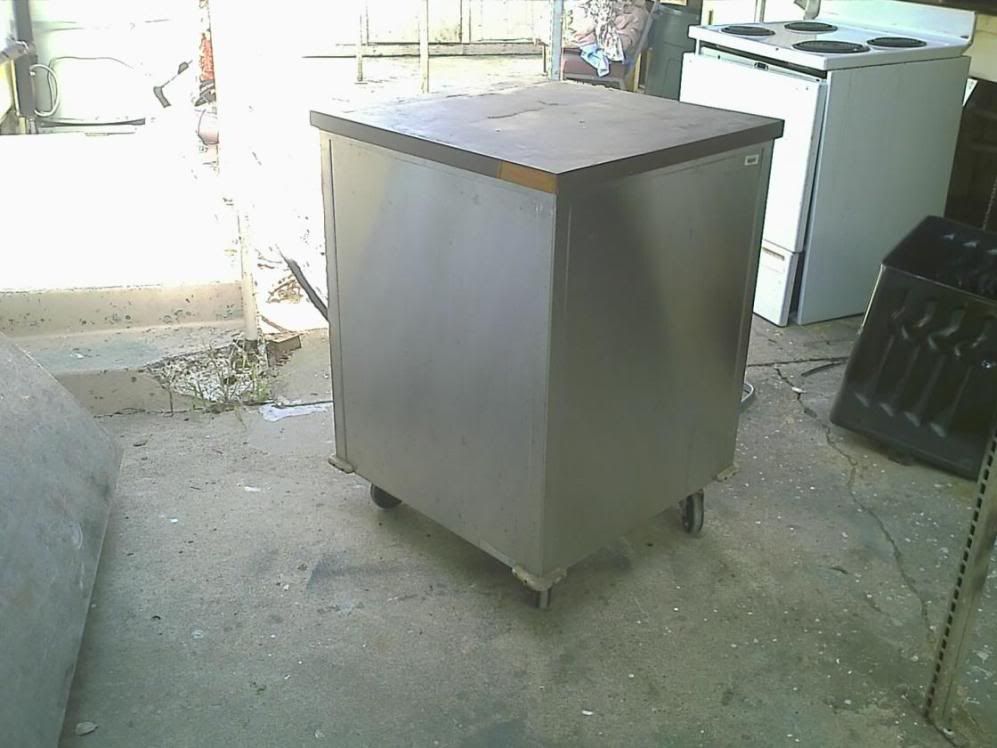 Adding the electronics and thermostat 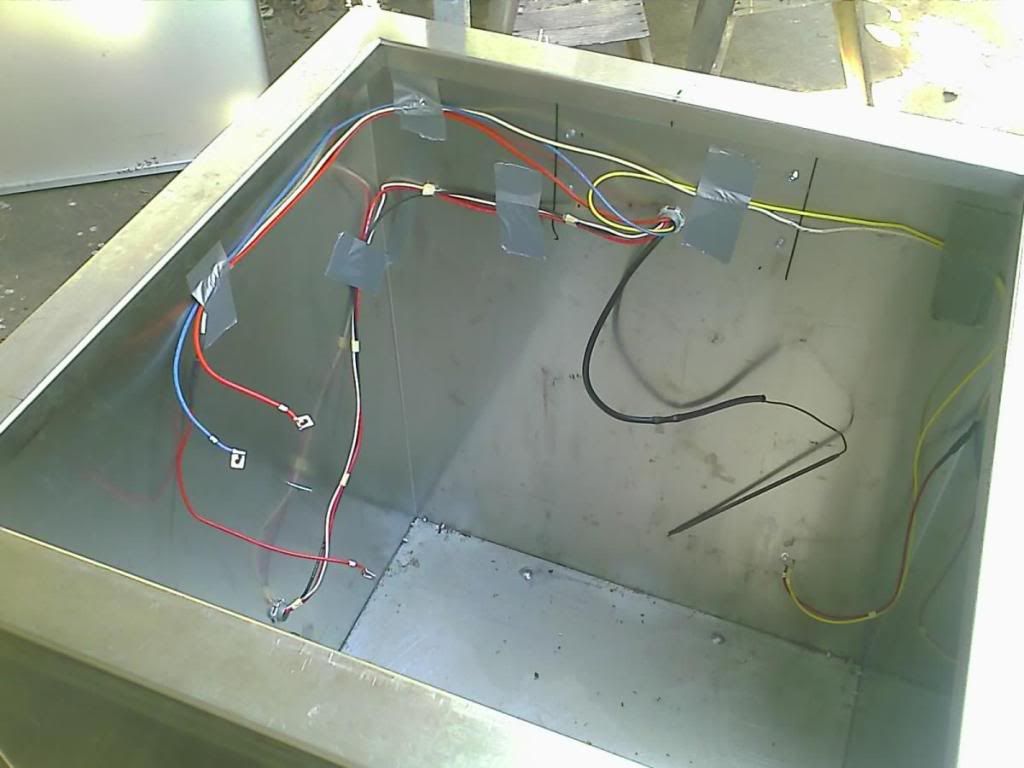 Laying out the burners, make sure they do not rest against the sides and that there is nothing leaning against them. they are very fragile and can break easily. 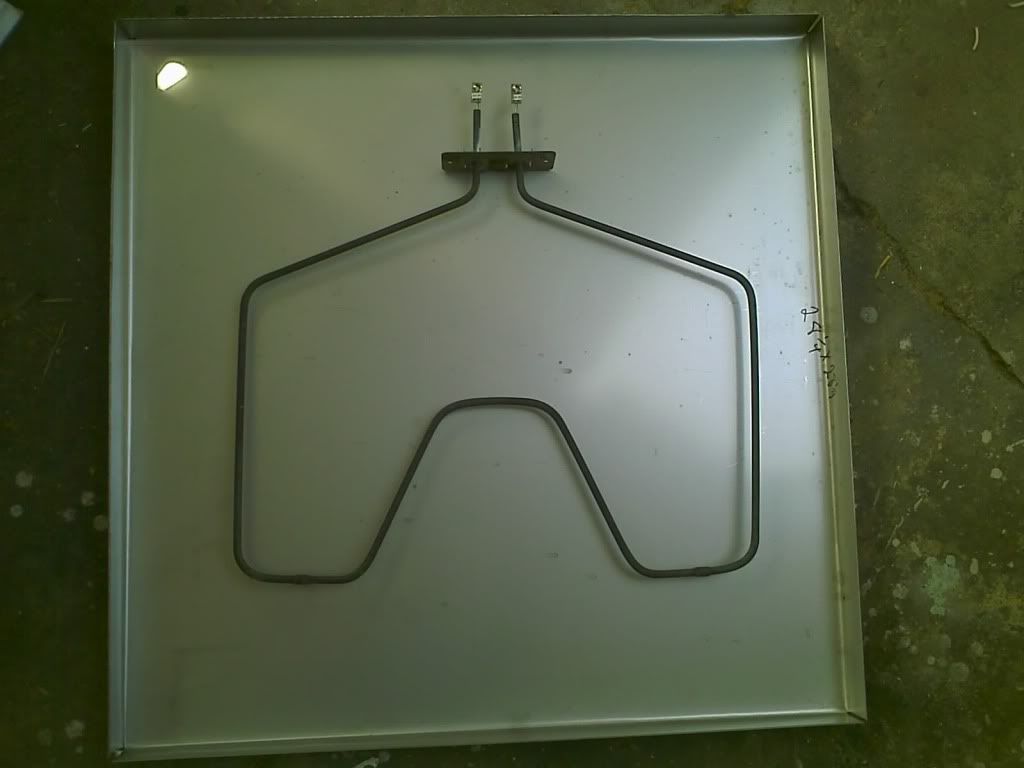 I cut down the control board because I did not need the range controls and it needed to fit on the side of the new oven 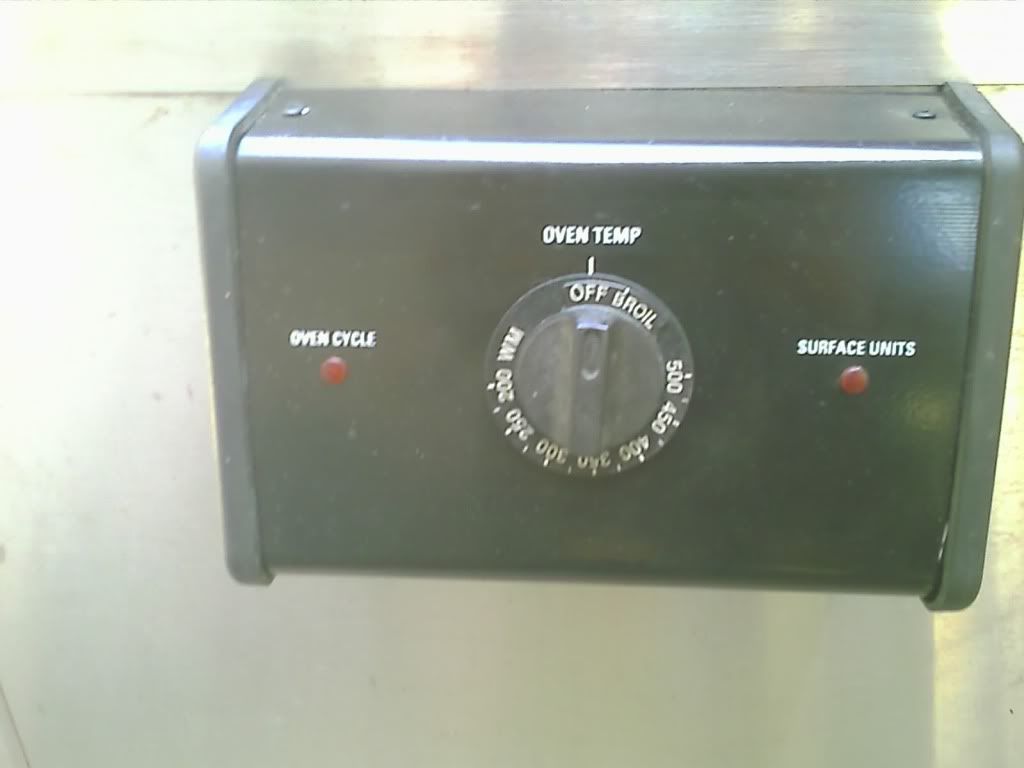 Had a sheet metal shop break some S.S. sheets so that I could screw it to the inside of the new oven and give a 1.5 inch insulated area between inside and out top and bottom. 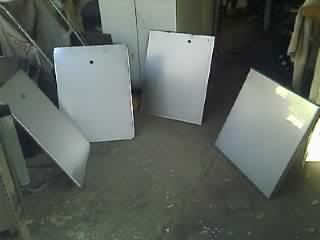 Inside all done  Rack installed  Total inside dimension is 22x24x29. a regular home oven is around 14x18x12. Add the hanging hooks and you cannot do much bigger than valve covers.  I did the springs spindles, upper and lower control arm shafts, U bolts, oil pan and various other items for the front end. had the pros do the cross member and control arms. but if you do a lot of powder coating you will save a lot of money in the long run. 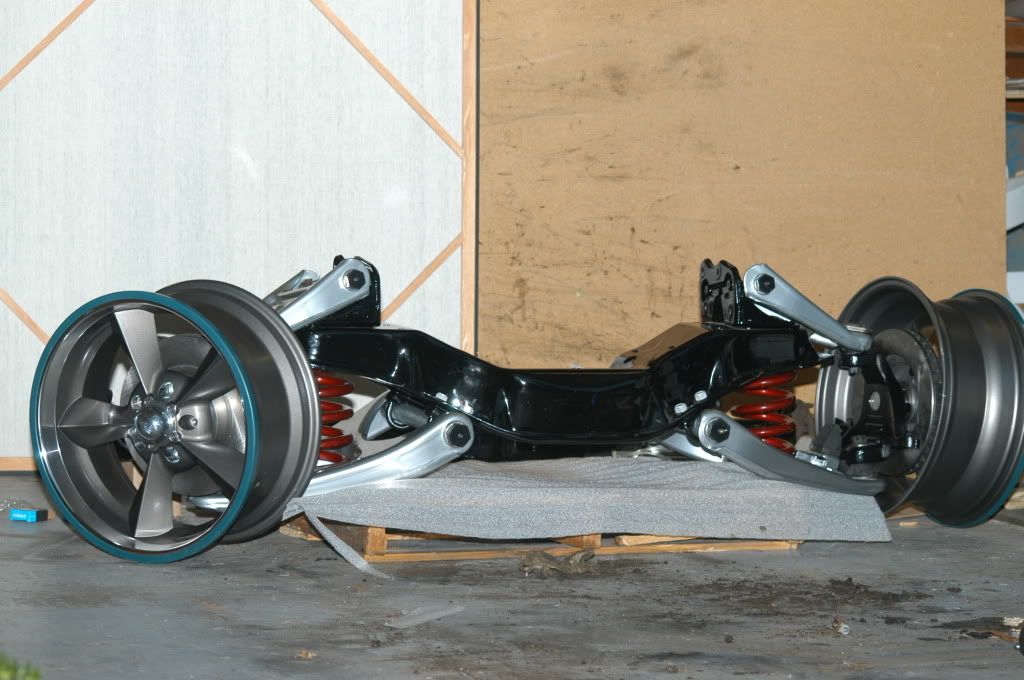
__________________
I'd rather attempt something great and fail.. than try something ordinary and succeed. Norman Vincent Peale Project: Barn Raising http://67-72chevytrucks.com/vboard/s...d.php?t=414961 Project: 30 Be Low https://67-72chevytrucks.com/vboard/...d.php?t=830583 |
|
|

|
|
|
#5 |
|
Watch out for your cornhole !
 Join Date: Jun 2003
Location: Azle, Texas
Posts: 14,162
|
Re: Powder Coat Homemade Oven
We built my oven. It takes about 20 minutes to go from room temperature to 400 degrees.
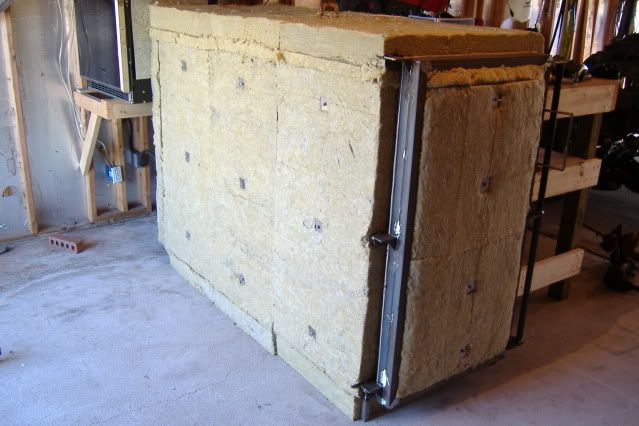 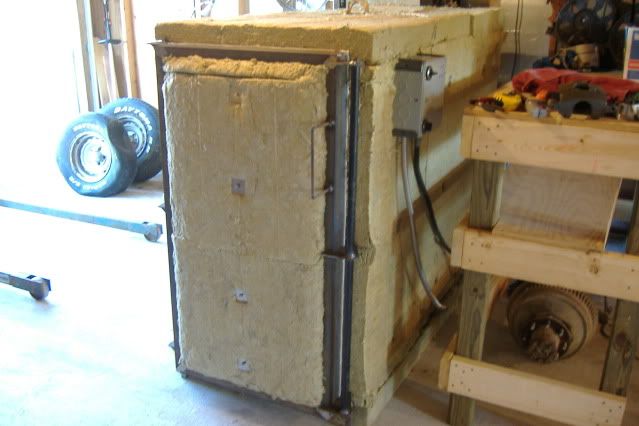 Control box 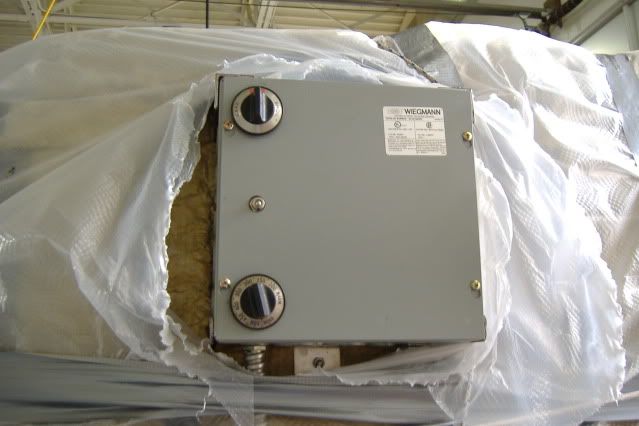 Just built, wrapped for transport to my shop... 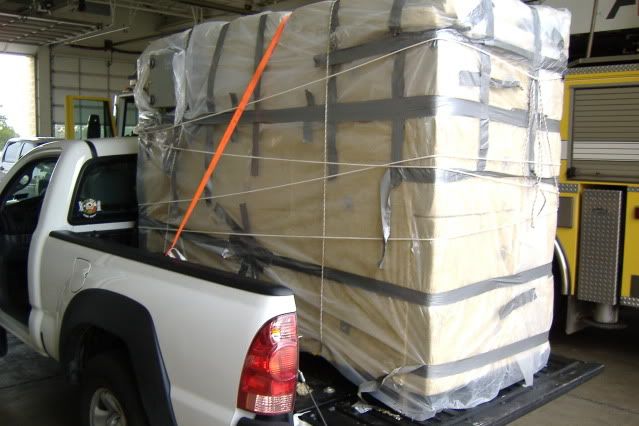 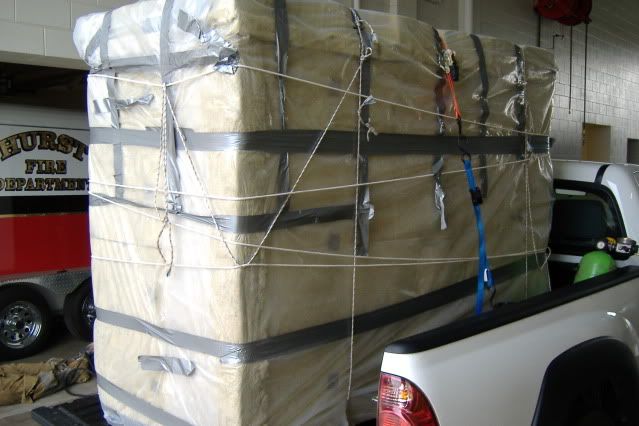 It's 6 feet long to give you an idea of size.
__________________
I'm on the Instagram- @Gearhead_Kevin Last edited by Tx Firefighter; 12-30-2010 at 01:14 PM. |
|
|

|
 |
| Bookmarks |
|
|