
|
Register or Log In To remove these advertisements. |
|
|
|
|||||||
 |
|
|
Thread Tools | Display Modes |
|
|
 06-15-2011, 12:46 AM
|
#1 |
|
Junk Yartist
Join Date: Jul 2009
Location: Greeley, CO
Posts: 2,203
|
Re: NP 205 Rebuild and Info
To begin re-assembly I started with the idler shaft. Here is a picture of how the rear bearing, spacer, and shims came off.
 I assembled the idler gear cluster and front bearing to the shaft to check end play.  0.001"-0.002" is the spec I found for end play, and you are supposed to check it in a press. Well, I don't have a press. So this is how I loaded the bearings to check end play. I used a socket to press against the front bearing. After setting my shim pack I ended up with 0.002"  Here I laid the case face down and installed the gear cluster (bigger gear to the front) bearings, spacer, and shims. The idler shaft has to go through all of them so this was easiest.  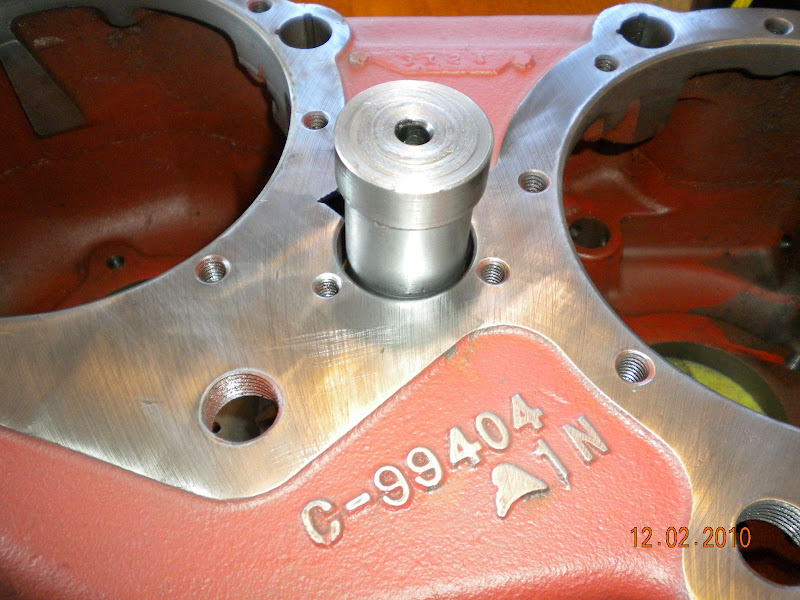 Next I flipped the case and installed a new washer and nut. Torque is 150lbft. I also used lock-tight on the threads and marked the nut,shaft, and case to catch any movement. The front bearing gets torqued against the case, the rear of the shaft "floats in the bore and the shoulder torques against the rear bearing. If end play is not correct, the gear cluster will not rotate freely or there will be excessive end play after installation. I rechecked end play after torquing the shaft nut.   Next is the idler shaft cover with a new gasket. Note the orientation of the flat on the cover. Torque is 20lbft. 
__________________
-Jeremy YOU ONLY FAIL IF YOU STOP TRYING 70 Crew Cab Build Link 70 GMC Suburban 4X4 build thread 95 Yukon Daily Driver Rebuilding an NP205 Last edited by jbclassix; 06-15-2011 at 01:10 AM. Reason: added image |

|

|
|
06-15-2011, 01:07 AM
|
#2 |
|
Junk Yartist
Join Date: Jul 2009
Location: Greeley, CO
Posts: 2,203
|
Re: NP 205 Rebuild and Info
Next is the interlock pins
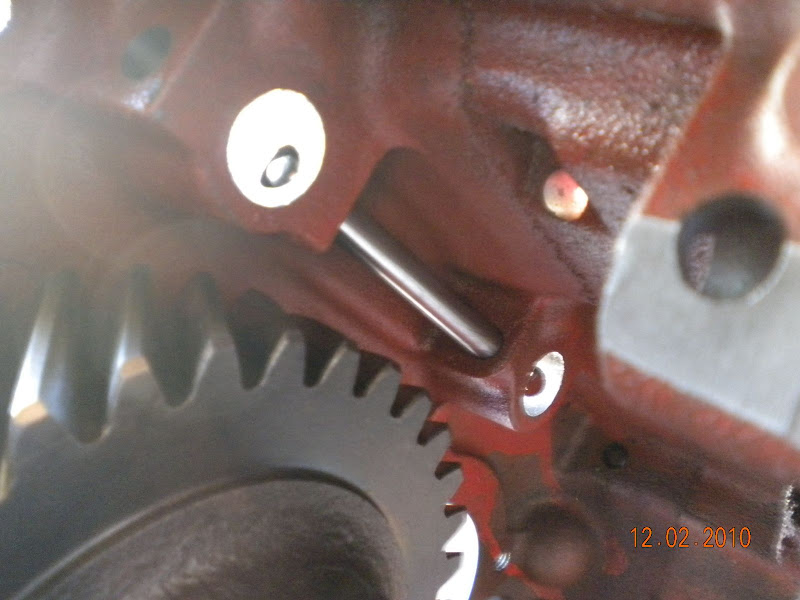 New shift shaft seals. The metal lips go out. 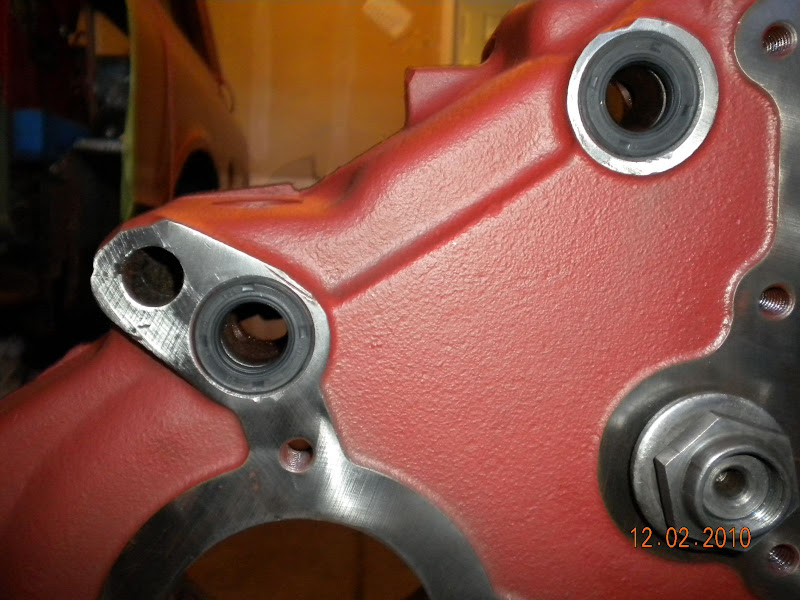 Next is the lower (2-4) shift fork assembly. Note that the longer side of the bore goes to the front of the case. The roll pin will be on the front of the fork. I learned the hard way this shift fork has to go in before the upper one because of the interlocks! Make sure your detent grooves are up. I started the roll pins in the forks for easier installation.   Next I installed the new input bearing with the outer snap ring.  Next I installed the input shaft into the bearing with the snap ring and a new O-ring on the input shaft. This O-ring seals the INSIDE of the coupler. 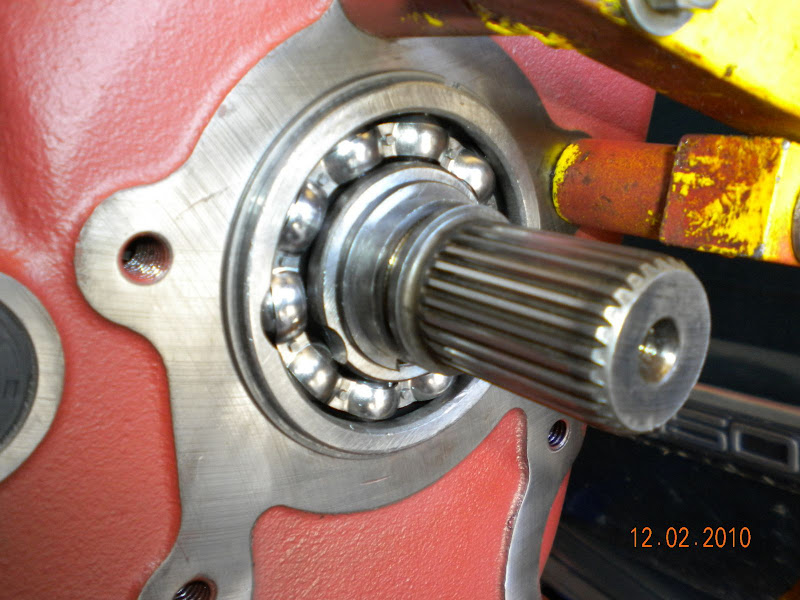  I installed the Hi-N-Lo shift fork assembly with the shift collar. This seemed to make it easy to keep the roll pin lined up with the hole in the case so it could be driven in. 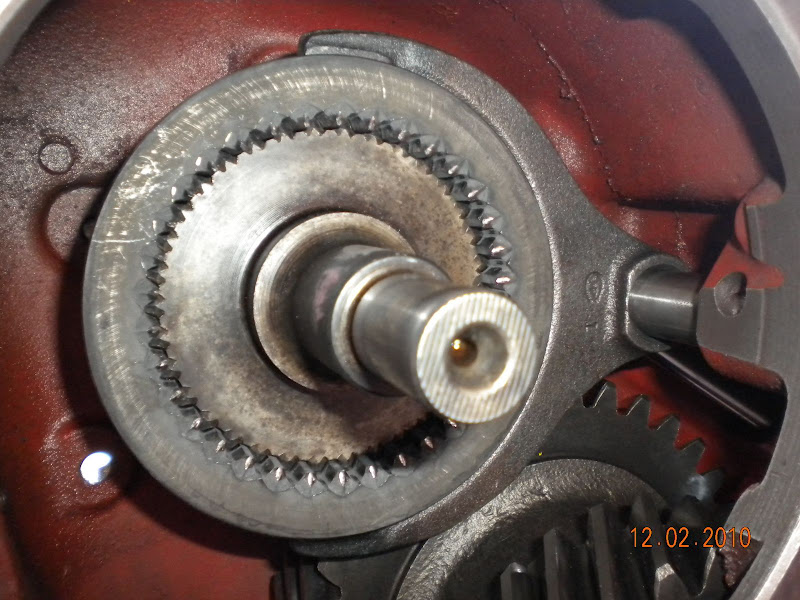 Guys, I'm gonna call it a night for now on this post... I will continue on this tomorrow. I will proof read everything again and make sure I didn't miss anything. Tomorrow I will get into the frustrating parts! Hope you are enjoying what's here so far!
__________________
-Jeremy YOU ONLY FAIL IF YOU STOP TRYING 70 Crew Cab Build Link 70 GMC Suburban 4X4 build thread 95 Yukon Daily Driver Rebuilding an NP205 Last edited by jbclassix; 06-15-2011 at 10:48 AM. Reason: added image |
|
|
|
|
06-15-2011, 01:43 AM
|
#3 |
|
Second Chance Program
Join Date: Jun 2006
Location: Portland, OR
Posts: 2,642
|
Re: NP 205 Rebuild and Info
Damn! Good job! I am positive i will use this as a guide in the future!
|
|
|
|
|
06-15-2011, 11:30 AM
|
#4 |
|
Junk Yartist
Join Date: Jul 2009
Location: Greeley, CO
Posts: 2,203
|
Re: NP 205 Rebuild and Info
Thanks y5mgisi! Next I pulled apart the rear output assembly. This is the rear Low gear that is coming off the output shaft. First thing is pull the snap ring. You need a good large snap ring pliers on this one. Next is the index washer. Pay attention to that little pin sticking out of the shaft. The grove in the index washer needs to go over that.
 Next pull the pin out of the shaft. This pin is real small and real important so don't loose it! 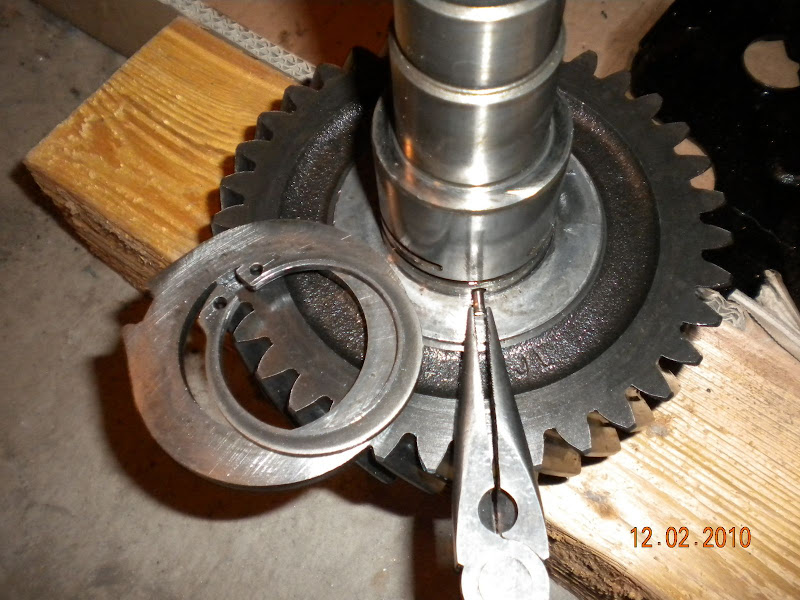 Next is the thrust washer. It has an indexing tab on it. 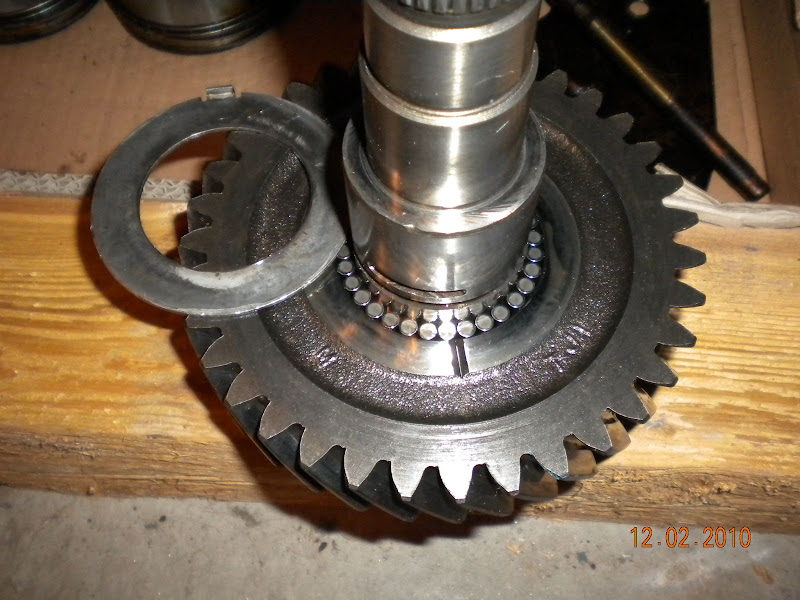 Next the low gear can be slid off. Have something that can catch all the rollers as they fall out. There is also a divider ring because there are two rows of rollers. the last thing to come off is another thrust bearing 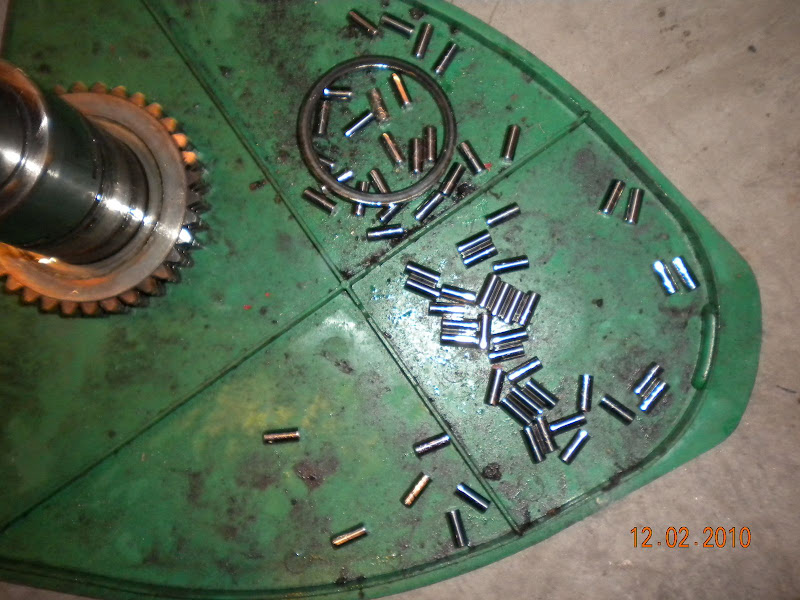 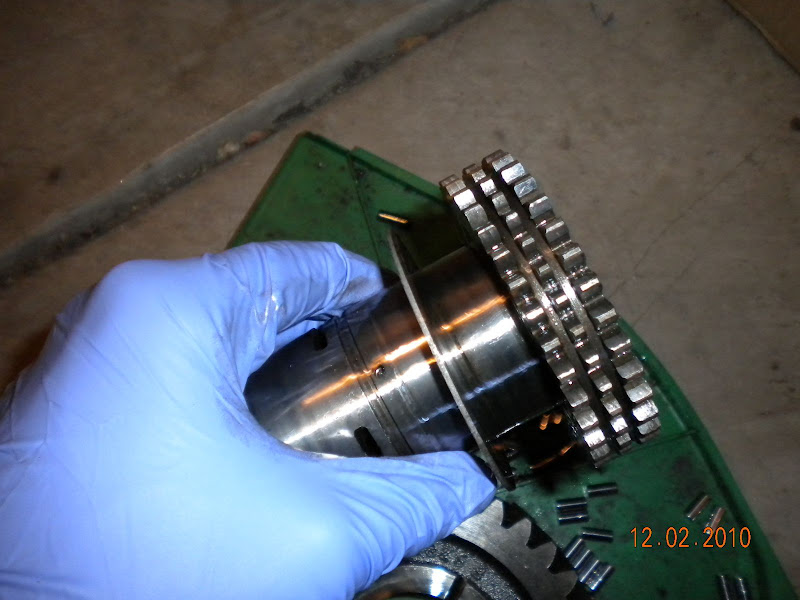 This is the cleaned bare output shaft. 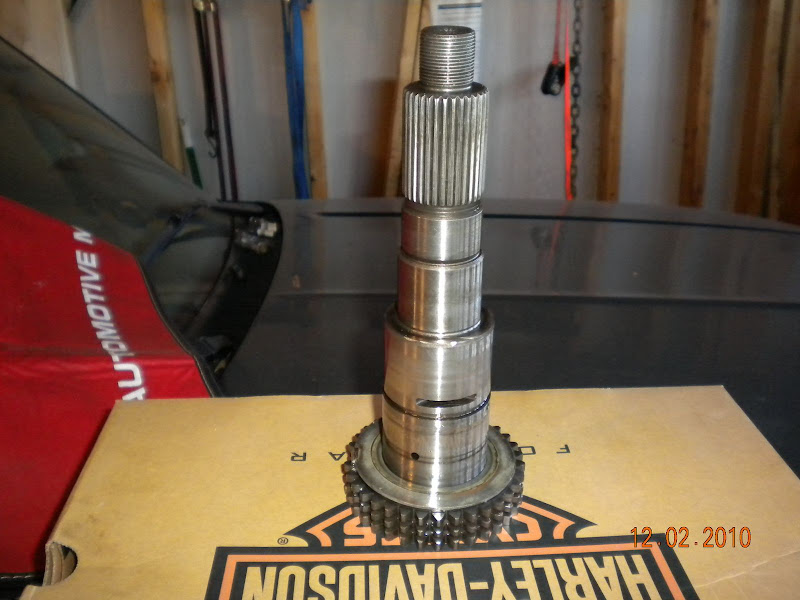 Next install the thrust washer with the index tab as shown 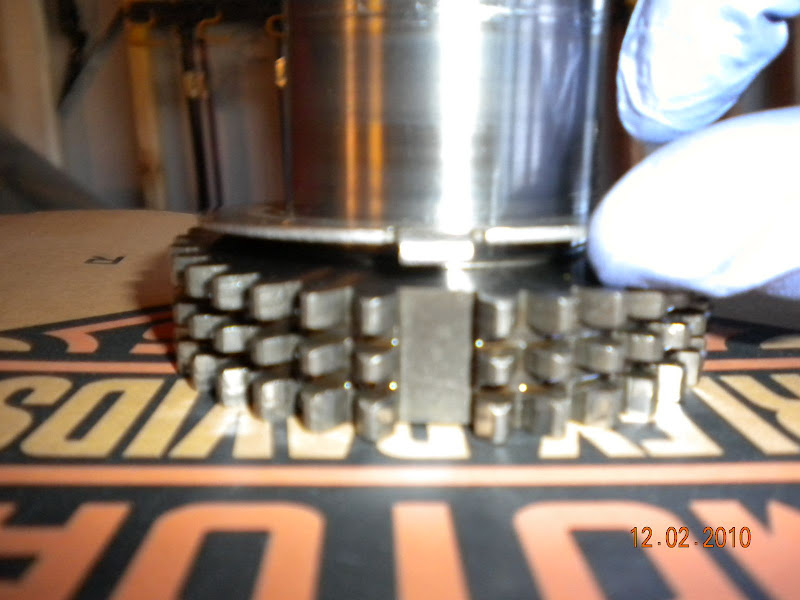 I used some cam assembly lube to stick the lower row or rollers to the output shaft. Next I set the divider ring on the shaft and then the Low gear. Make sure the gear is installed in the right direction. I then installed the top row of rollers.  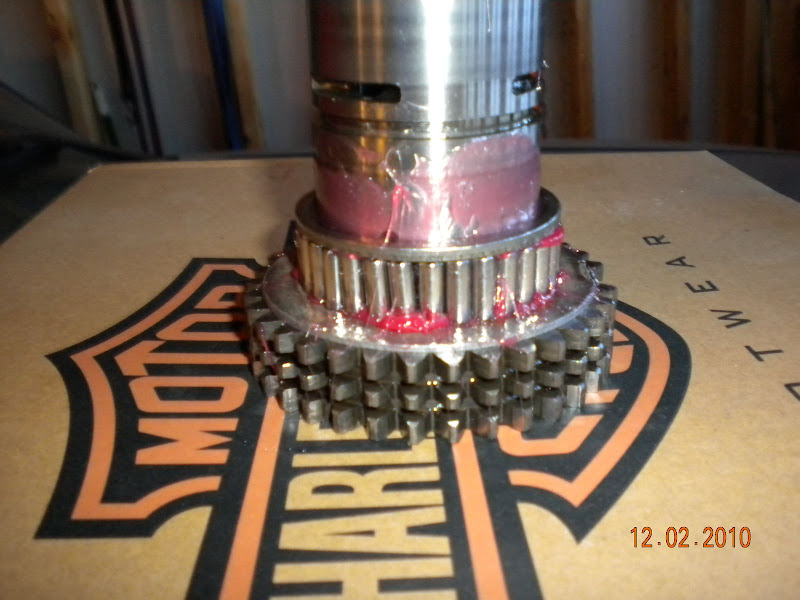  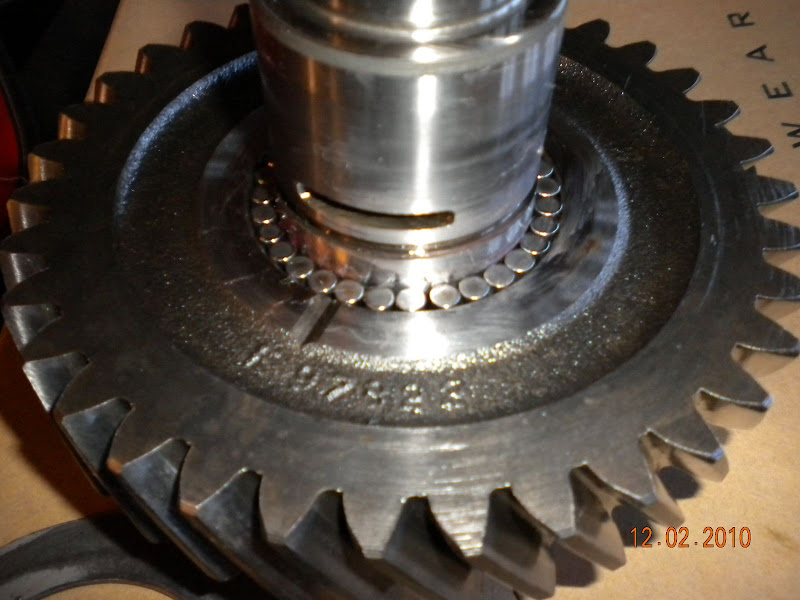 Next install the thrust washer with the indexing tab as shown.  Now install that little retaining pin  Next is the indexing washer. the grove in the middle needs to sit over the pin and the groove on the perimeter needs to sit over the tab on the thrust washer. Next install the snap ring. 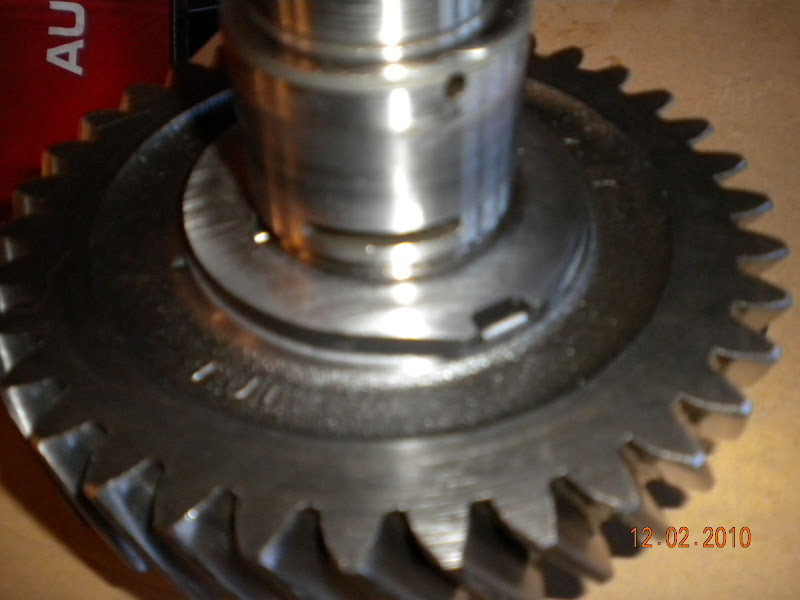 Now the shaft can be turned over. I used some cam lube again to hold the inner rollers in place. I used a screw driver to position them and a deep socket to ensure they were aligned to fit over the pilot in the input shaft.  Next is the retaining washer and snap ring. a socket worked good for seting the snap ring 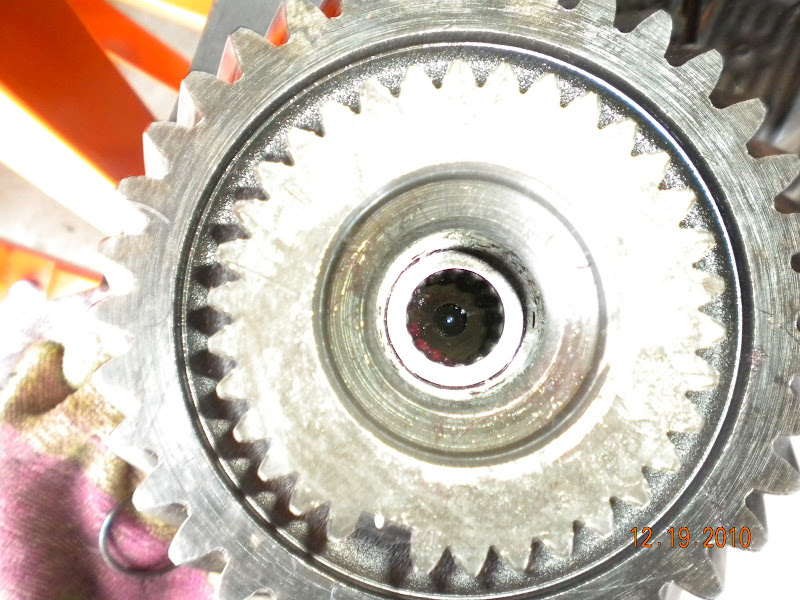 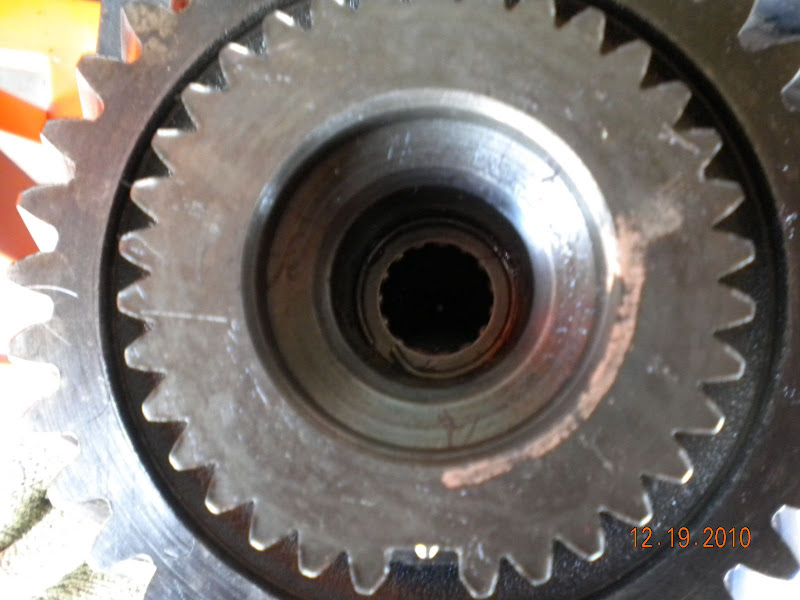 Now the rear output can be installed on the back of the input shaft 
__________________
-Jeremy YOU ONLY FAIL IF YOU STOP TRYING 70 Crew Cab Build Link 70 GMC Suburban 4X4 build thread 95 Yukon Daily Driver Rebuilding an NP205 |
|
|
|
|
| Bookmarks |
|
|


 Hybrid Mode
