well, I am almost done putting the front end back together and wiring up the engine cab etc. the beast should be back up and running this week, but I realized I had not bled my brakes yet (something I should have done before I put on the front clip to make my life easier...oh well) and I was thinking to myself"I should probably have good working brakes, before I have a running engine because if I know anything about myself, it's that the minute that thing runs, I'll want to test drive it

and that could lead to problems if I forget I have no brakes. So I started to bleed the brakes, but I noticed since I had been pumping the pedal while trying to install/fabricate the push-rod for the brake booster, the prop valve had slammed shut to the rear outlet, and I was getting no fluid out the back. I decided to use my vacuum bleeder... no dice. I ended up pulling the prop valve apart and pushing the valve back to center ( which I tested by putting a multimeter on the plug for the sensor, and a good ground, and then set it to the audible ohms setting, so when the valve returned to the neutral position, the meter stopped beeping.)
I put the prop valve back together and hooked up my bleeder again and "pop" the valve slammed shut again. I needed to figure out how to get the valve to remain in the neutral position while I bled the brakes. I looked at a few cutaway images of a pro valve. like this one...

as you can see, directly under the sensor in the center of the valve, is an indentation so that the sensor will not make contact when the valve is centered. I also noticed that there are o-rings/seals at either end of the sliding valve, meaning that the center should remain free of fluid, so I pulled the sensor and even with the pedal depressed, no fluid came out. Why this is important: it means I can make a tool to hold the sliding valve, bleed the brakes, and then re install the sensor without introducing air into the brake system.
so I inspected the sensor, and the hole it goes in, and realized I would need a large bolt with a tiny nipple at the end.
in my case I needed a 1/2x18 bolt (which is the 1/2 fine thread bolt you can find them at most hardware stores.) and a 3/16 steel shank rivet.
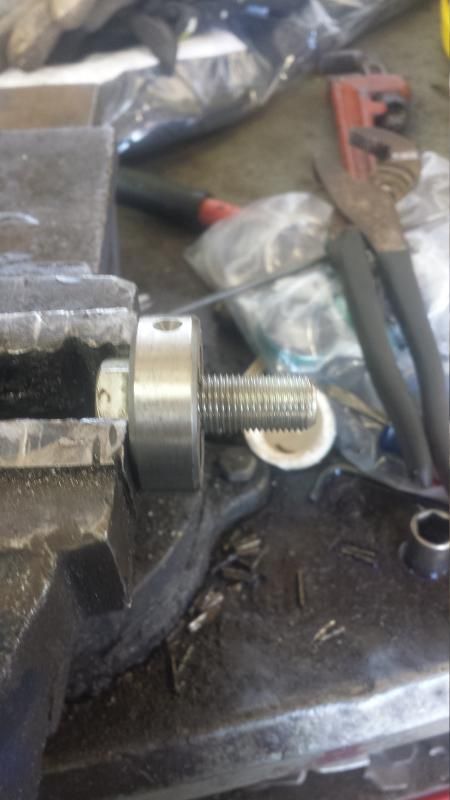
I only had long bolts at the shop so I had to cut one down. I threaded a die over the bolt so that after I cut the bolt down I could clean up the threads.
I then center punched the tip of the bold, and slowly, carefully drilled a straight hole down the tip of the bolt, only deep enough to fit the rivet.
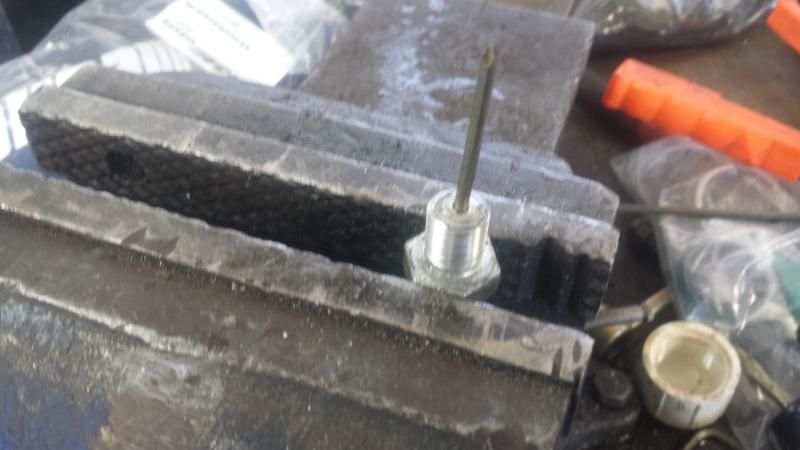
I then used a deep 1/4" socket to drive the rivet into the tip of the bolt till it sat flush.
Finally, I compared the length of the rivet shank to the length of the sensor rod, and clipped the excess off.
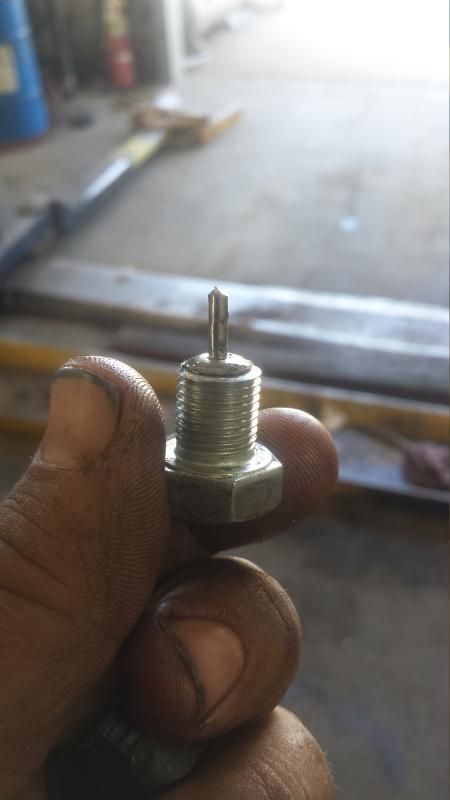
I re-centered the prop valve, and the I inserted the bolt/tool where the sensor goes, and threaded it in
BY HAND ... DO NOT USE A WRENCH until I felt it bottom out against the valve.
The brakes bled with ease, and after I was done, I simply removed the bolt/tool, re-installed the sensor, hooked up my meter on the audible ohms setting again, and pumped the brakes a few times, and all is well


