
|
|
|
 06-15-2015, 04:38 AM
|
#1 |
|
Registered User
Join Date: Sep 2014
Location: Peachtree City Georgia
Posts: 26
|
Re: 55 Wagon Progress
Love seeing your progress. Everyone has already said all that can be said about how amazing your skills are. You inspired me and taught me thru this thread so I went out to try to get a few dents out of my 66 Lincoln that I was going to have someone do for me. While my results aren't nearly as wonderful as your work I was able to get a pretty good sized crease out of my lower quarter panel in which I had little access to the back side. I don't have nearly the tools you do for body work but seeing your use of everyday things got my creative side going. Used my cheap hammers and a pry bar on the backside to get down into the lower quarter panel and watched in amazement as the dent started to disappear a bit at a time A little filler (approx. 1/16 to 1/8 at what was about a 5/8 inch crease) so I called it good for a beginner.
Thanks for sharing and getting me out of my comfort zone and into the wonderful word of metal shaping. When your in my position there's no where to go but up!! |

|

|
|
06-16-2015, 10:32 PM
|
#2 | ||
|
Registered User
Join Date: Jan 2013
Location: Leonardtown, MD
Posts: 1,637
|
Re: 55 Wagon Progress
Quote:
I've seen those as well.. As to the hours, I don't have a 100% accurate count, we didn't have the time clock in the shop for the first bit of work being done, and I do need to total up what I have so far to get an idea where we are.. Quote:
Glad to be a bad influence...  Worked on the Rocky Hinge hidden fuel door this evening. The mounting plate we made is plug welded to the tail light opening.. 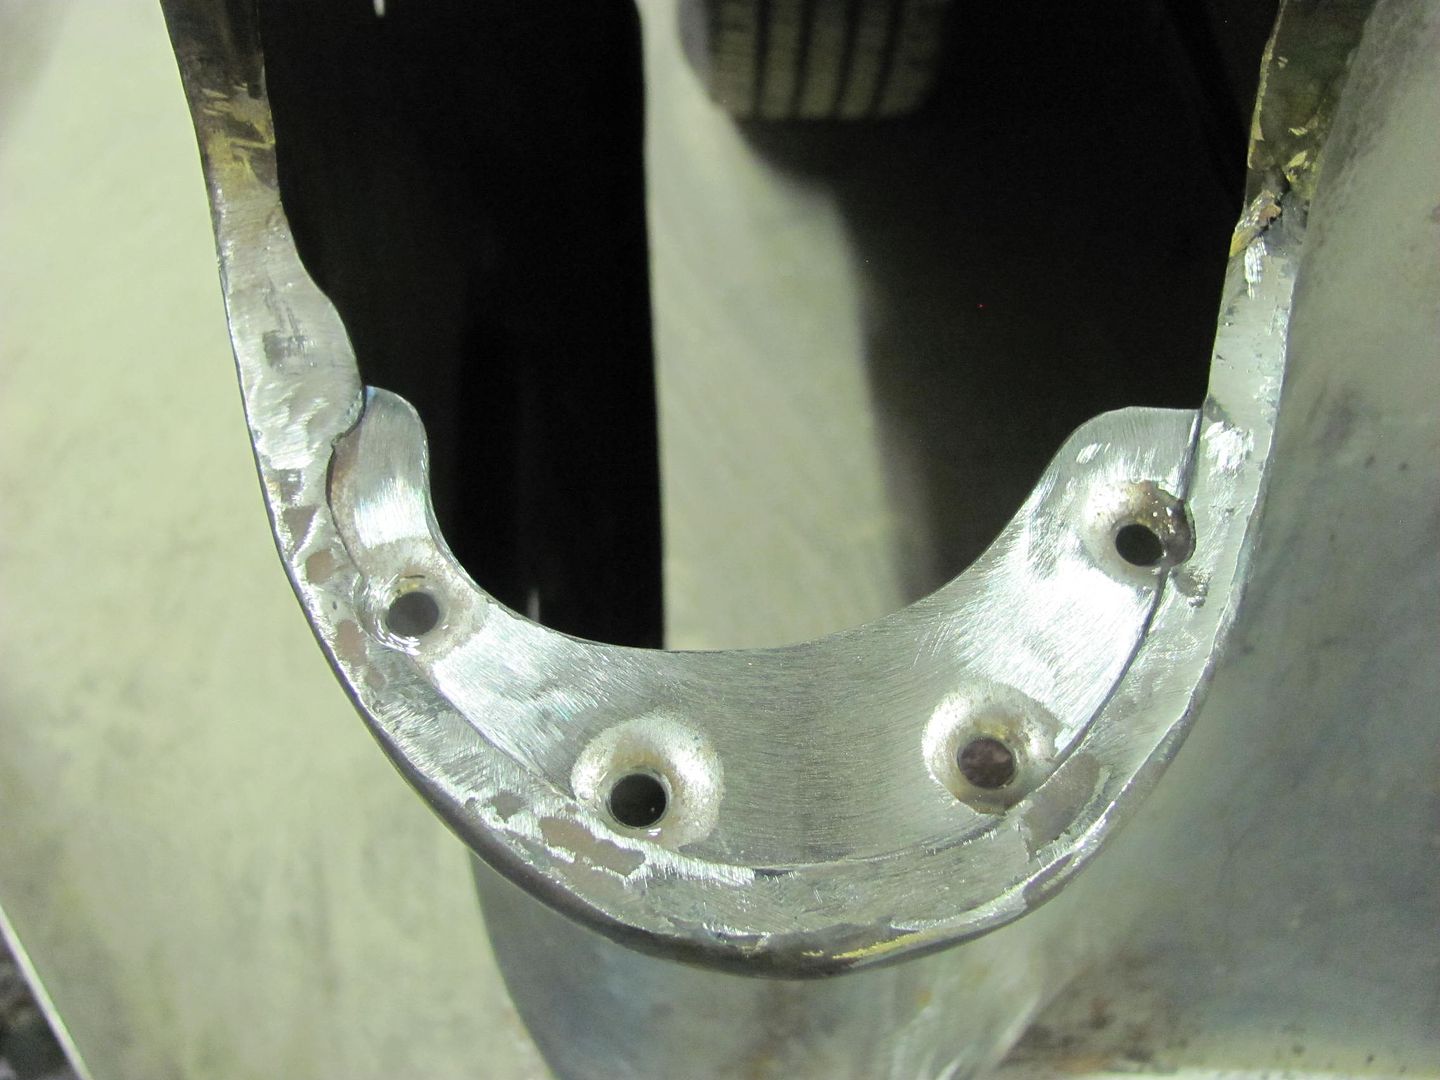 Slight trimming needed..... 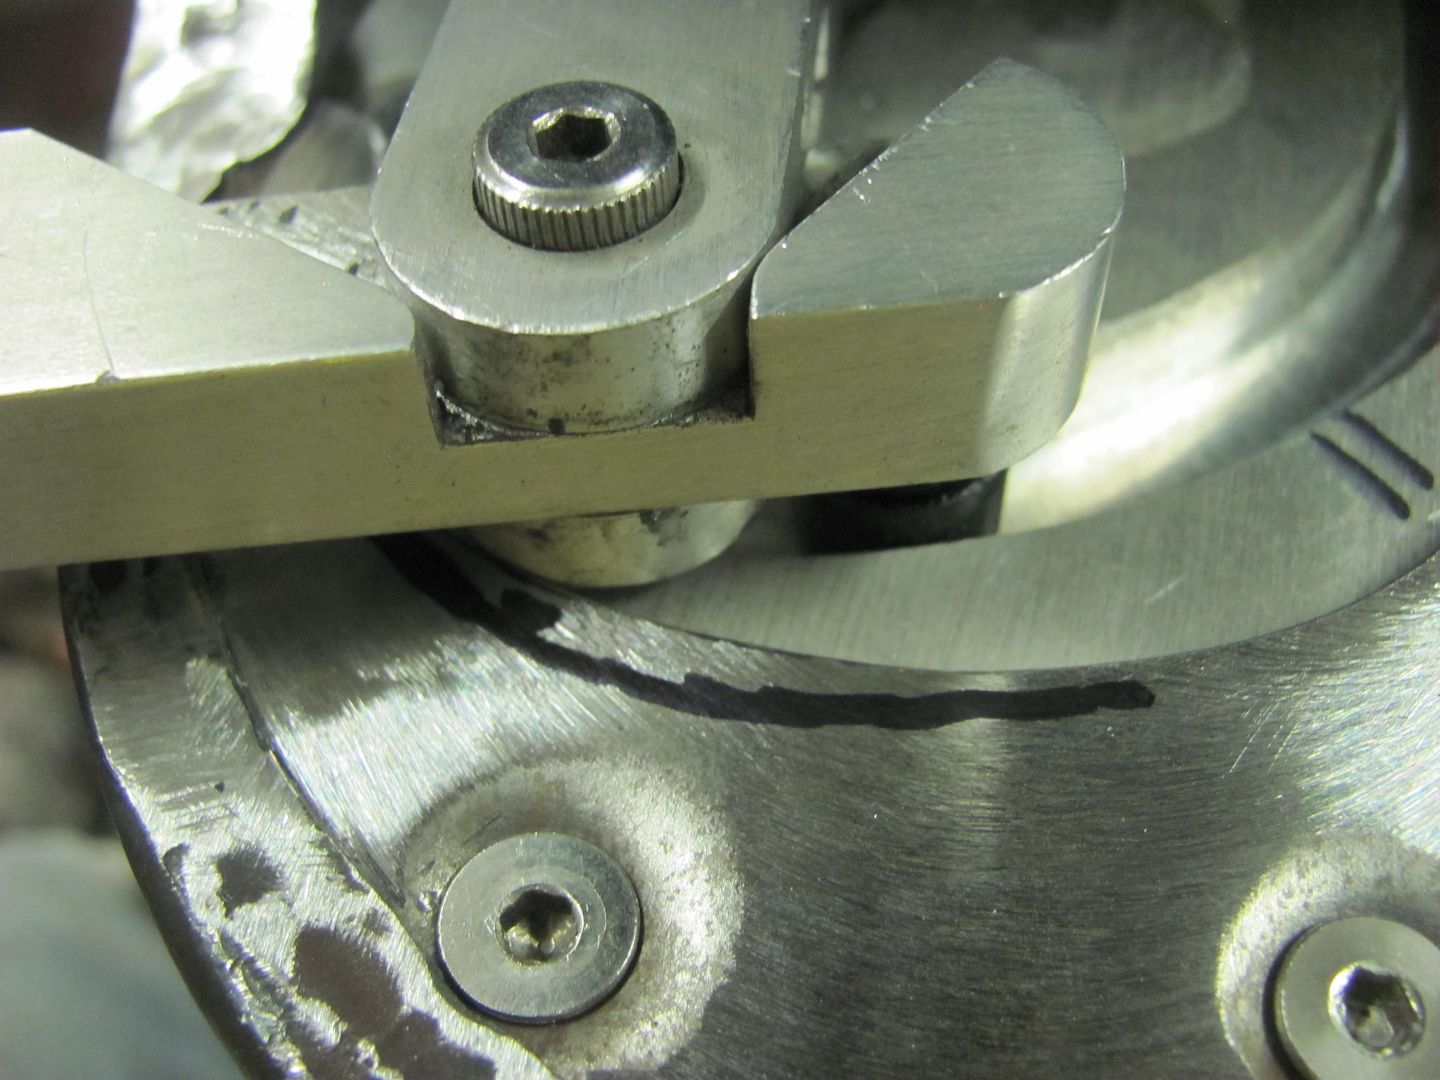 Then some 3M body molding adhesive tape is added to the top of the pivot bracket and the lens pressed in place. Here's the initial test... https://youtu.be/oZ6JYr988dc That worked fairly well, so it was clamped in place and a transfer punch used to mark the housing for drilling mounting holes.. 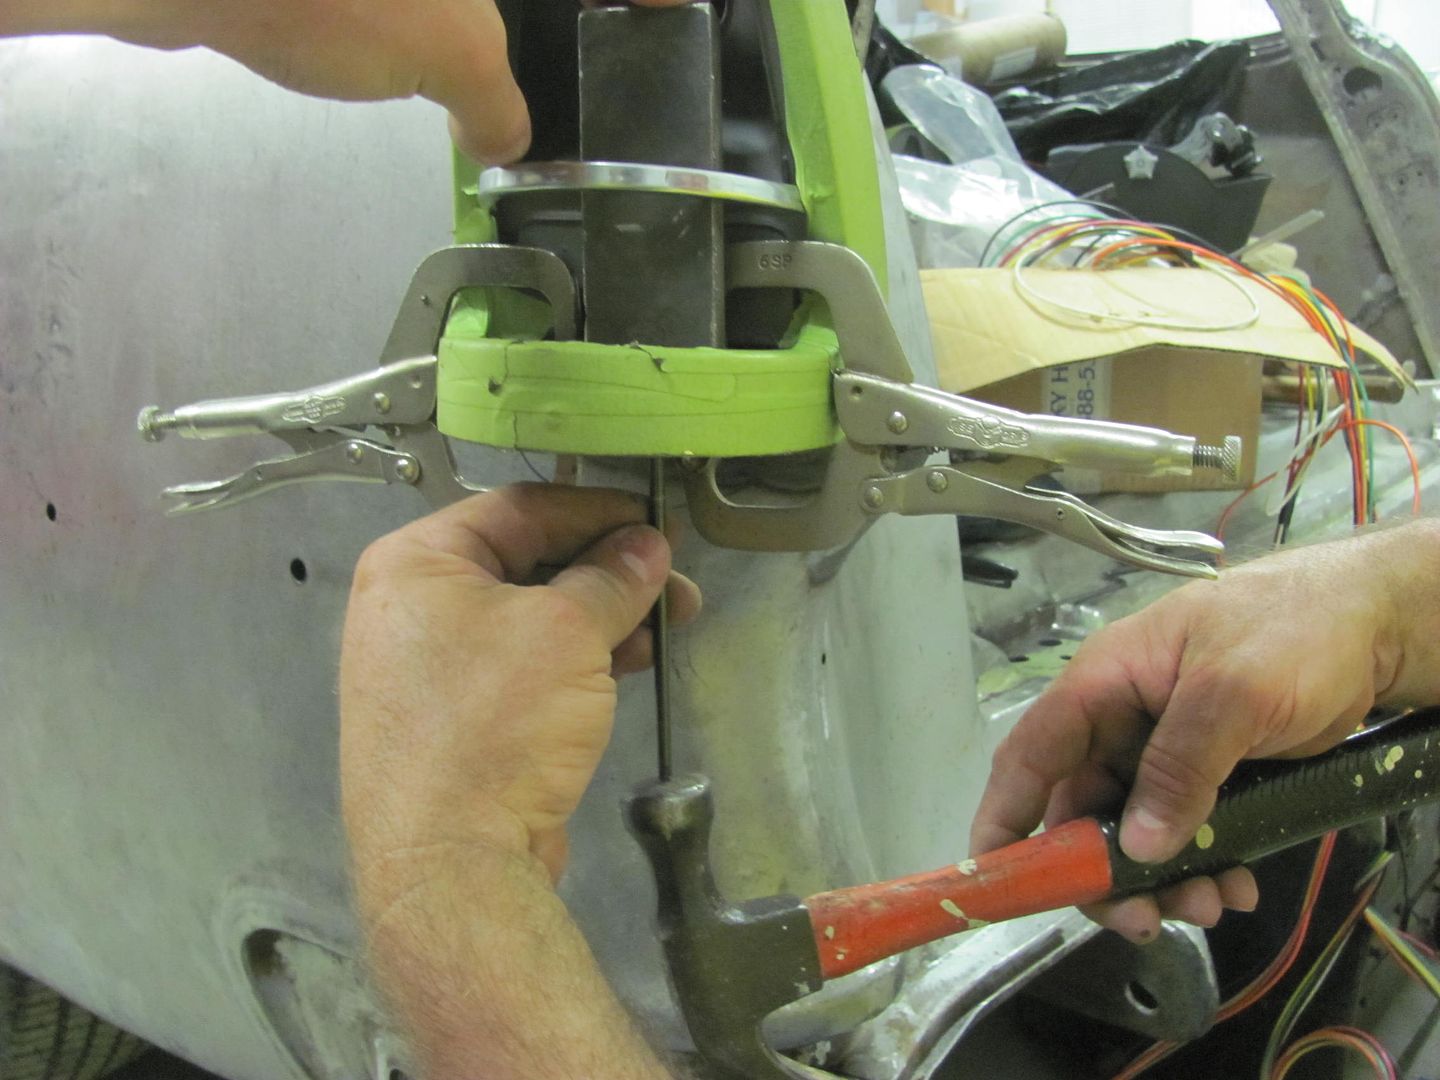 Then the holes were slightly slotted using a dremel for side to side adjustability. Here's the results, from different views.... https://youtu.be/848V2PbuQJw https://youtu.be/N_Qz0NZxh5g https://youtu.be/PVeWQyb35j8 OK, now for the bad that we found with the kit... The original lamp housing must be removed for clearance, and a new (included) one gets installed below the original position. The new housing has those spring loaded contacts that some tend to bend over and short out, so I gave the wires a couple gentle tugs to see if the contacts deflected toward the outside shell... 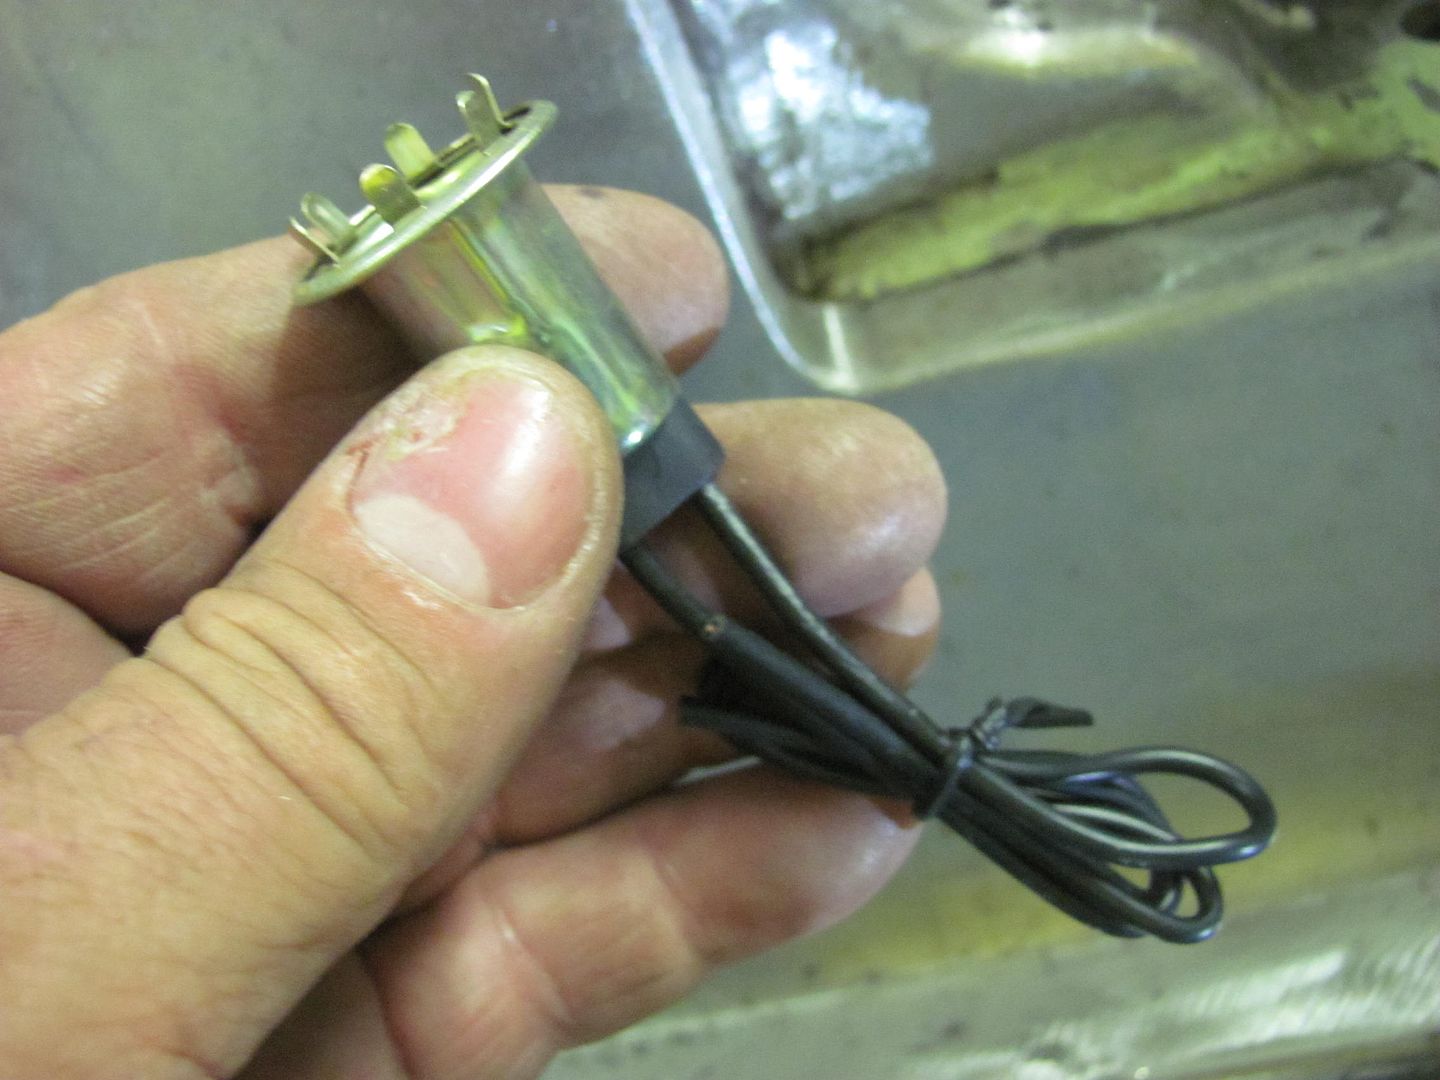 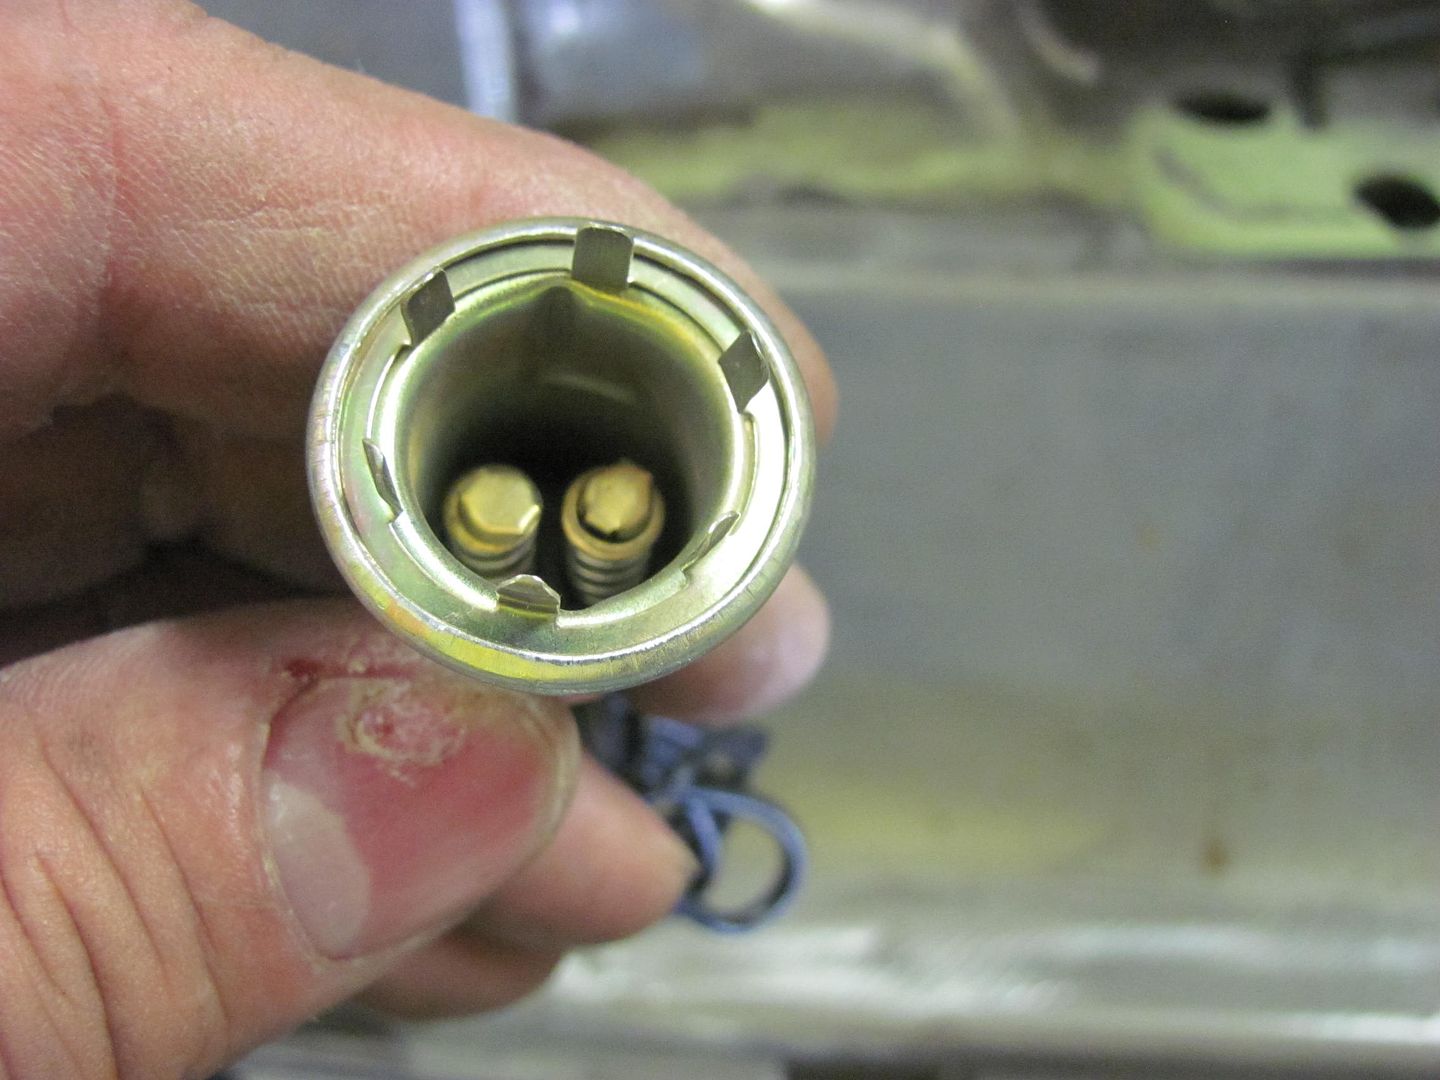 Surprise, surprise, the contacts pulled clean off.... 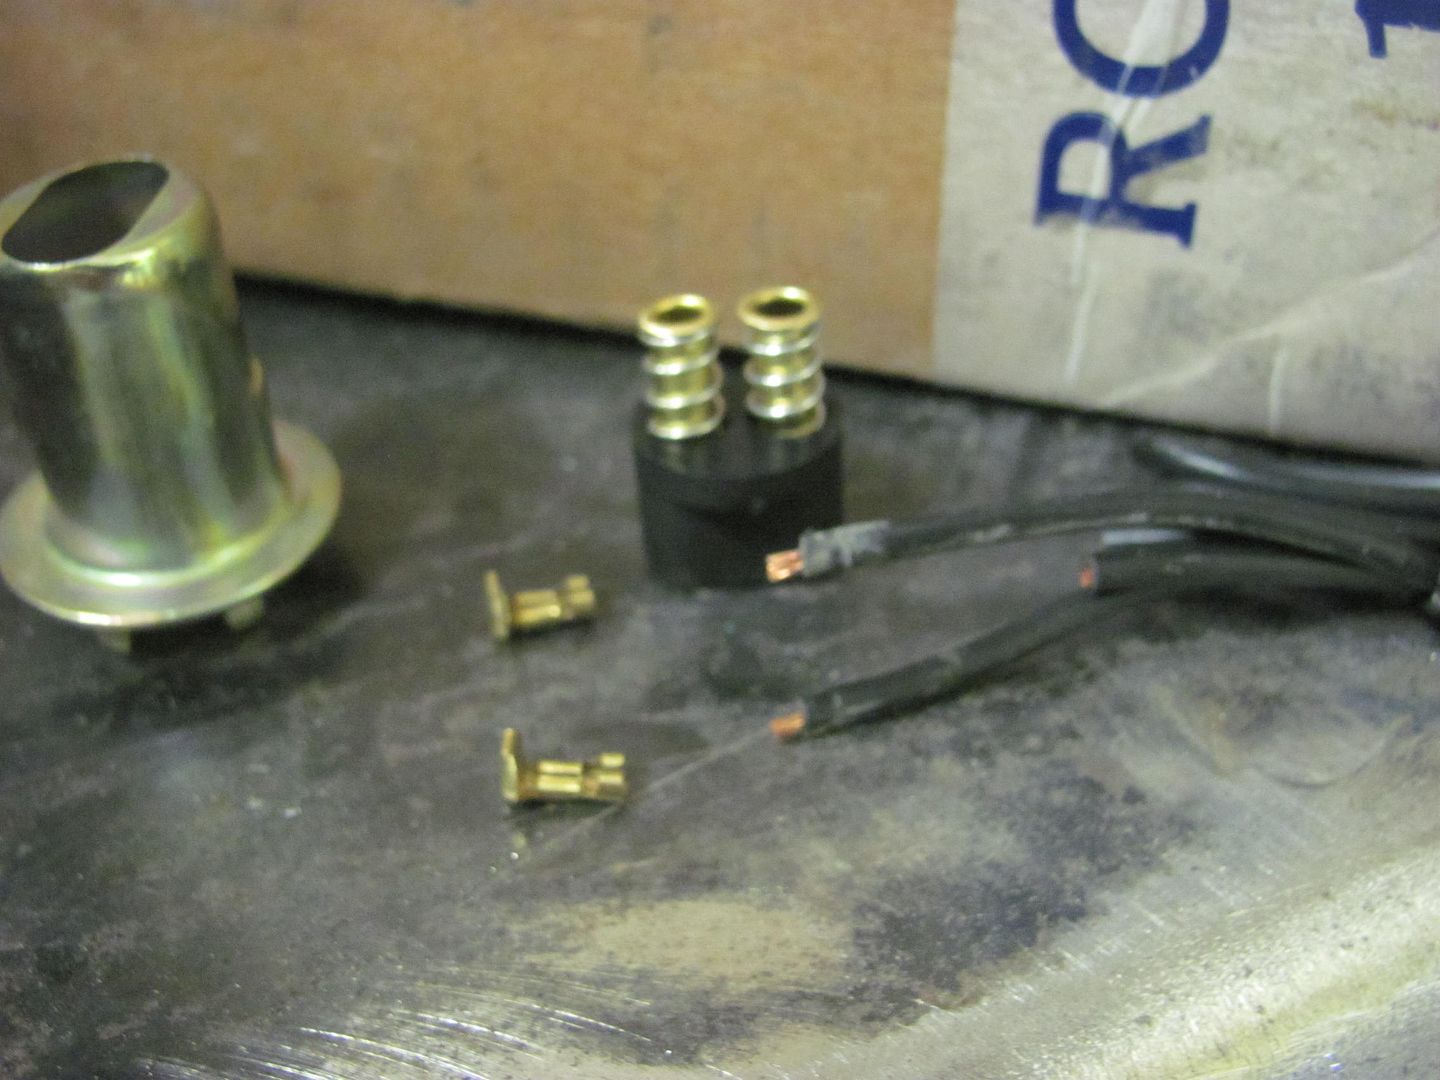 Note there is no copper inside the contacts, indicating these had a loose crimp... 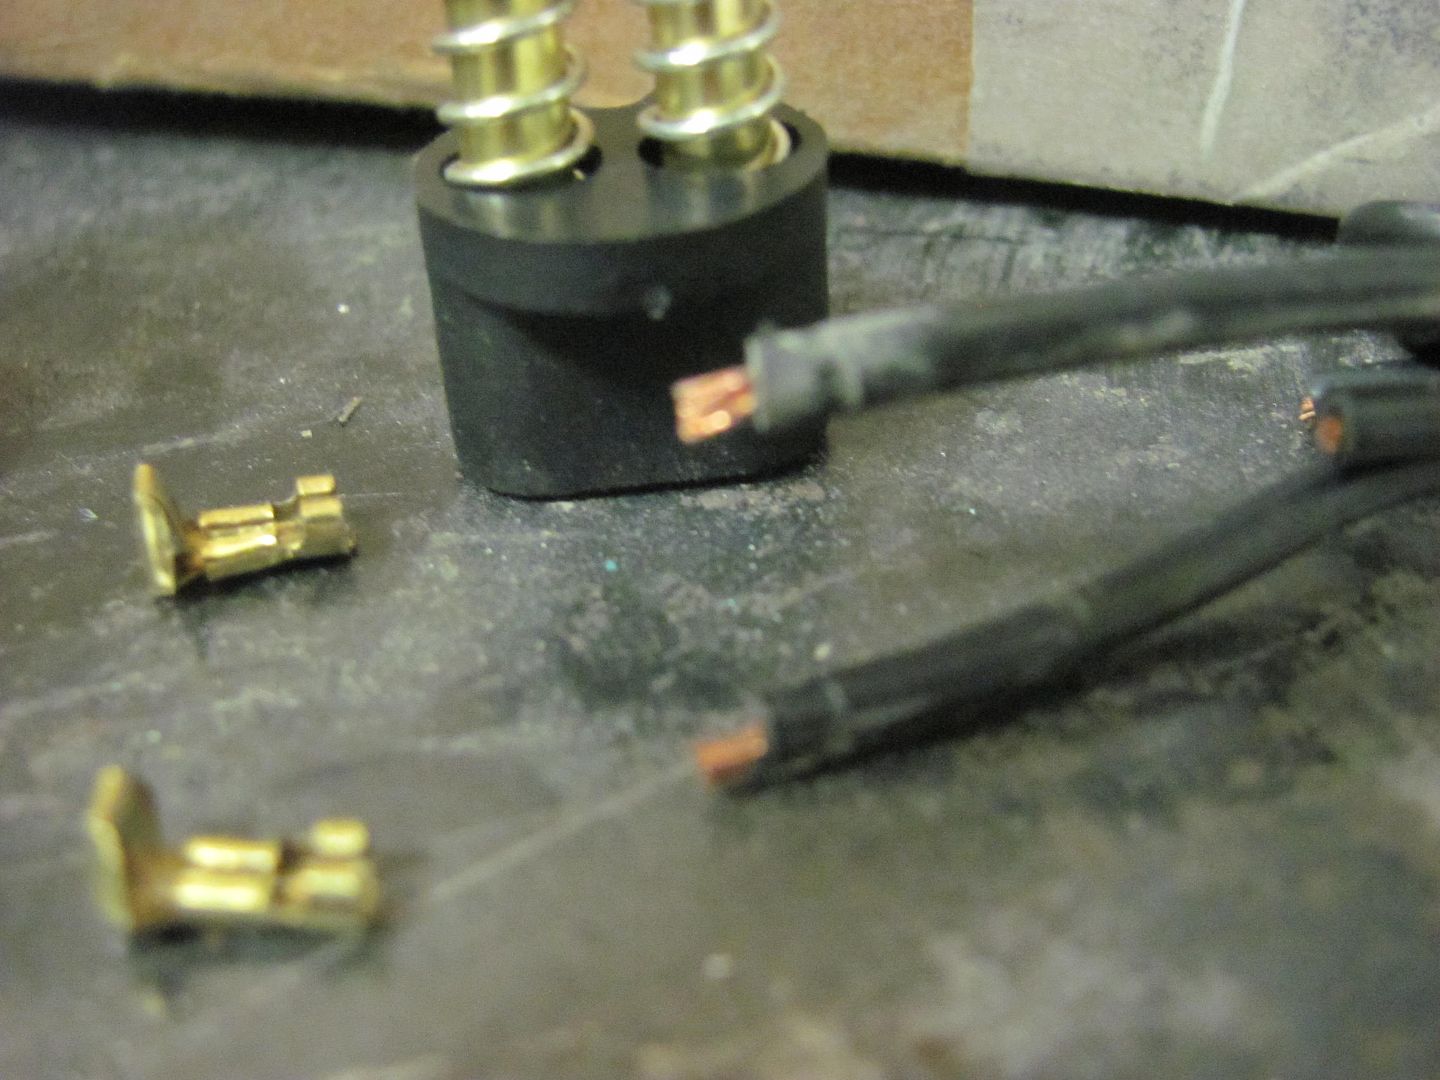  Next, the operation of the motor function seemed to be intermittent. A recheck of the power connections showed no issues, so we pressed a bit harder on the switches toggle, and the function returned. Multiple repeat attempts were performed and the switch proved to be the culprit. It appears to be a cheapo switch that has intermittent contact function. So looks like we'll be replacing a couple of the parts for this kit... So much for everything you need in one package.... 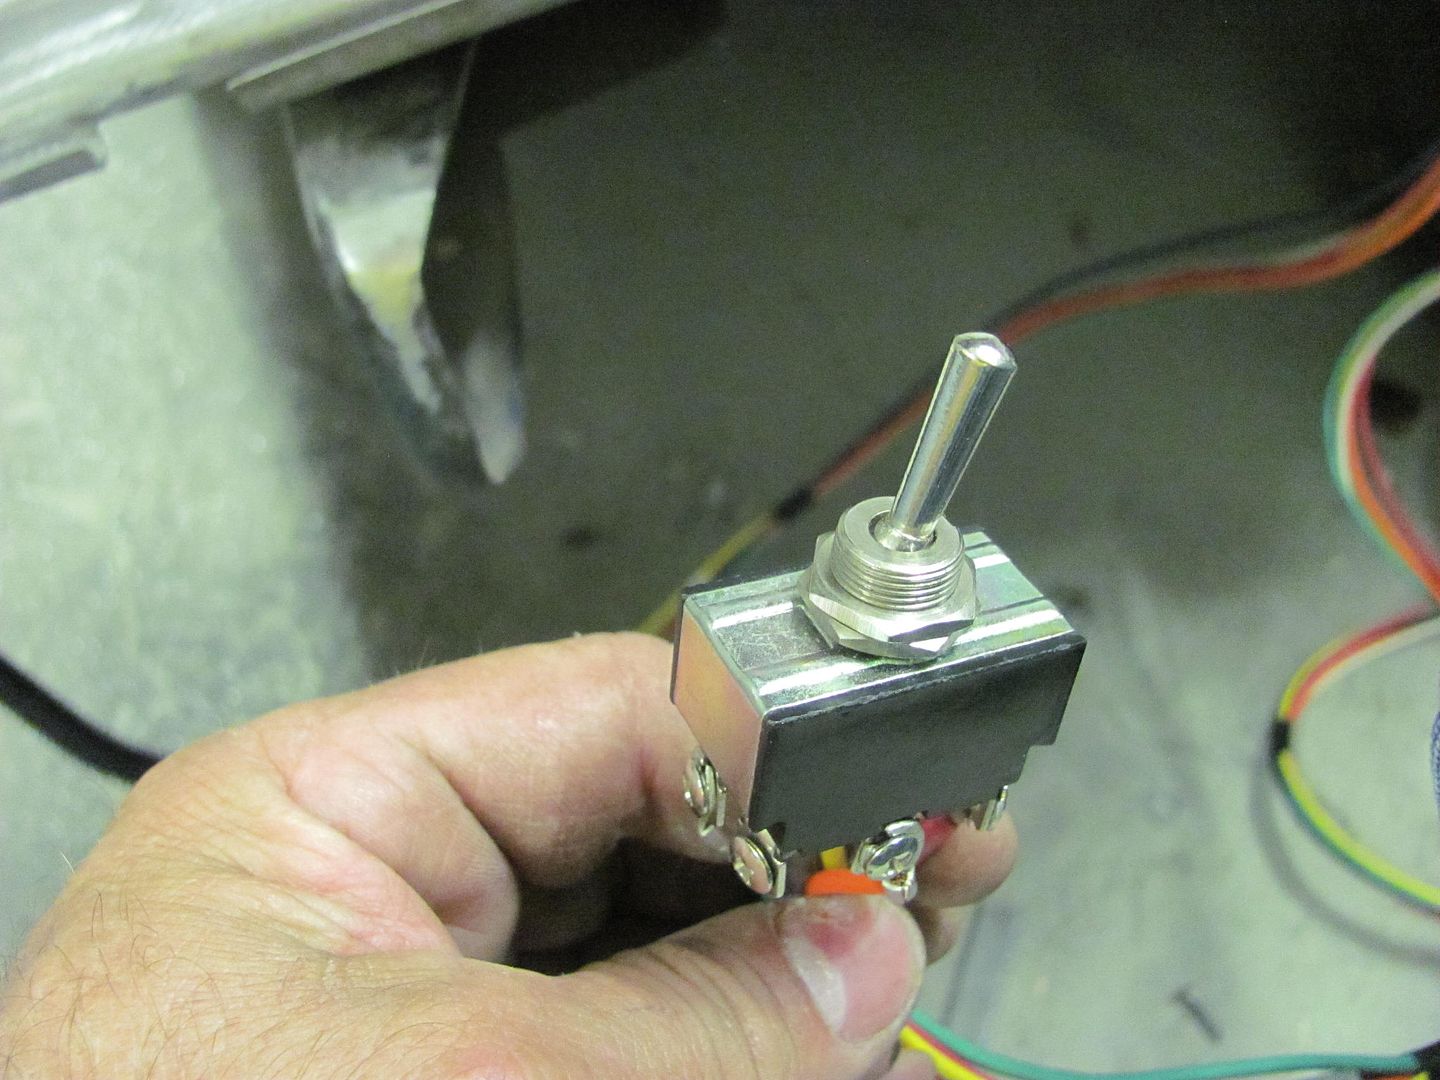
__________________
Robert |
||
|
|
|
|
06-18-2015, 11:11 AM
|
#3 |
|
Rusty Nuts
Join Date: Sep 2008
Location: Clever Missouri
Posts: 1,338
|
Re: 55 Wagon Progress
What fantastic work, love looking at the pictures.
__________________
(Clever Missouri) Southwest Larry Mr Chevrolet My Build, The Marathon Truck http://67-72chevytrucks.com/vboard/s...d.php?t=604414 |
|
|
|
|
06-19-2015, 10:41 PM
|
#4 |
|
Registered User
Join Date: Jan 2013
Location: Leonardtown, MD
Posts: 1,637
|
Re: 55 Wagon Progress
Thanks!
Recently I took delivery of a ball glove pounding pad, $39 on Amazon per a link posted by Johnny Arial on AllMetalShaping. It was very light, and where I did not give it a go with a sheet metal test sample, something in me wanted to see what was inside the bag. So here we go, can't leave well enough alone... 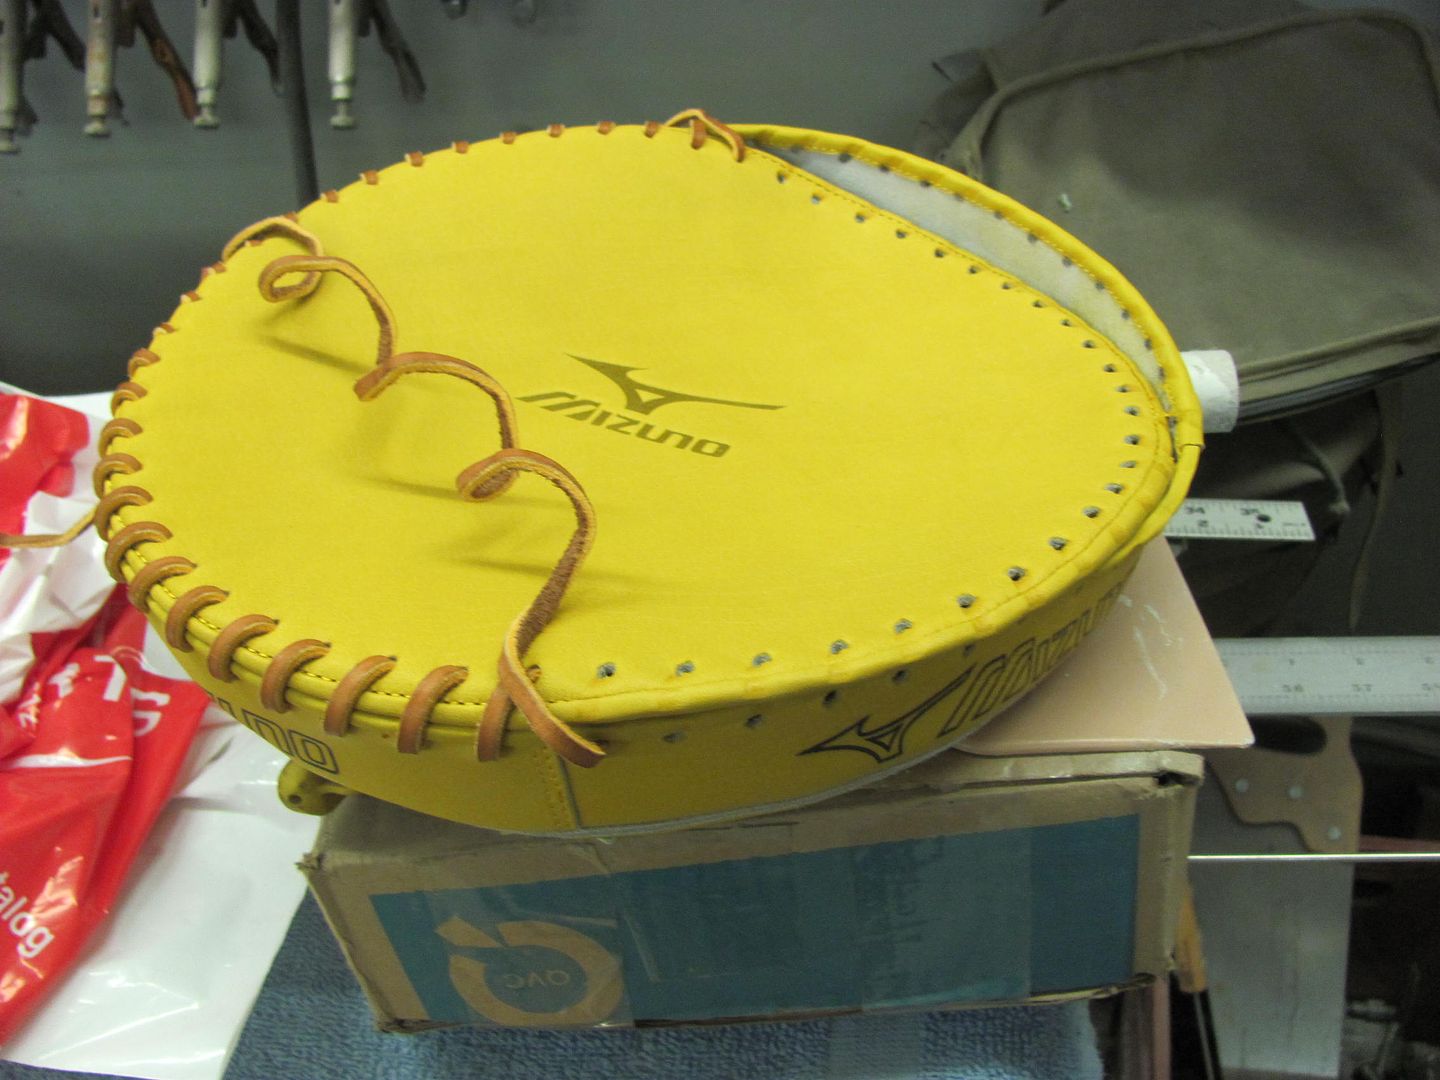 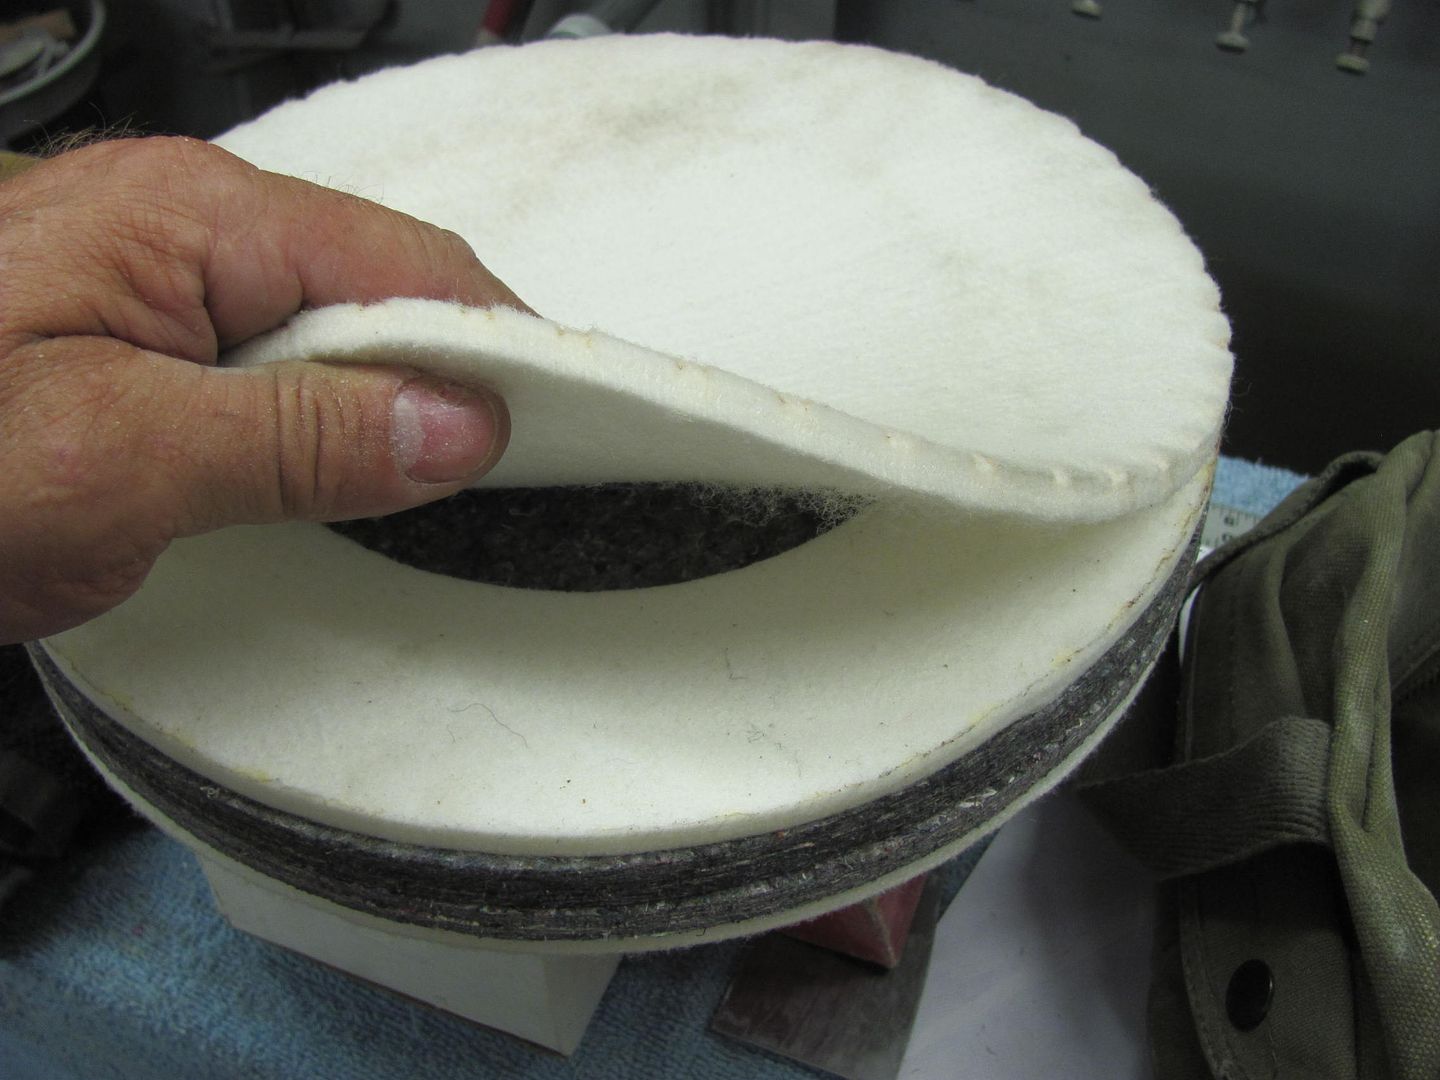 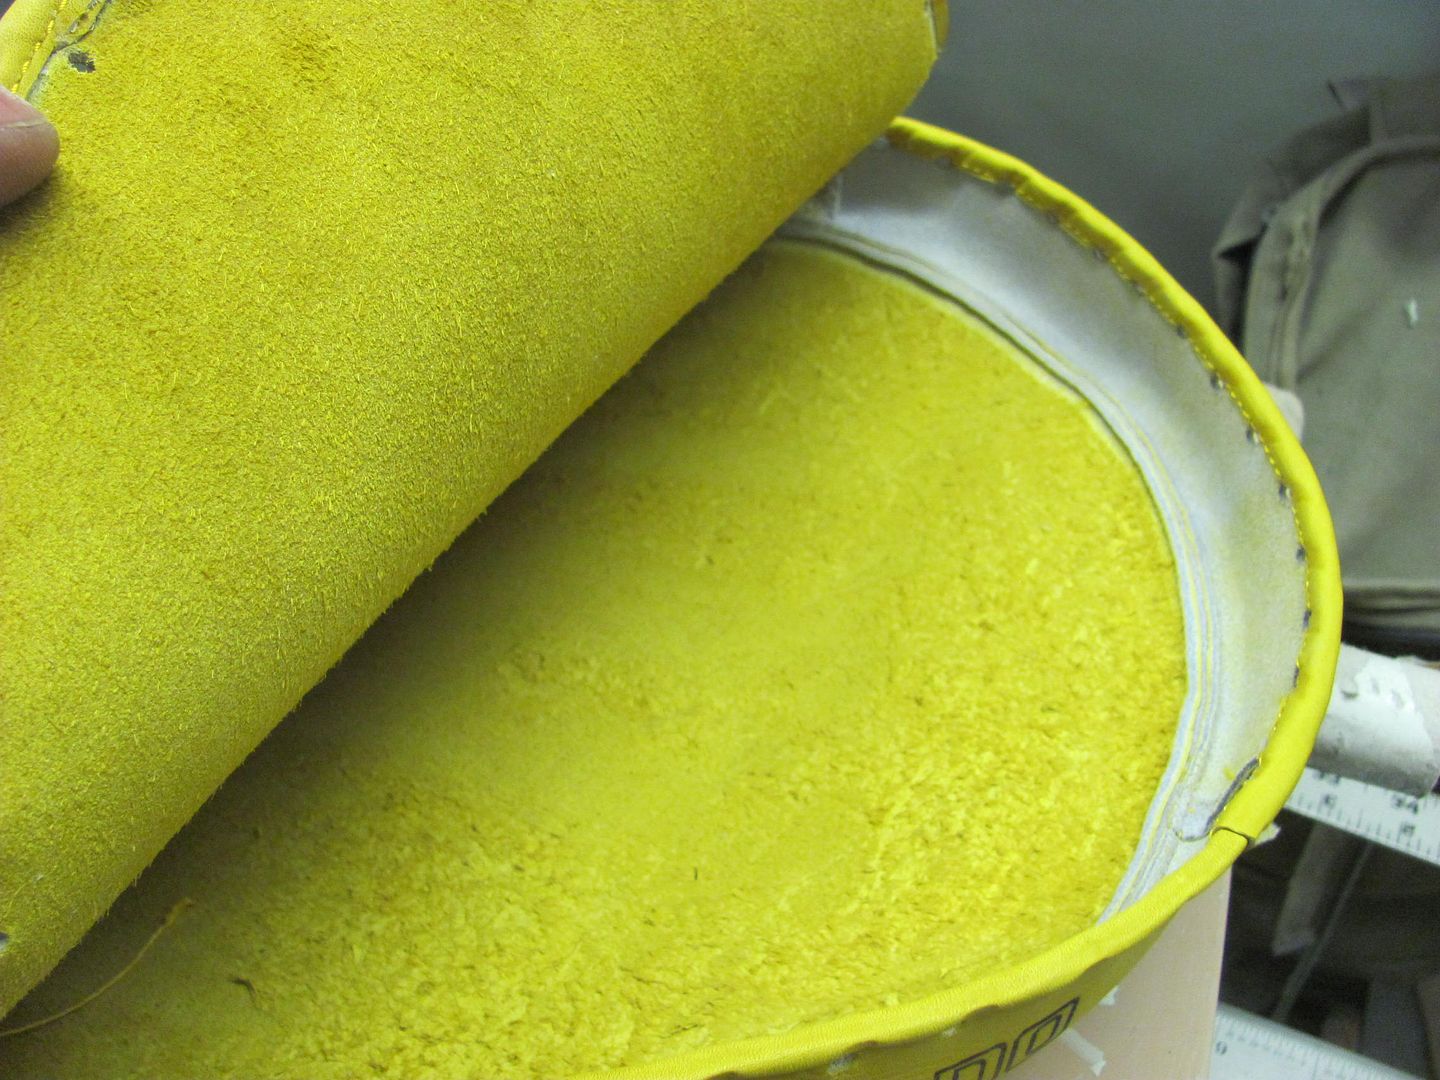 Looks like a high density felt pad... 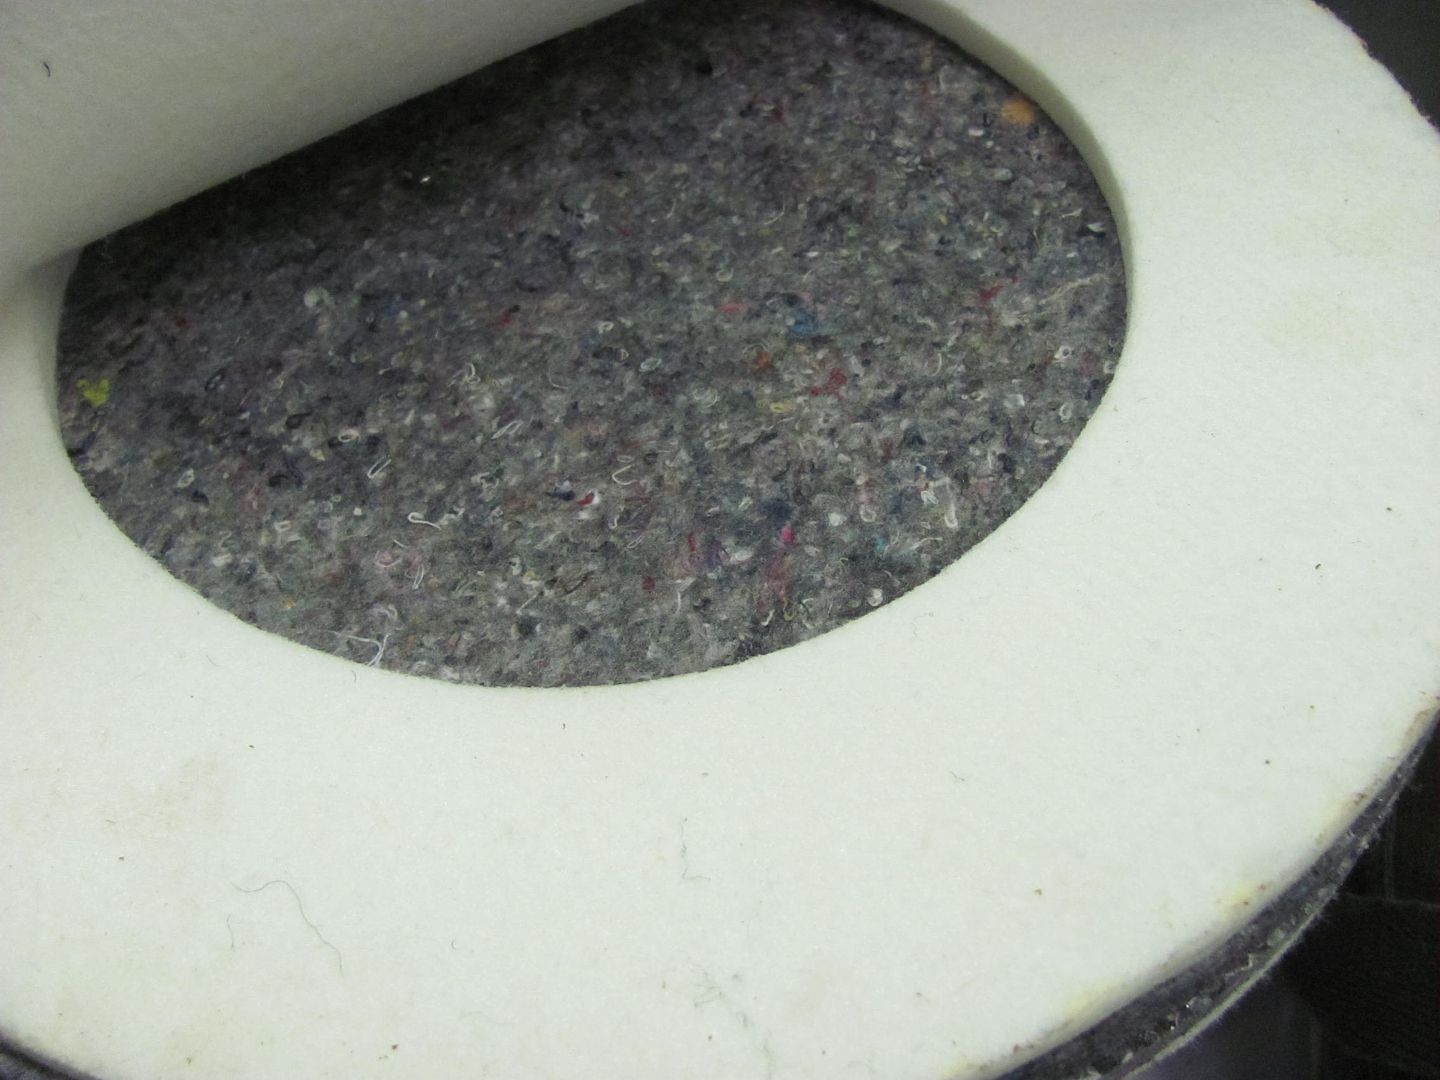 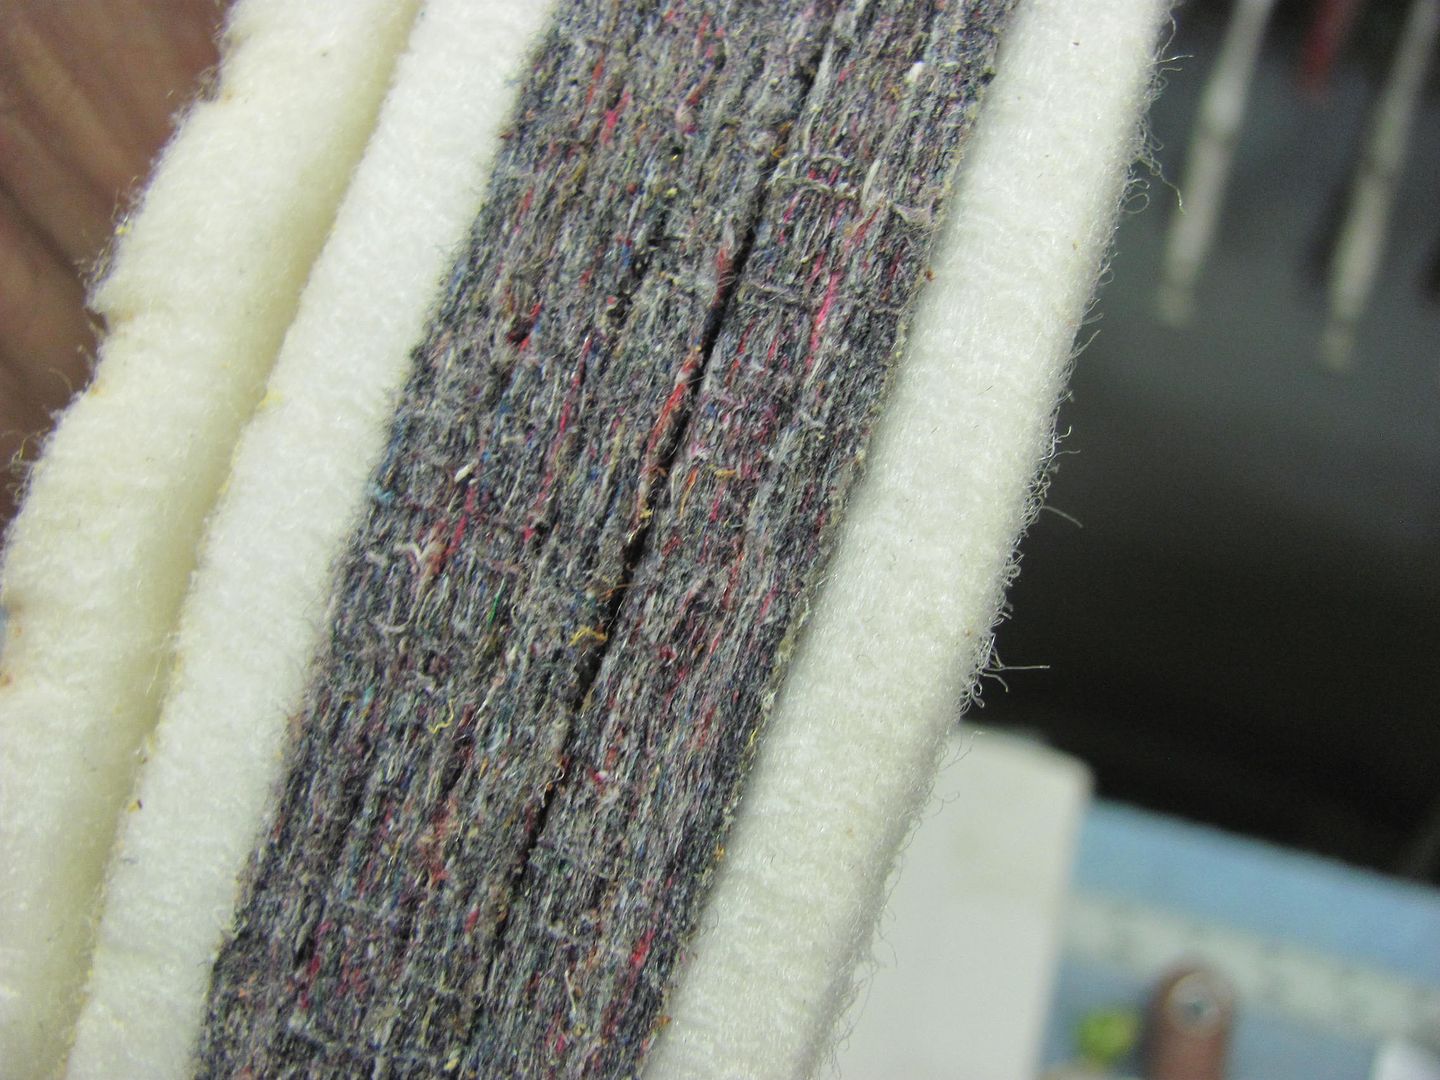 My previous shot bag had become a casualty inside of a quarter panel when using it as a dolly... It found a sharp piece of metal which caused the tear... and I caused the cut so I could empty it out and pull it out of the cavity it was in.. It had approx. 50 lbs or better of lead shot in it at the time, and for some reason I didn't think about removal when I was dropping it in the hole. 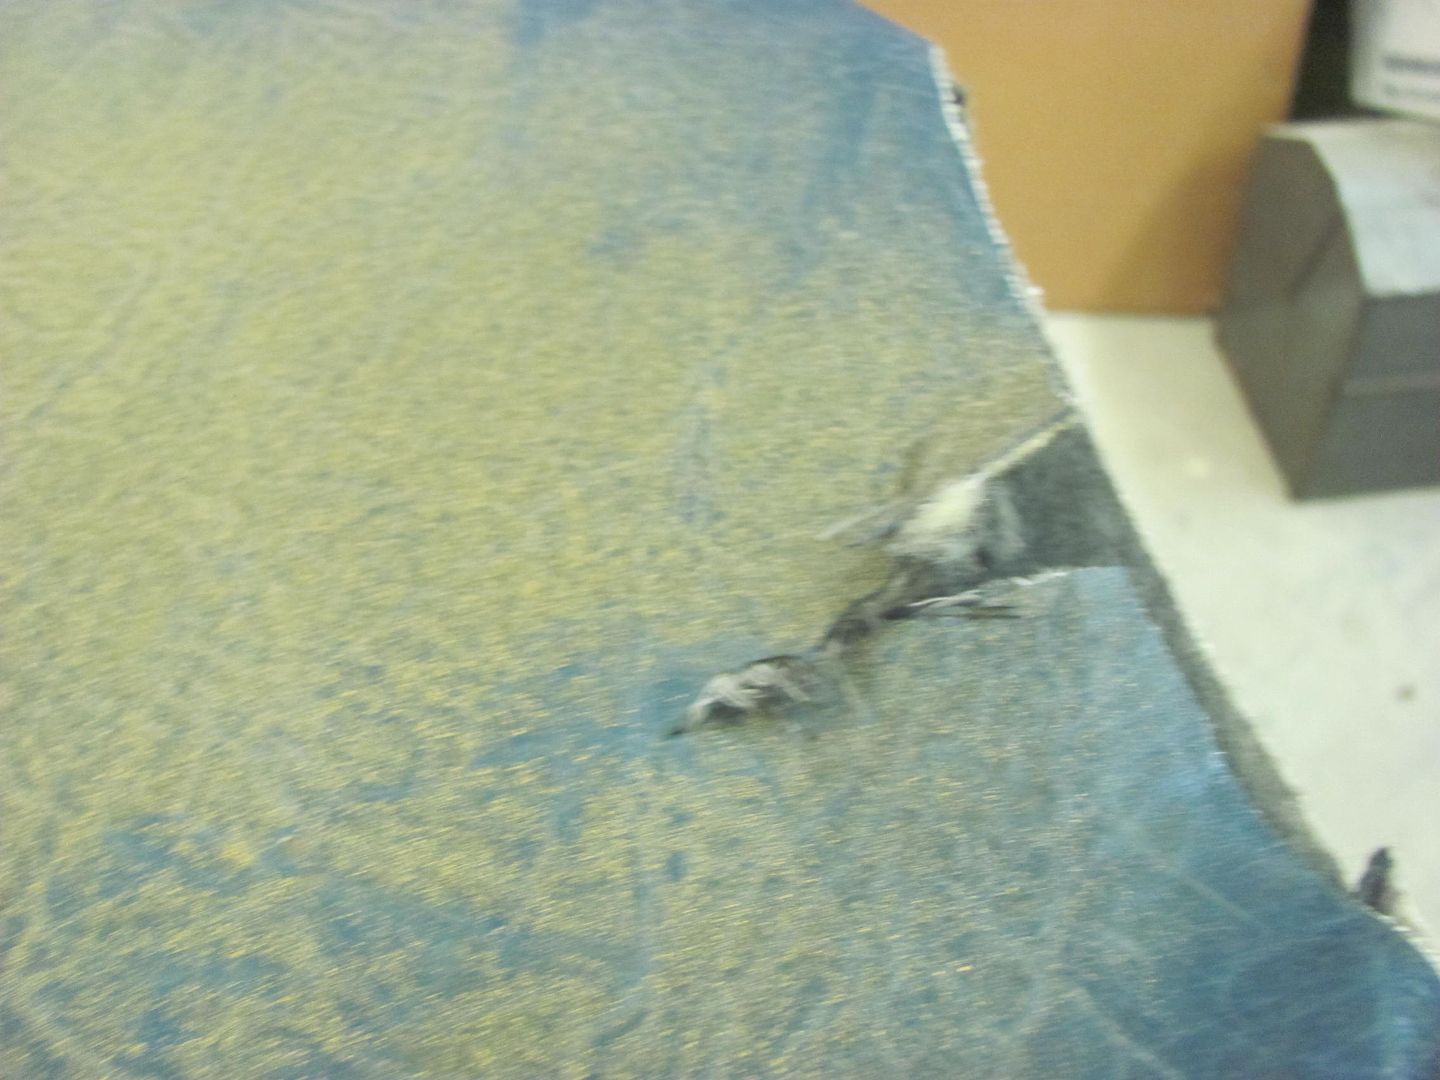 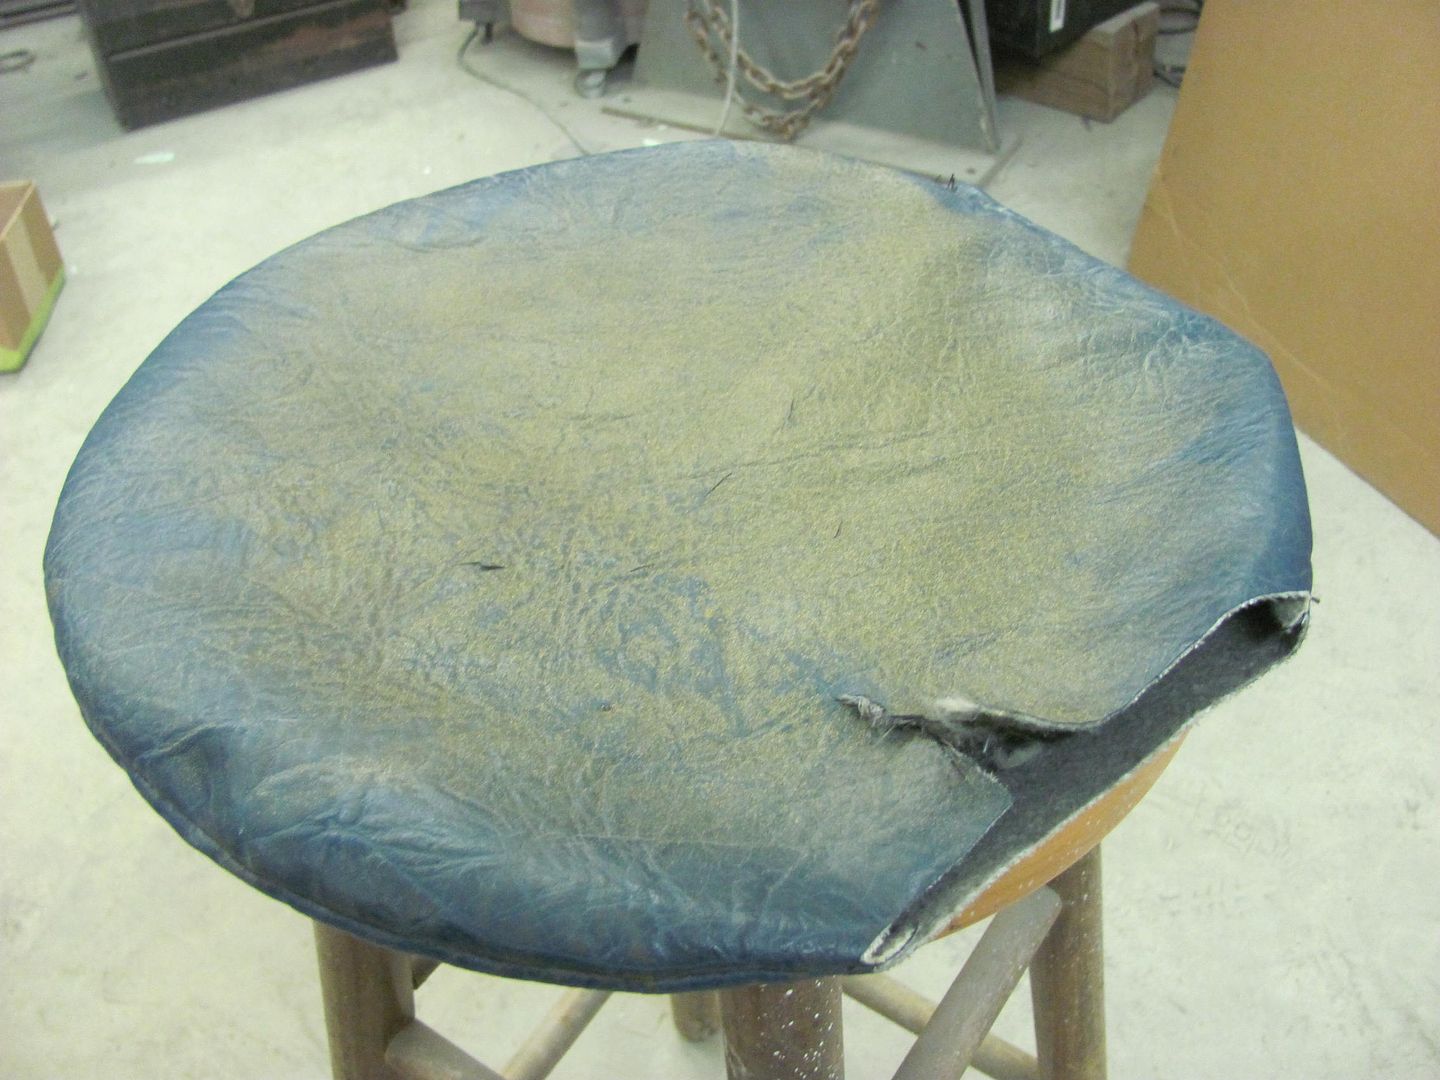 So I had put in an order last night for another bus seat cover (Kevlar material) and took it today with all the pieces to Anthony's Upholstery. This one is a bit smaller, so also more manageable. I think I had about 1/3 of the 50 lbs left over, so may have to make another smaller shot bag.. Comparison, the old to the new one.. 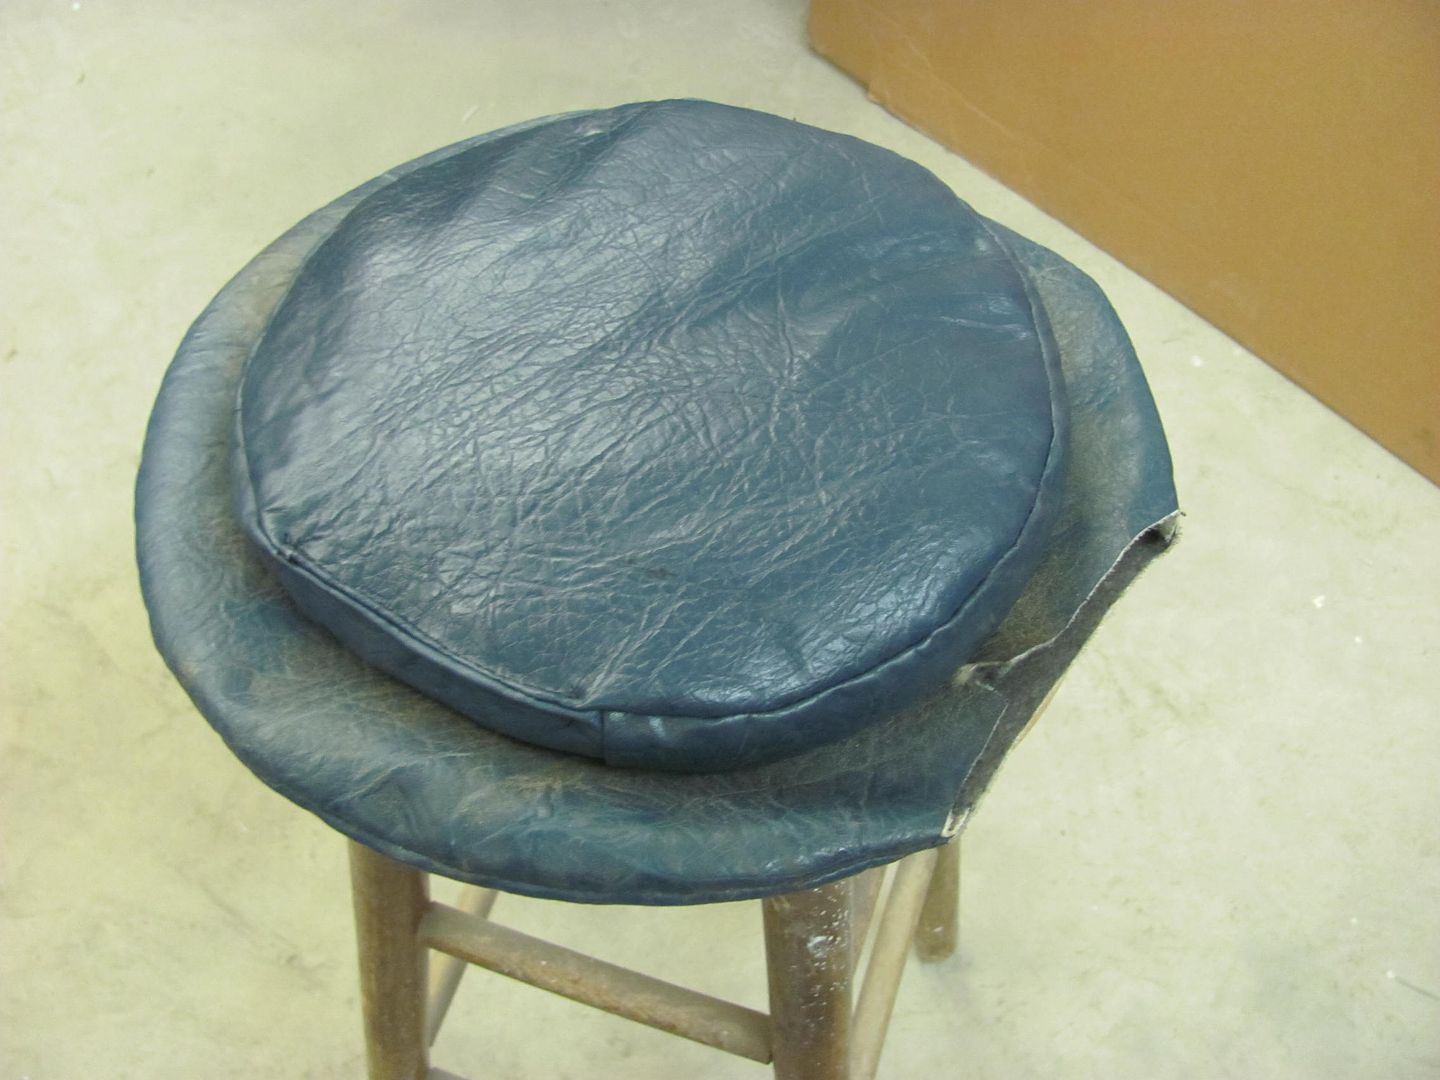 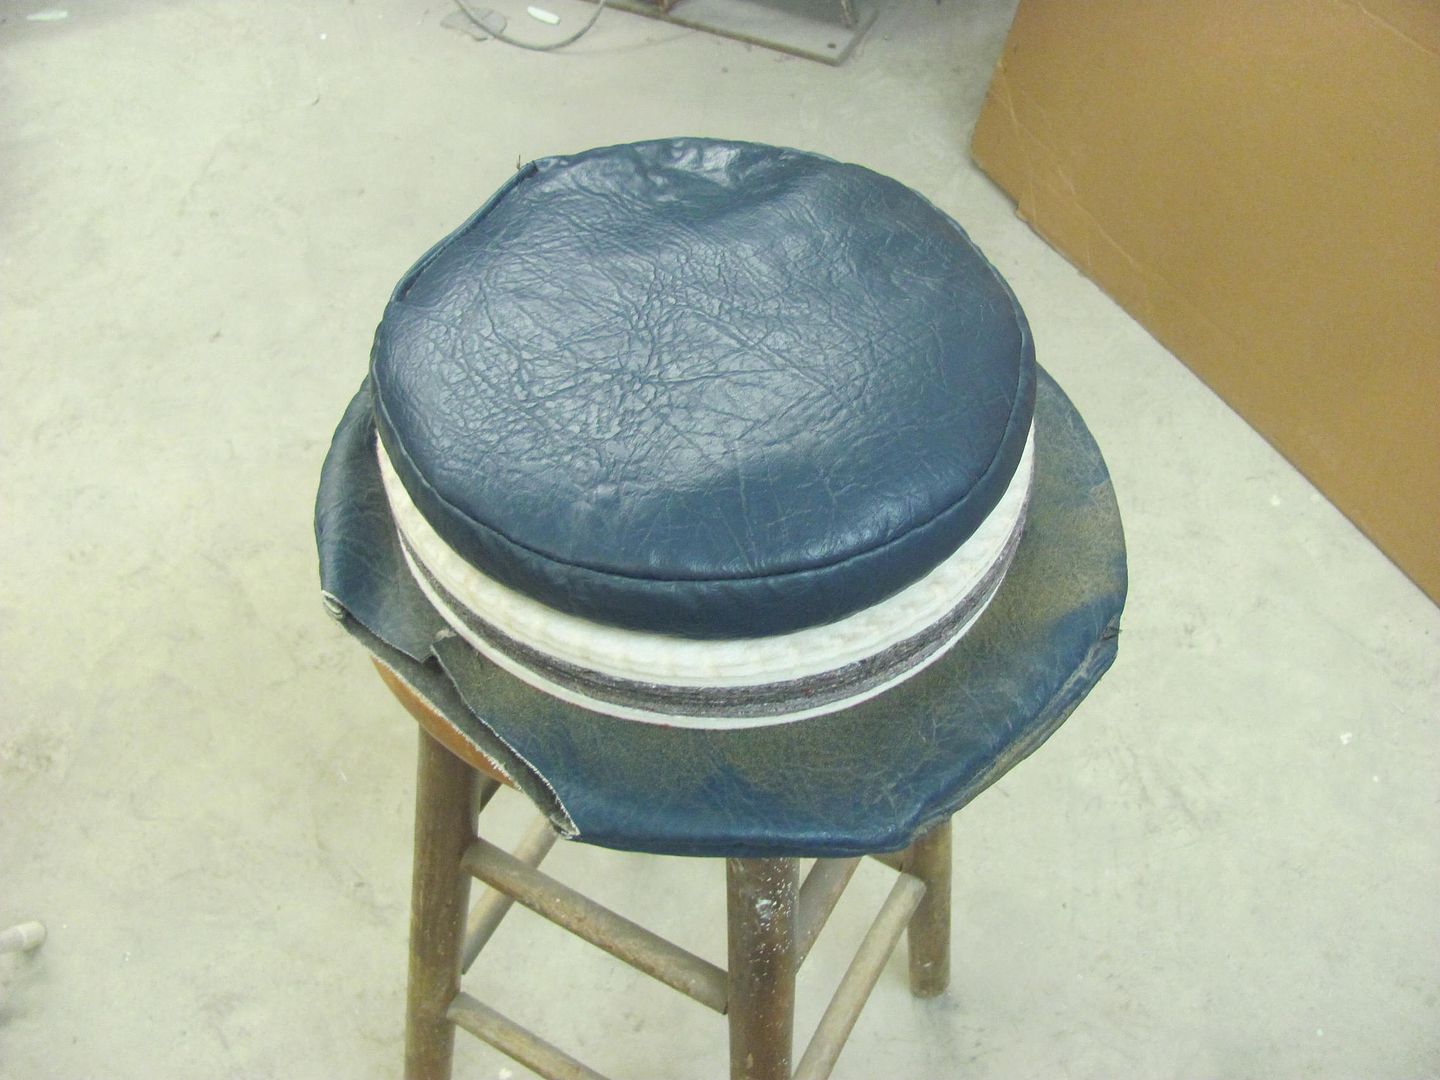 Something told me when that Amazon order was placed that this thing would have lead shot inside before all was said and done.. It does make a nice shot bag, and has a nice look.  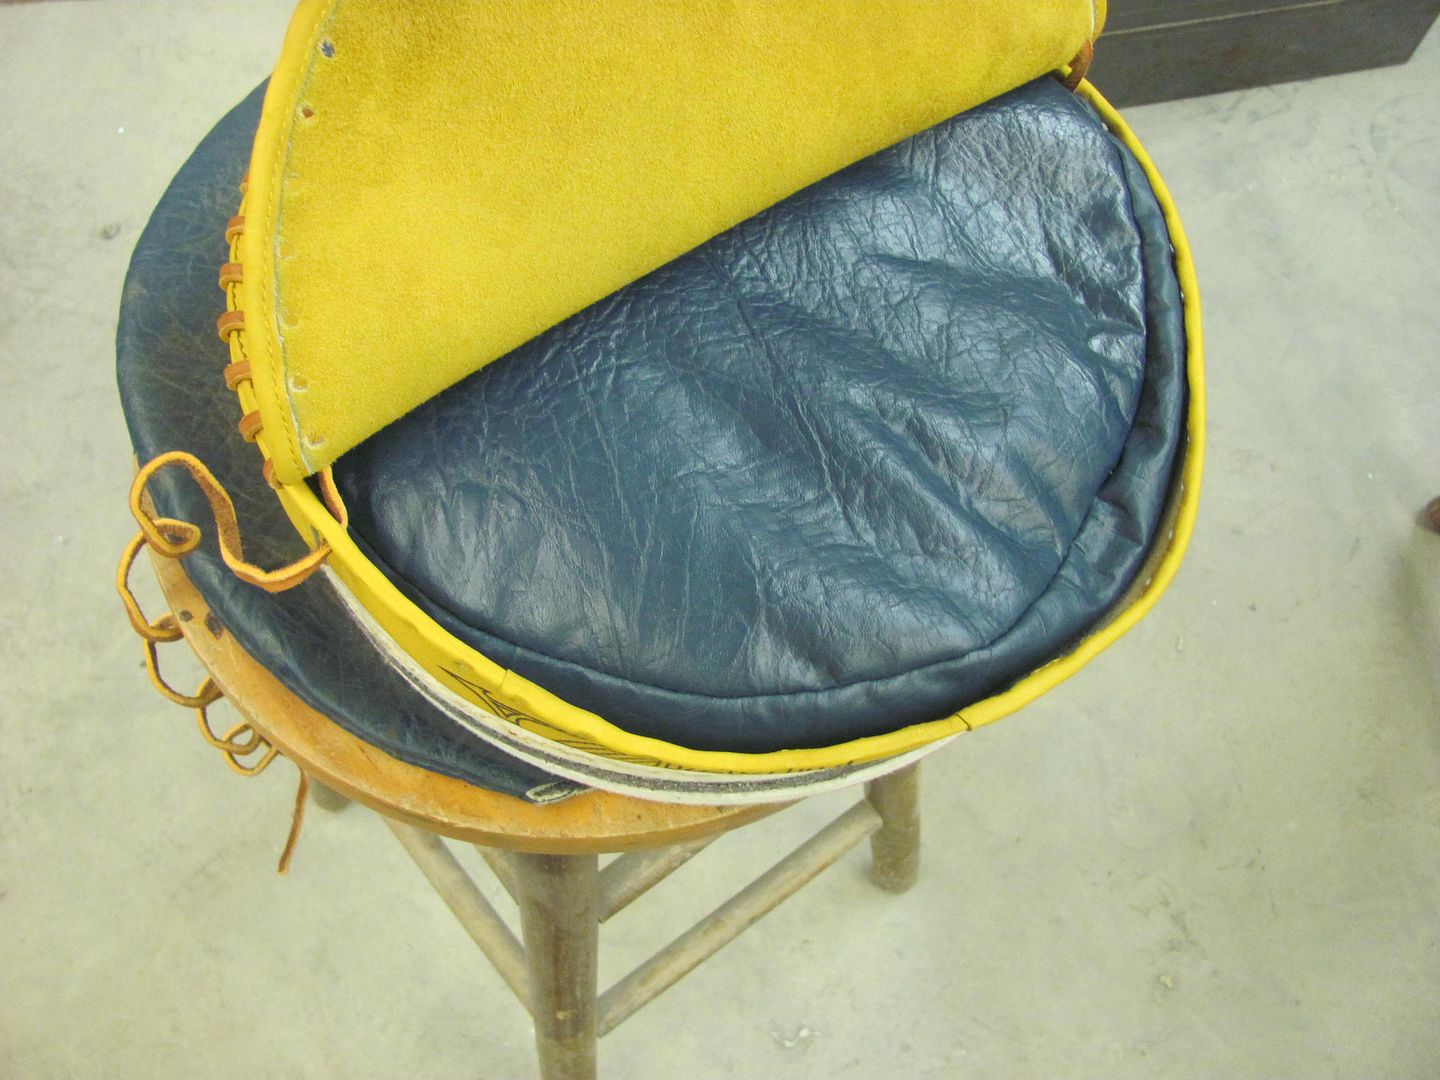 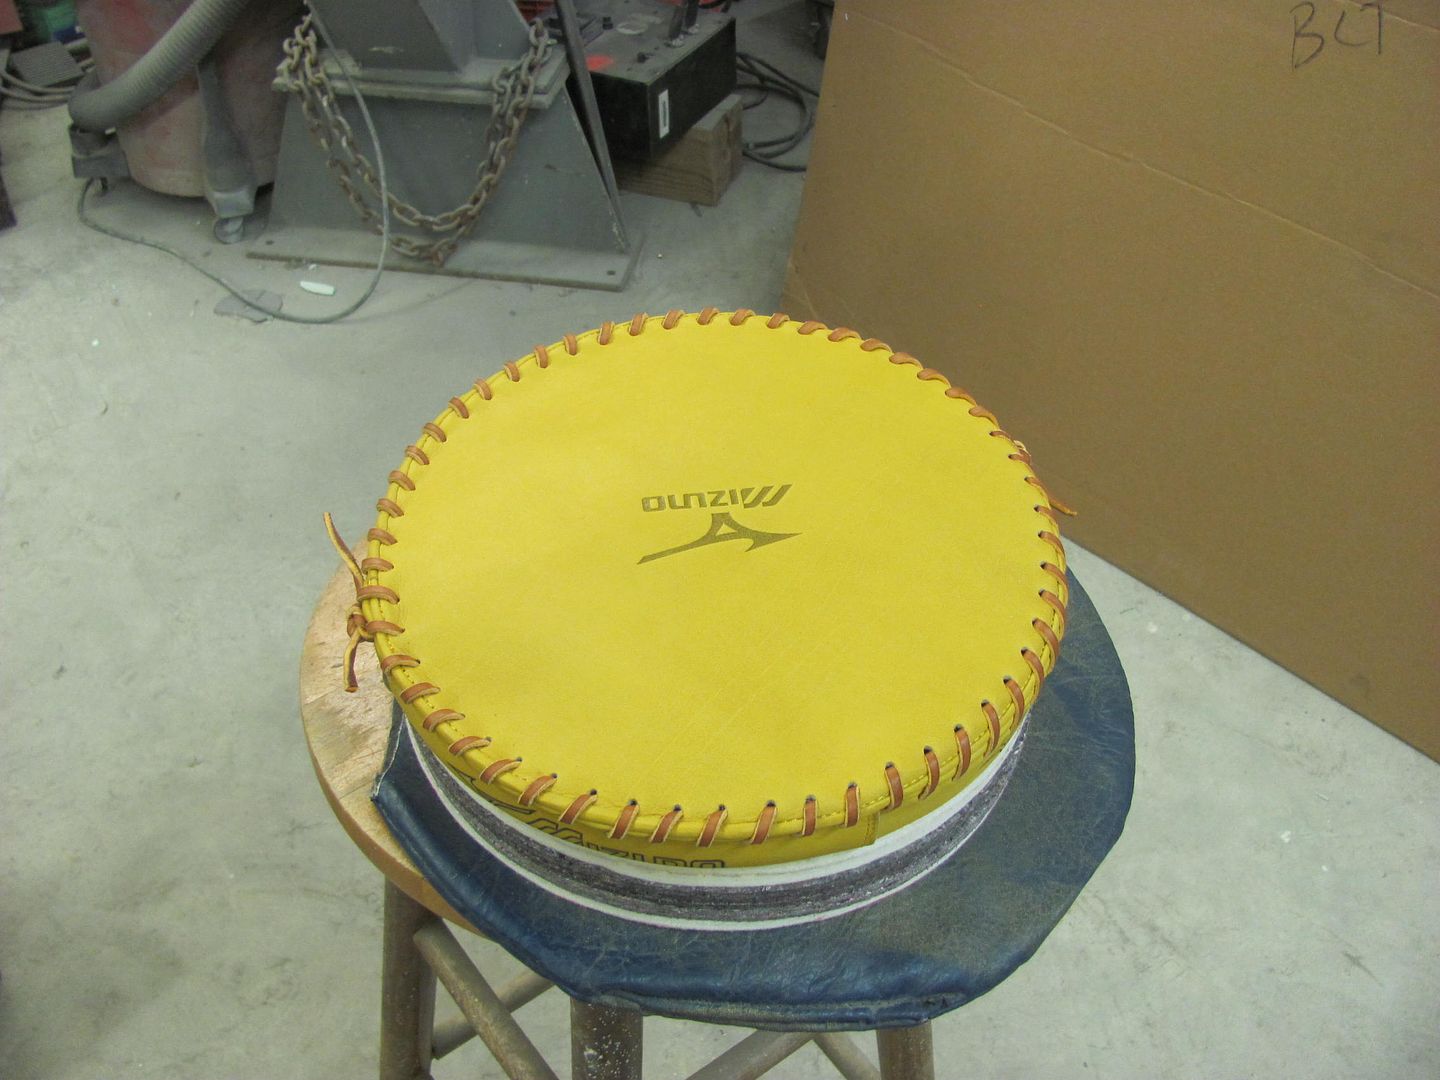 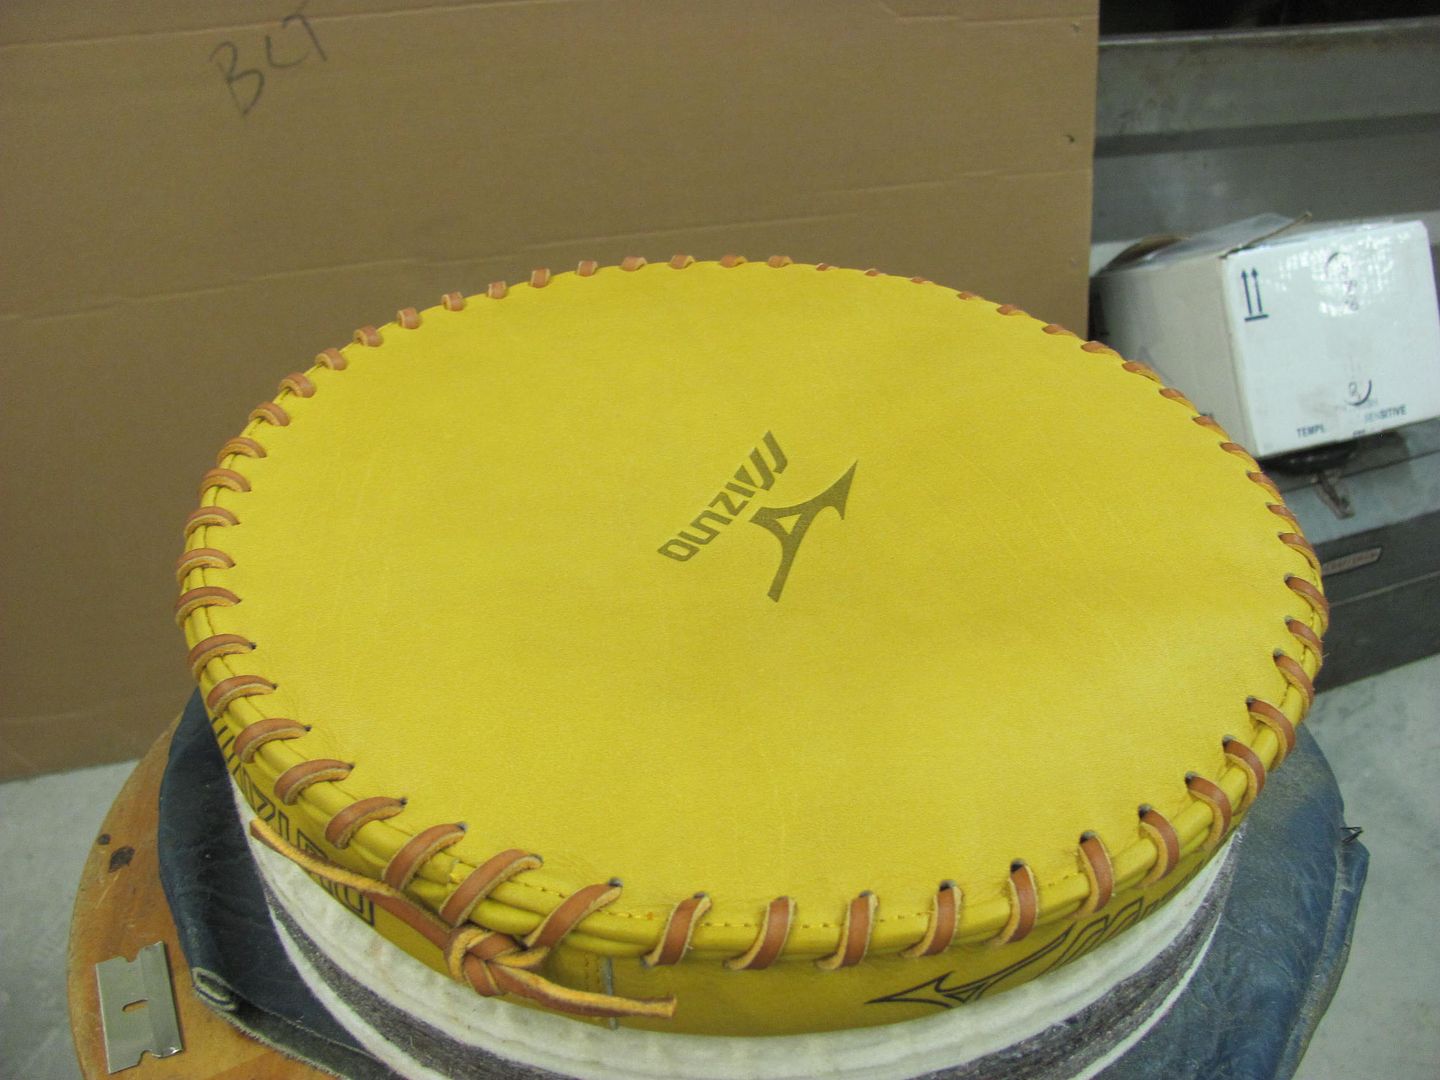
__________________
Robert |
|
|
|
|
06-28-2015, 10:04 PM
|
#5 |
|
Registered User
Join Date: Jan 2013
Location: Leonardtown, MD
Posts: 1,637
|
Re: 55 Wagon Progress
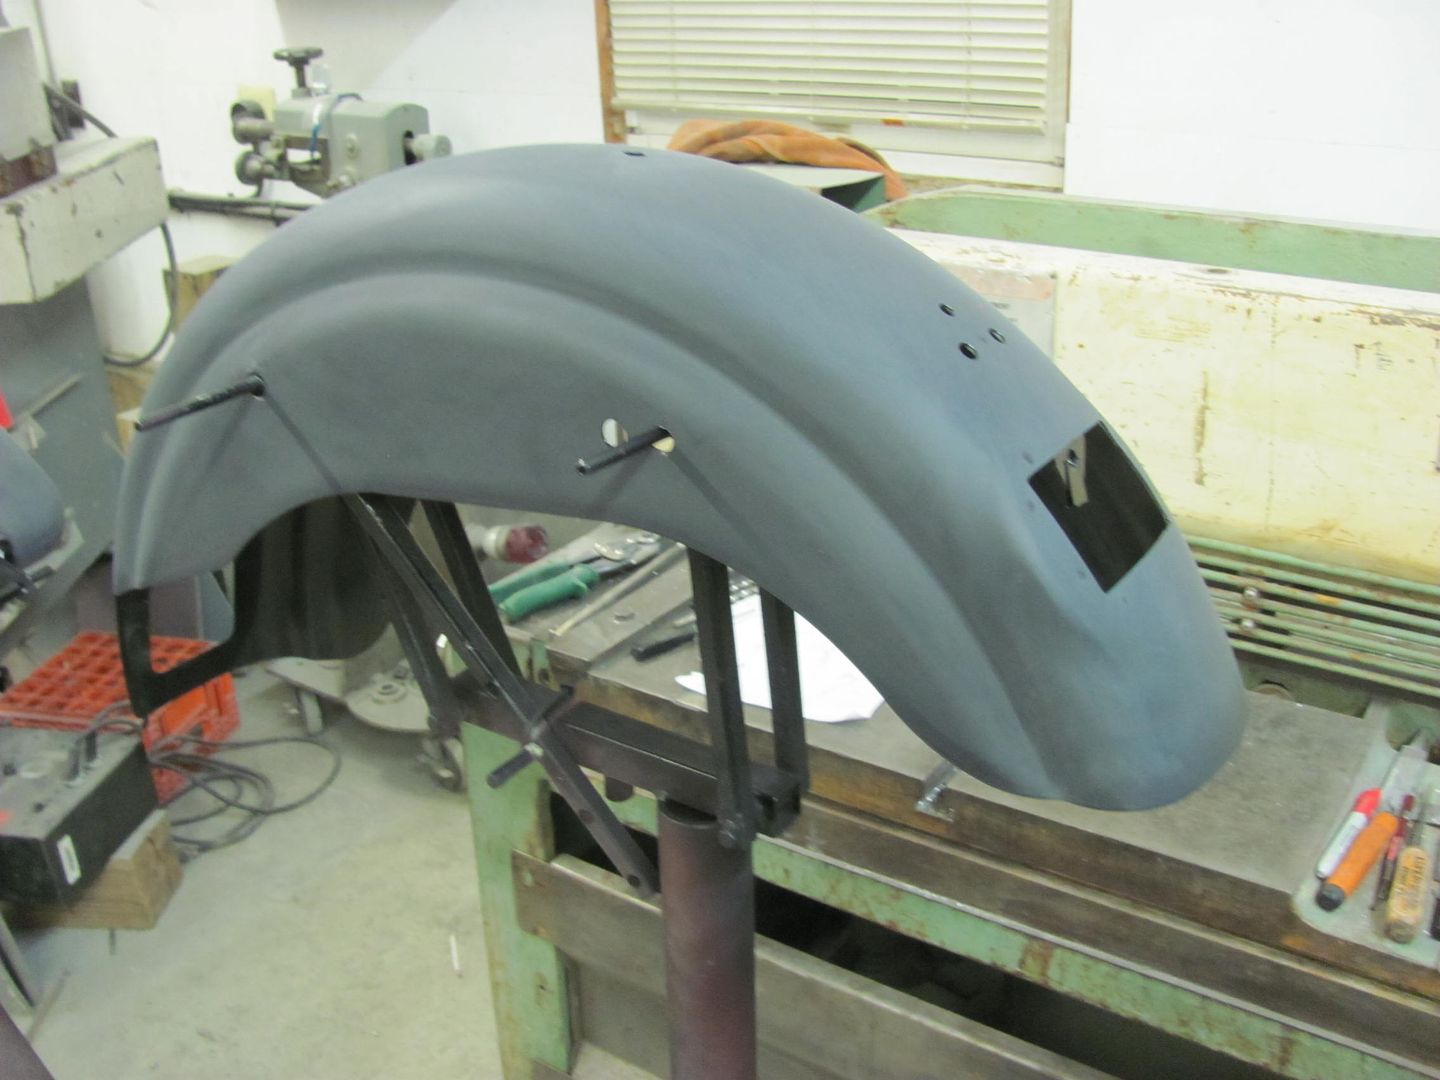
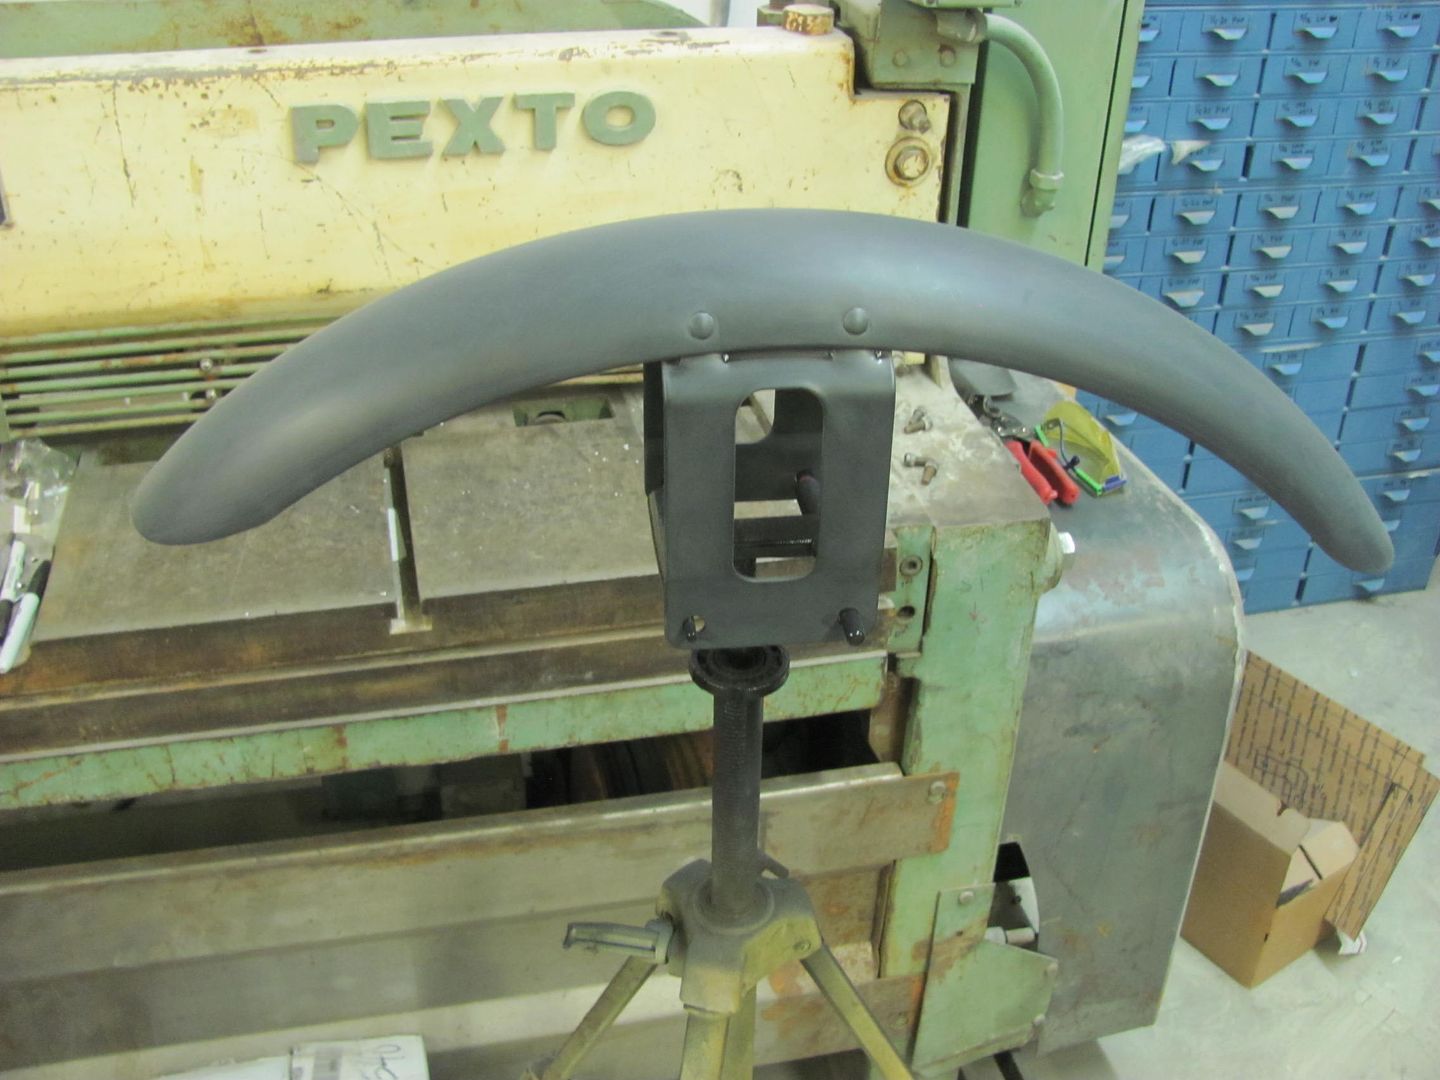
More progress on the wagon, got some SPI epoxy sprayed, hopefully this will wet sand out and be ready for BC/CC.
    Also got some primer on the sheetmetal for an 01 Dyna 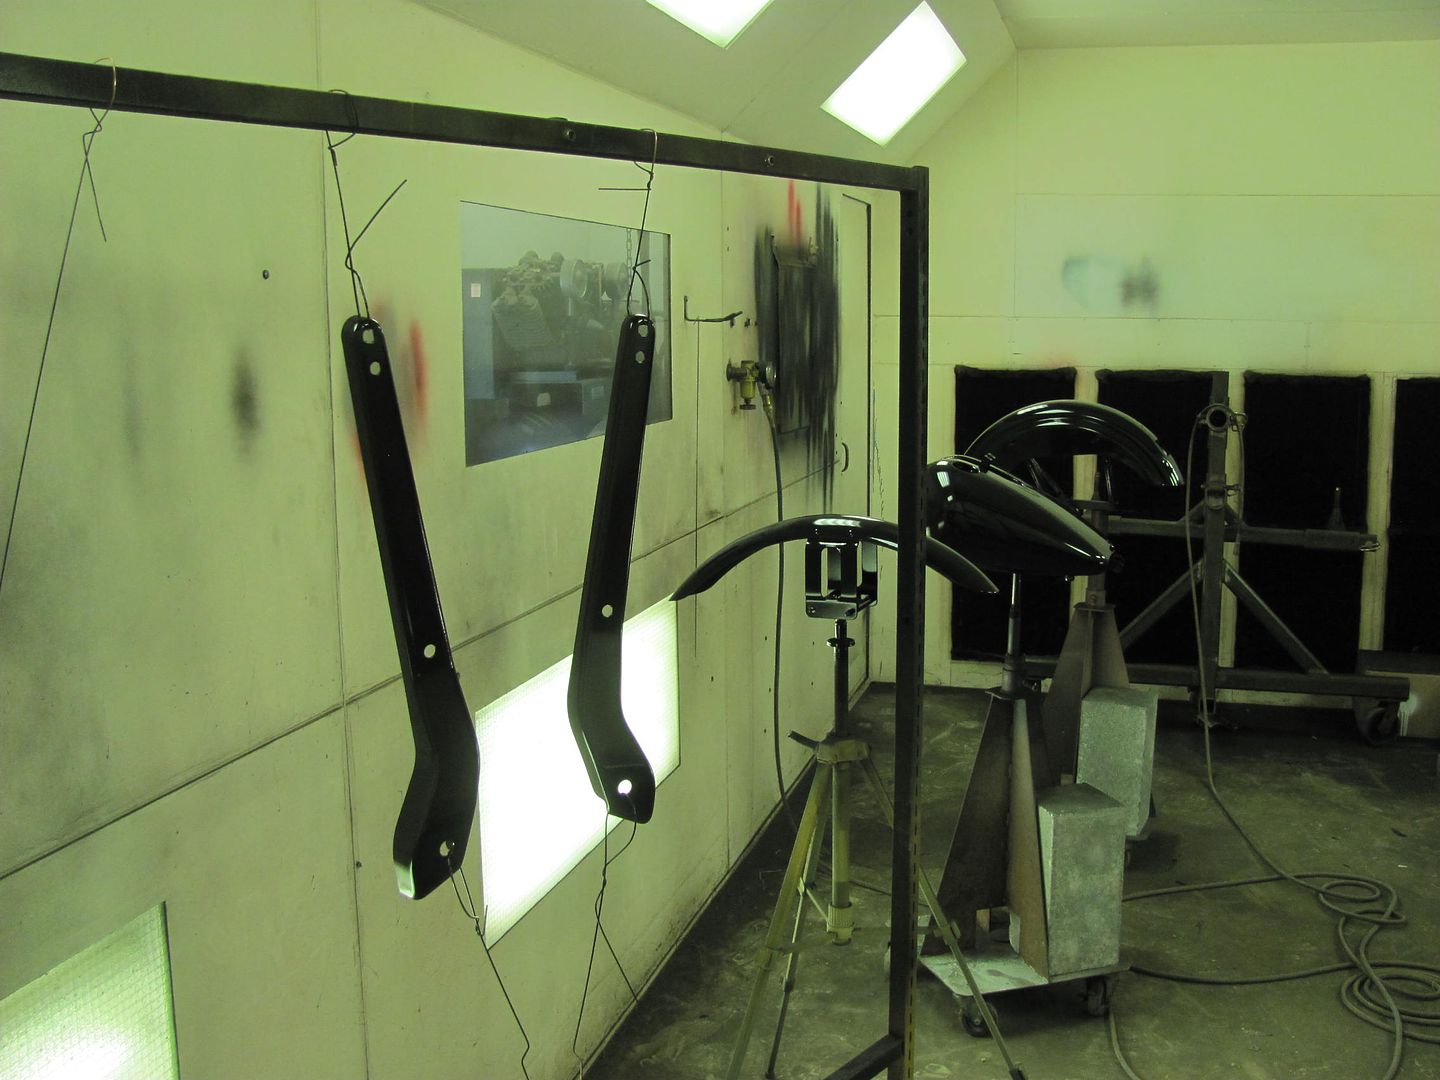 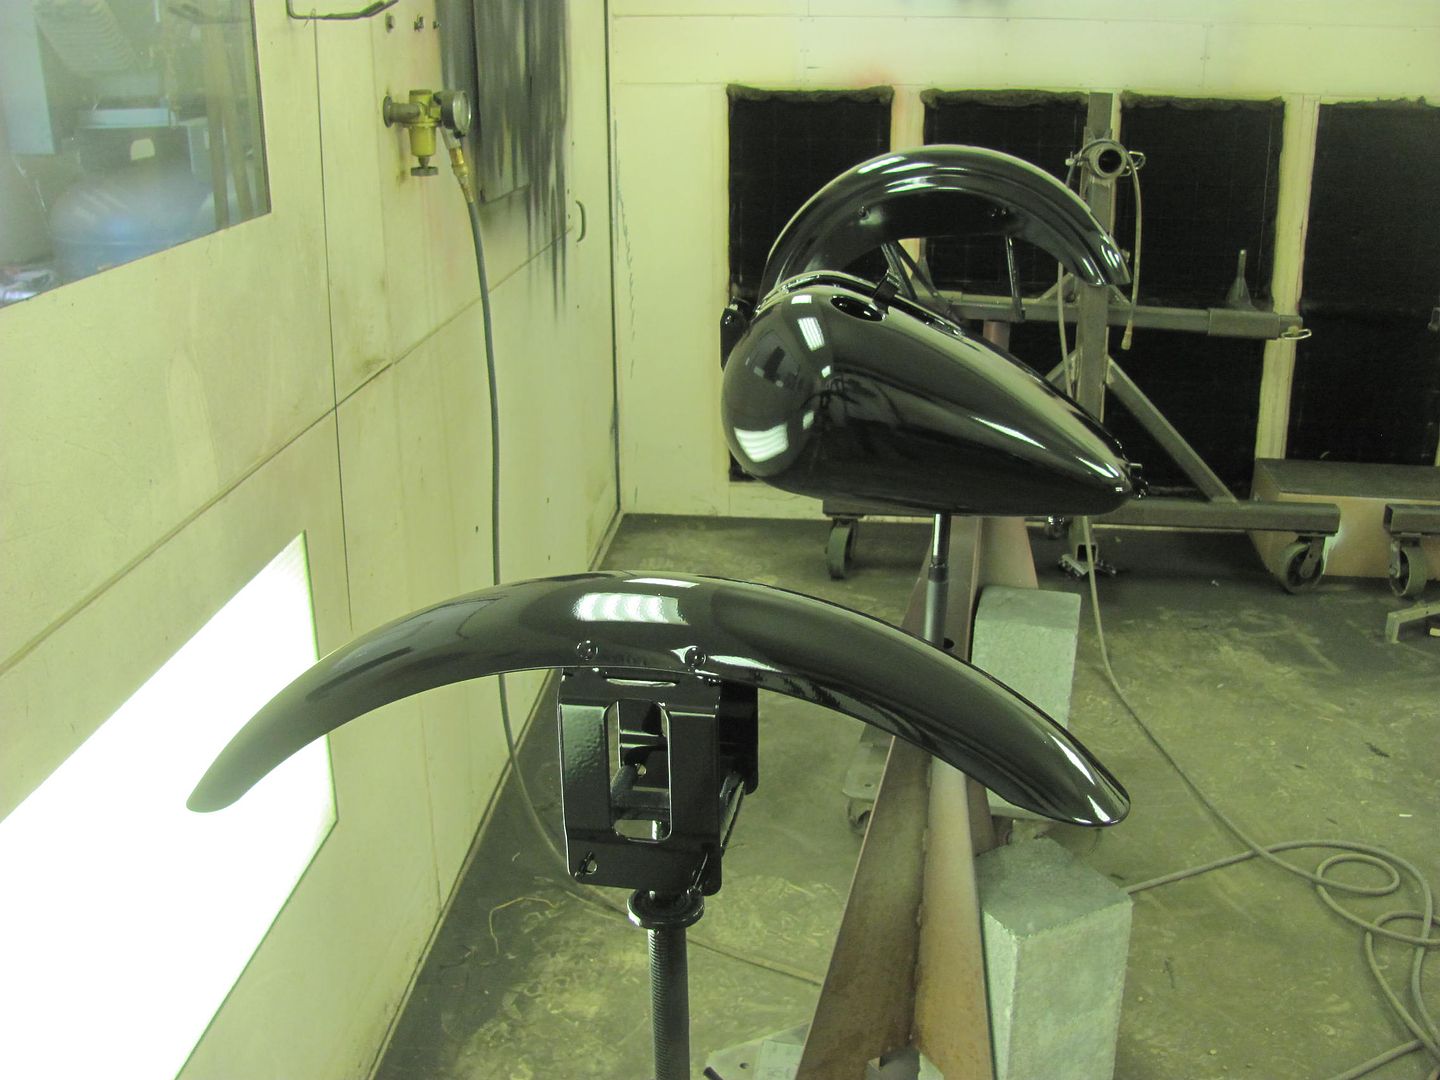 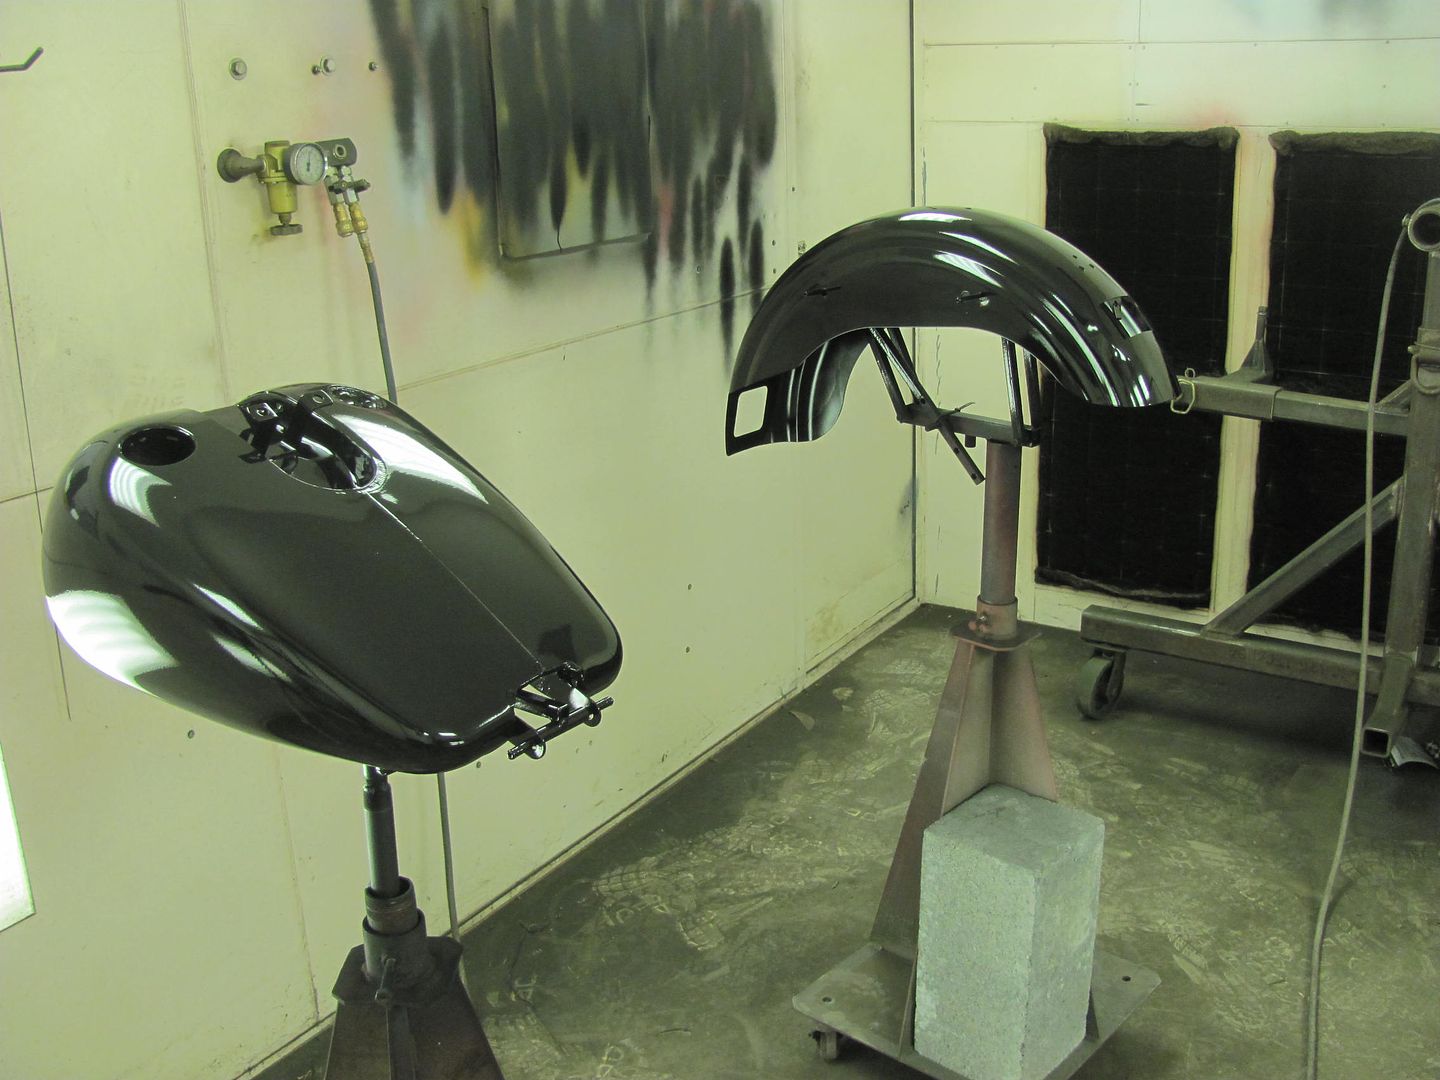 Look Scott, the dent's gone... 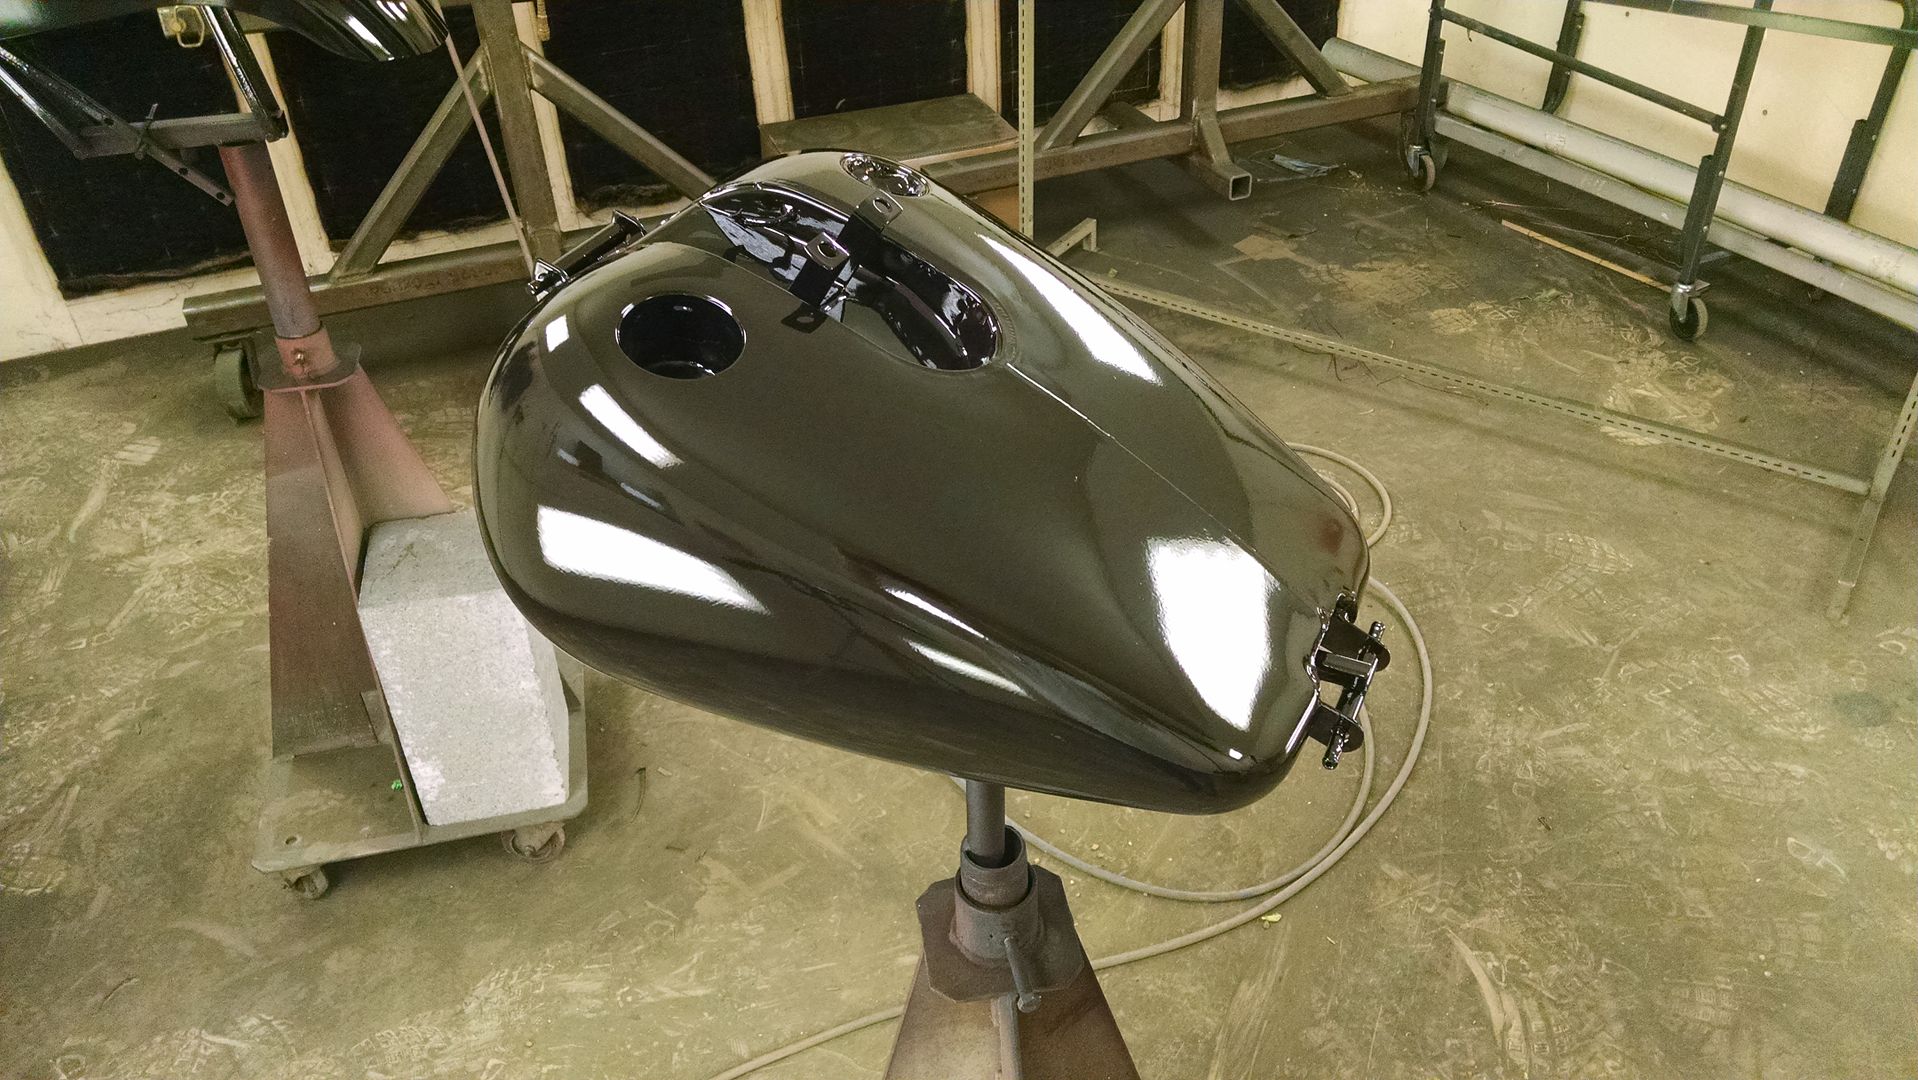
__________________
Robert |
|
|
|
|
07-01-2015, 12:08 AM
|
#6 |
|
Registered User
Join Date: Oct 2007
Location: Spanaway
Posts: 8,451
|
Re: 55 Wagon Progress
Nice, are you gonna air brush next?? LOL!
__________________
Mike. Swamp Rat build thread : http://67-72chevytrucks.com/vboard/s...d.php?t=595019 72 3/4T 4X4 4" BDS Lift 33" BFG's |
|
|
|
|
07-01-2015, 12:32 AM
|
#7 |
|
Registered User
Join Date: Jan 2013
Location: Leonardtown, MD
Posts: 1,637
|
Re: 55 Wagon Progress
No, this is just a repaint and new HD decals. I'd almost rather do some flames instead of fooling with getting the decals lined up..
Kyle learning the fine art of blocking.... 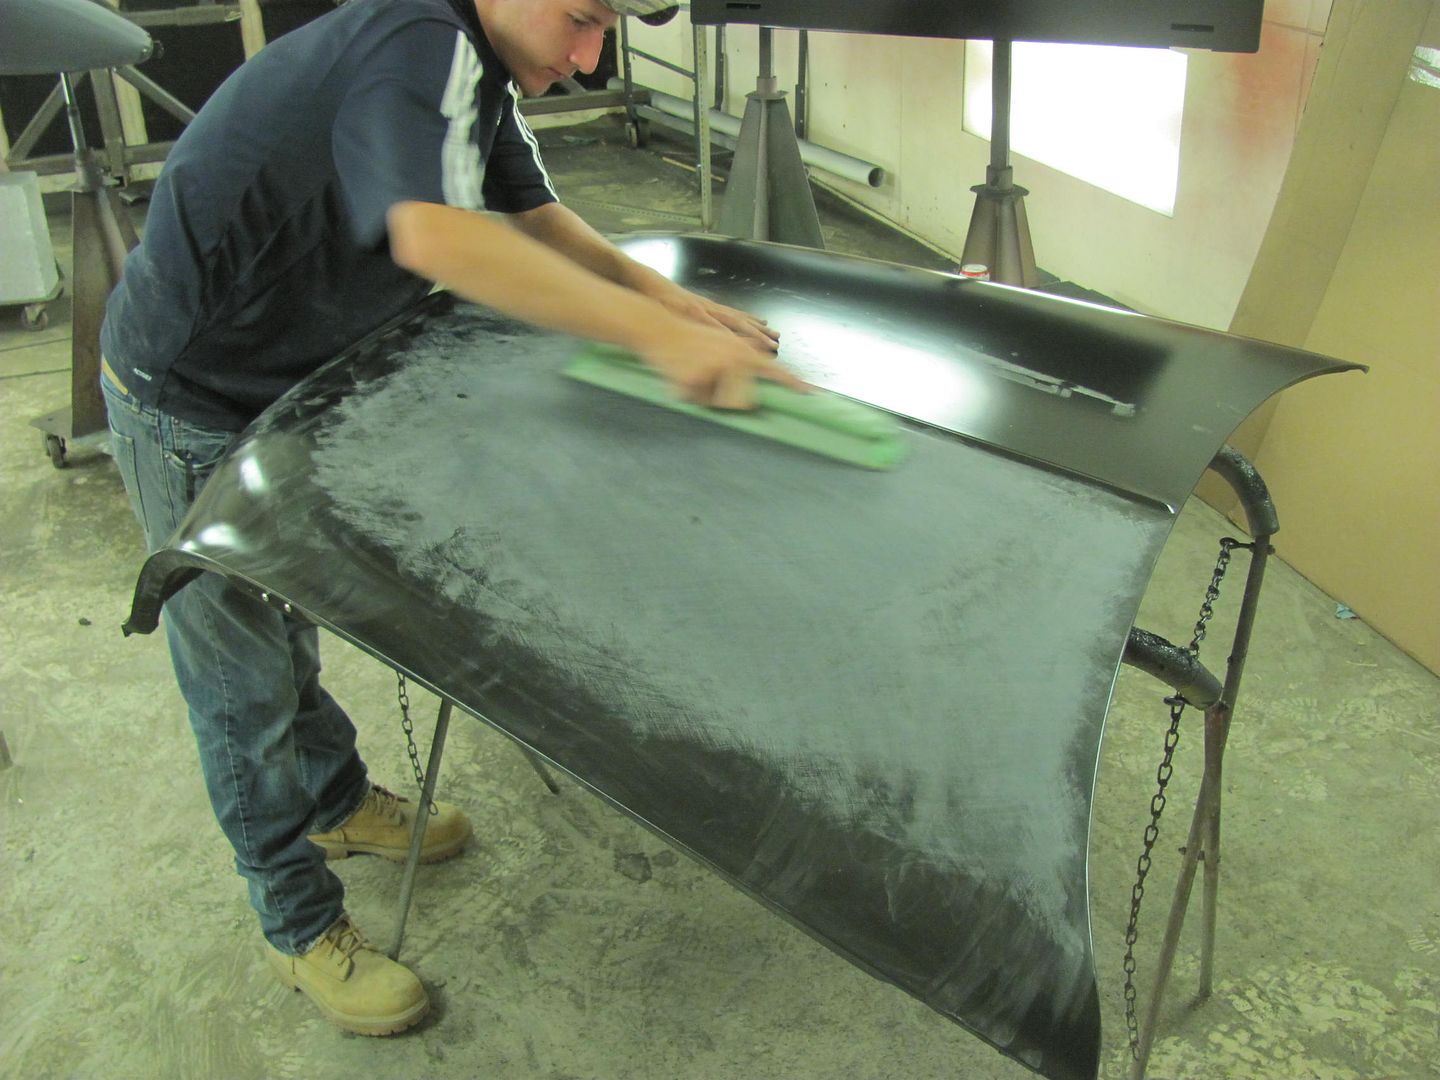 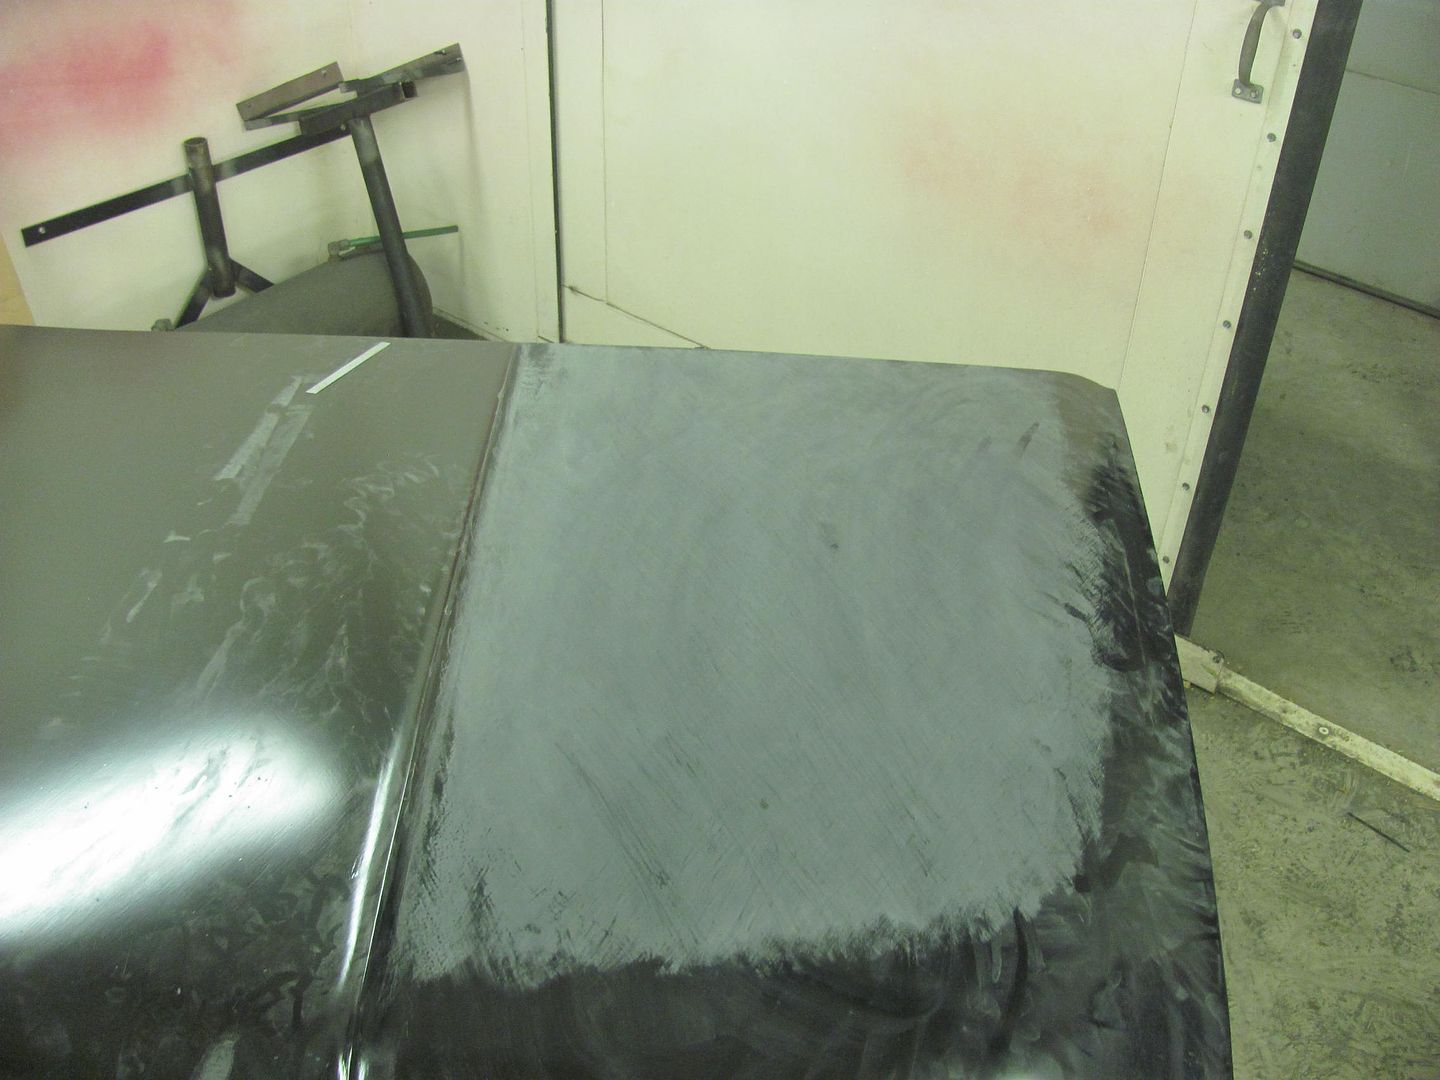 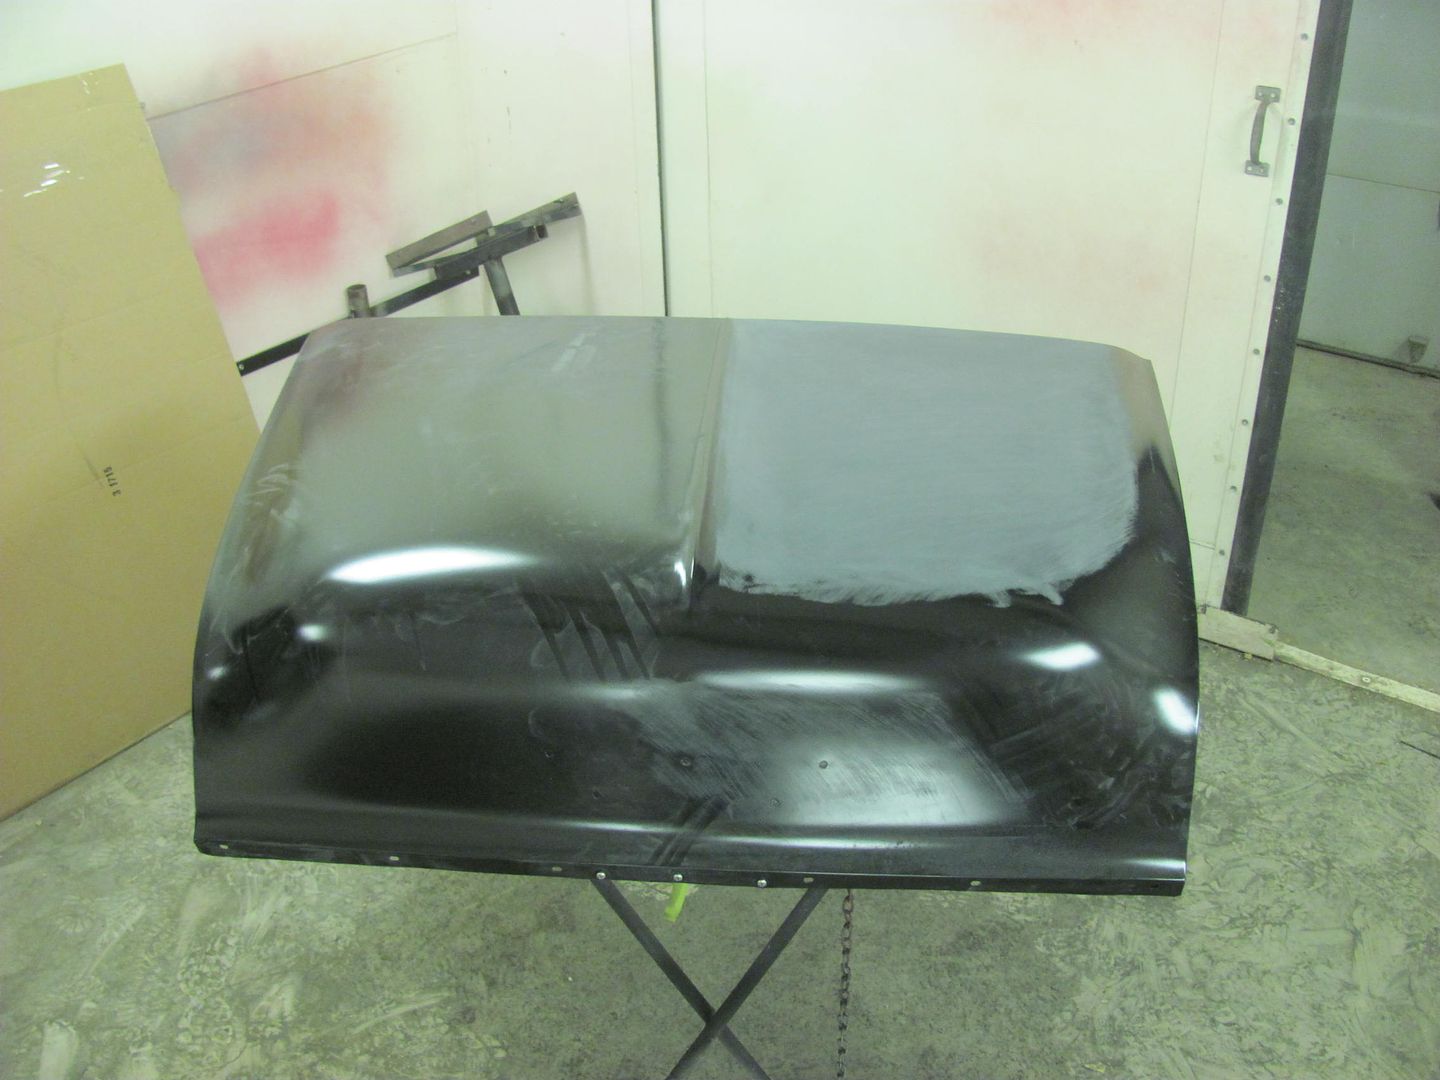 Meanwhile, I was wet sanding the motorcycle parts... 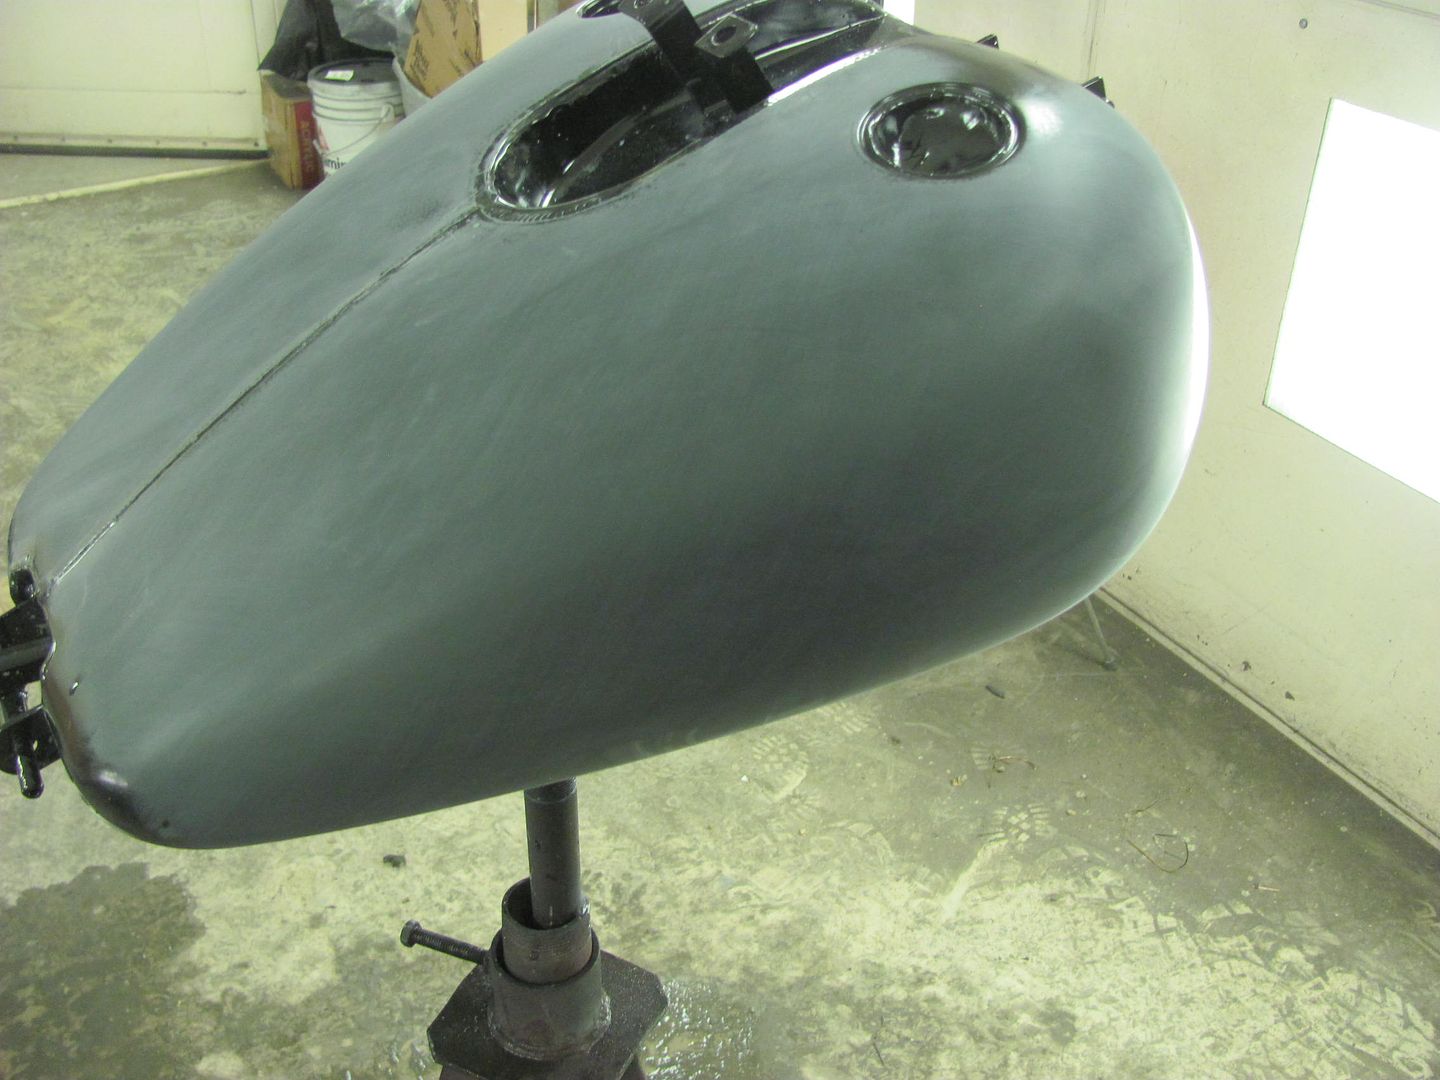 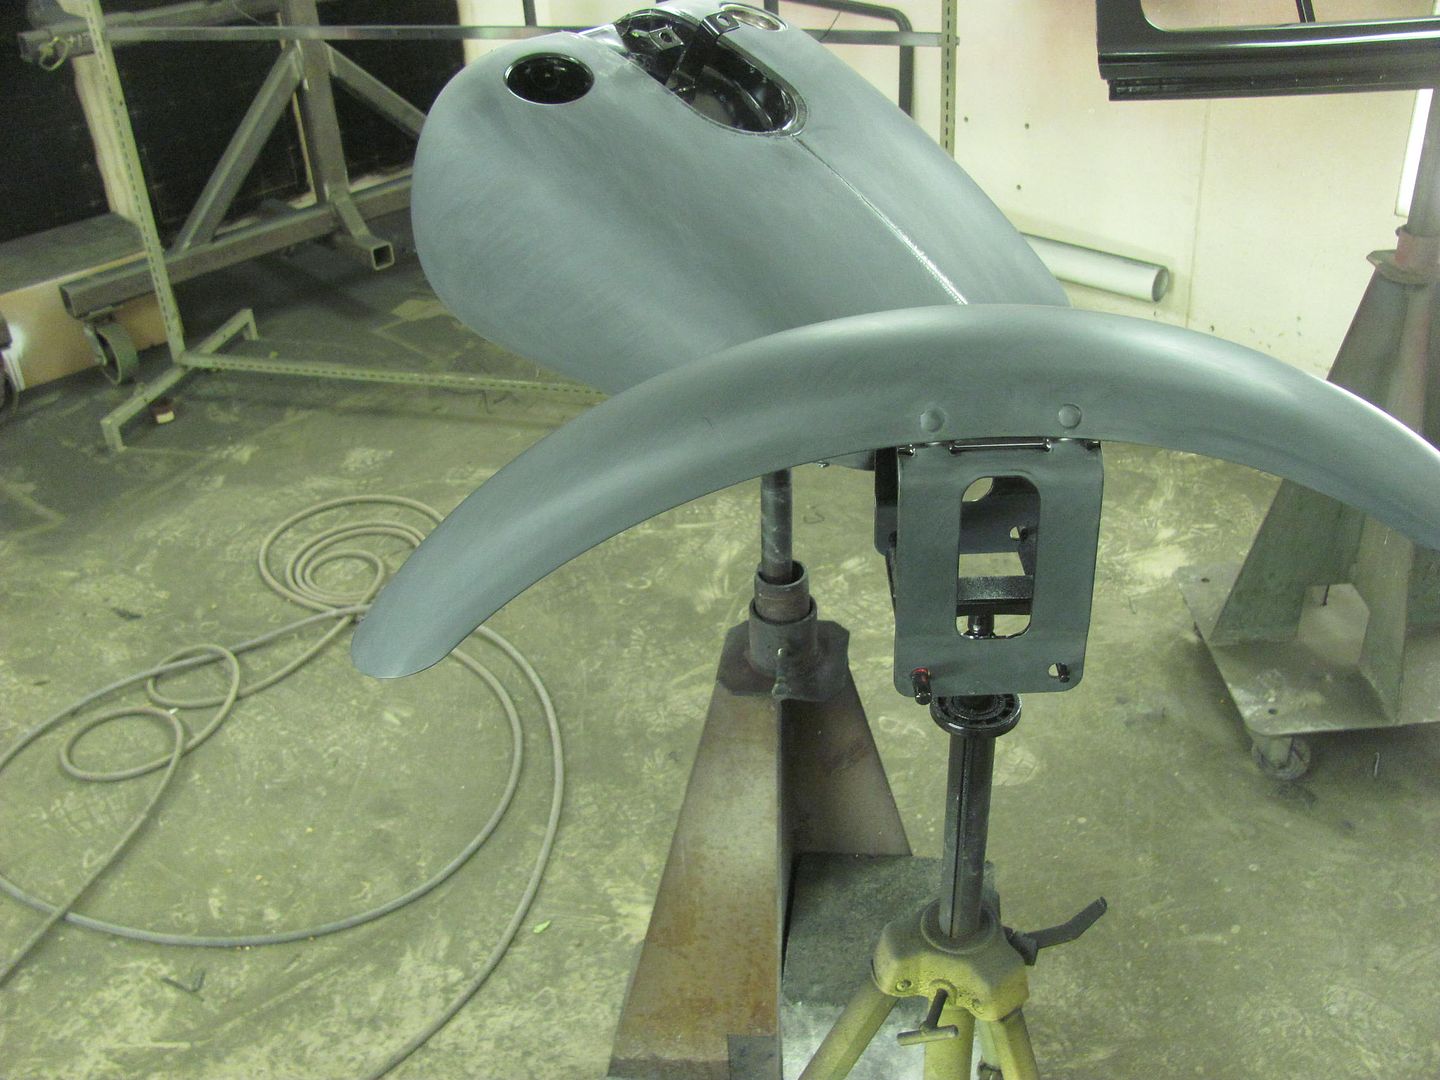 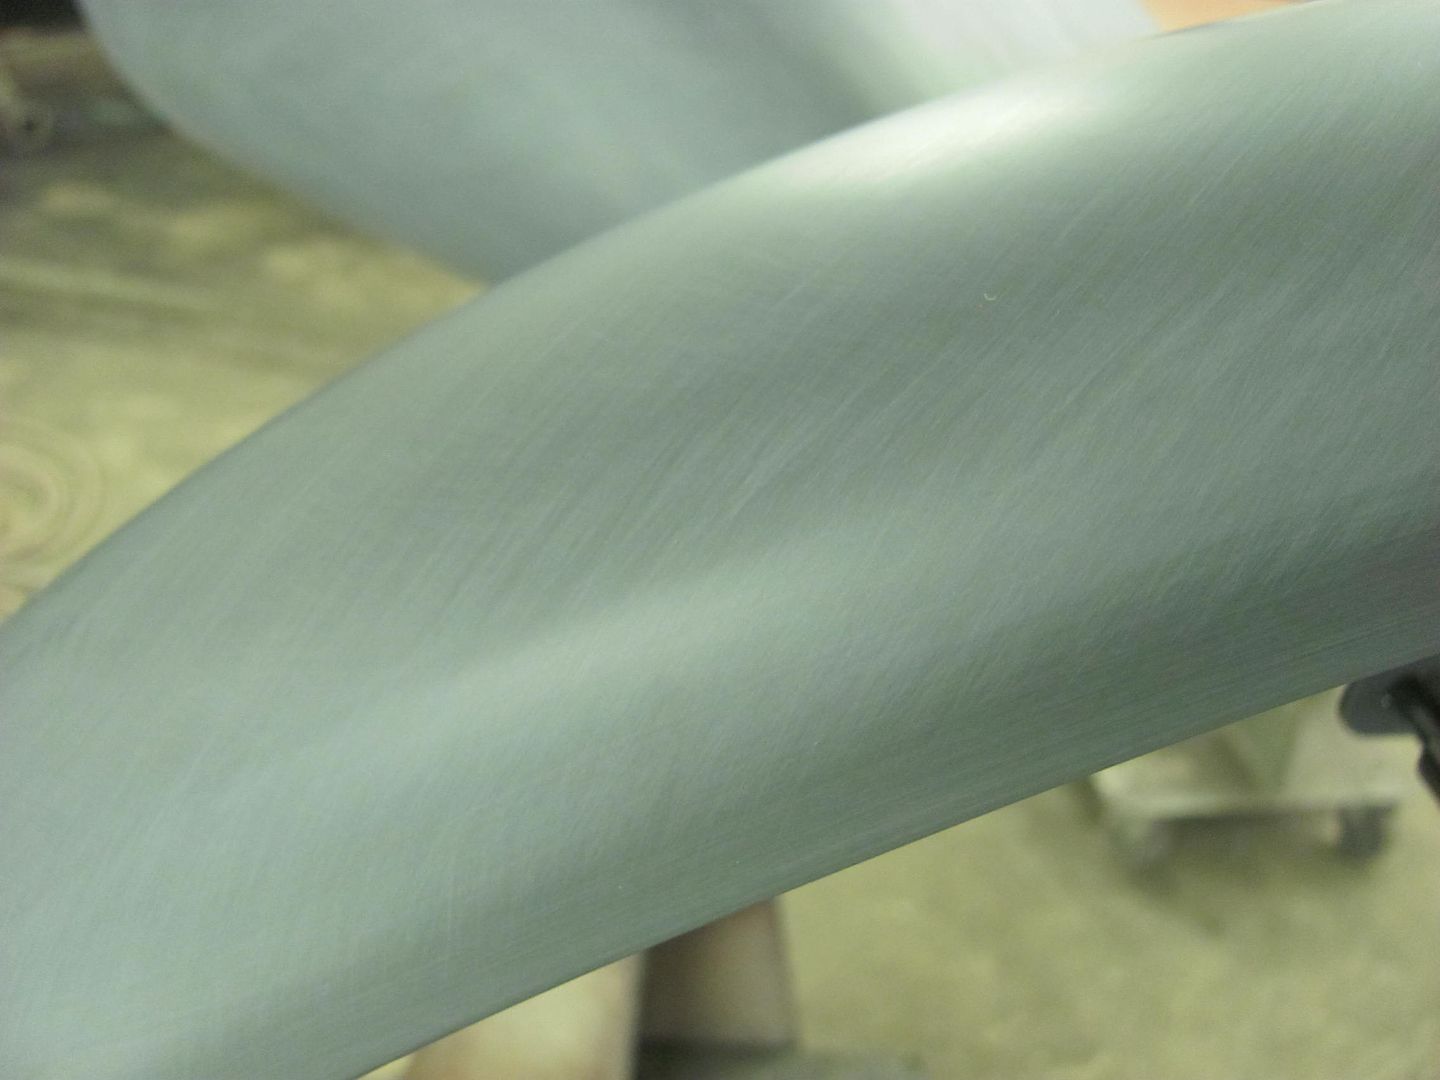 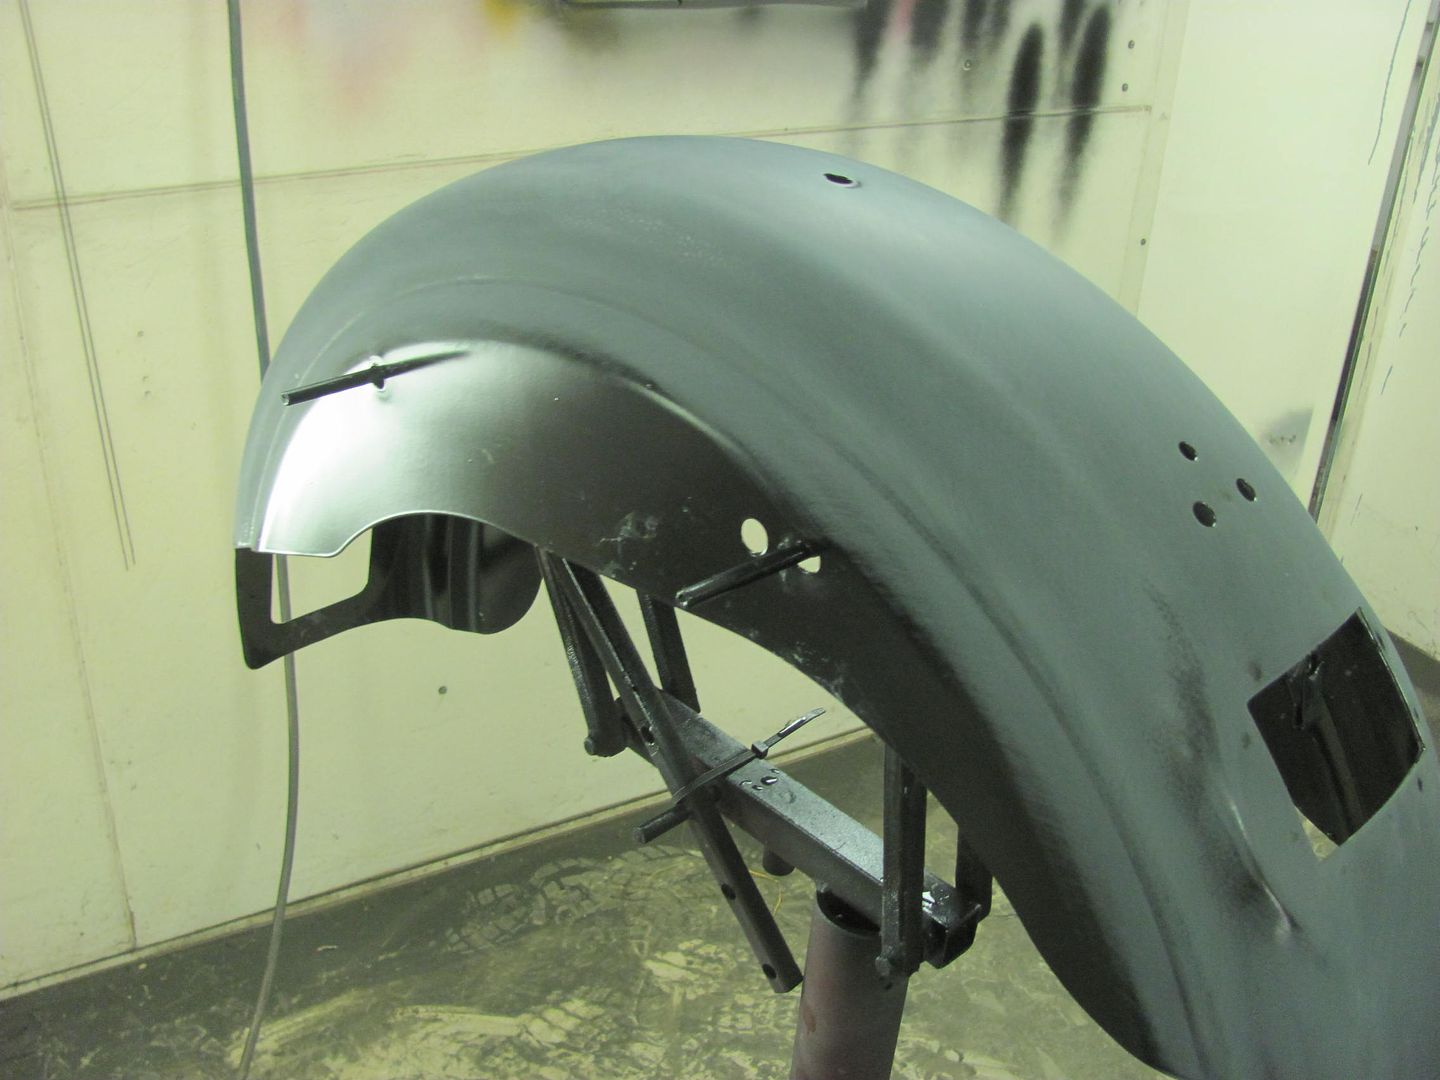 This SPI epoxy sure is nice sanding!
__________________
Robert |
|
|
|
|
07-01-2015, 01:29 AM
|
#8 |
|
Senior Member
 Join Date: Mar 2011
Location: West Plains, Missouri
Posts: 7,555
|
Re: 55 Wagon Progress
Nice job on the sanding...Jim
__________________
my build thread: http://67-72chevytrucks.com/vboard/s...d.php?t=459839 Jimbo's long bed step build:http://67-72chevytrucks.com/vboard/s...t=464626<br /> |
|
|
|
|
07-05-2015, 06:49 PM
|
#9 |
|
Registered User
Join Date: Jan 2013
Location: Leonardtown, MD
Posts: 1,637
|
Re: 55 Wagon Progress
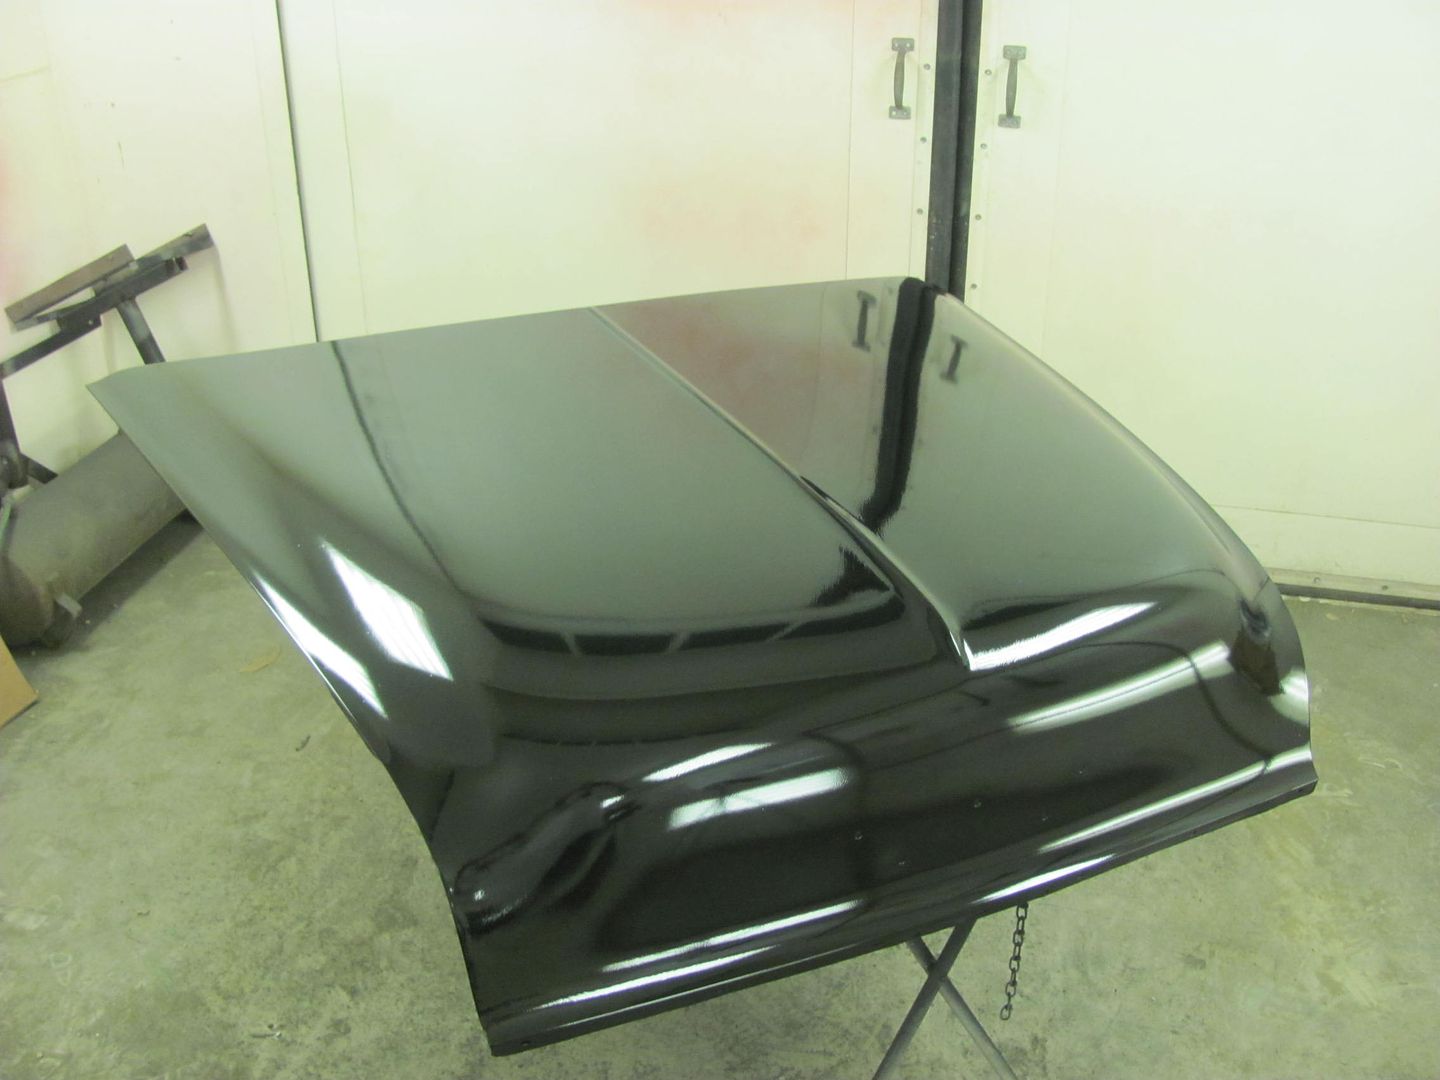
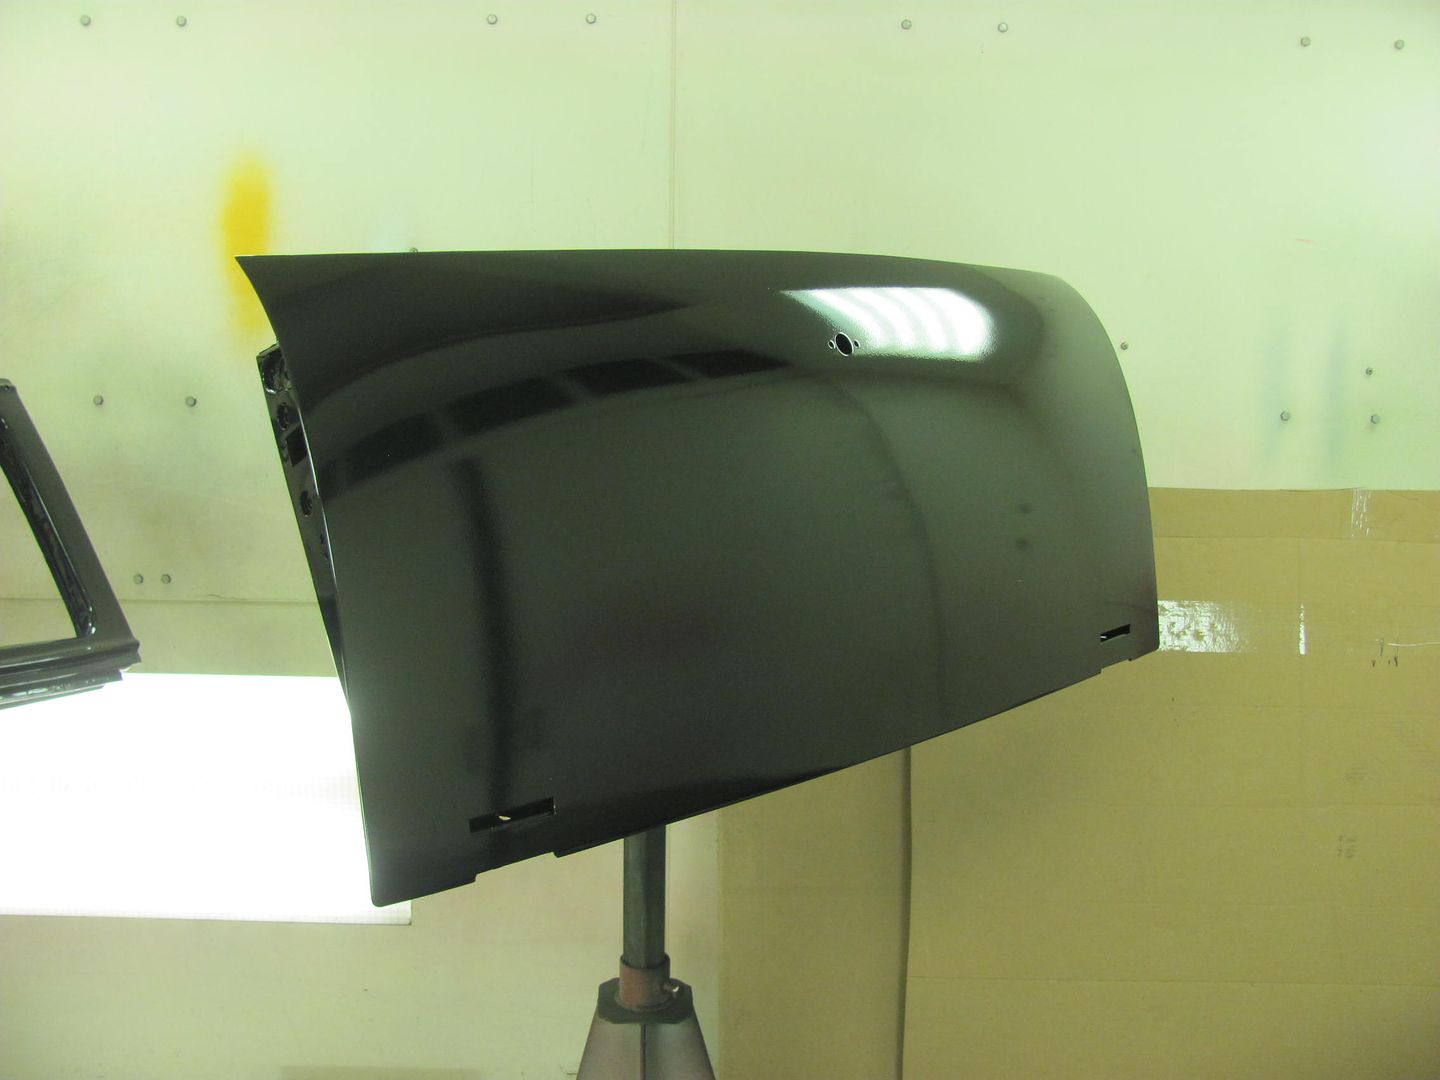
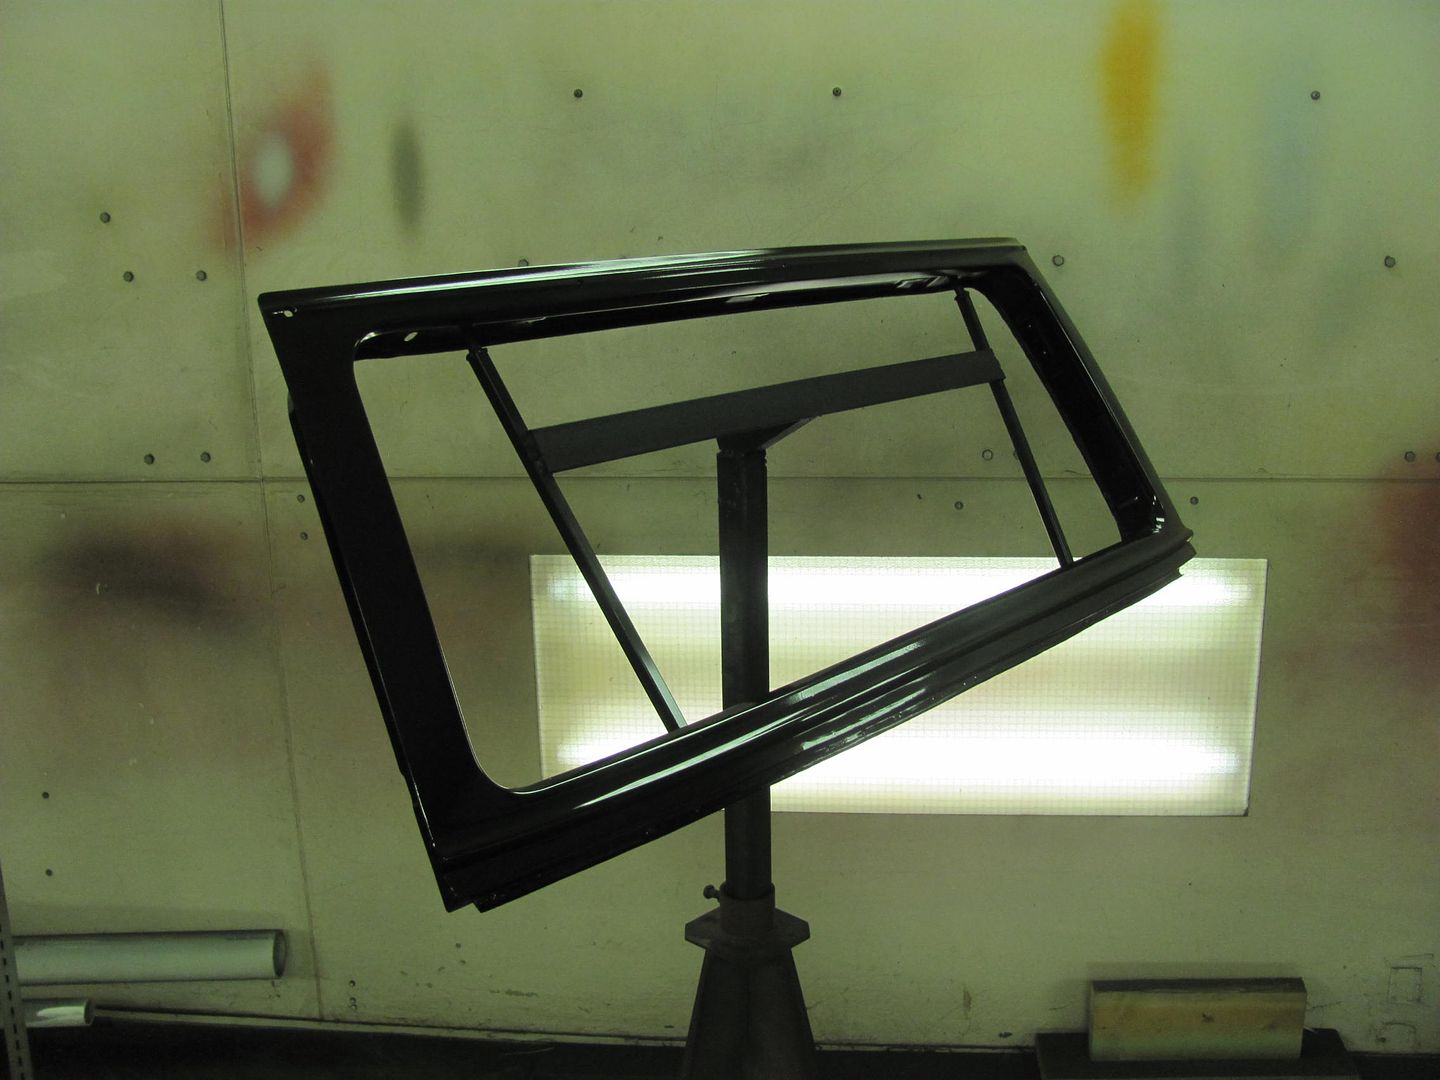
Wet sanded with 600
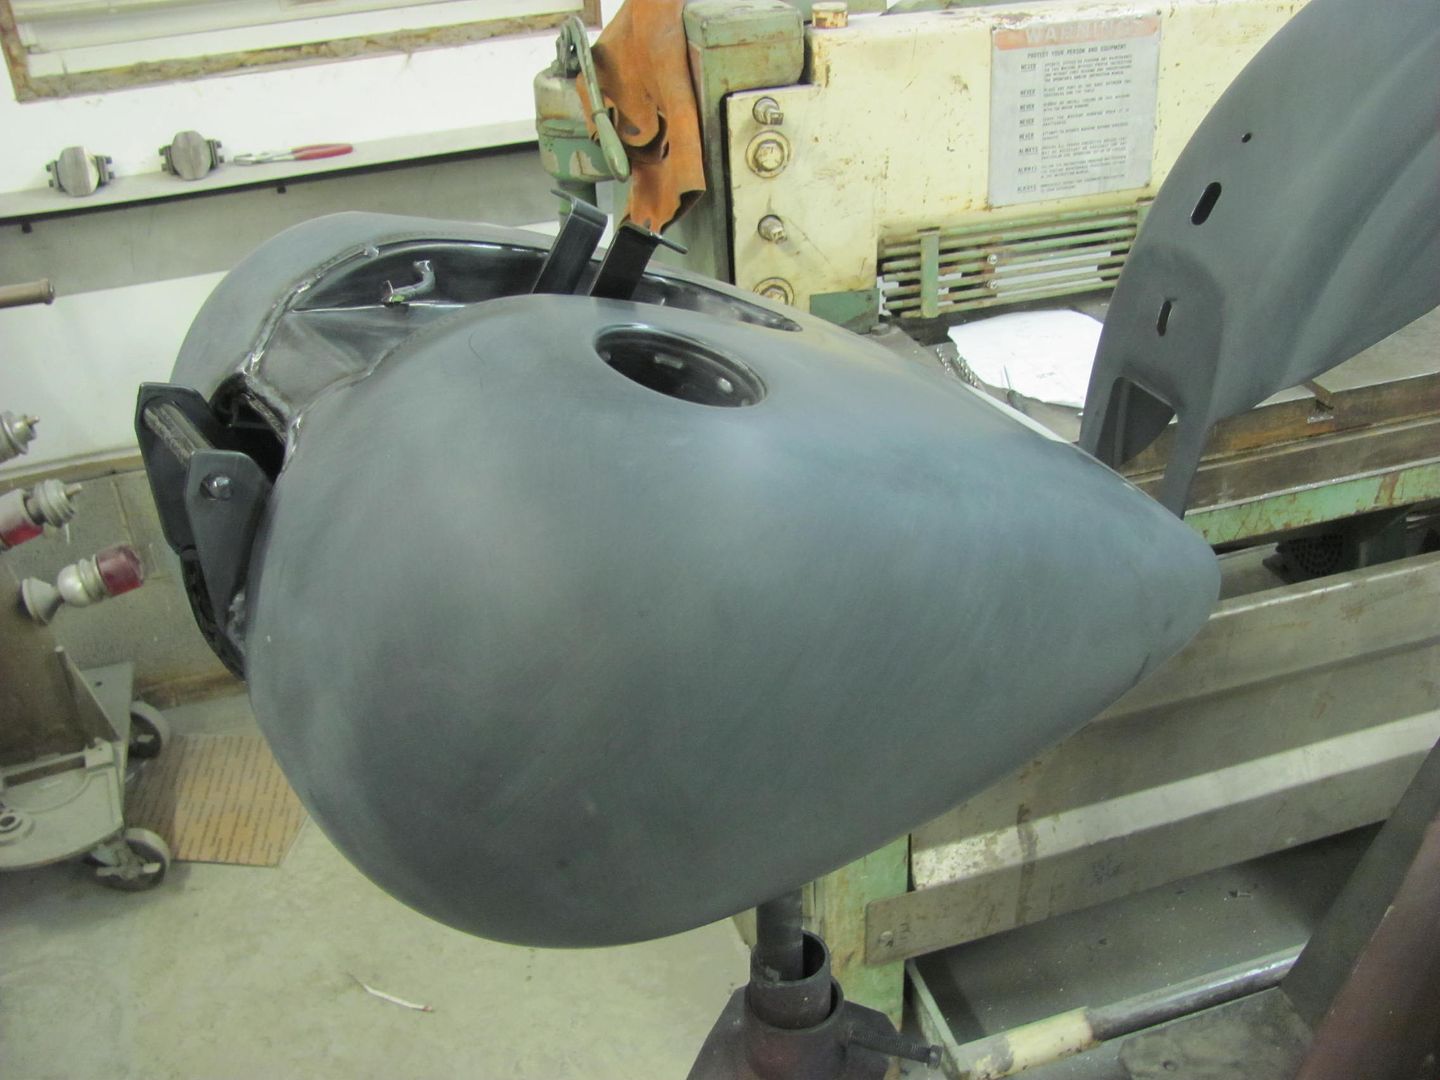   SPI Epoxy seal coat 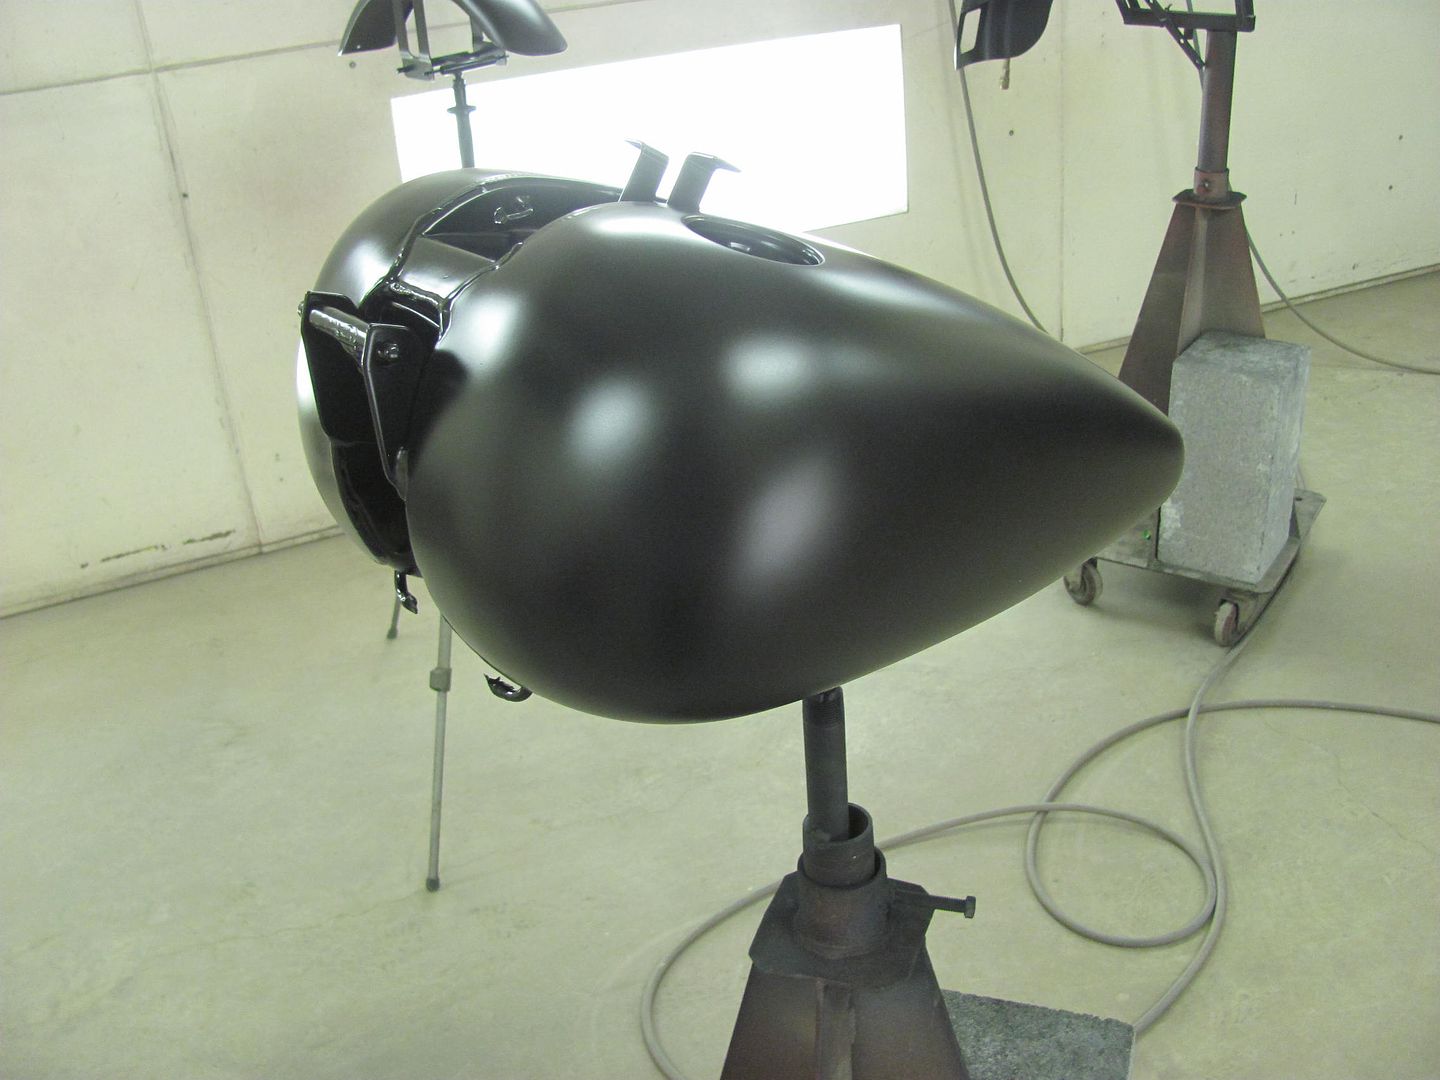 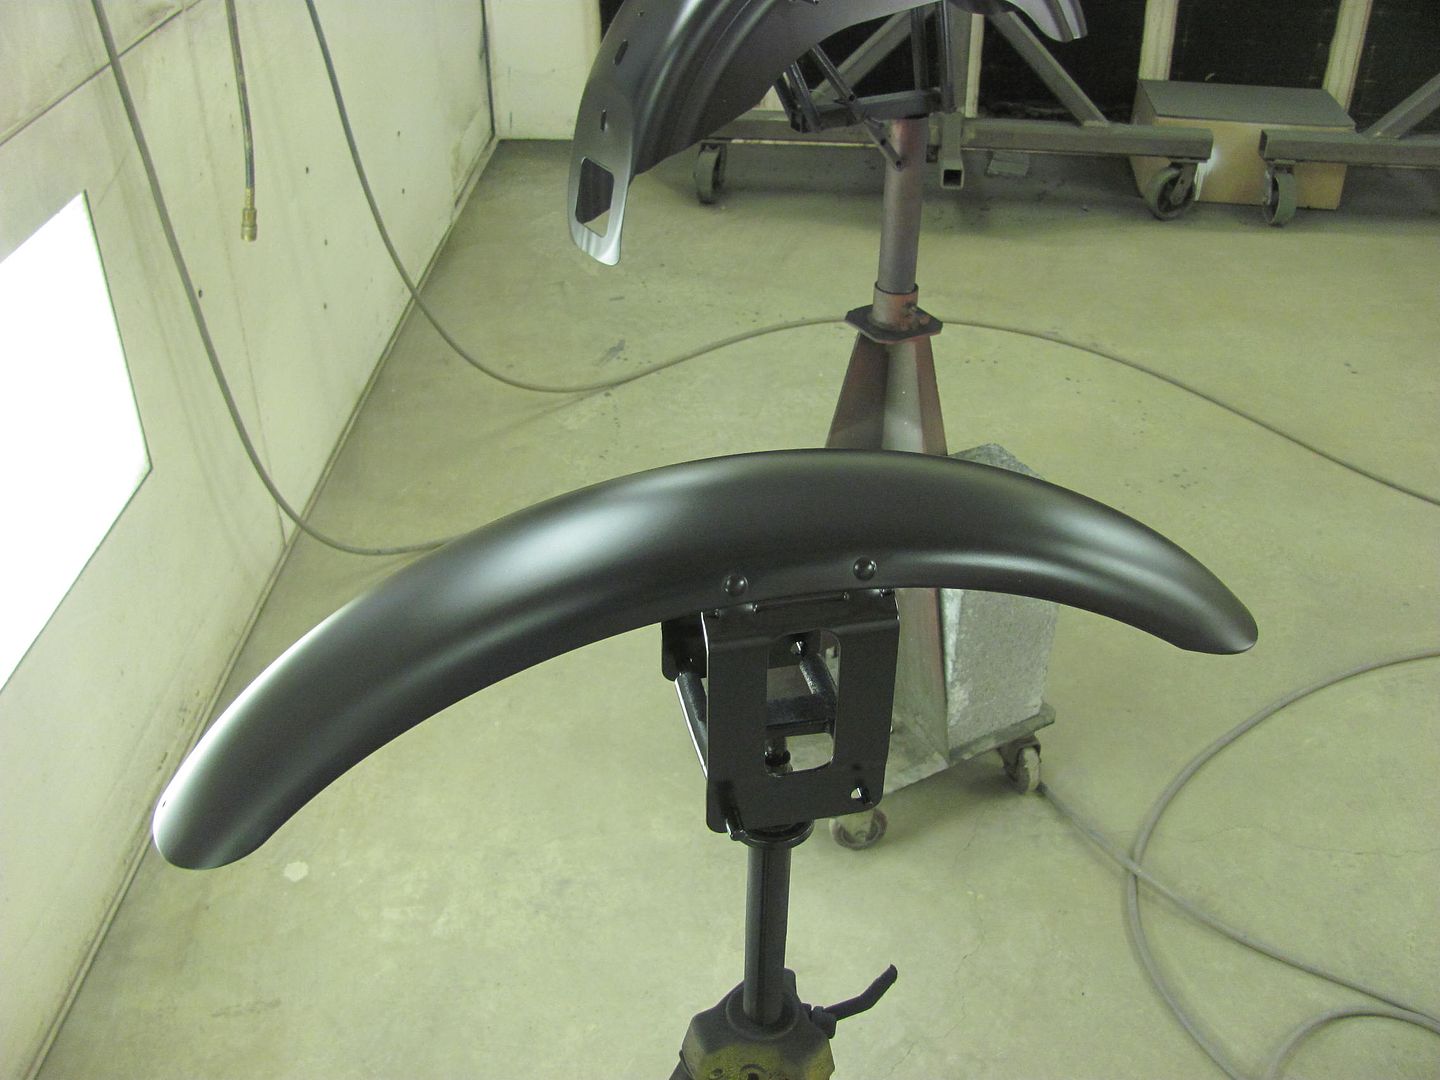 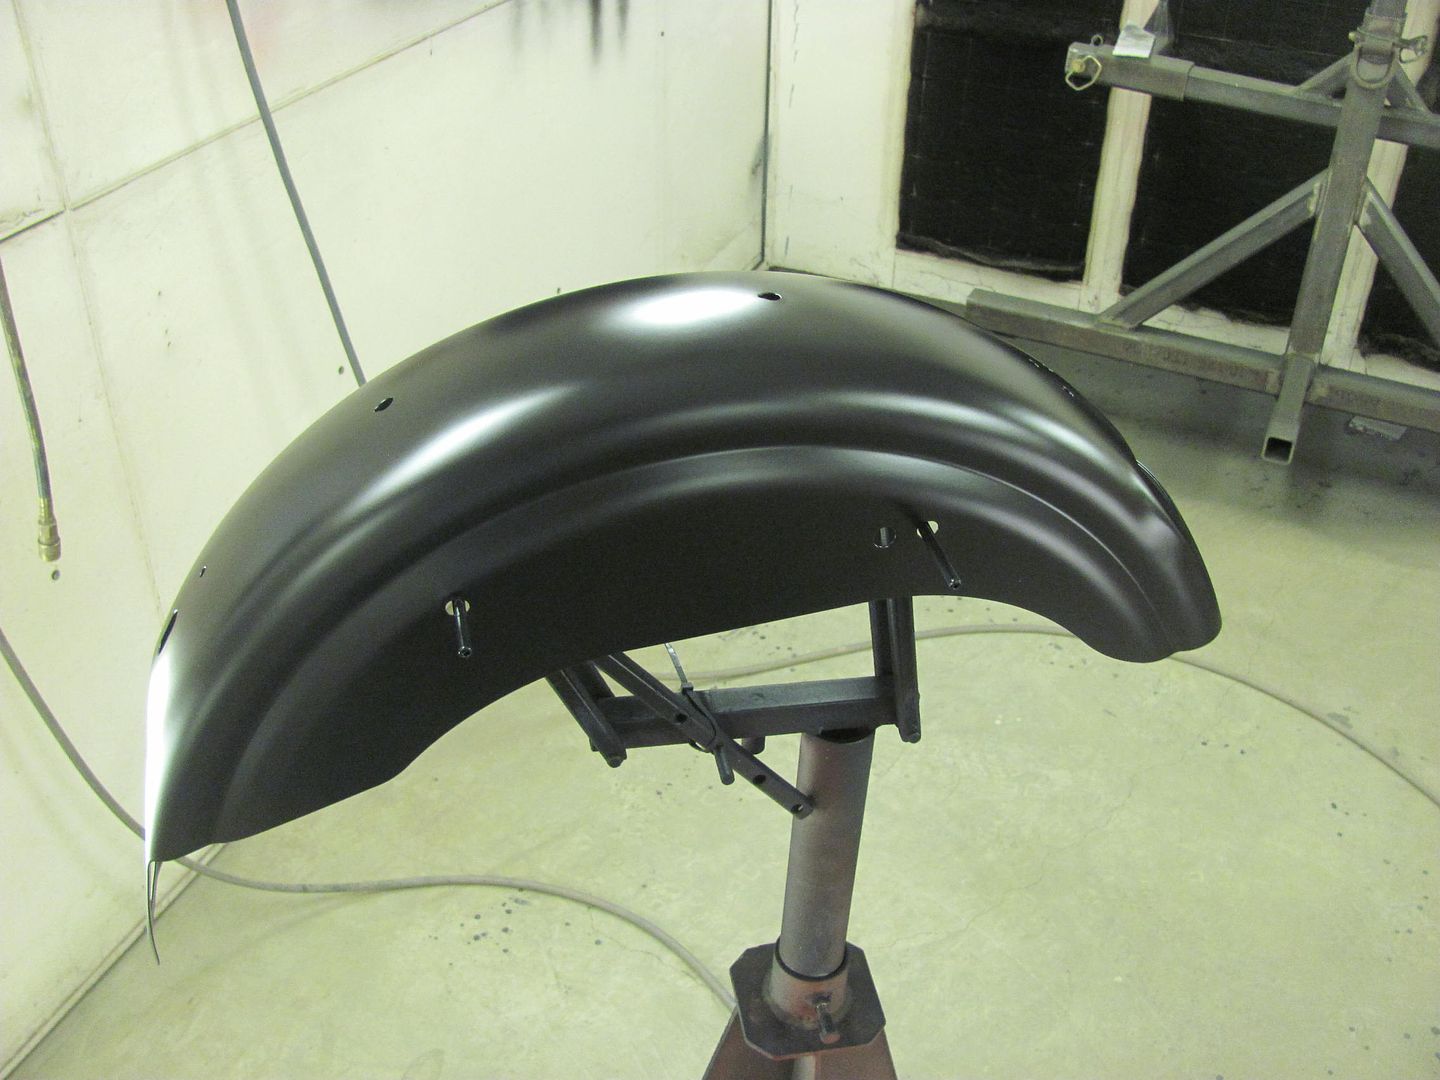 Dupont Cromax Black Diamond and clear 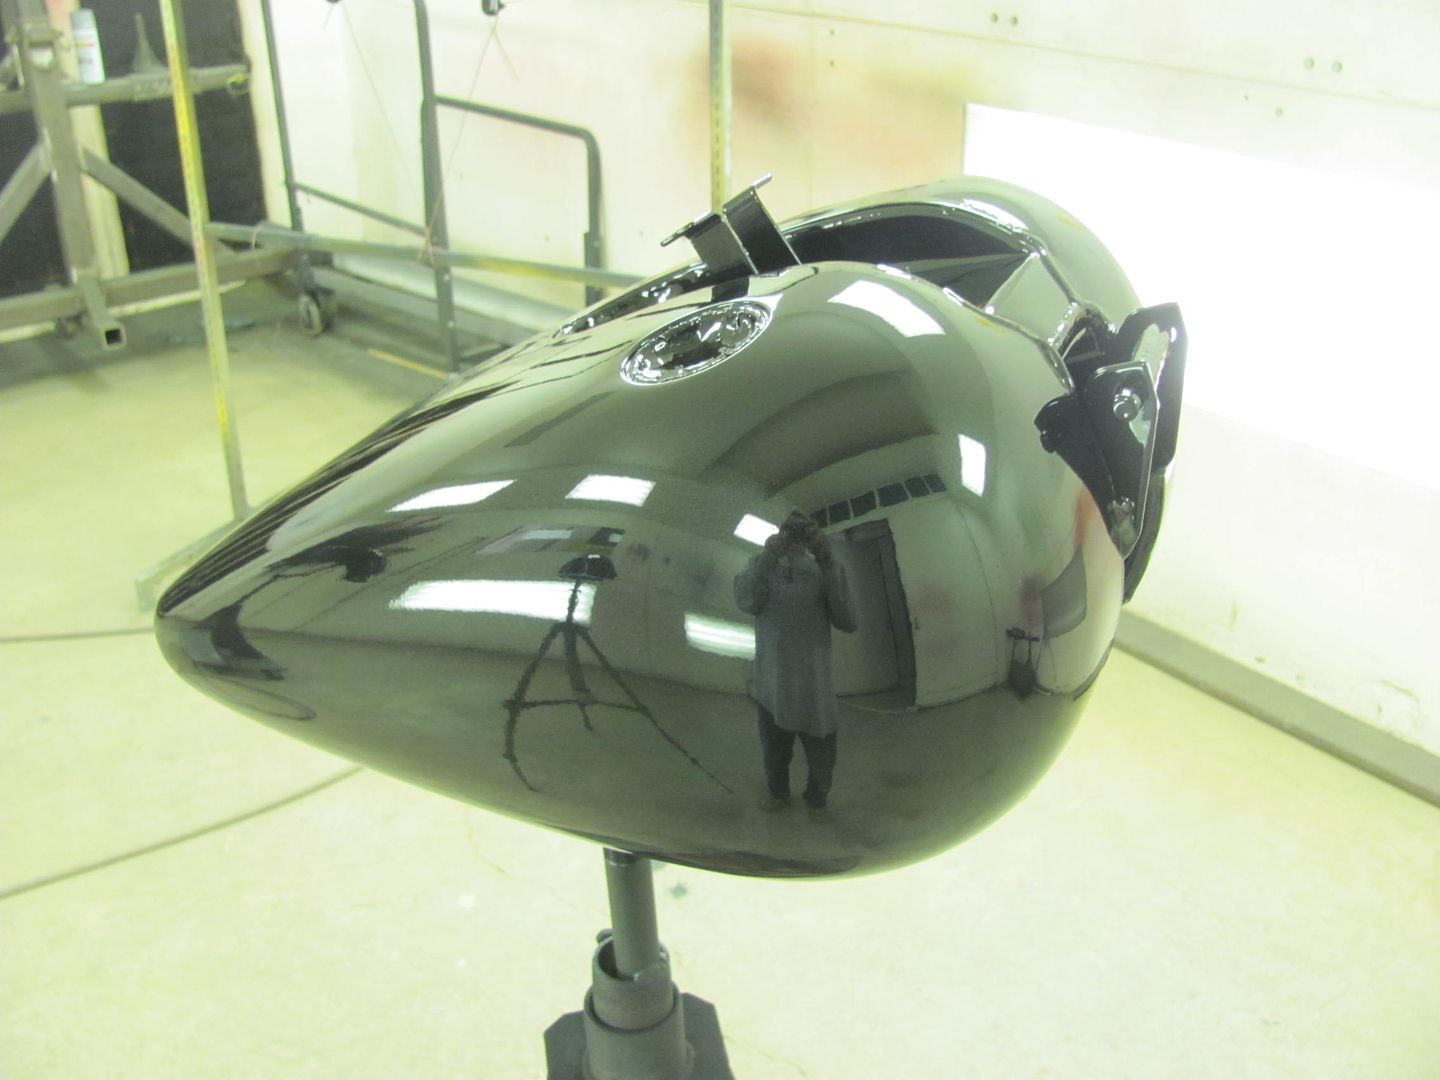 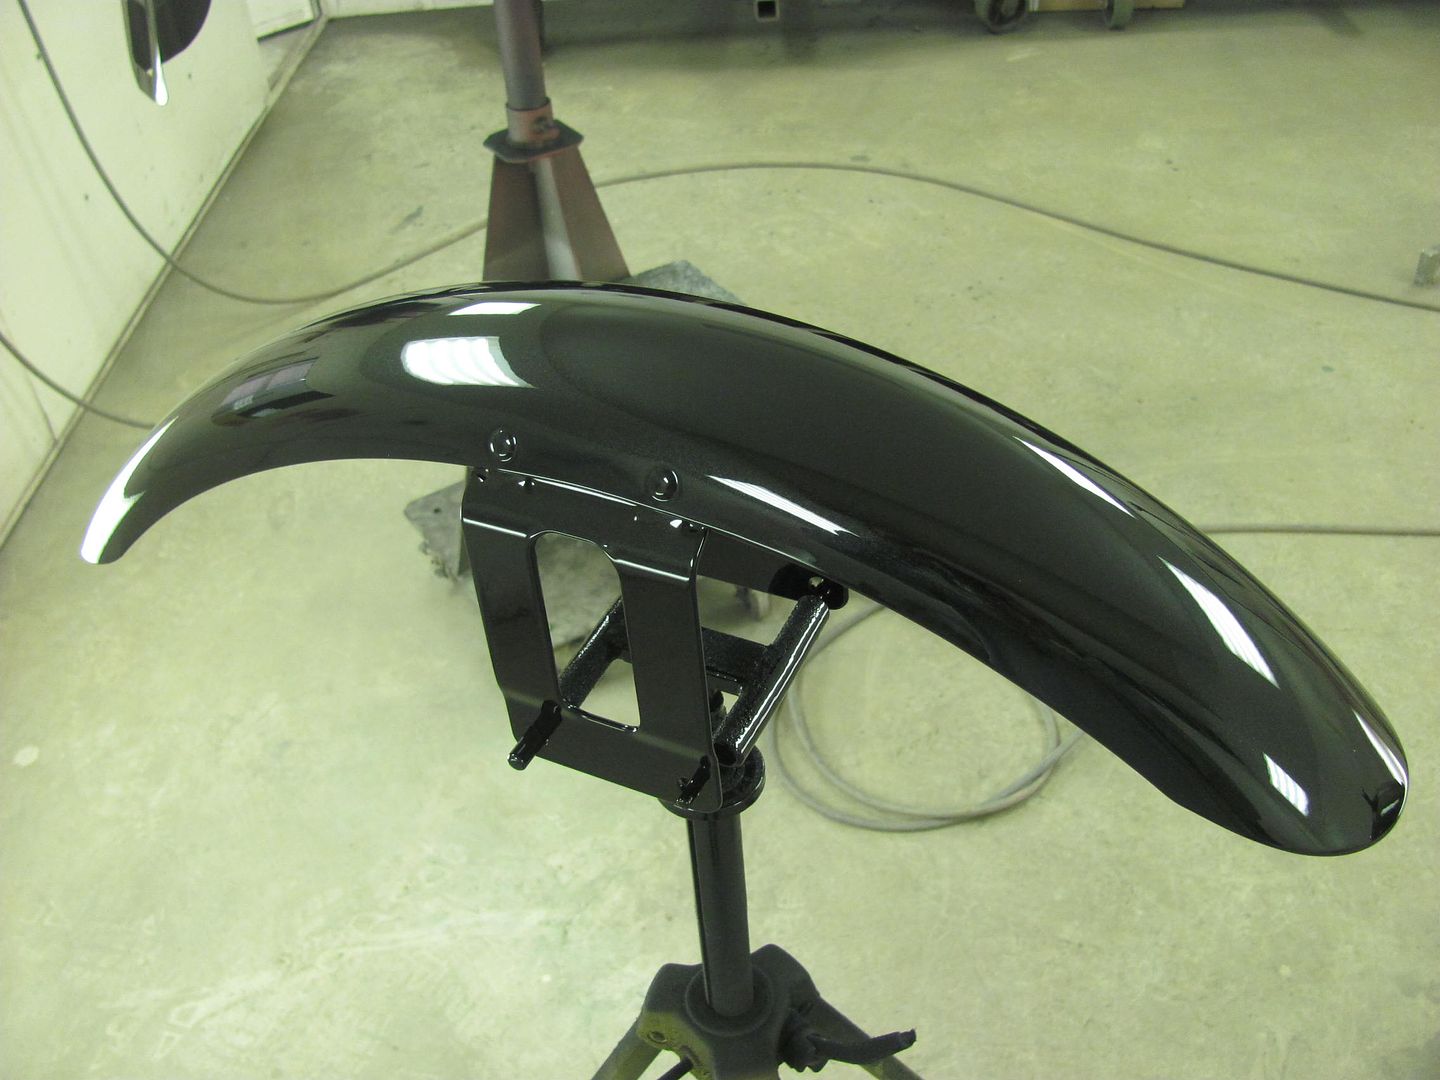 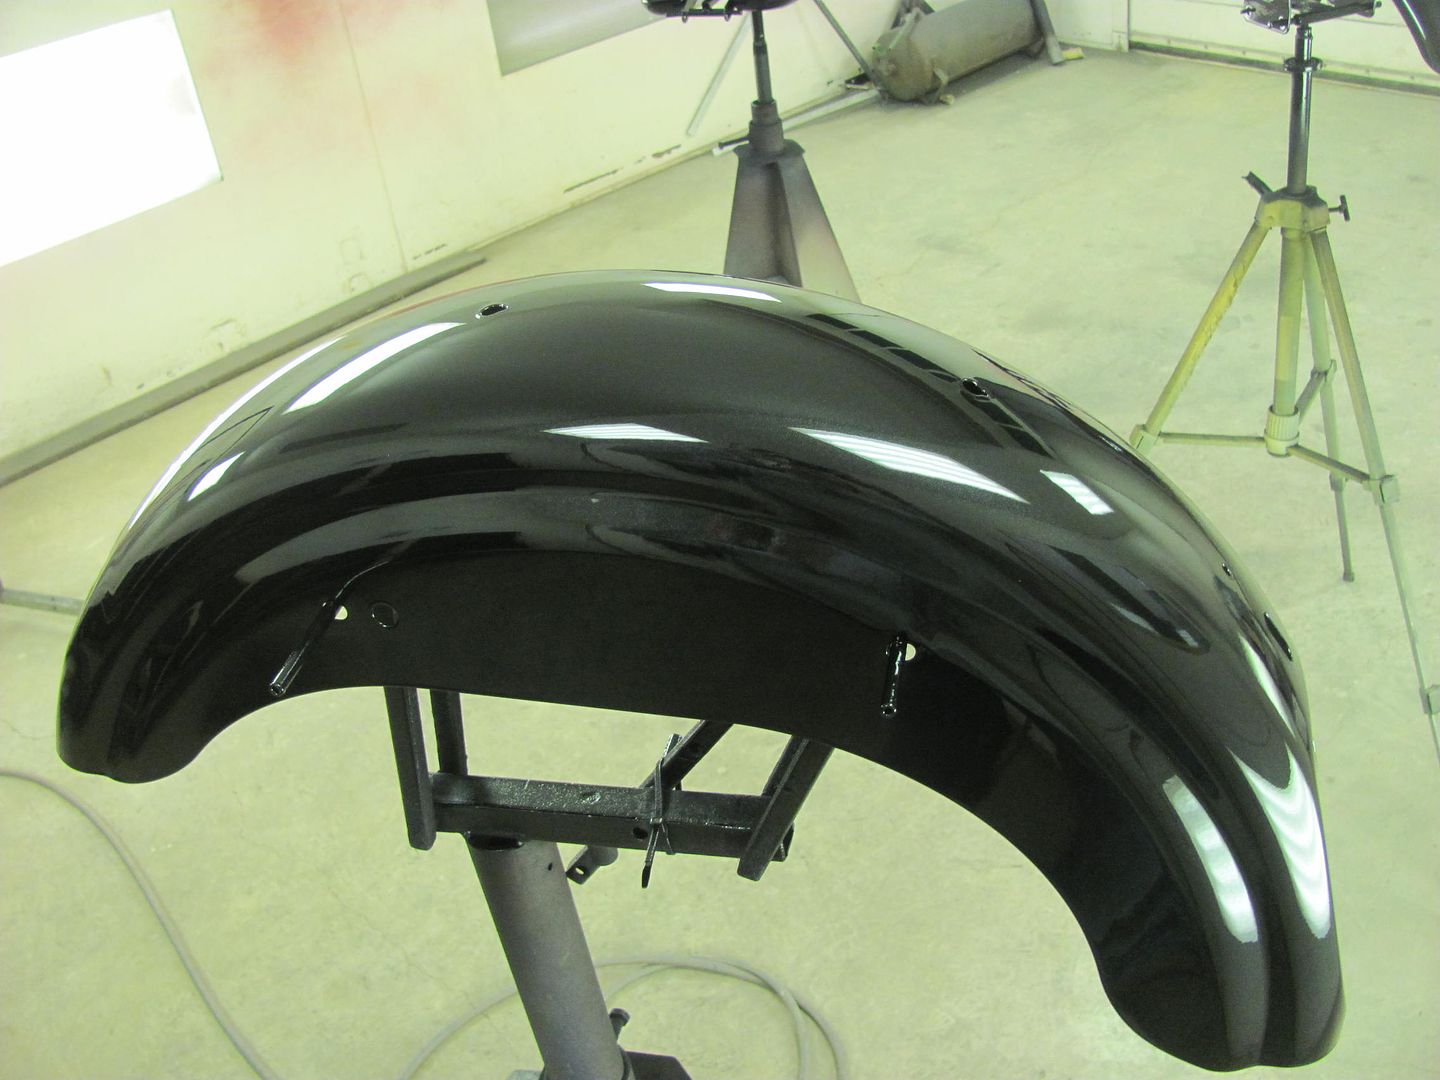 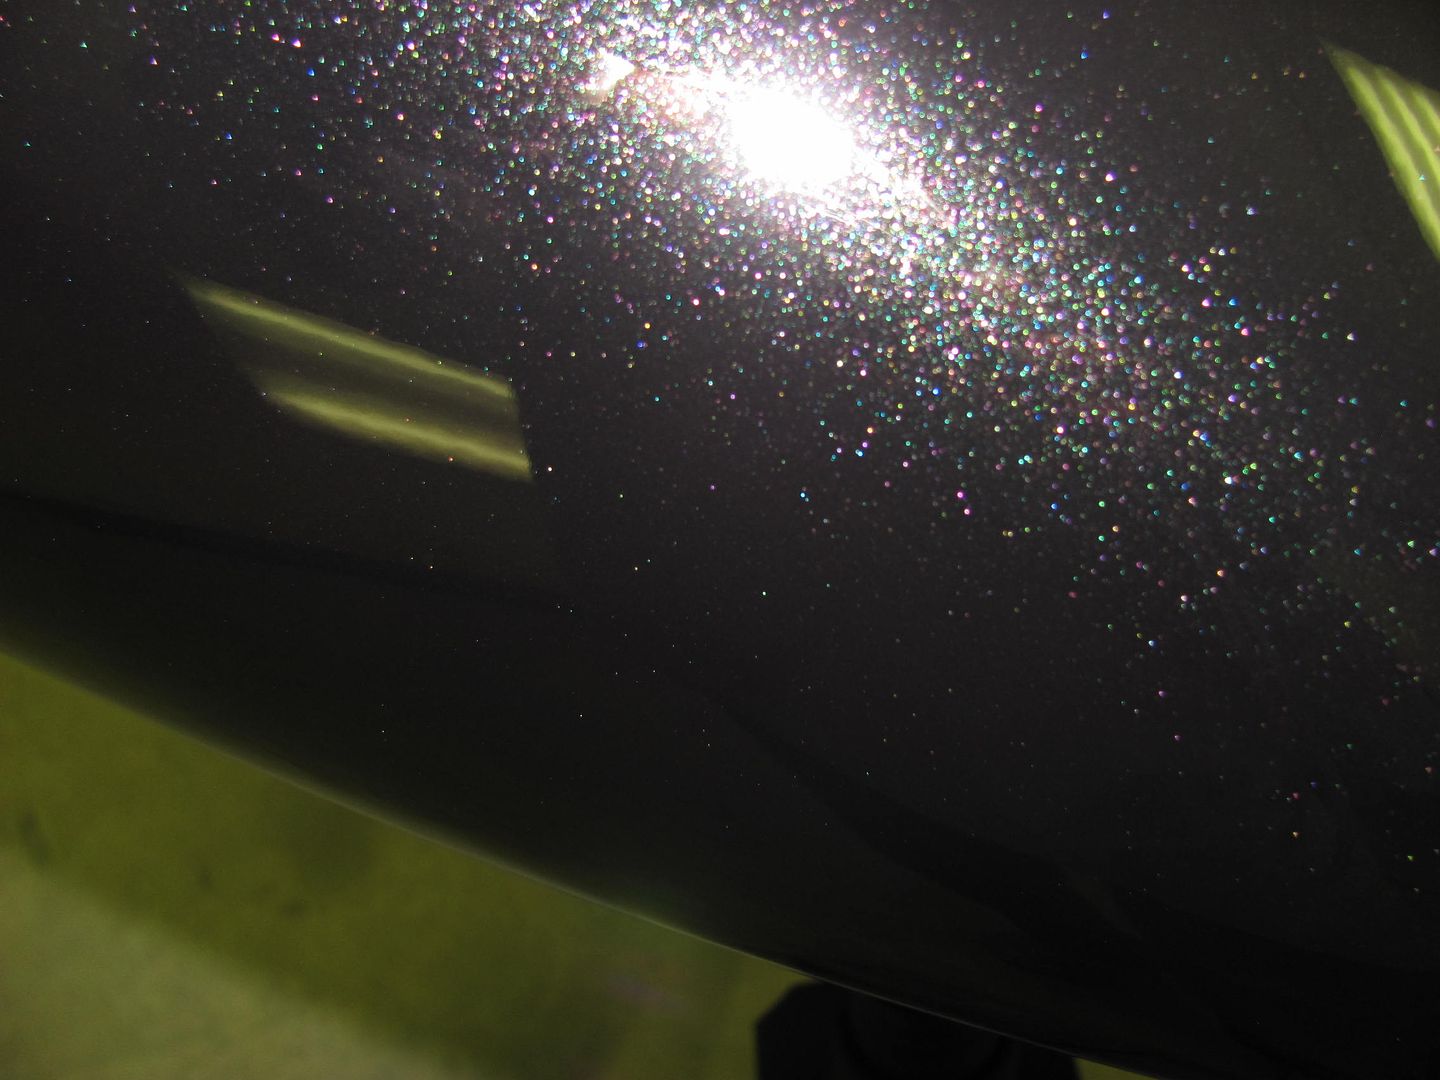
__________________
Robert |
|
|
|
|
07-05-2015, 07:41 PM
|
#10 |
|
Senior Member
Join Date: Jul 2012
Location: Oblong, Illinois
Posts: 7,017
|
Re: 55 Wagon Progress
Wow, that looks really nice! Great job and love the color.
|
|
|
|
|
07-05-2015, 08:36 PM
|
#11 |
|
Senior Member
Join Date: Mar 2011
Location: West Plains, Missouri
Posts: 7,555
|
Re: 55 Wagon Progress
Robert, nice job looks super. When you use the epoxy as a sealer, is it the same or do you change it up, thinner, less pressure or???...Jim
__________________
my build thread: http://67-72chevytrucks.com/vboard/s...d.php?t=459839 Jimbo's long bed step build:http://67-72chevytrucks.com/vboard/s...t=464626<br /> |
|
|
|
|
07-05-2015, 10:05 PM
|
#12 |
|
Registered User
Join Date: Jan 2013
Location: Leonardtown, MD
Posts: 1,637
|
Re: 55 Wagon Progress
Per their tech sheet the epoxy can be reduced 5 to 50% to use as a sealer..
__________________
Robert |
|
|
|
|
07-08-2015, 02:12 AM
|
#13 |
|
Registered User
Join Date: Dec 2012
Location: Rochester, KENT
Posts: 10,498
|
Re: 55 Wagon Progress
Continue to enjoy your posts.
Thanks for sharing.
__________________
MY BUILD LINK: http://67-72chevytrucks.com/vboard/s...585901]Redneck Express - 1966 C10 Short Fleetside MY USA ROADTRIPS http://forum.retro-rides.org/thread/...2018-humdinger IF YOU CAN'T FIX IT WITH A HAMMER, YOU'VE GOT AN ELECTRICAL PROBLEM MATE. |
|
|
|
|
07-08-2015, 11:43 AM
|
#14 |
|
Registered User
Join Date: Apr 2011
Location: .
Posts: 3,104
|
Re: 55 Wagon Progress
Sat down with my morning coffee to get caught back up, read through the last couple of pages and yup, mind blown ready to start the day.
Great work |
|
|
|
|
07-09-2015, 10:40 PM
|
#15 |
|
Registered User
Join Date: Jan 2013
Location: Leonardtown, MD
Posts: 1,637
|
Re: 55 Wagon Progress
Thanks for the comments guys!
Well, we had gotten some more sanding done...... 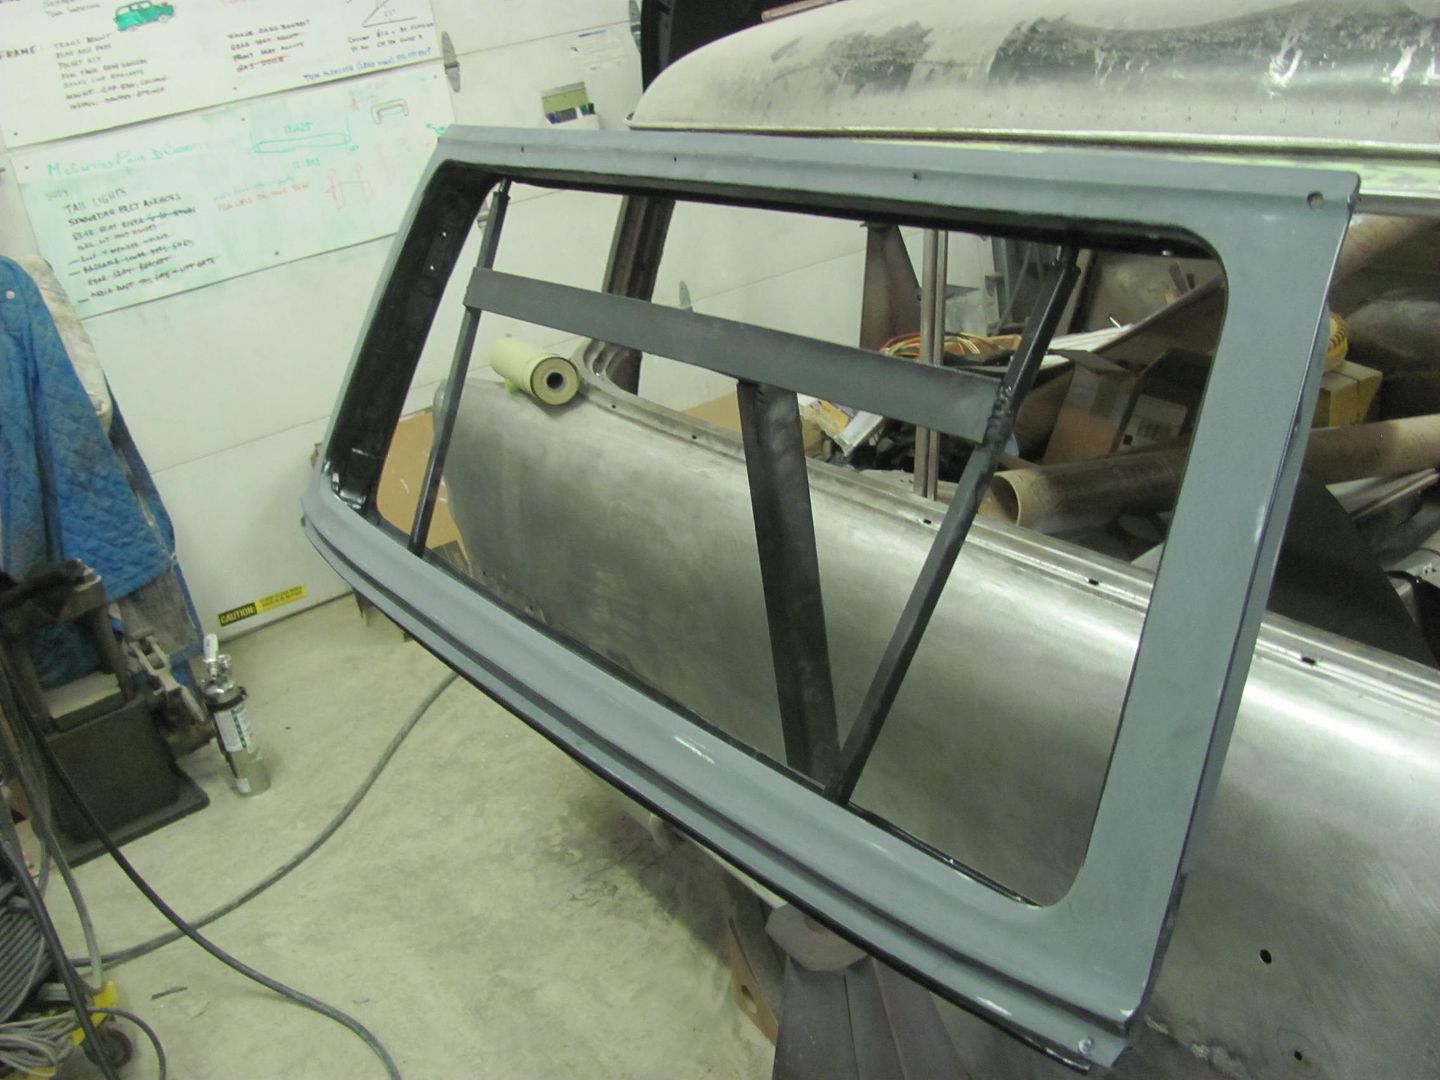 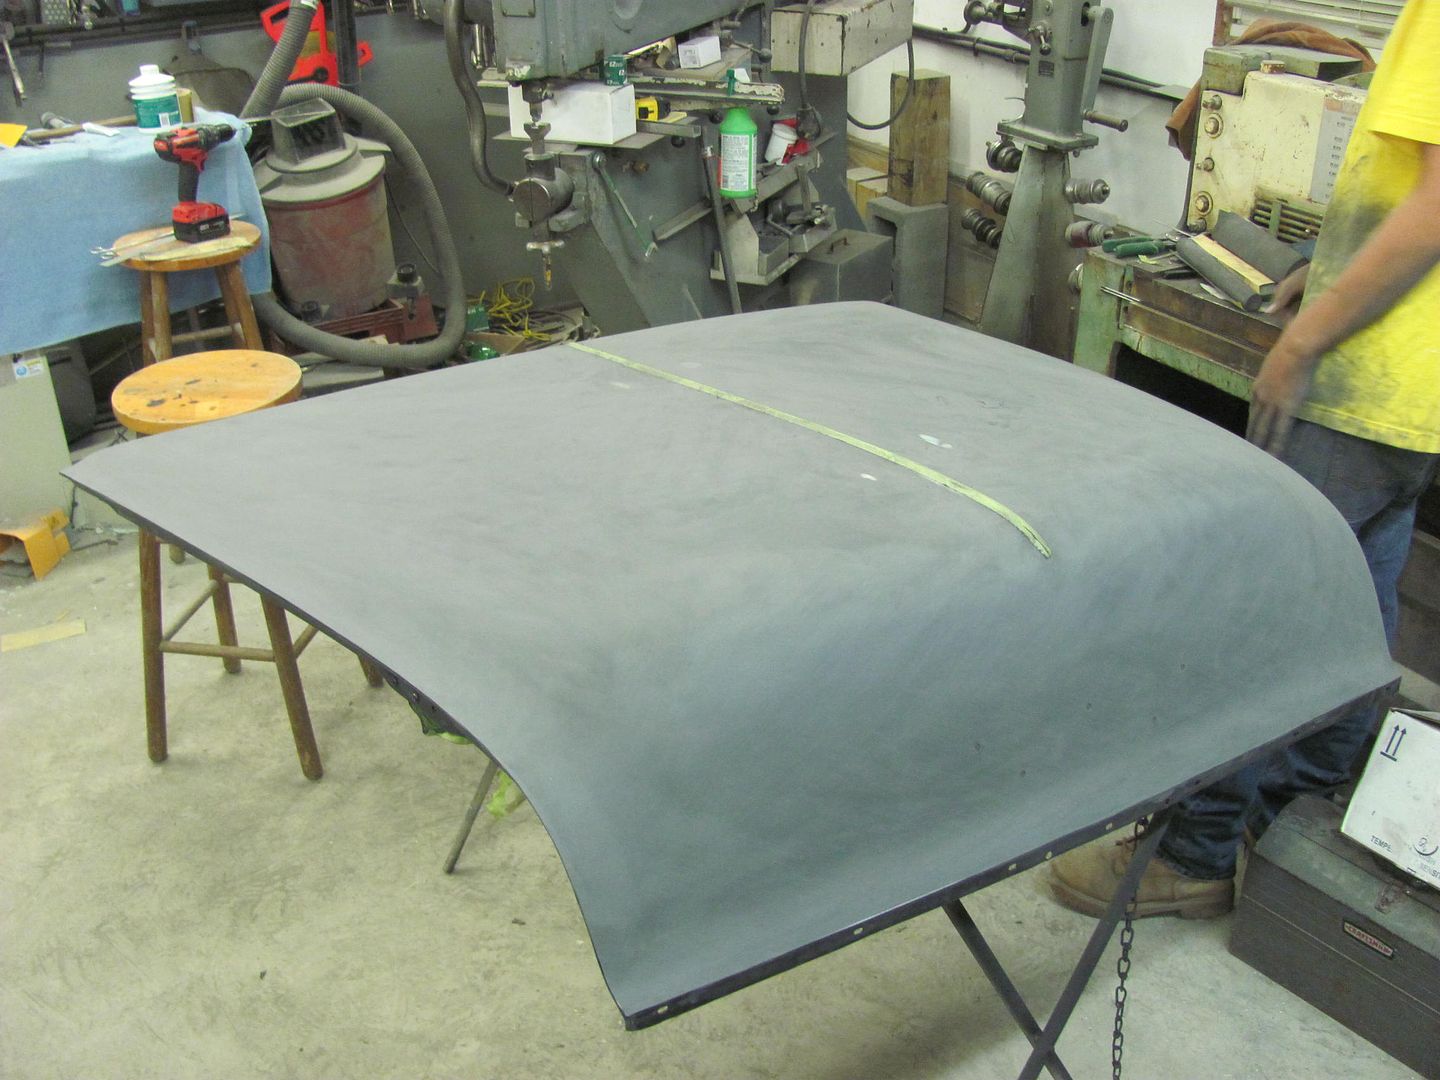 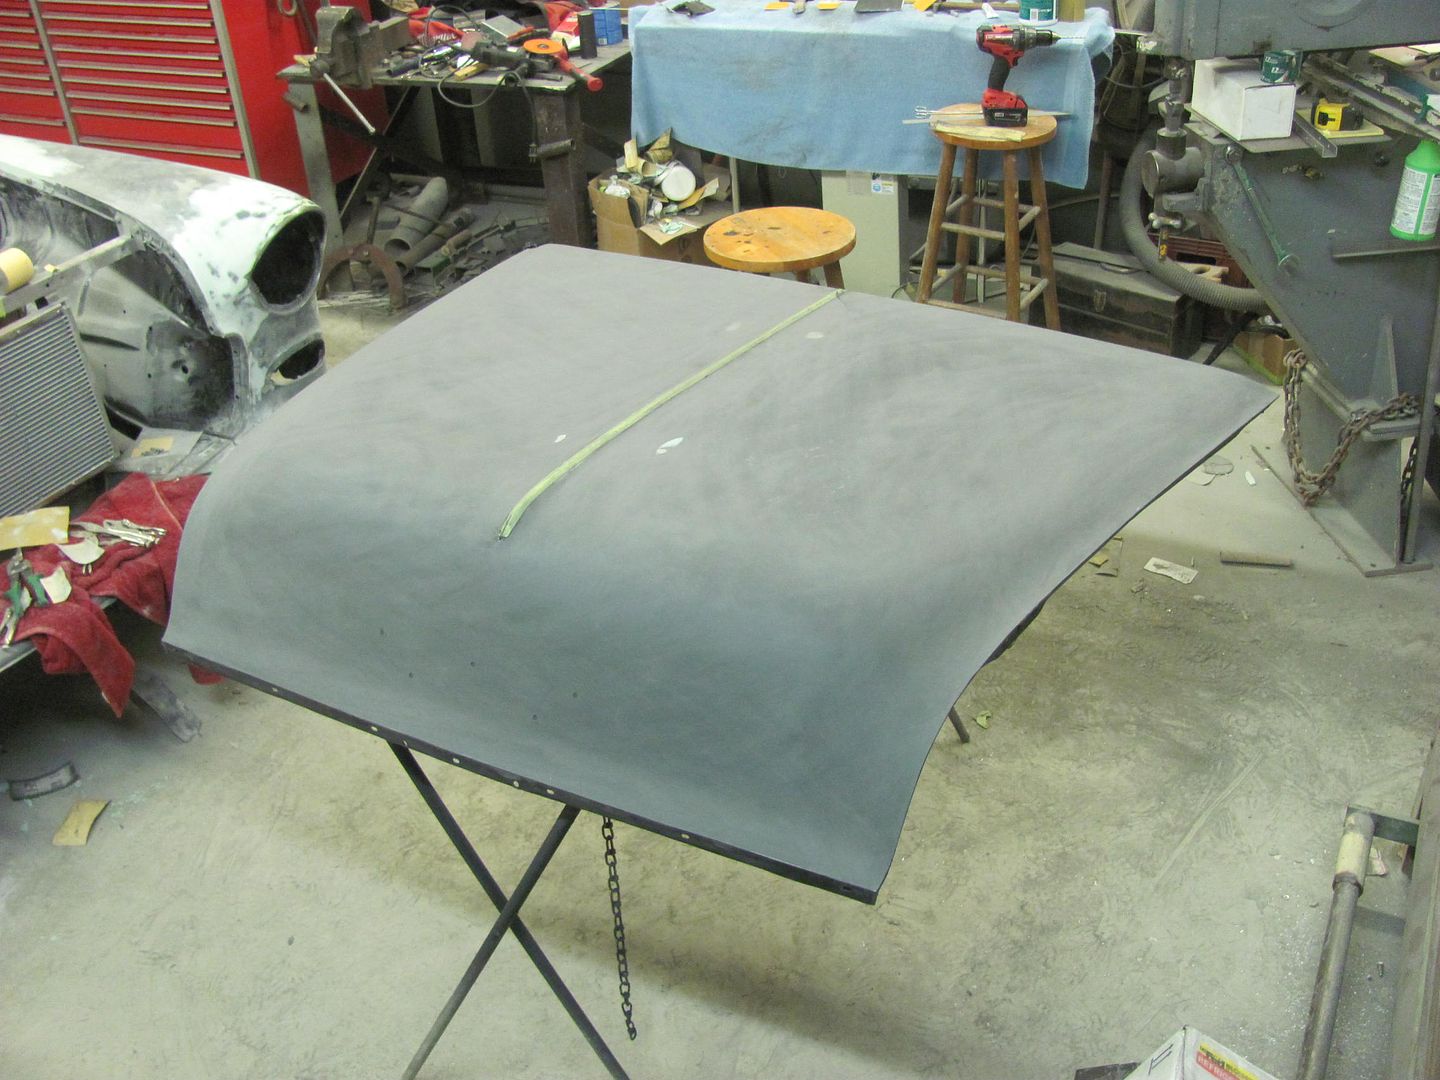 .....and since it was still early in the evening, mixed up some more epoxy.... 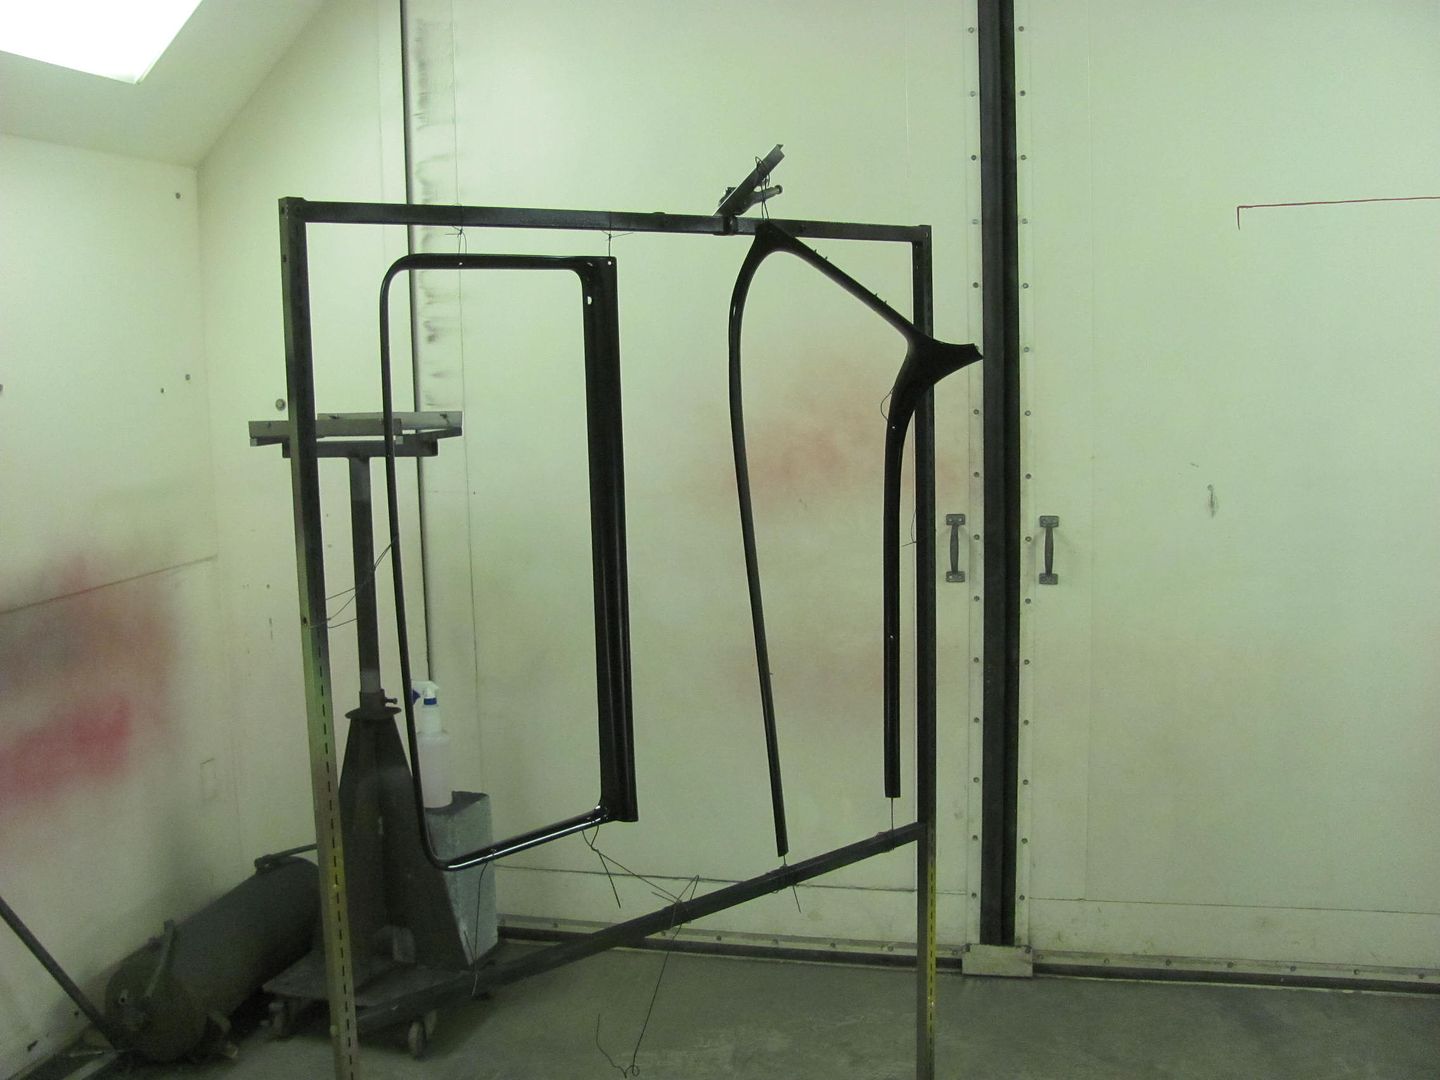 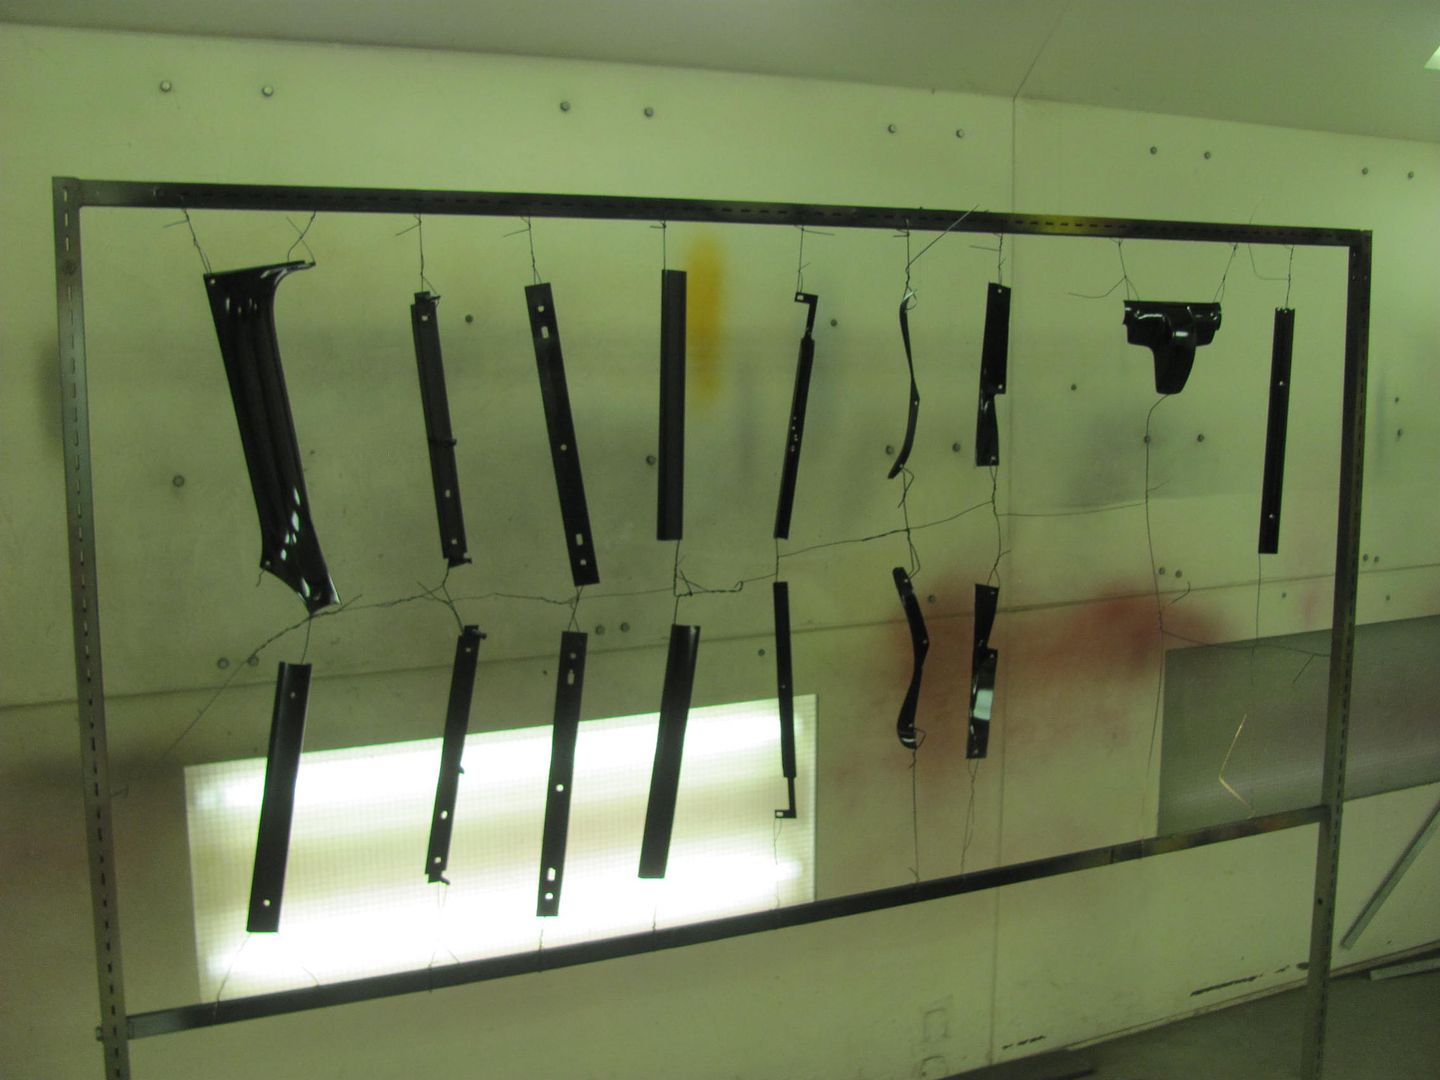 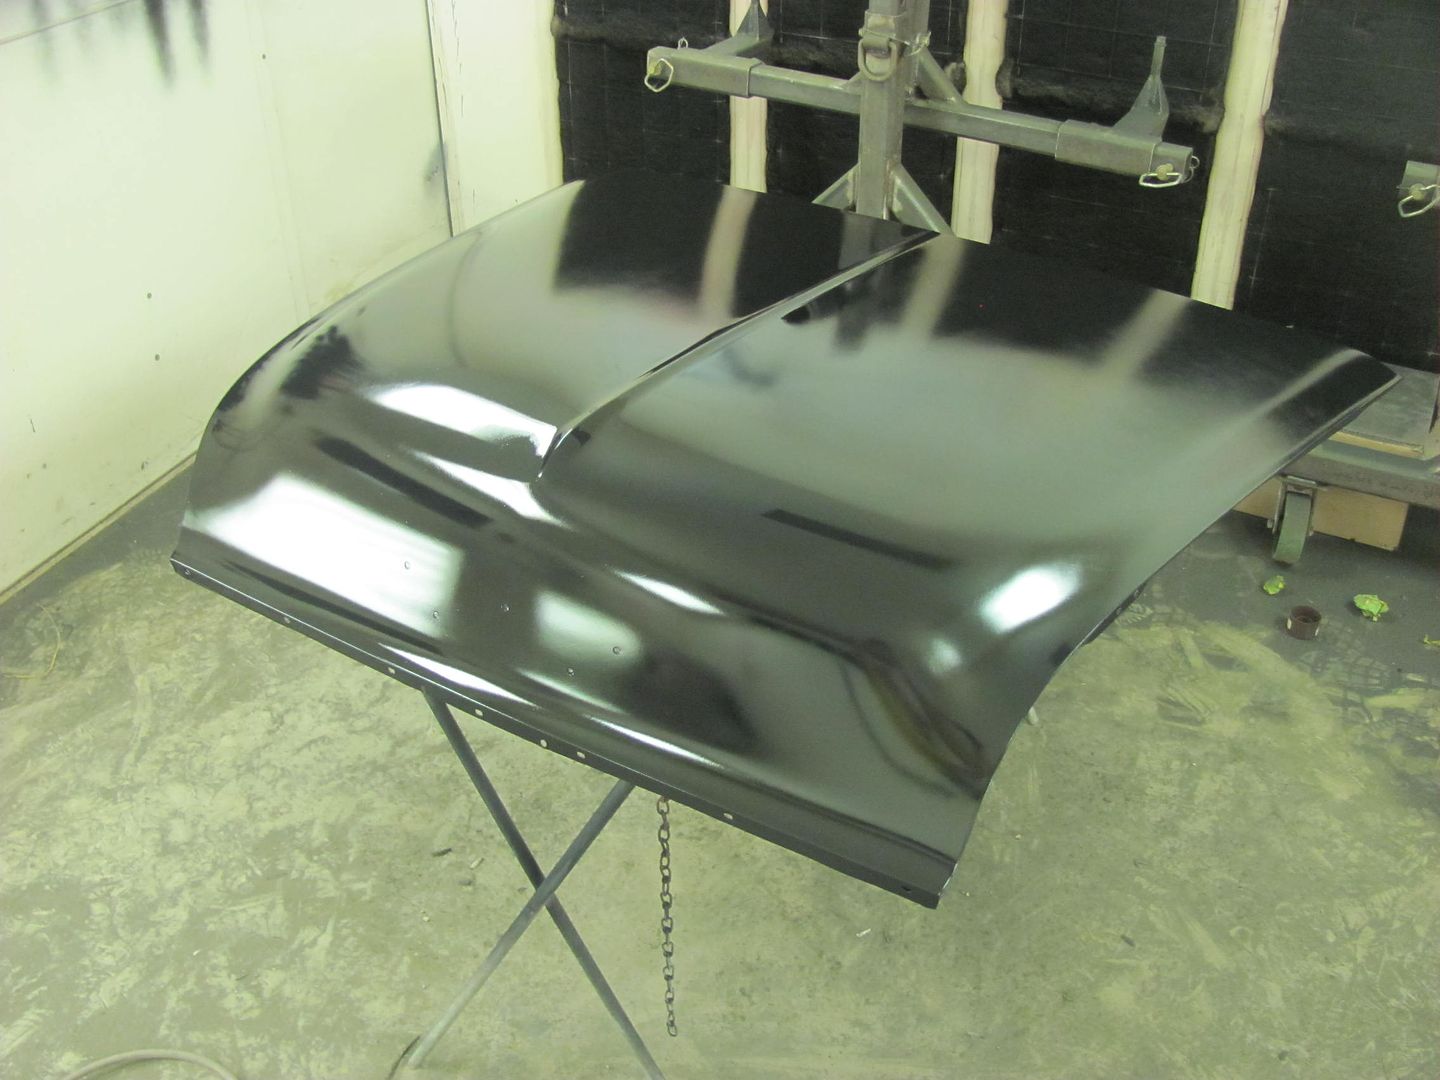 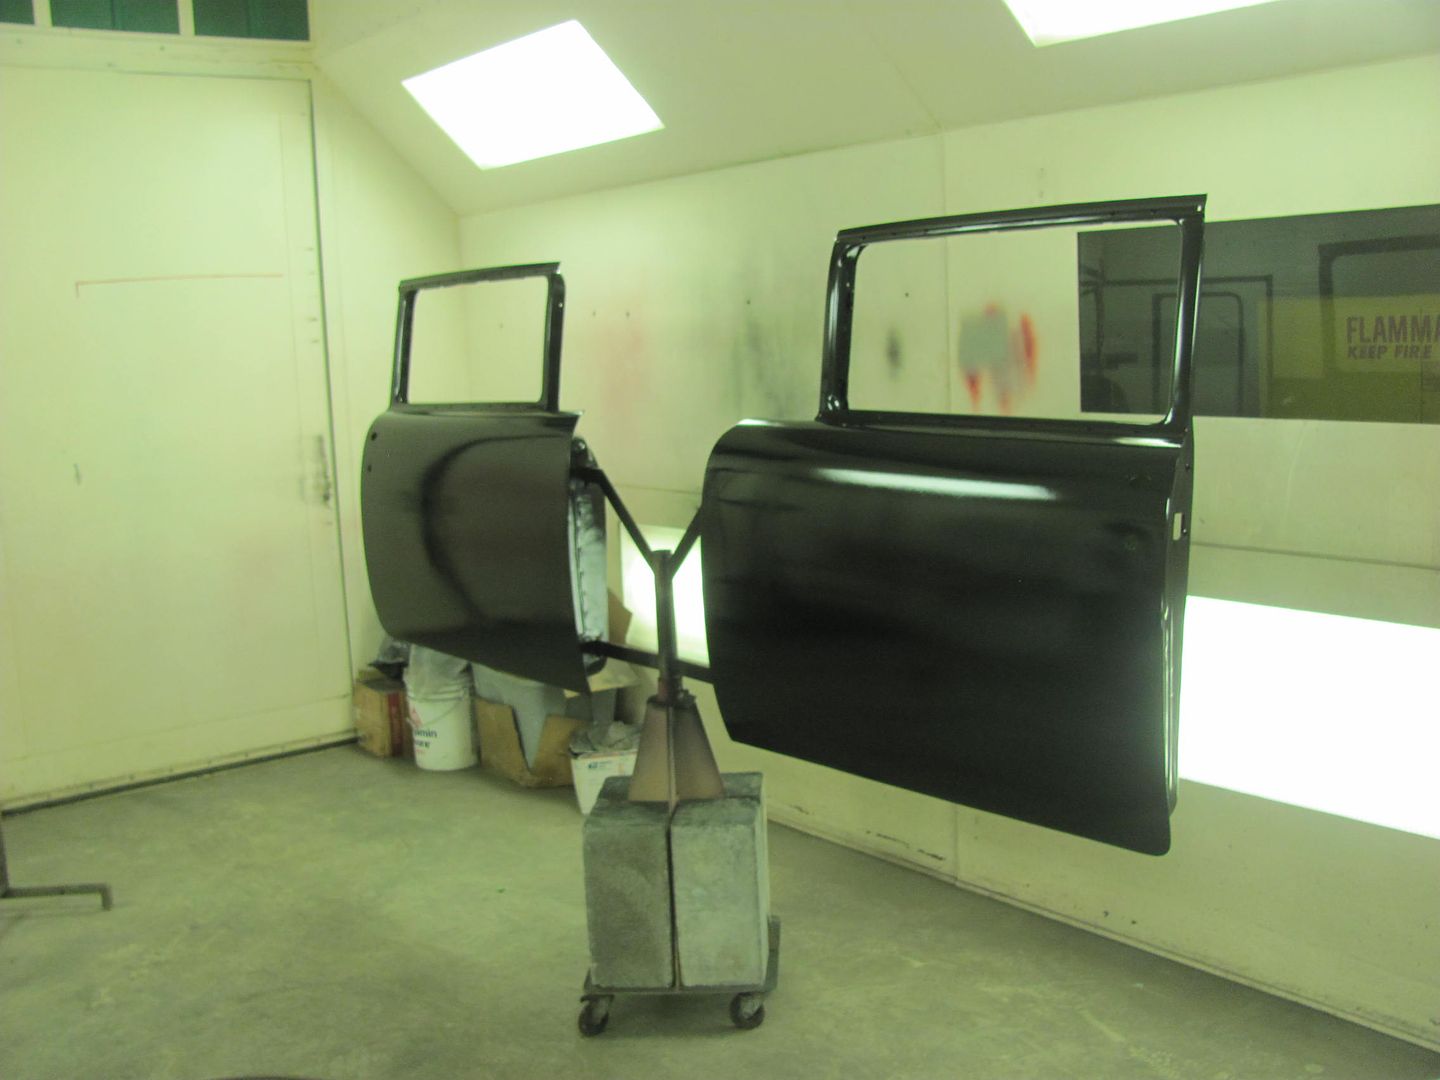
__________________
Robert |
|
|
|
|
07-10-2015, 09:49 AM
|
#16 |
|
Registered User
Join Date: Oct 2014
Location: VIRGINIA BEACH
Posts: 140
|
Re: 55 Wagon Progress
Ok so I have sat here for probably 2 hours reading through this entire thread! Hahahah.
First i have to say what everyone else has lead with as well. Your attention to detail makes me happy and it isnt even my car! I consider myself quite novice with this type of work, but at the same time, I have put a few "notches in my belt" and have some decent projects behind me. I have started to make a good name for myself and my attention to detail is what has made it happen. So as I said before.... I love the attention to detail.... Thousandths of an inch details that most would never notice obviously bother you... Its nice to witness is all. Beyond that... the making of tools is another "hobby" I am fond of. To see your creative mind find solutions to some of the tight spaces, or how to accomplish a particular shape is inspiring. Lastly, thanks for showing all of the steps in your process and methods. Ill be honest I have been in a bit of a "writers / builders block" on the 28 Ford Roadster I am building for a friend because of the designs and shaping I presented to him. He loved it, and I have been hesitant to start as I wasnt sure with my limited tools that I could accomplish them. After reading through this I am ready to slide out from behind my desk right this moment and head home to start it back up! Your thread and methods have motivated me and I already feel confident that I can make it happen.  So a huge thank you from yet another on looker! Your helper is one lucky guy to have you as a personal one on one mentor for this art!
__________________
64 LWB to SWB Step build. Daily driven! http://67-72chevytrucks.com/vboard/s...d.php?t=647168 |
|
|
|
|
07-15-2015, 12:26 AM
|
#17 |
|
Registered User
Join Date: Jan 2013
Location: Leonardtown, MD
Posts: 1,637
|
Re: 55 Wagon Progress
Thanks for taking time to post fellas!
Doesn't seem like much to show, we're still sanding away.... 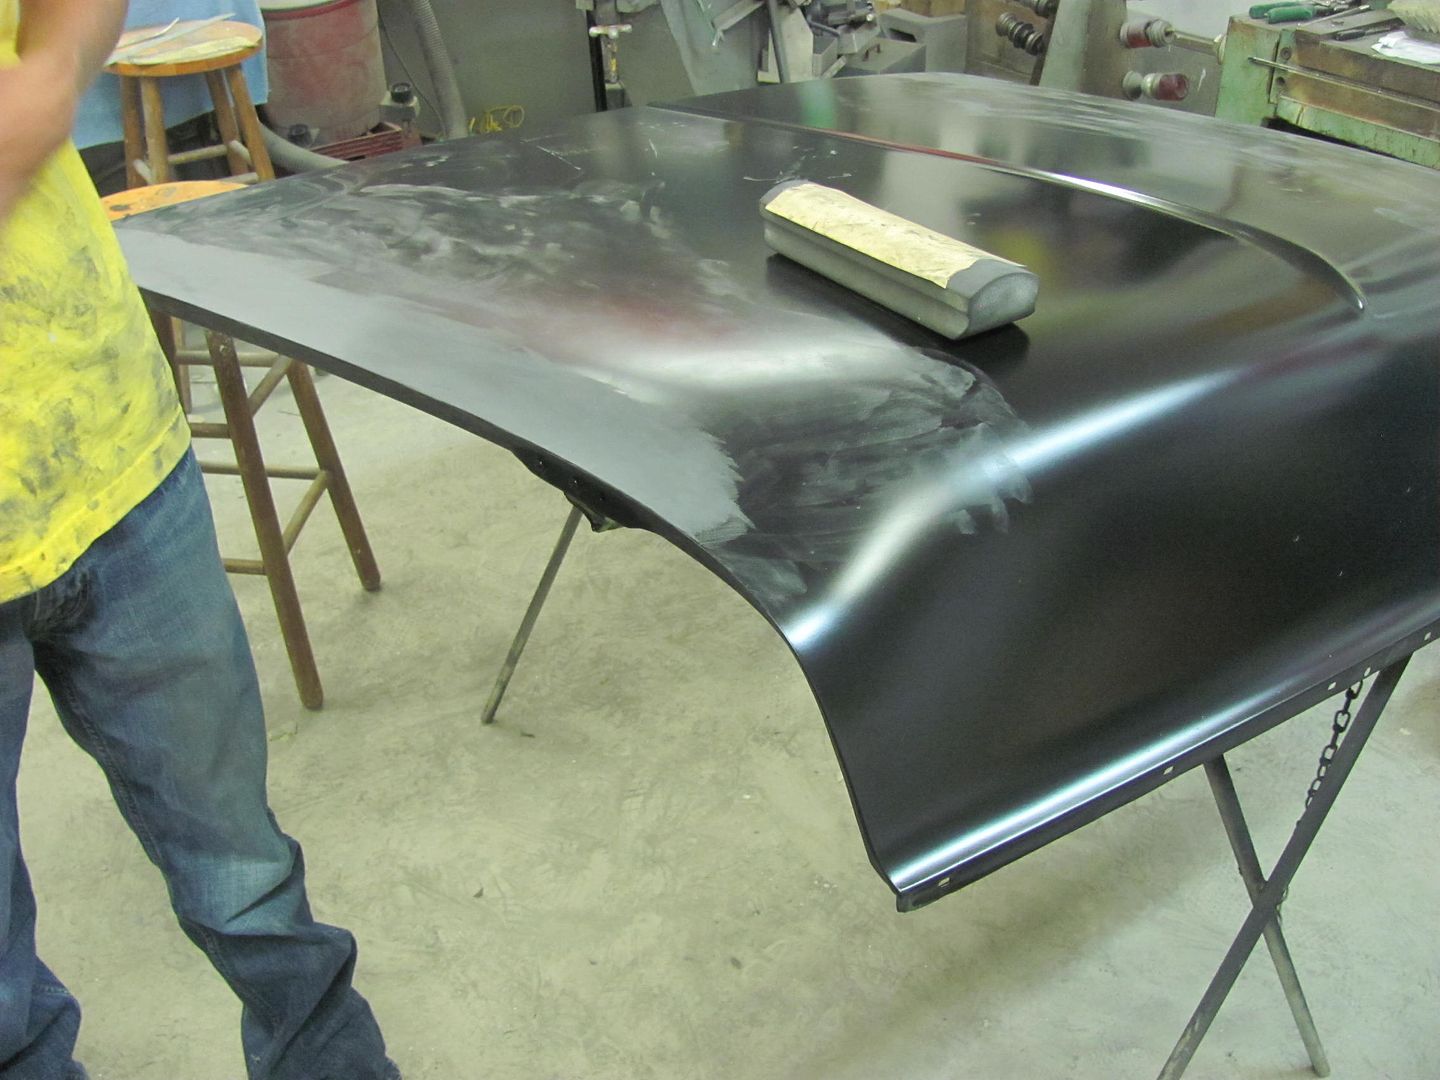 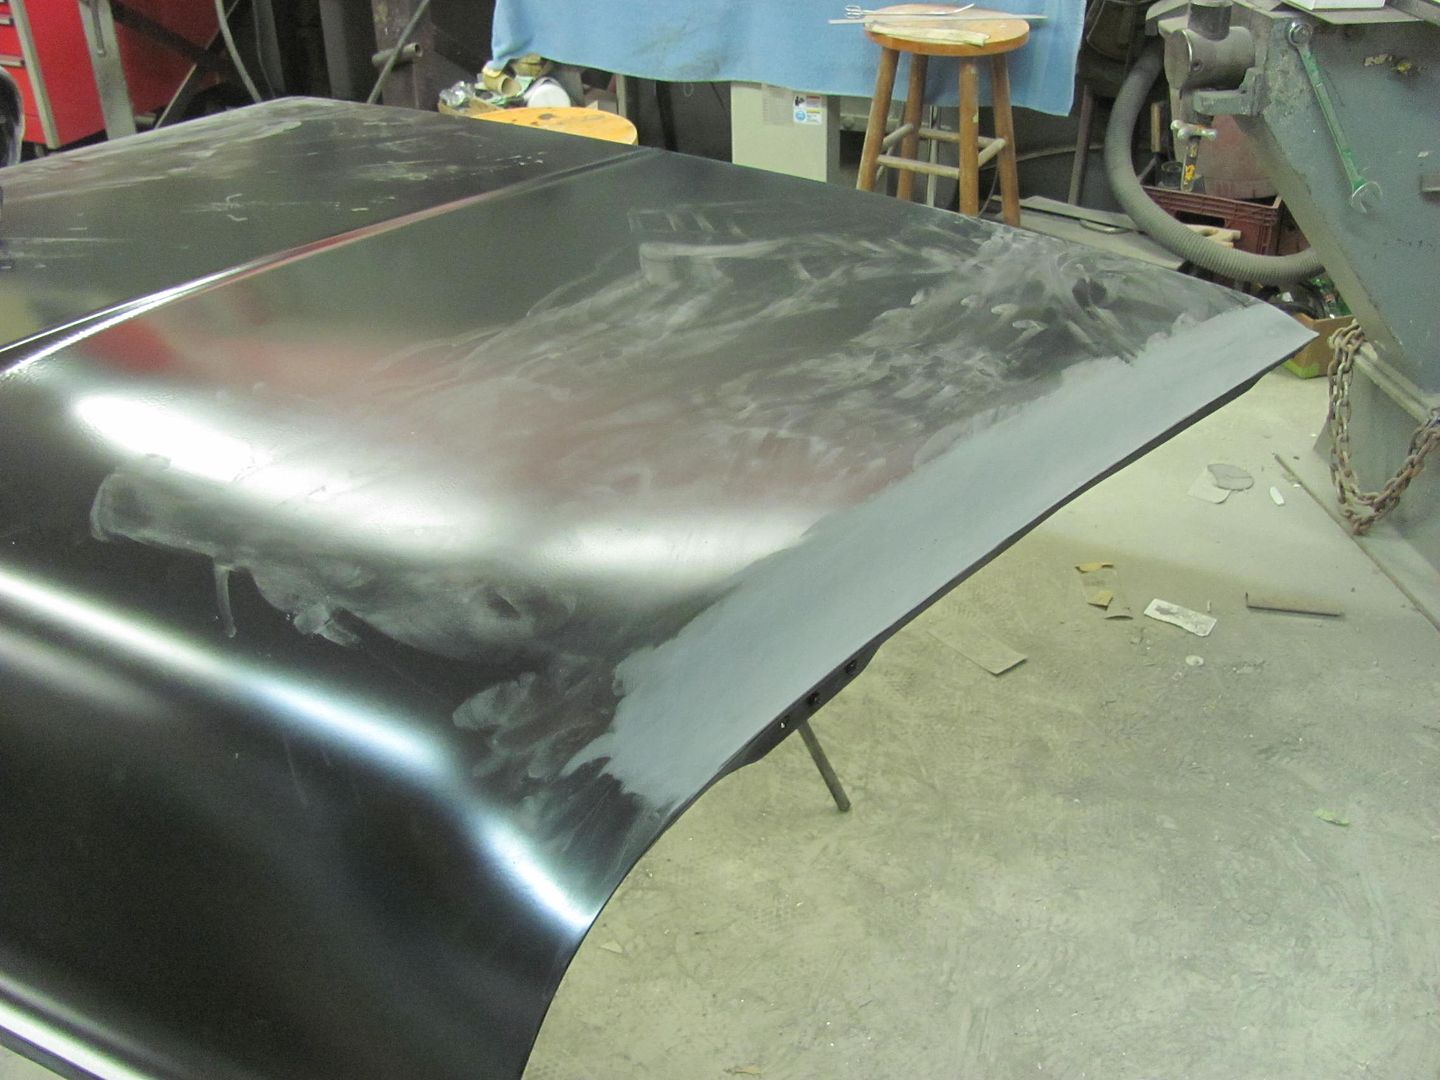 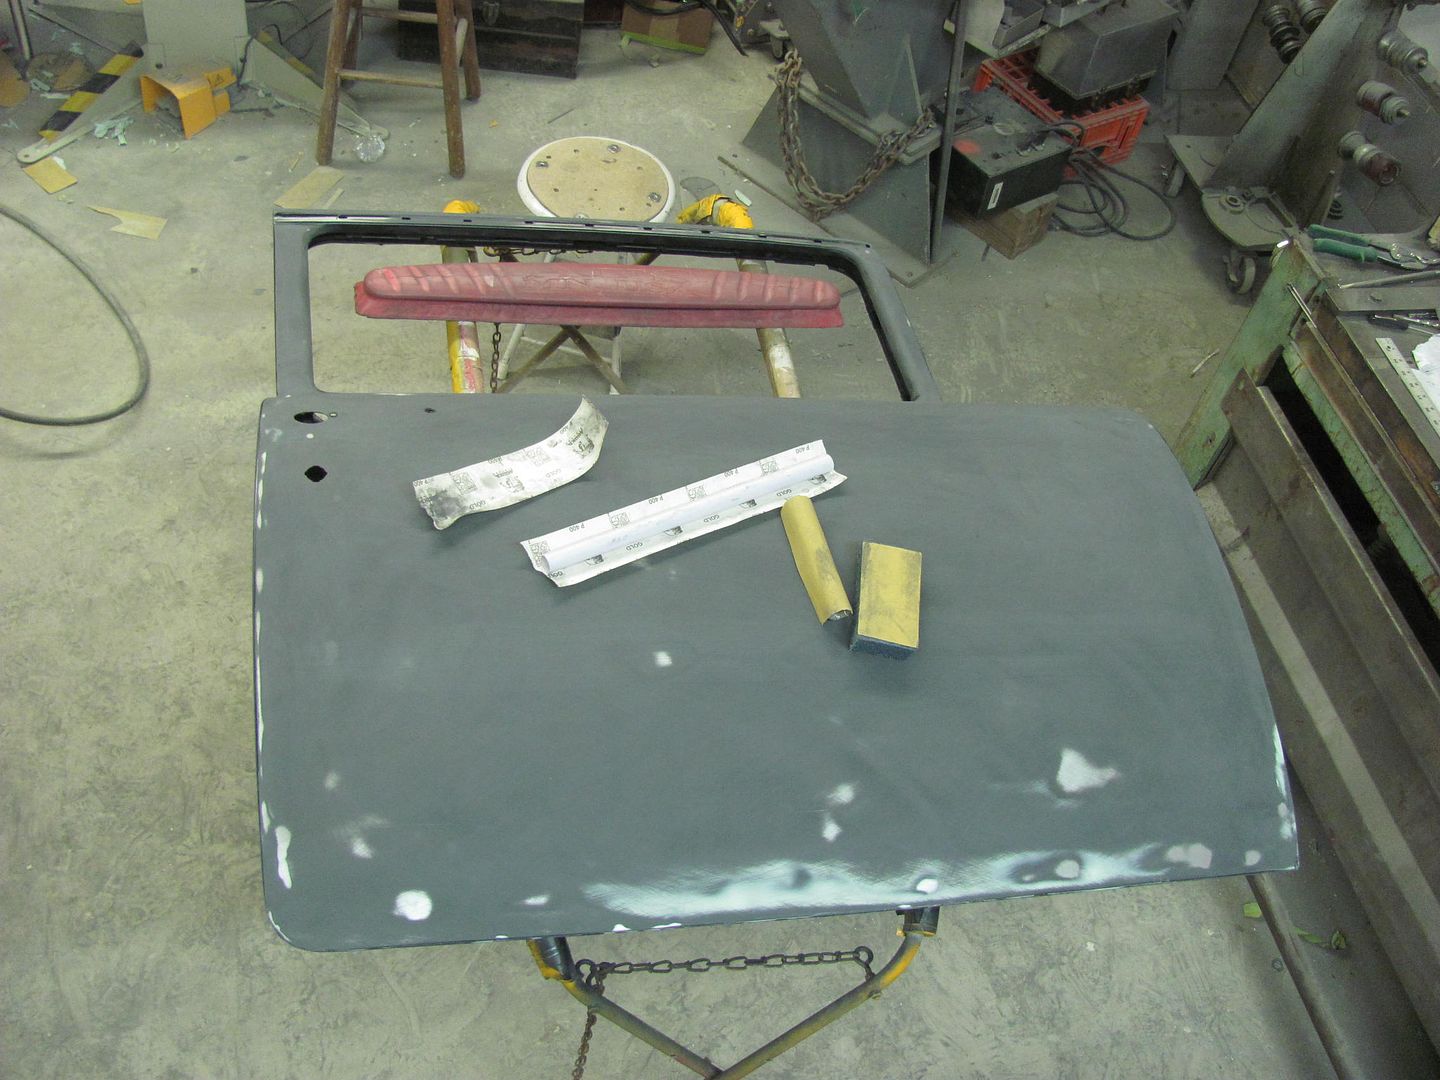 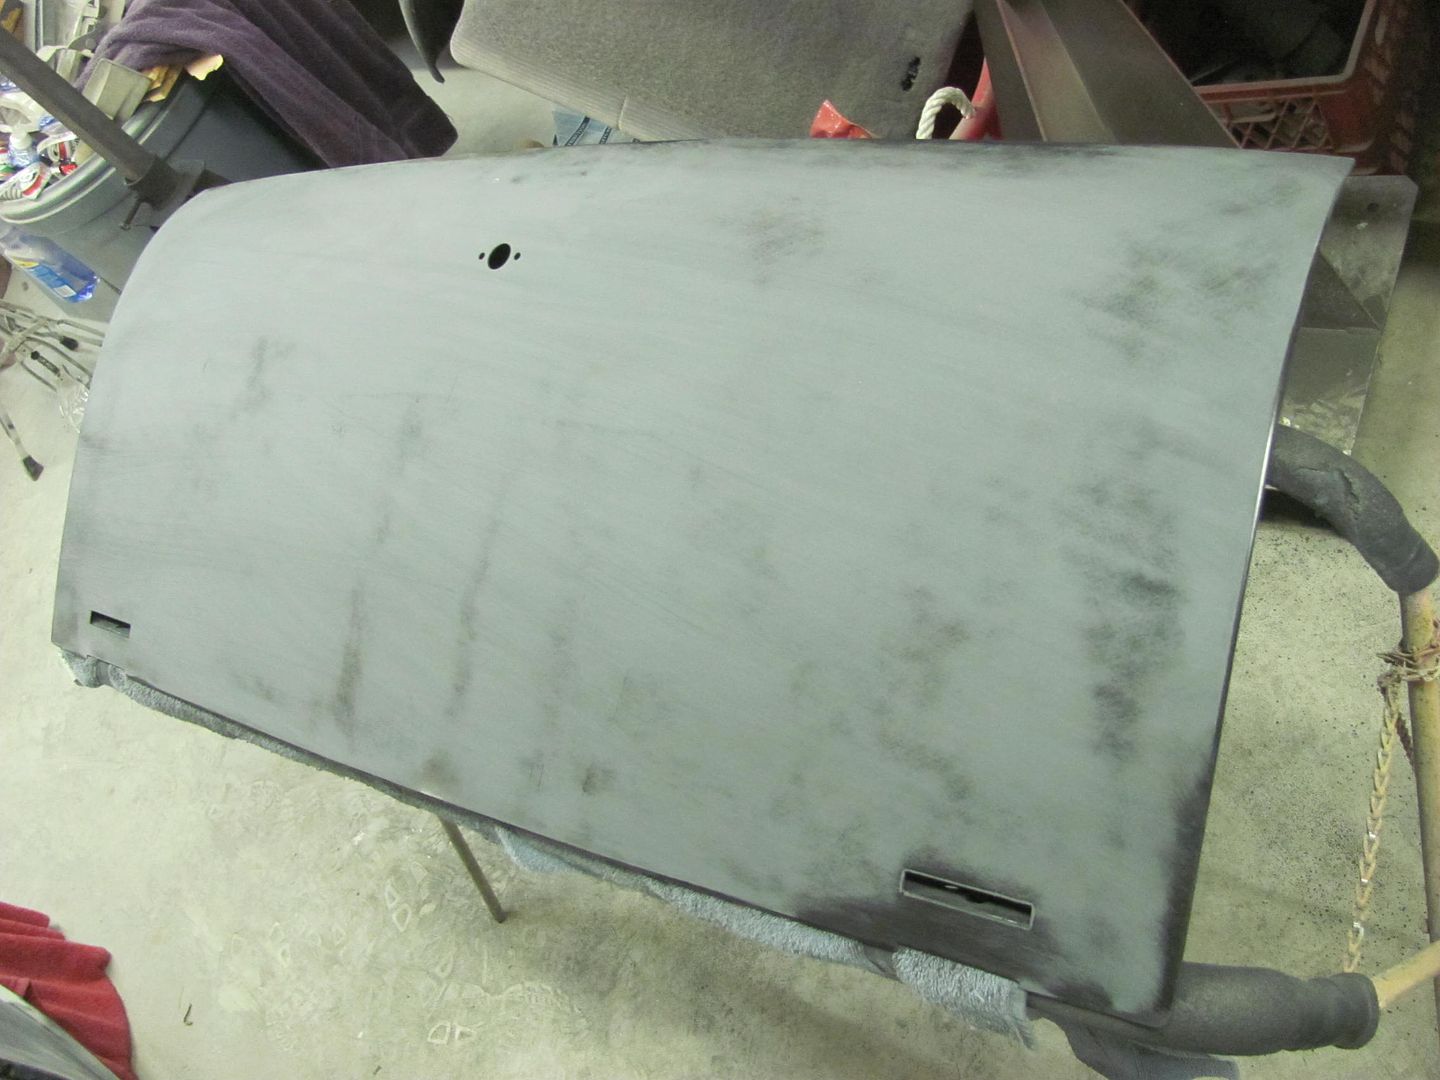 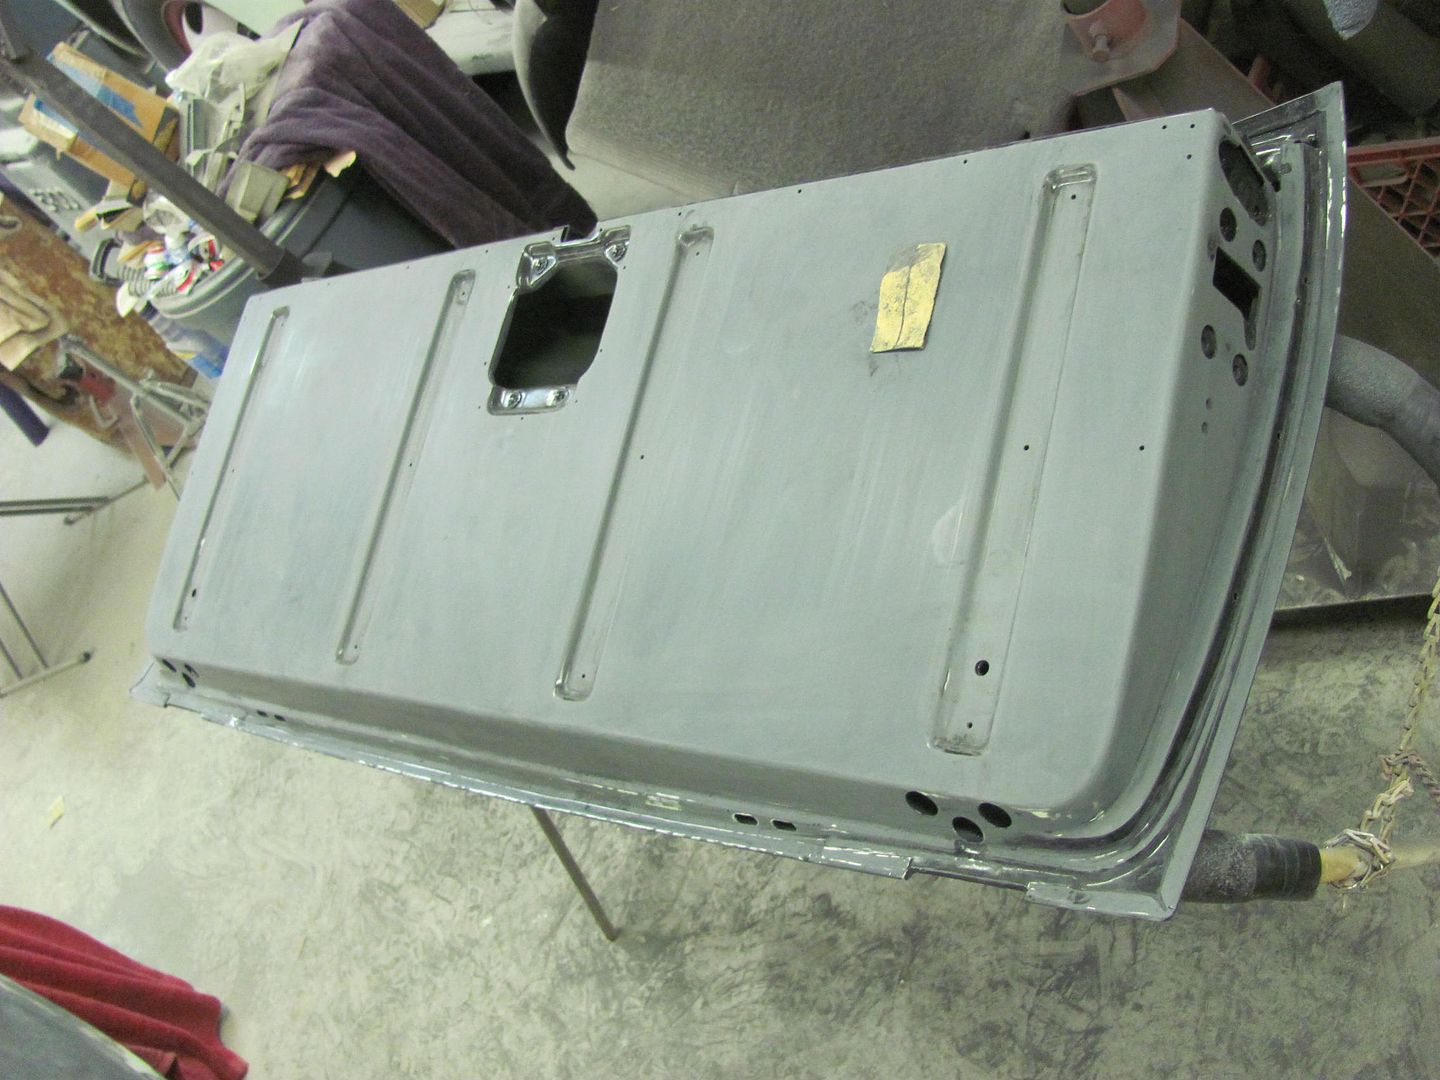 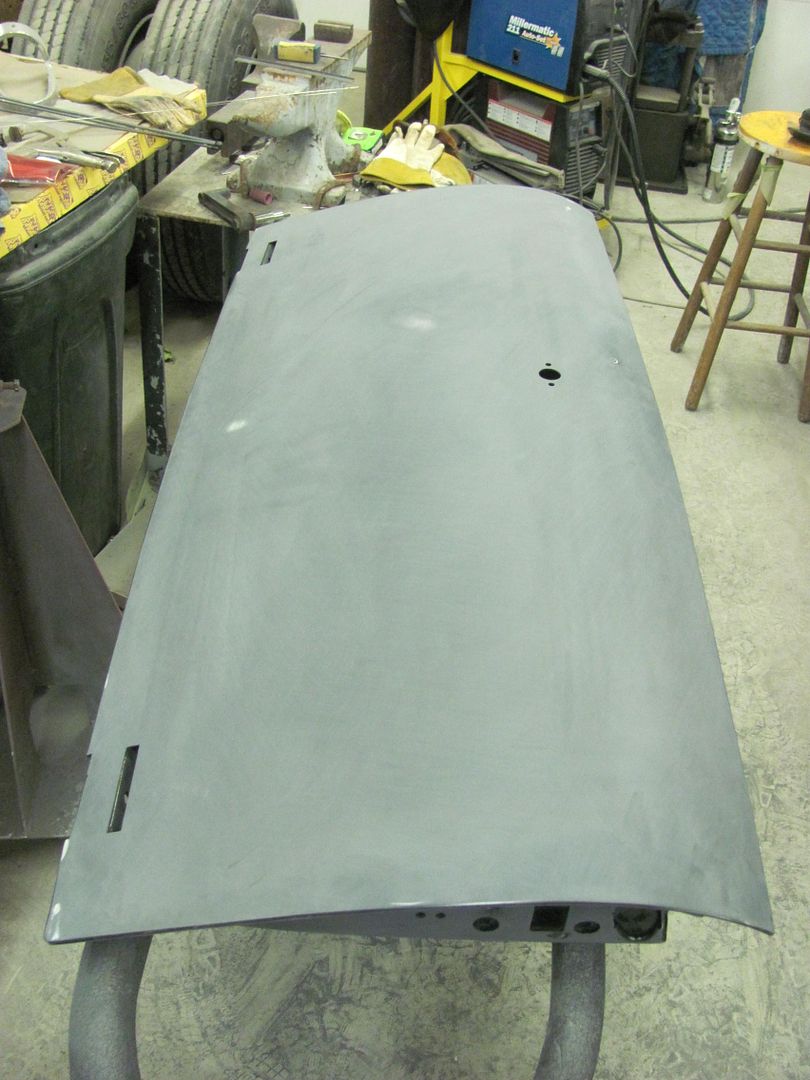 Got about half done with the tail gate and remembered we needed some holes drilled in the new skin for the emblem. Only issue was that I had done some spring cleaning earlier this year and the original skin with the hole pattern and location was now gone. So I sent an email to Mikey at The Stainless Shoppe, as he had an original, and he got me squared away... Thanks Mikey! 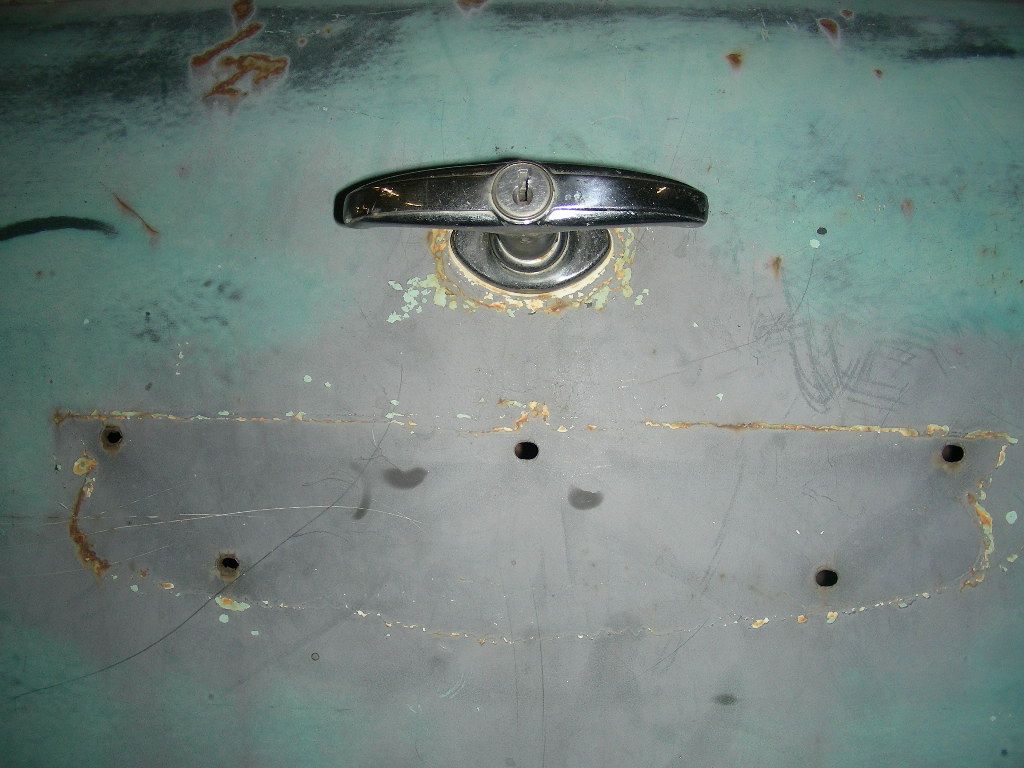 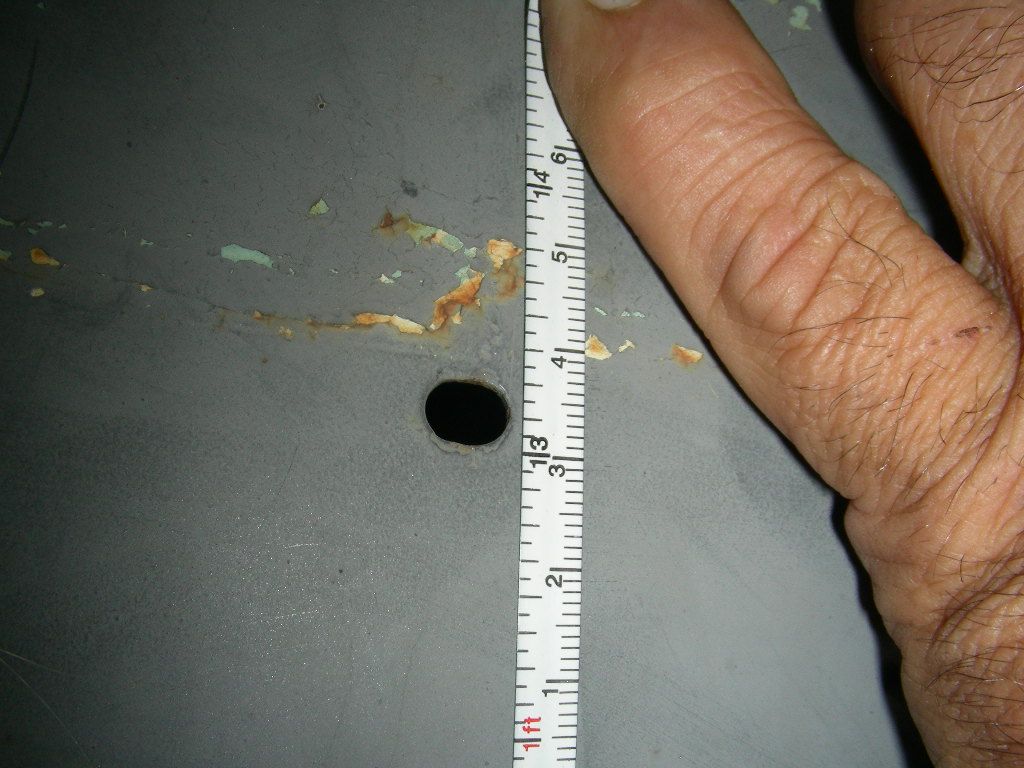 I located the hole for the center alignment pin first, and planned on using some spotters for the remaining 4 holes... Some measurements were taken to insure the emblem was on straight, and then some "backstops" used. The spotters come in a set of various sizes, and typically you never find the exact size you need... 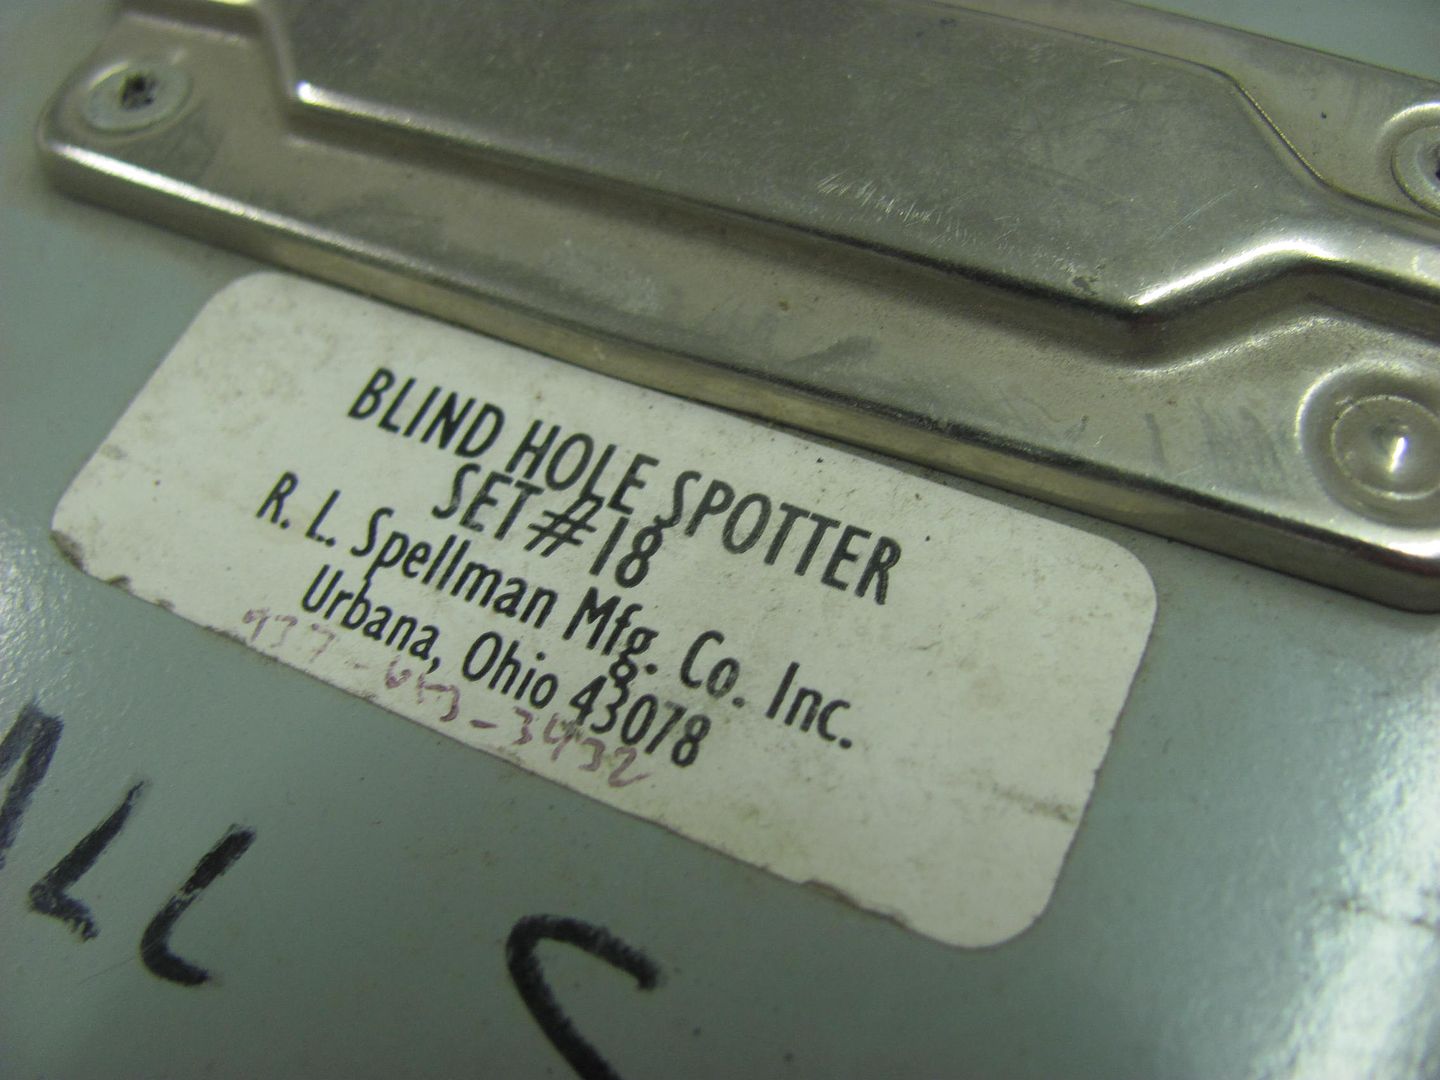 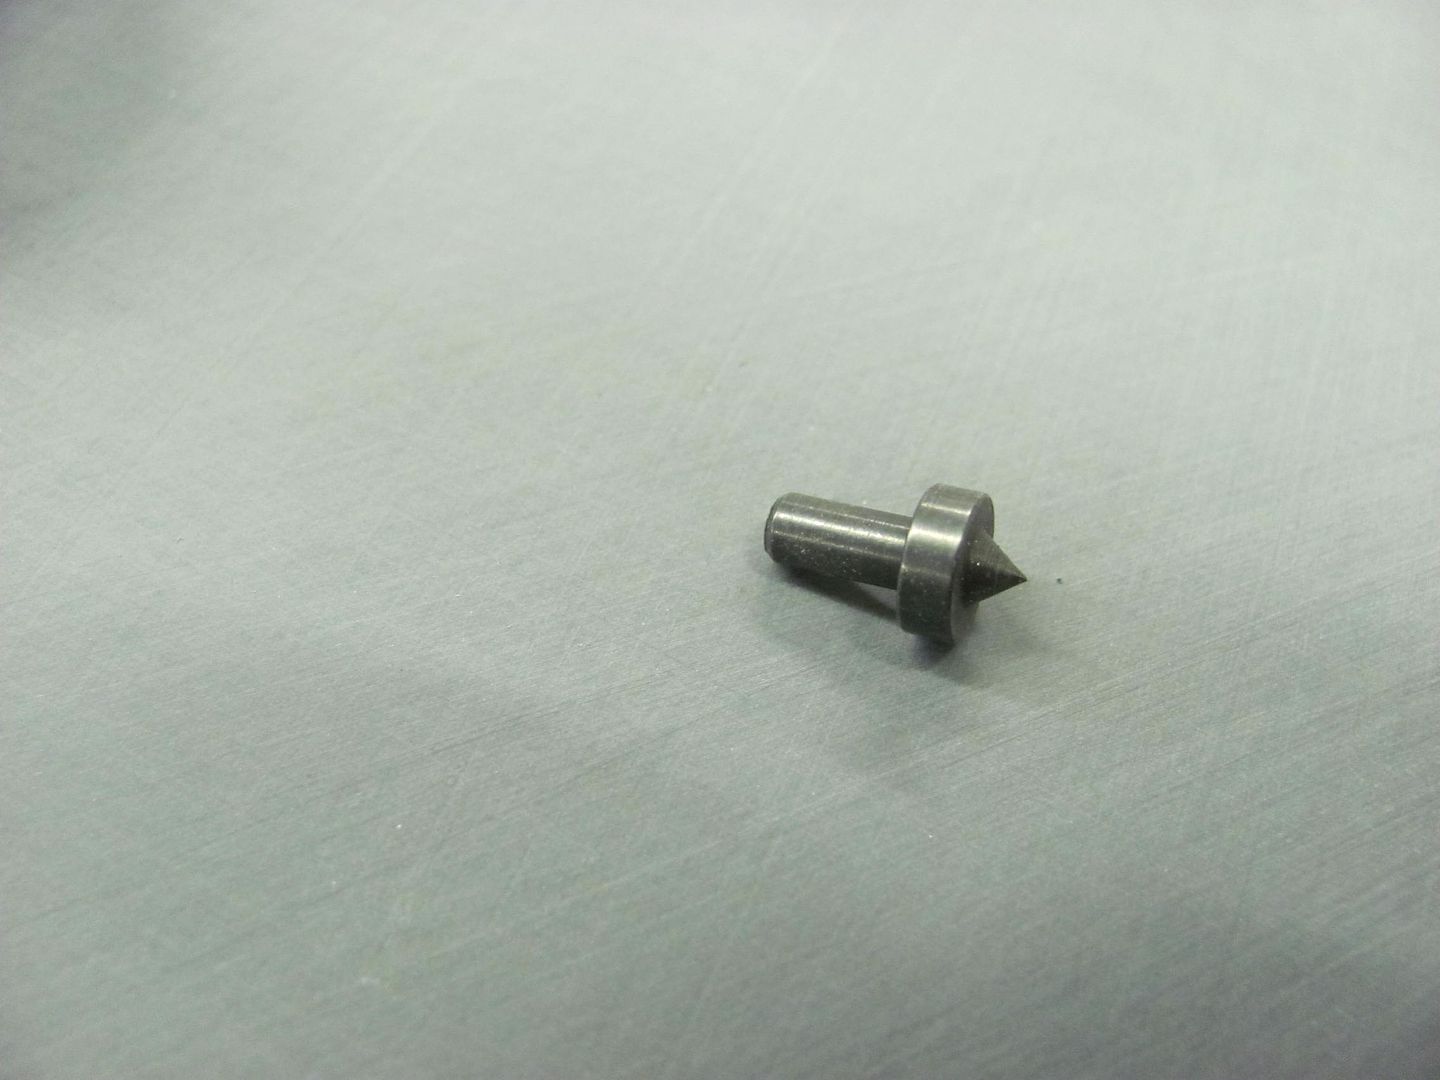 These will go in some 10-24 threaded holes on the emblem. The closest size was the 1/8" spotters, so we'll need to adjust the fit.. 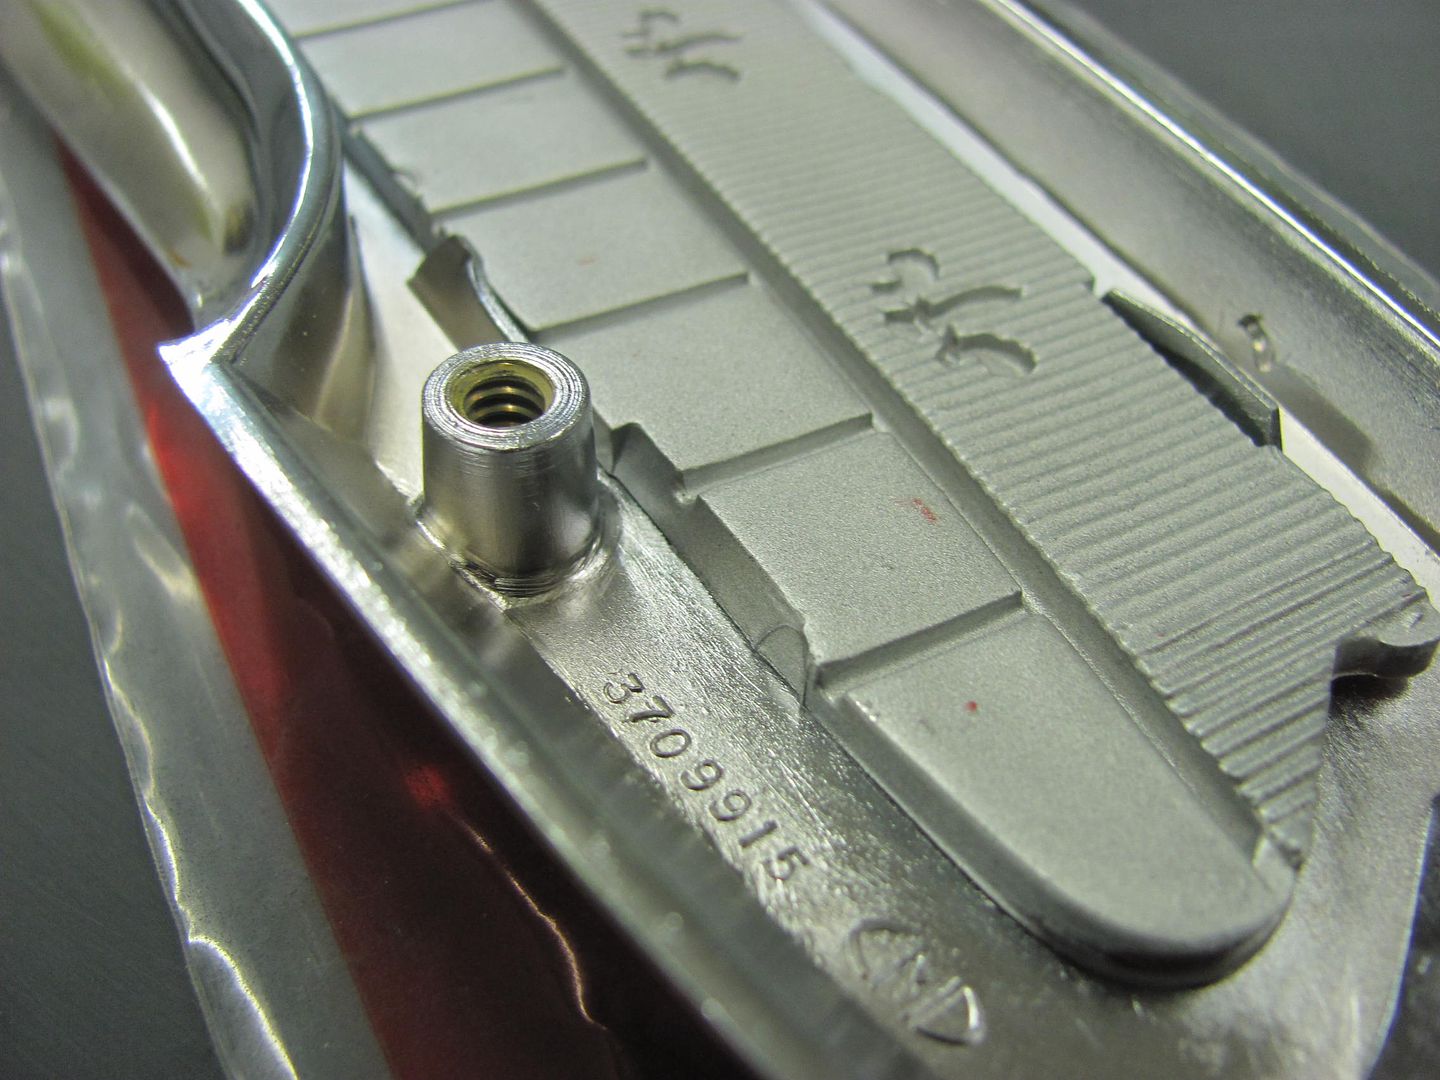 A couple wraps of fineline tape and we now have a snug fit so the spotters don't fall out.. 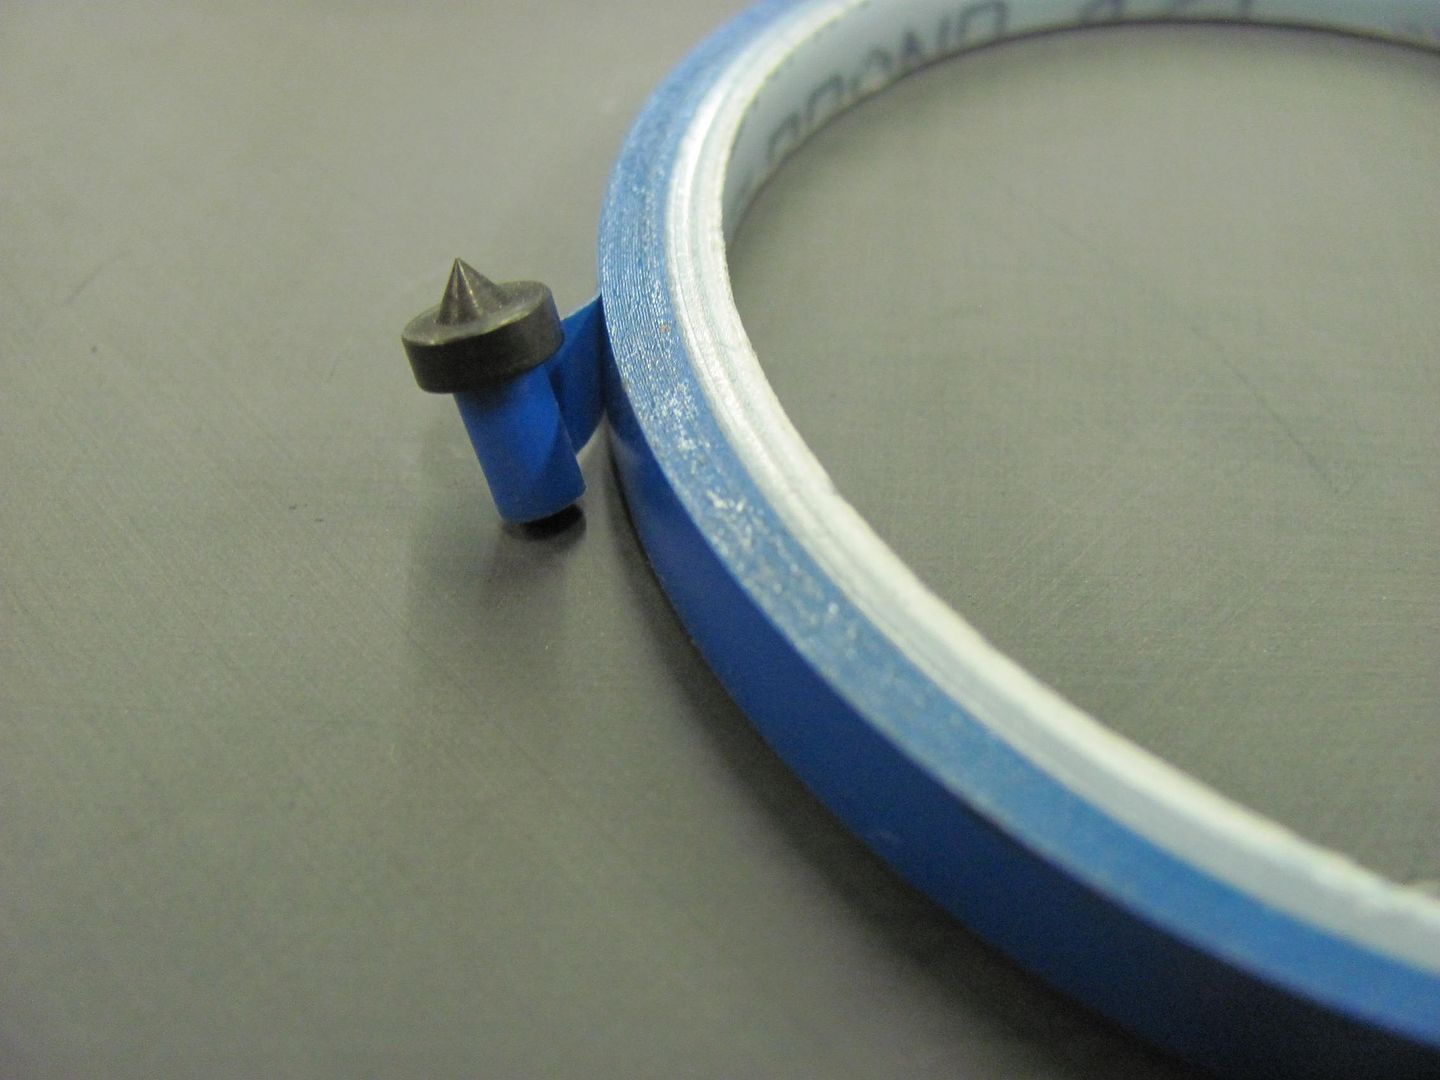 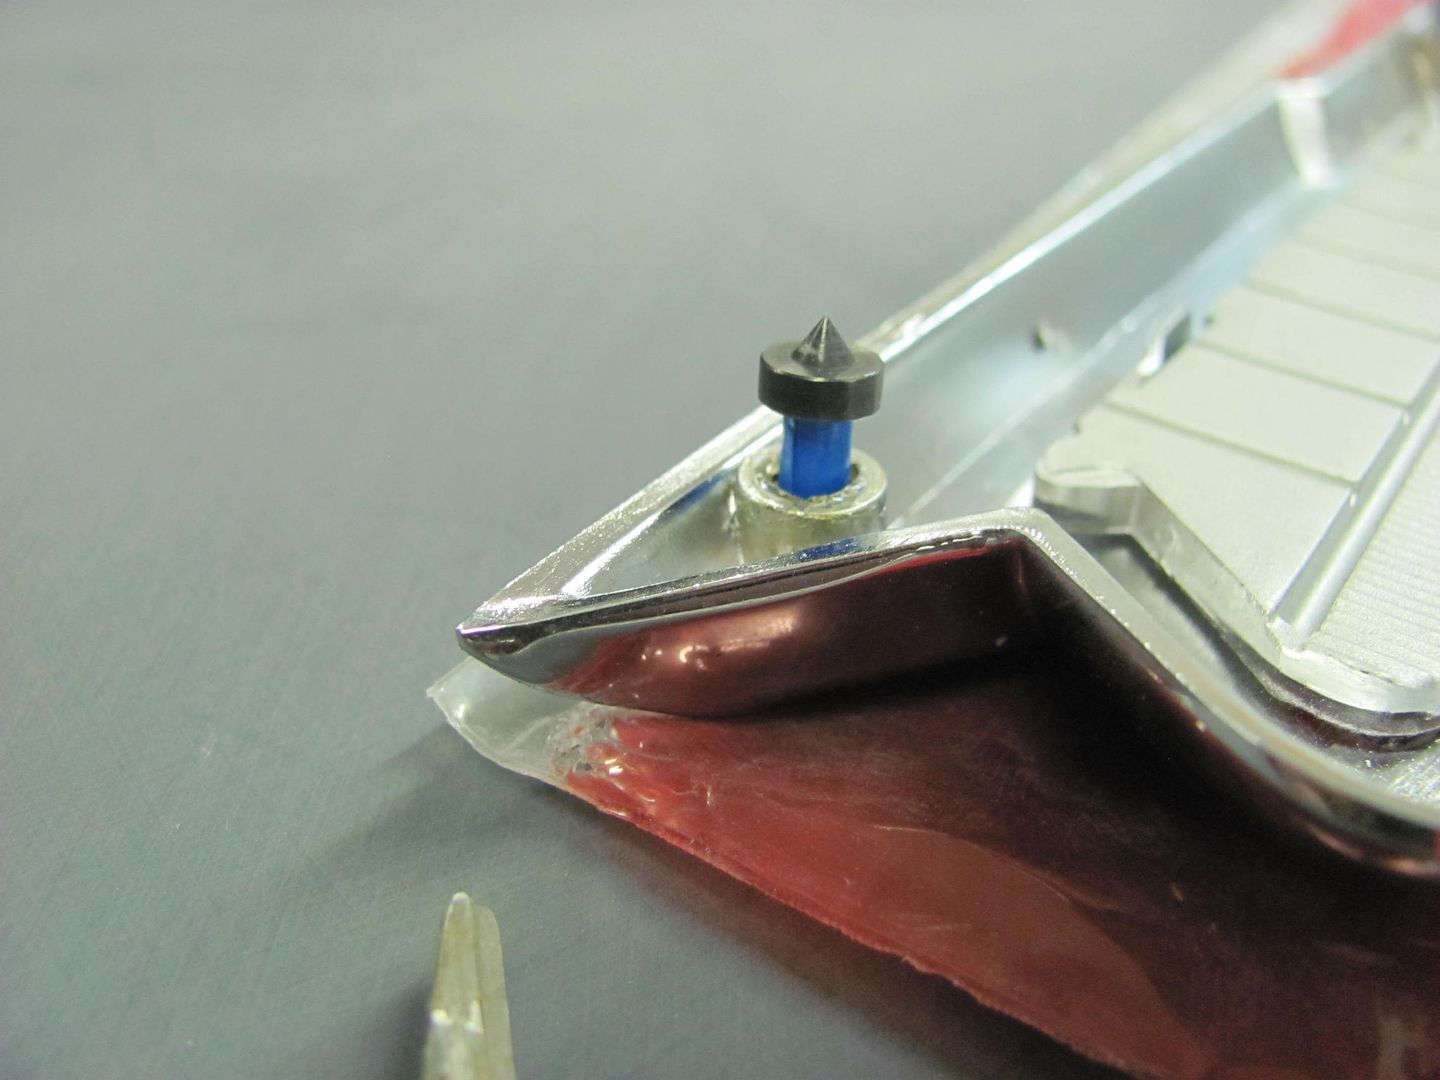 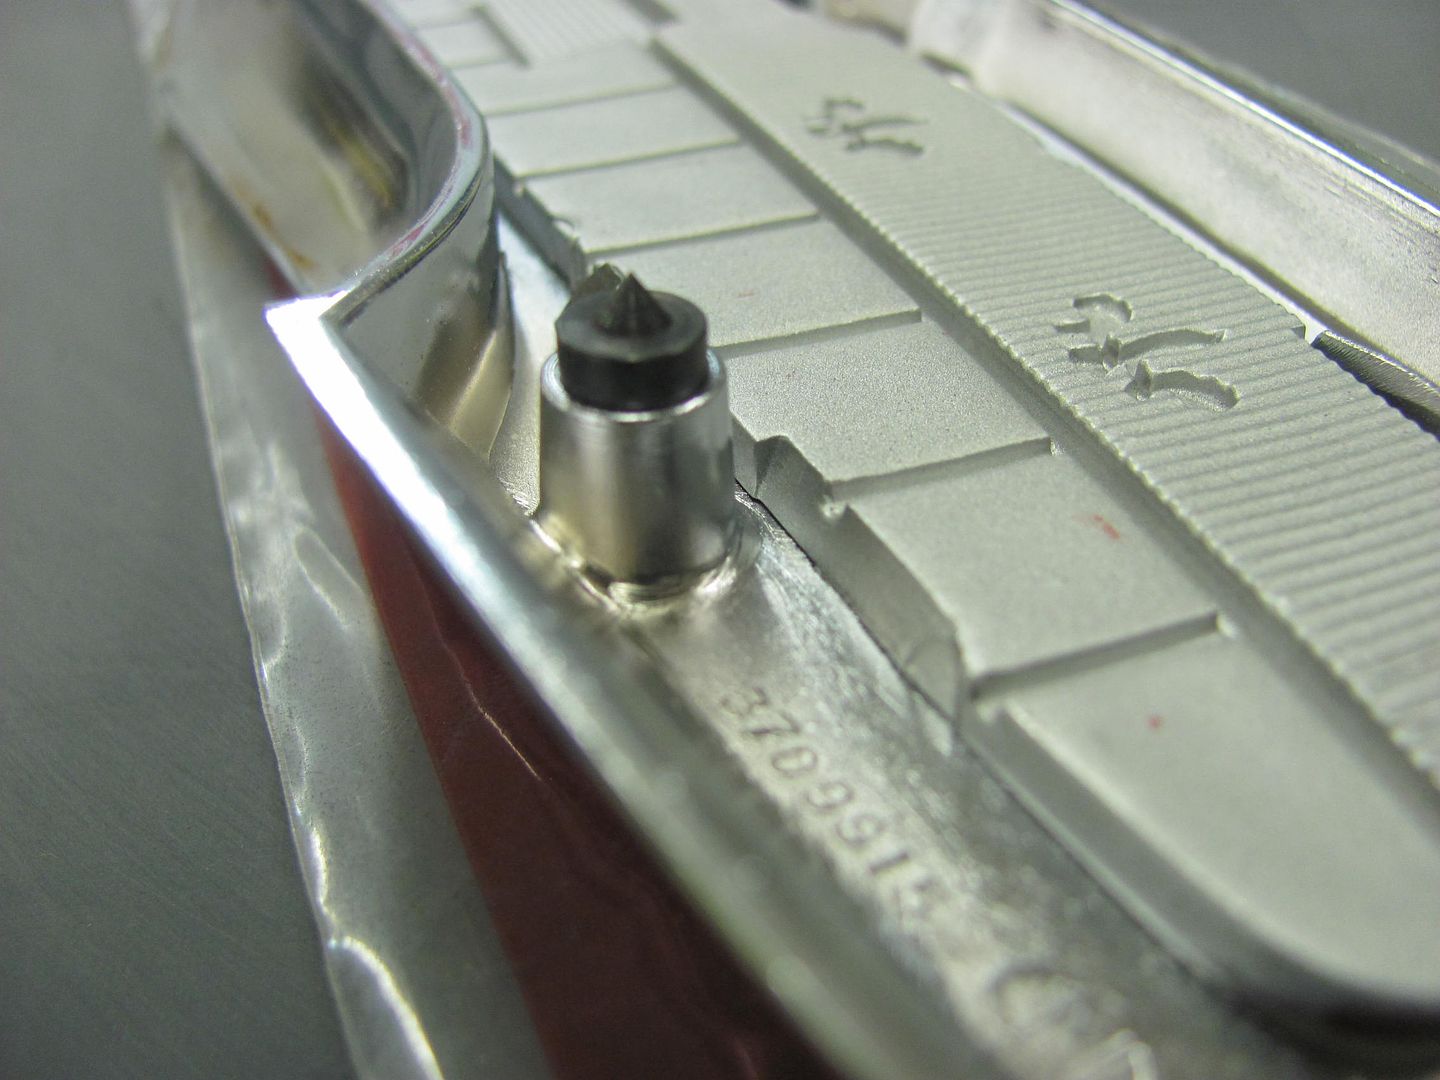 Then the emblem is located on the tail gate with the center alignment pin, then the back stops. The emblem is pressed onto the tail gate, and the spotters leave their mark on the epoxy paint finish.. 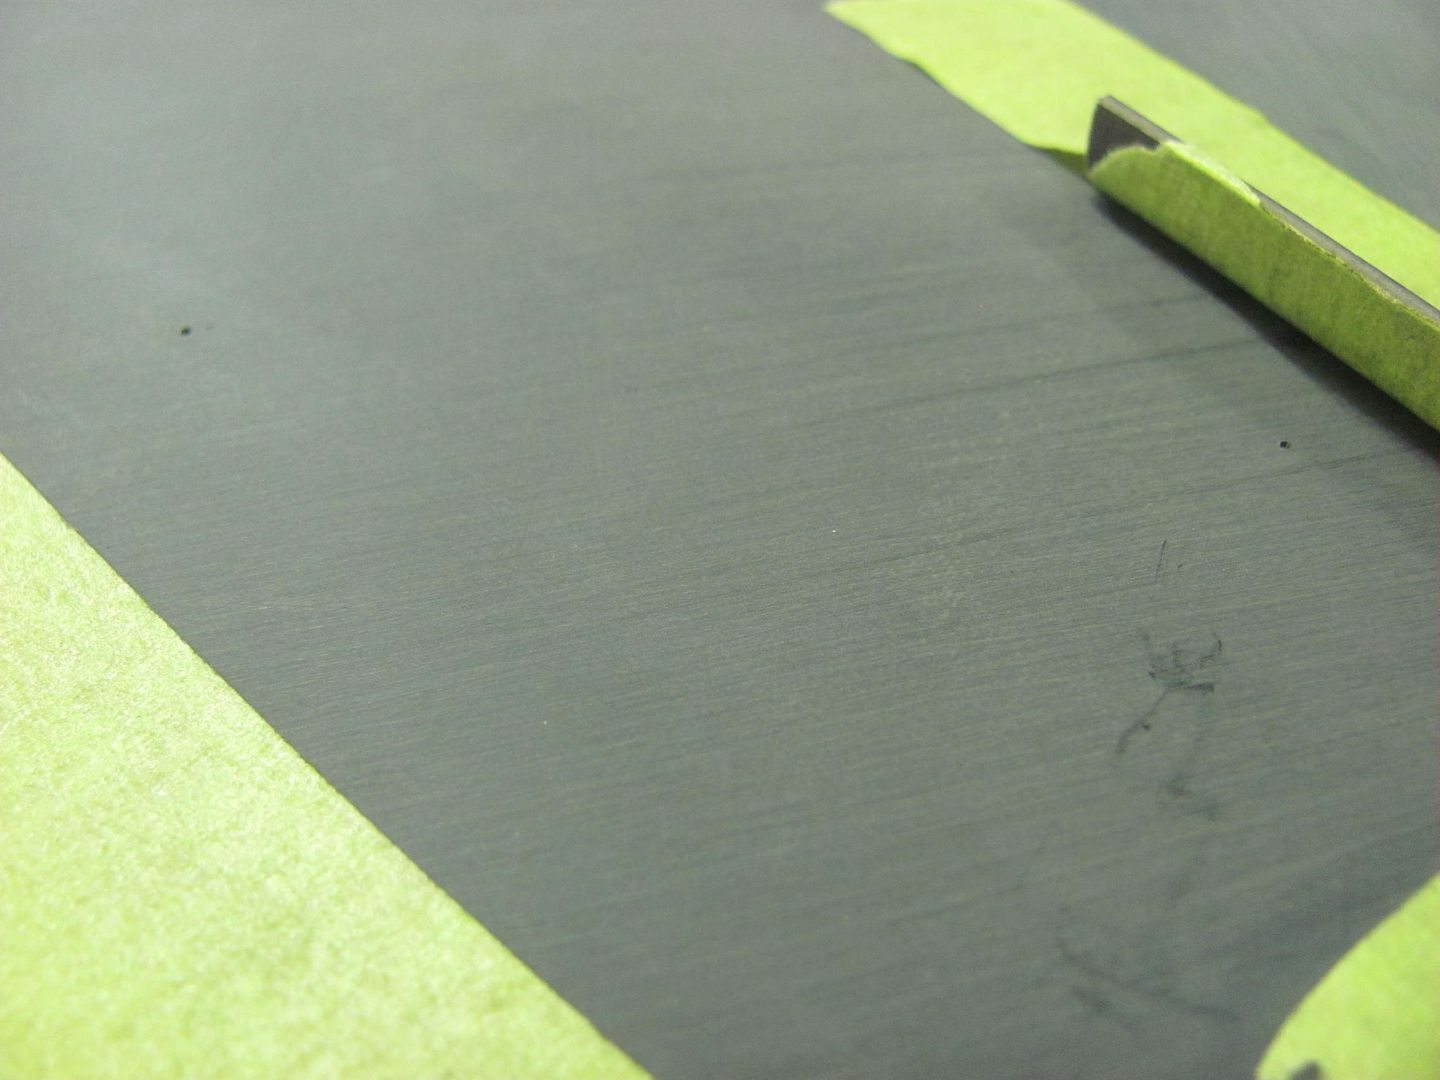 Next, the studs are installed finger tight using sleeve retainer. This will hopefully keep them from spinning inward any further risking possible damage to the chrome bezel... 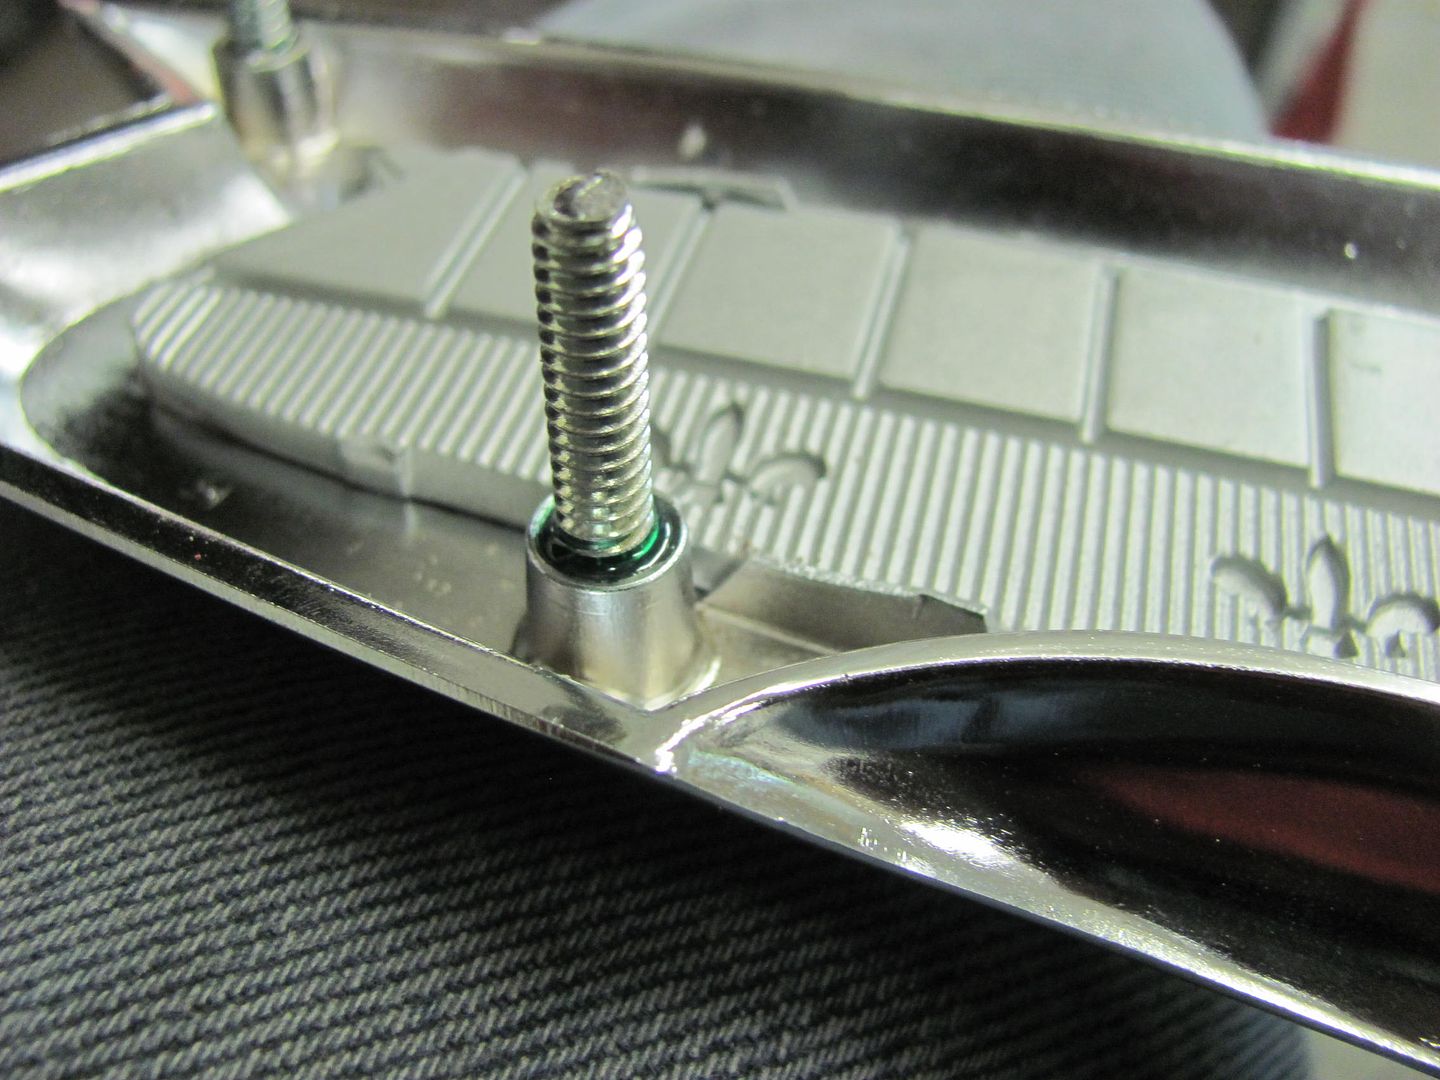 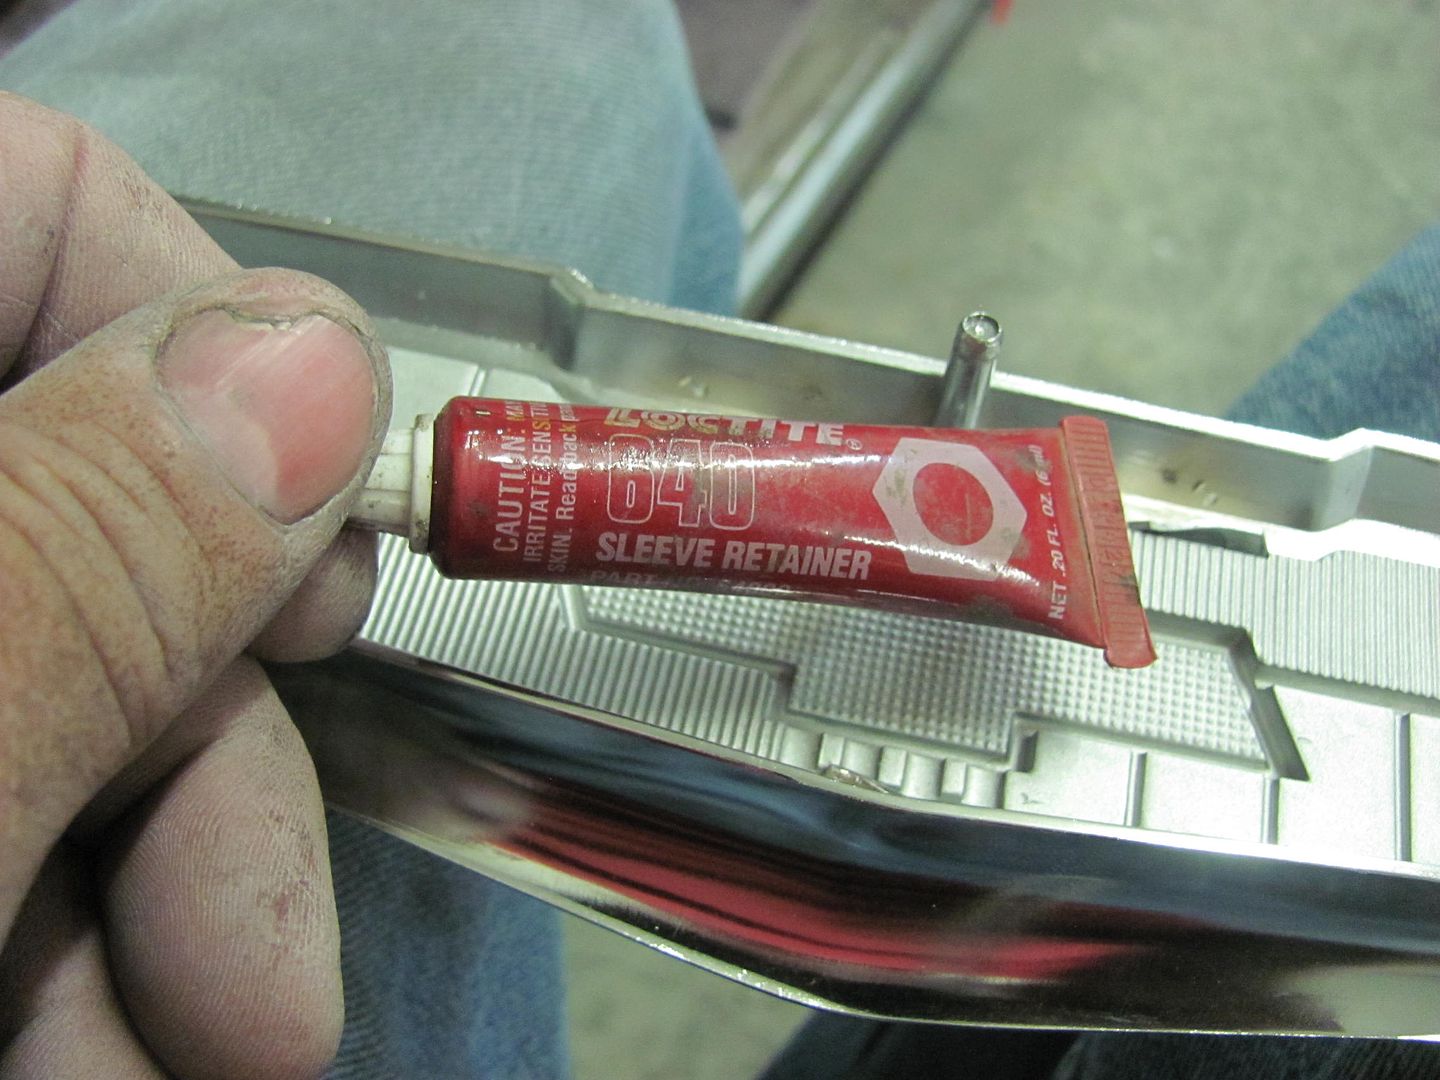 The nuts that come with the emblem are the split thread variety, and I had some threaded ones left over from the Fairlane build, that also are slightly larger in diameter, which may help out as the emblem also serves as a lift handle.. 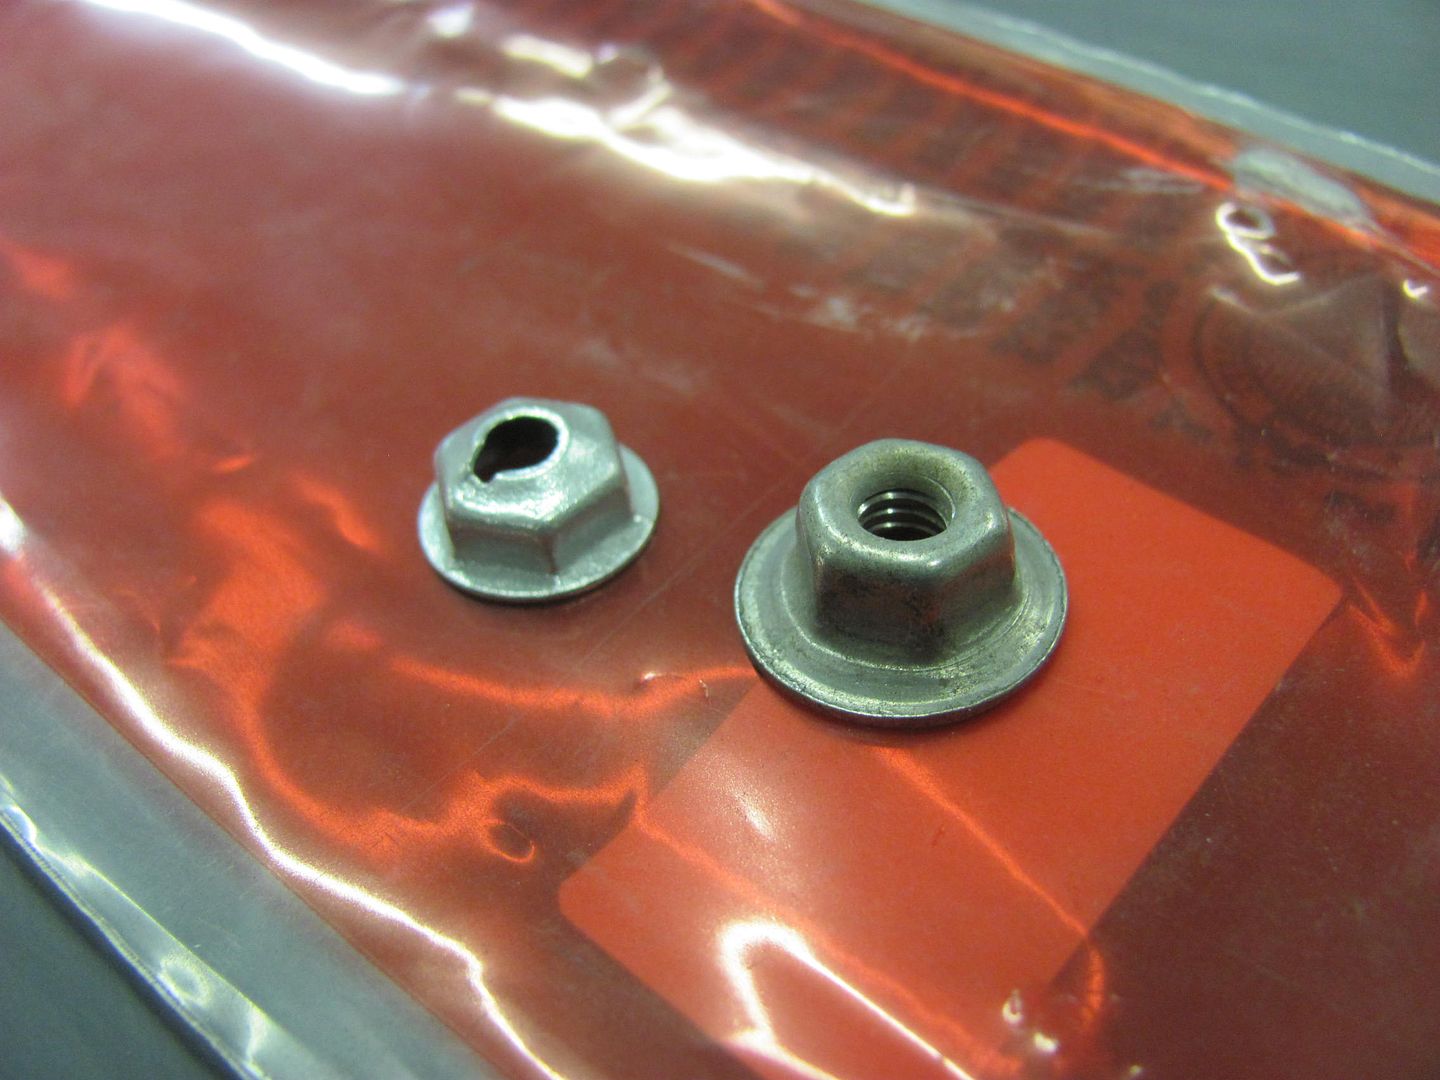 Holes drilled and emblem fitted 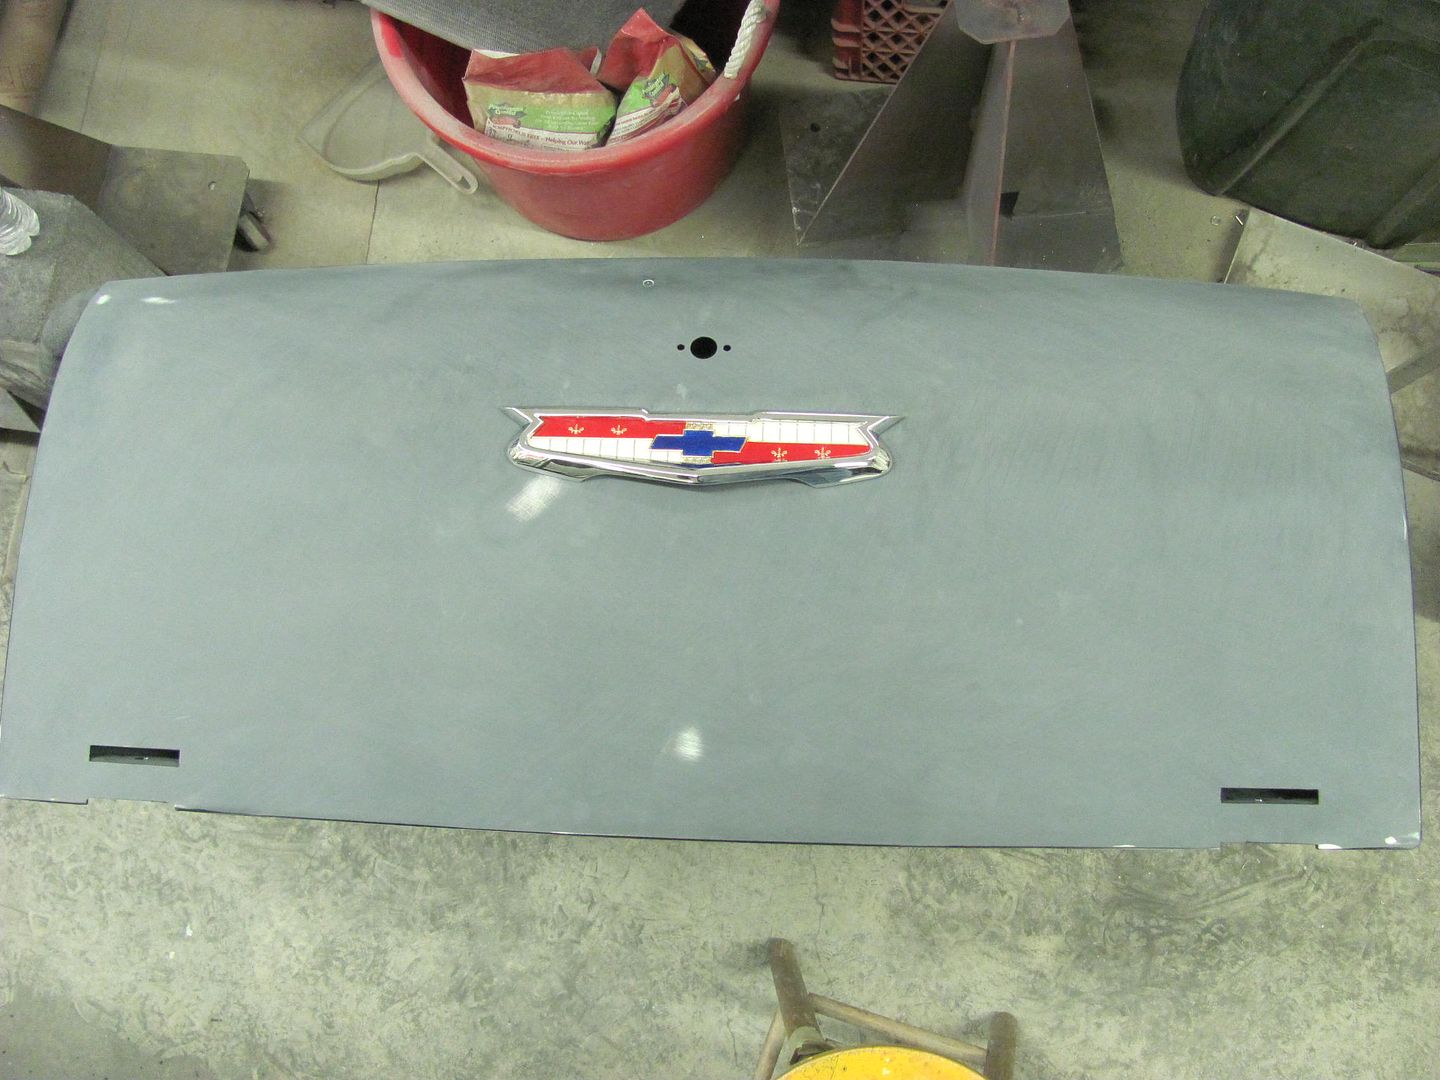
__________________
Robert |
|
|
|
|
07-15-2015, 08:54 AM
|
#18 |
|
Senior Member
Join Date: Mar 2011
Location: West Plains, Missouri
Posts: 7,555
|
Re: 55 Wagon Progress
Panels looking good, and the emblem came out great...Jim
__________________
my build thread: http://67-72chevytrucks.com/vboard/s...d.php?t=459839 Jimbo's long bed step build:http://67-72chevytrucks.com/vboard/s...t=464626<br /> |
|
|
|
|
07-15-2015, 08:57 PM
|
#19 |
|
Registered User
Join Date: May 2007
Location: Deale Md
Posts: 4,663
|
Re: 55 Wagon Progress
Huh blind hole spotter who knew, definitely not me, learn so many cool little tricks.
__________________
James 63 GMC V6 4speed carryall 65 chevy swb bbw V8 auto 68 K20 327/4 speed, buddy buckets 2002 GMC CC Dually Duramax 64 GMC lwb 3/4 V6 4speed SOLD 66 GMC swb bbw buddy buckets SOLD IG duallyjams The only thing that stays the same is constant change! |
|
|
|
|
07-18-2015, 08:27 PM
|
#20 |
|
Registered User
Join Date: Jan 2013
Location: Leonardtown, MD
Posts: 1,637
|
Re: 55 Wagon Progress
I was blocking out the tailgate the other day and had a "halo" effect appear in the epoxy, shown below just to the right of the latch hole. This has a light skim of Evercoat 416 beneath the epoxy in that area. It was nice and flat while in bare metal, after spraying epoxy, after blocking the Evercoat/ before spraying the last coat of epoxy. I was baffled at what would cause such a nicely formed circle in the paint...
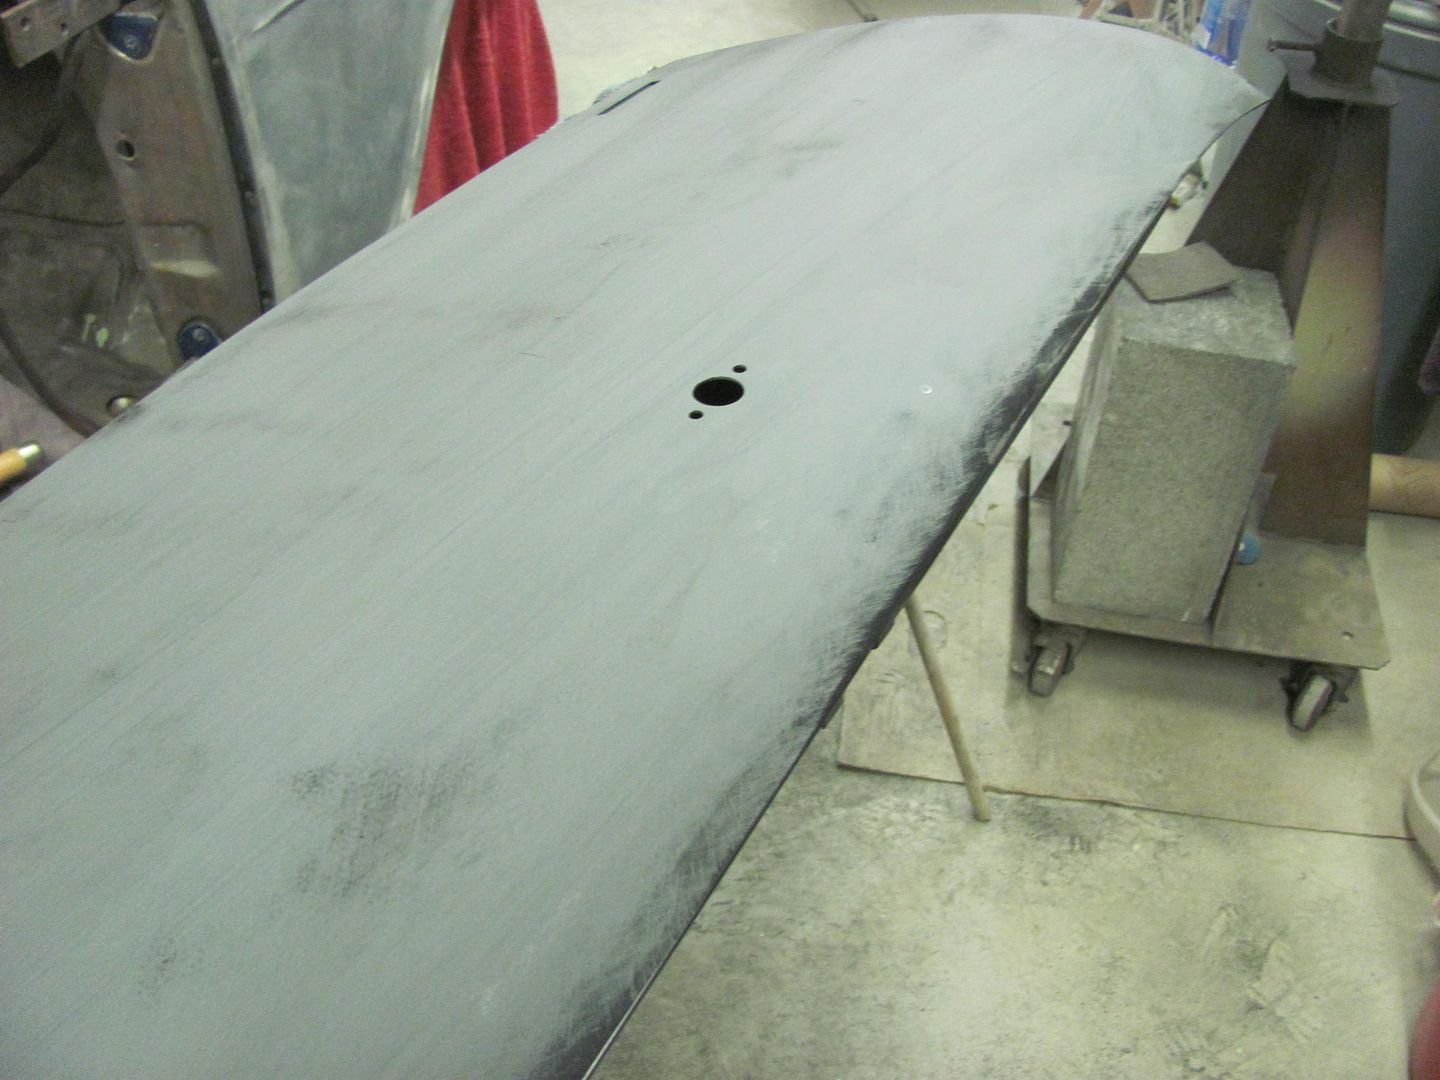  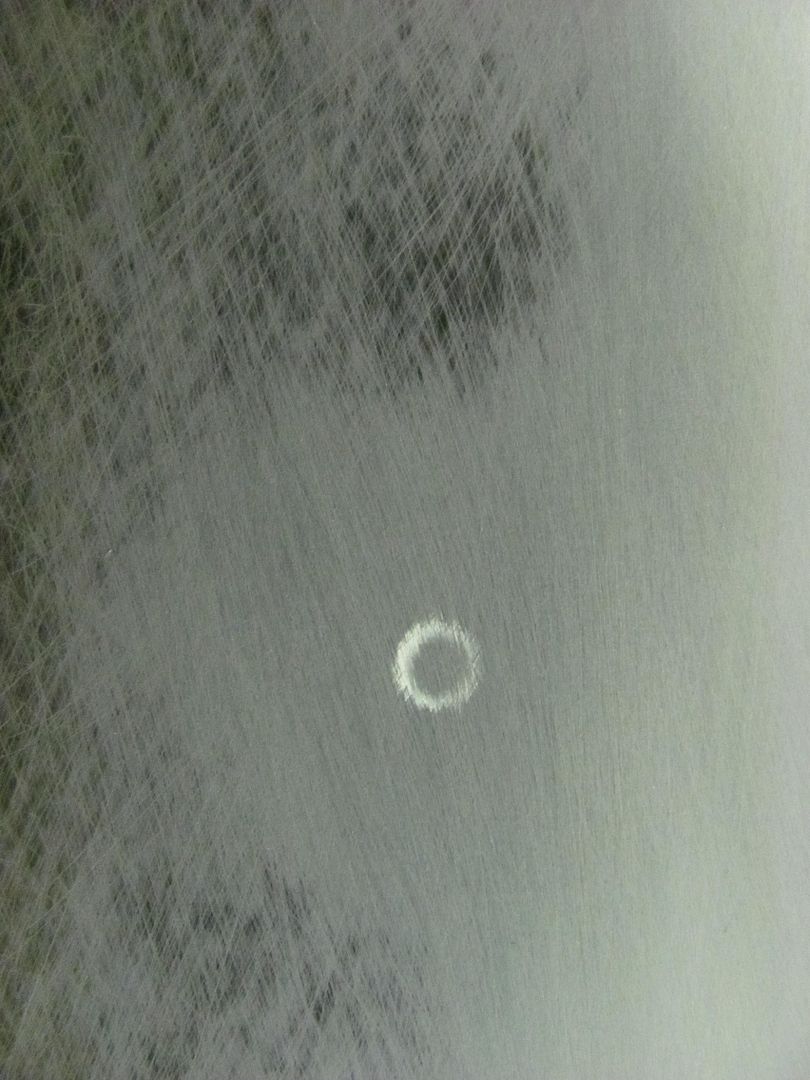 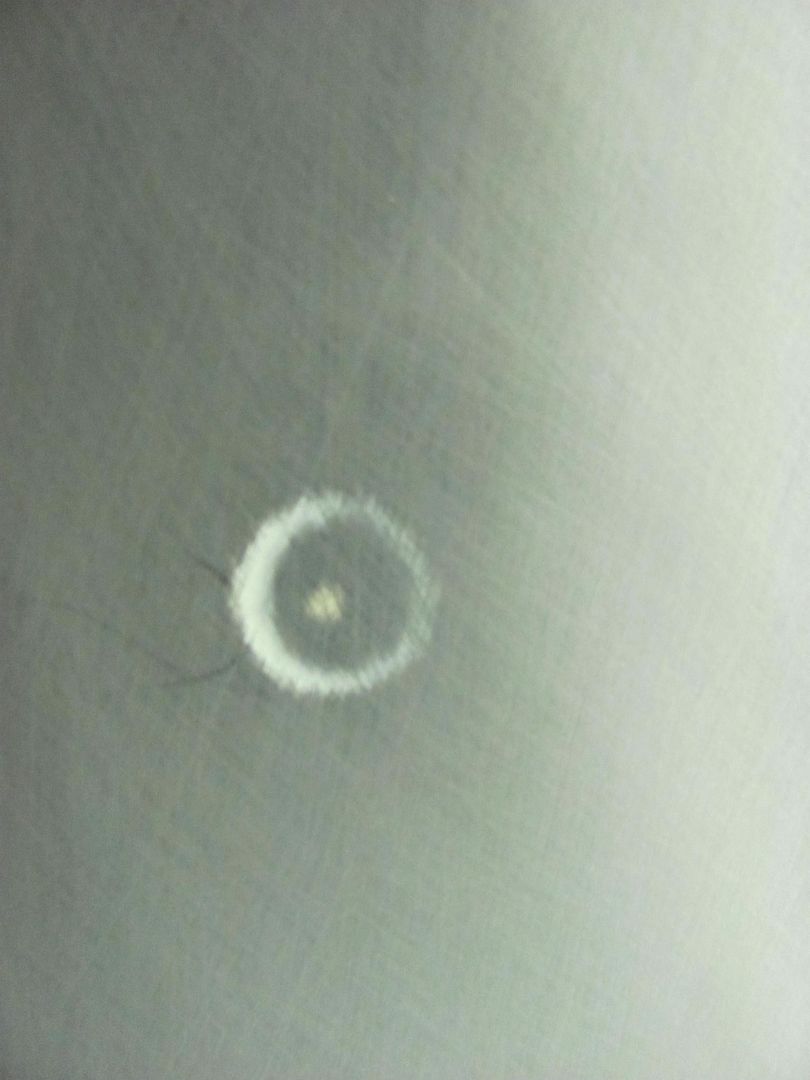 Even scratched the area to see if there was any softness to the Evercoat, but no.. 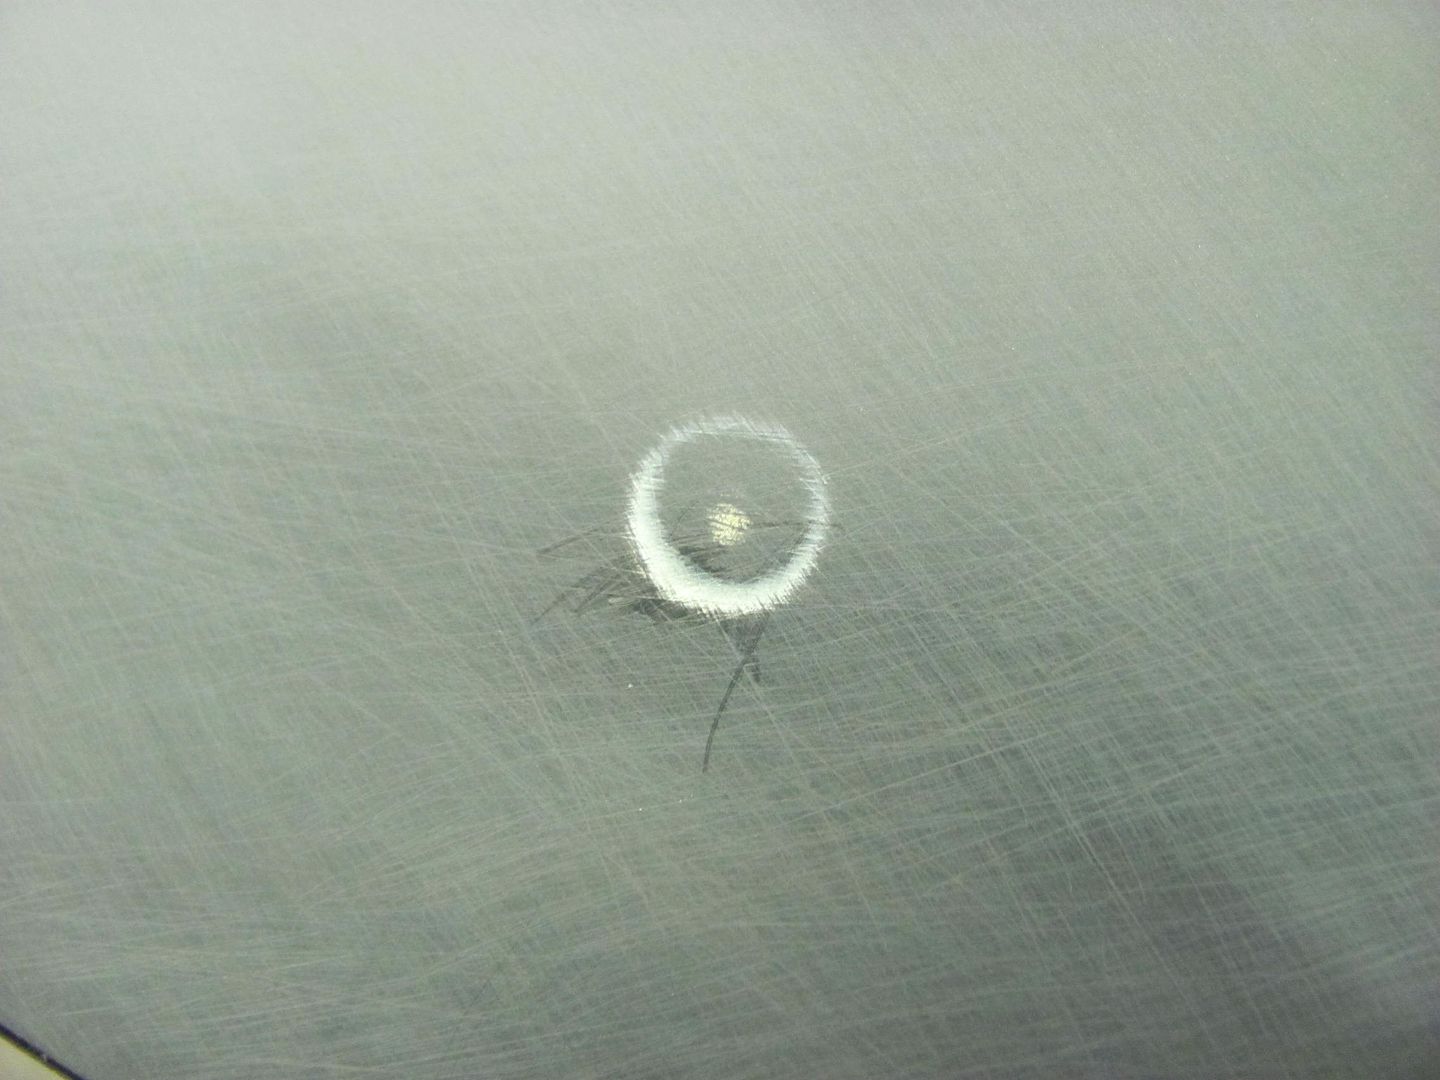 Here's the panel in bare steel before paint and after first coat of epoxy... 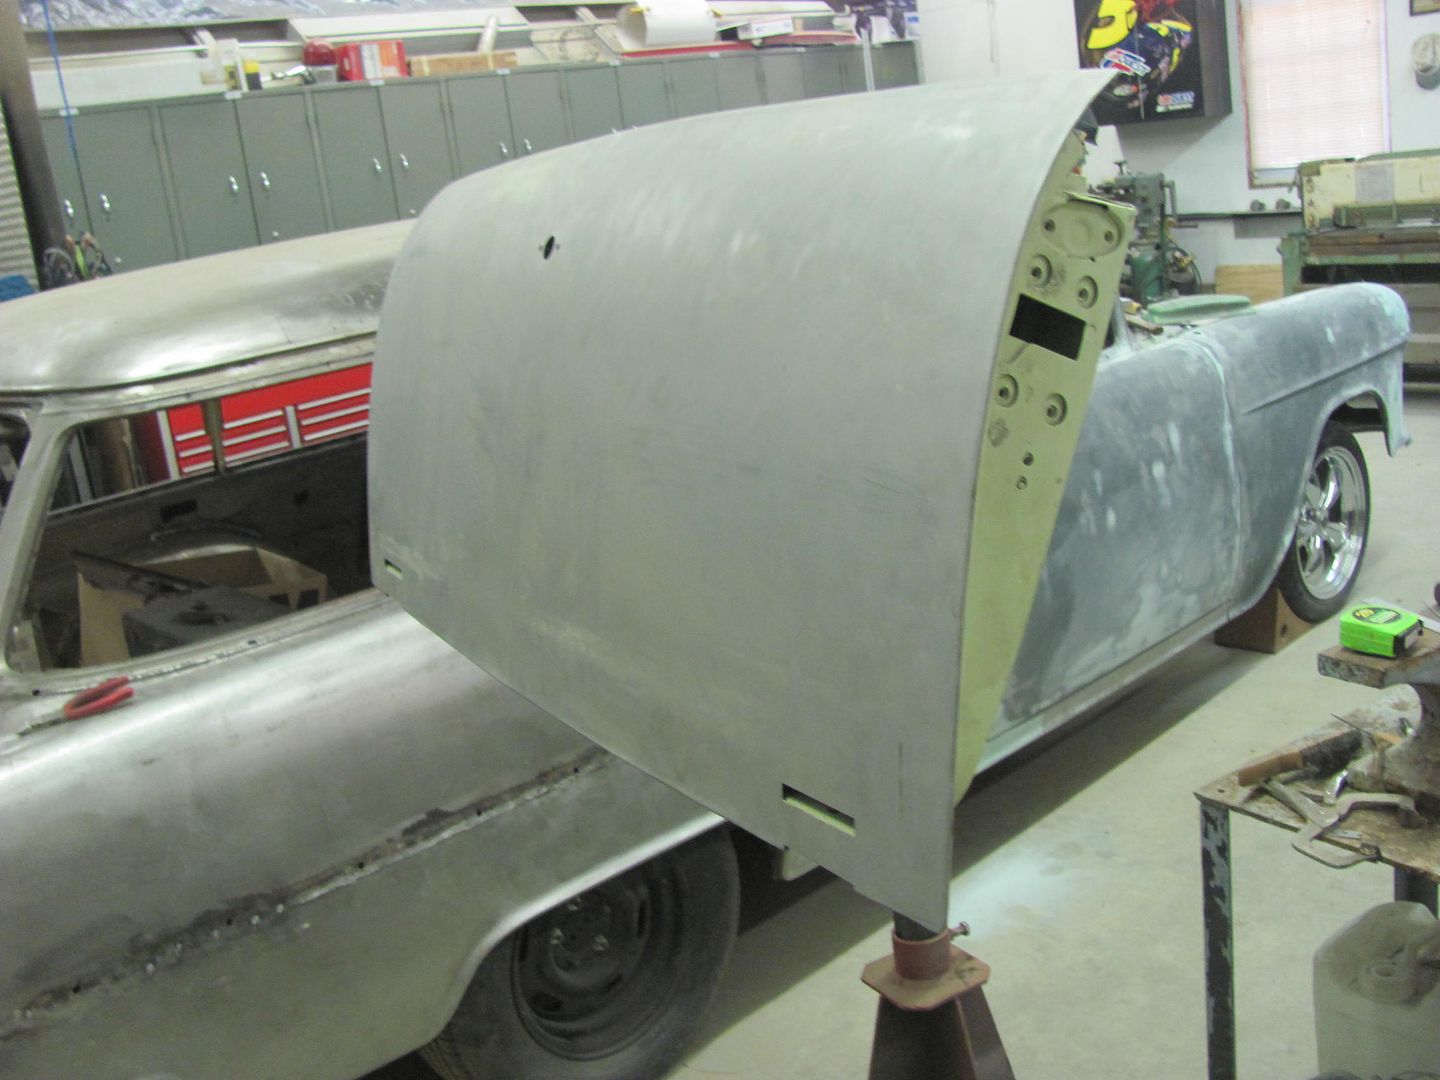 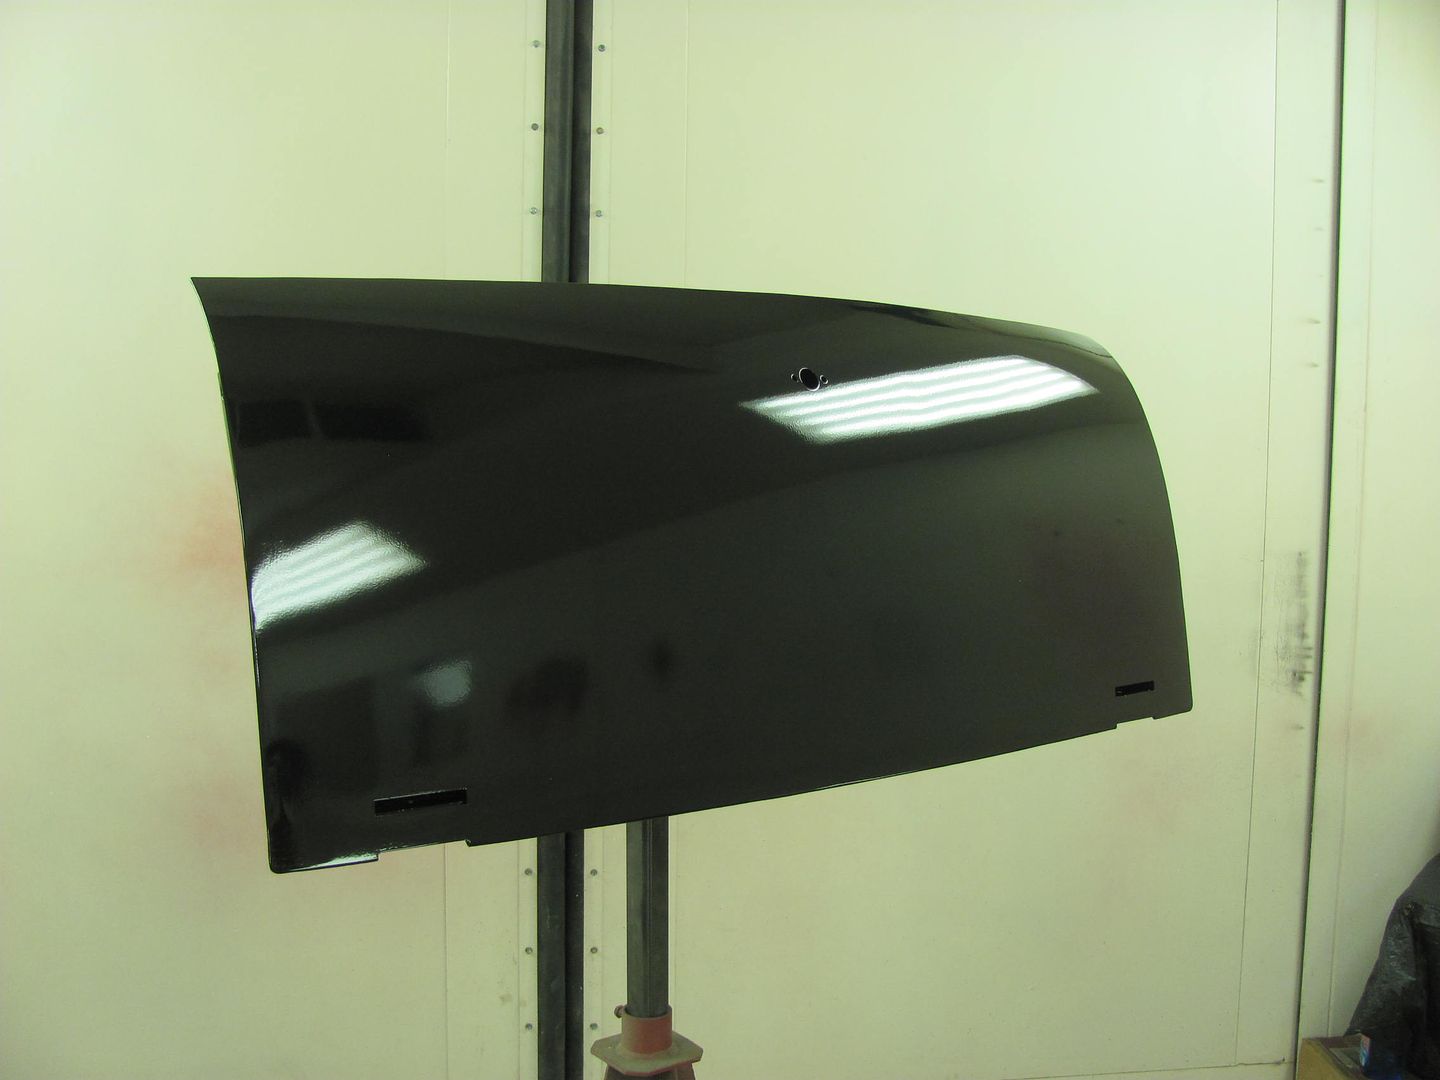 No dings, or defects otherwise seen. I had posted a query on the SPI forum to see if anyone had ever run into this. I don't know why I didn't think of this first, but it was suggested to: 1) look inside 2) only time this type of defect had been seen was dropping screwdriver inside door and left similar mark on outside of door bottom after sanding. So in full investigative mode, I first measured the distance of the defect from the turn latch hole.. The Halo is approx. 3" away from the handle hole.. 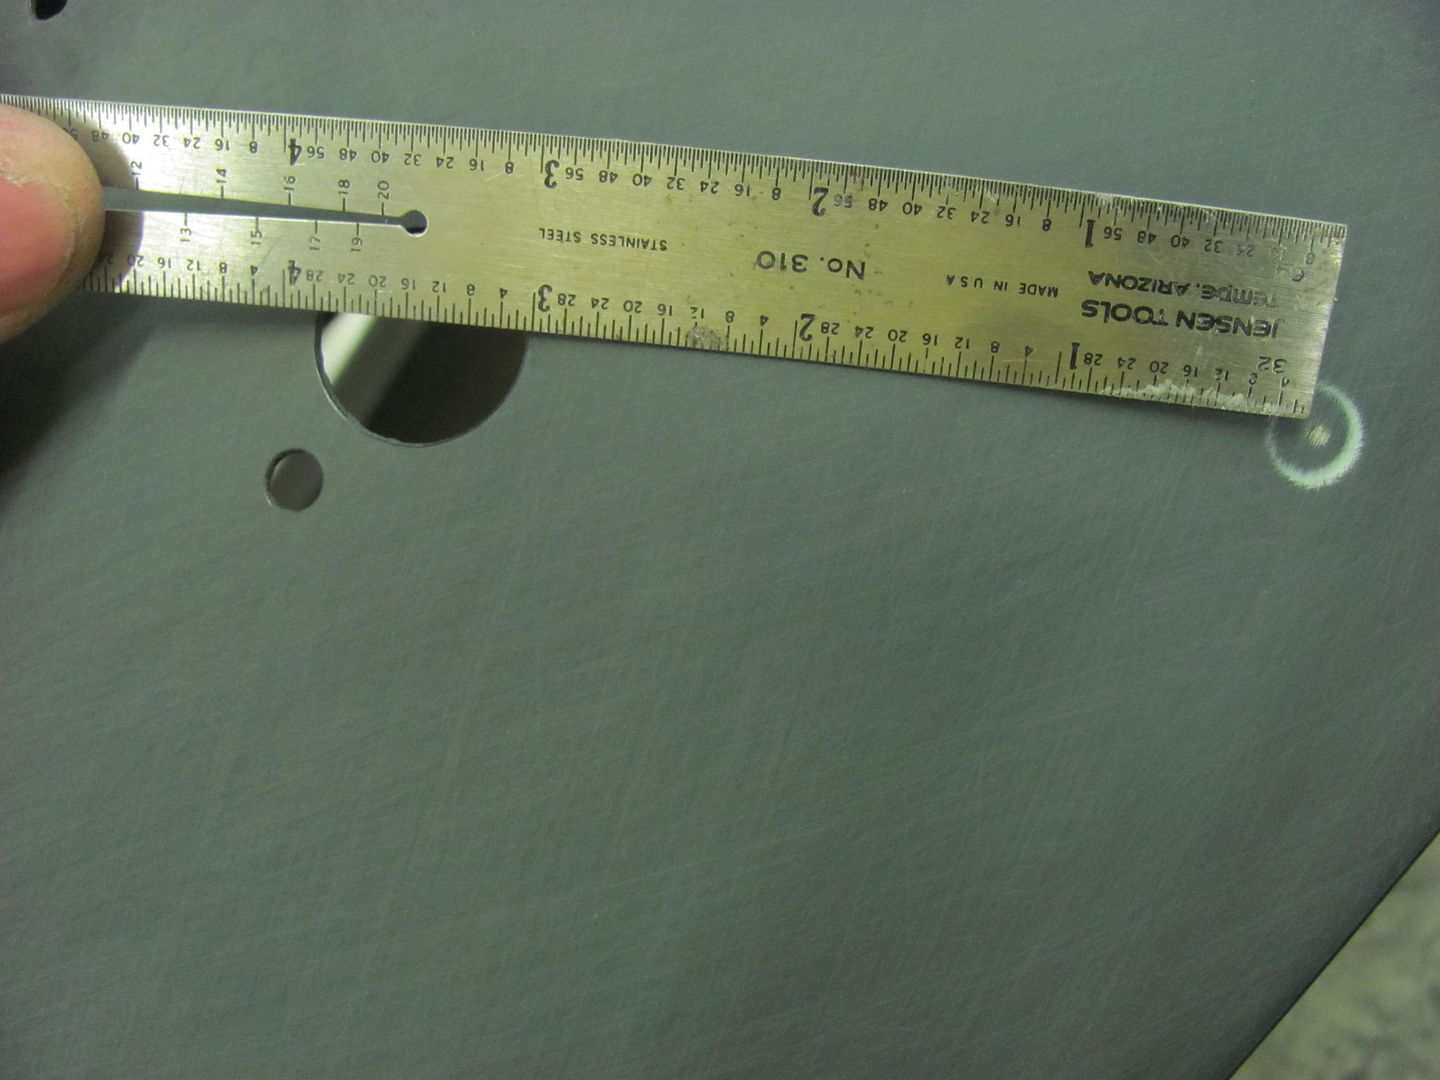 Measuring that distance on the inside shows.....oh wait....what's that bare metal? 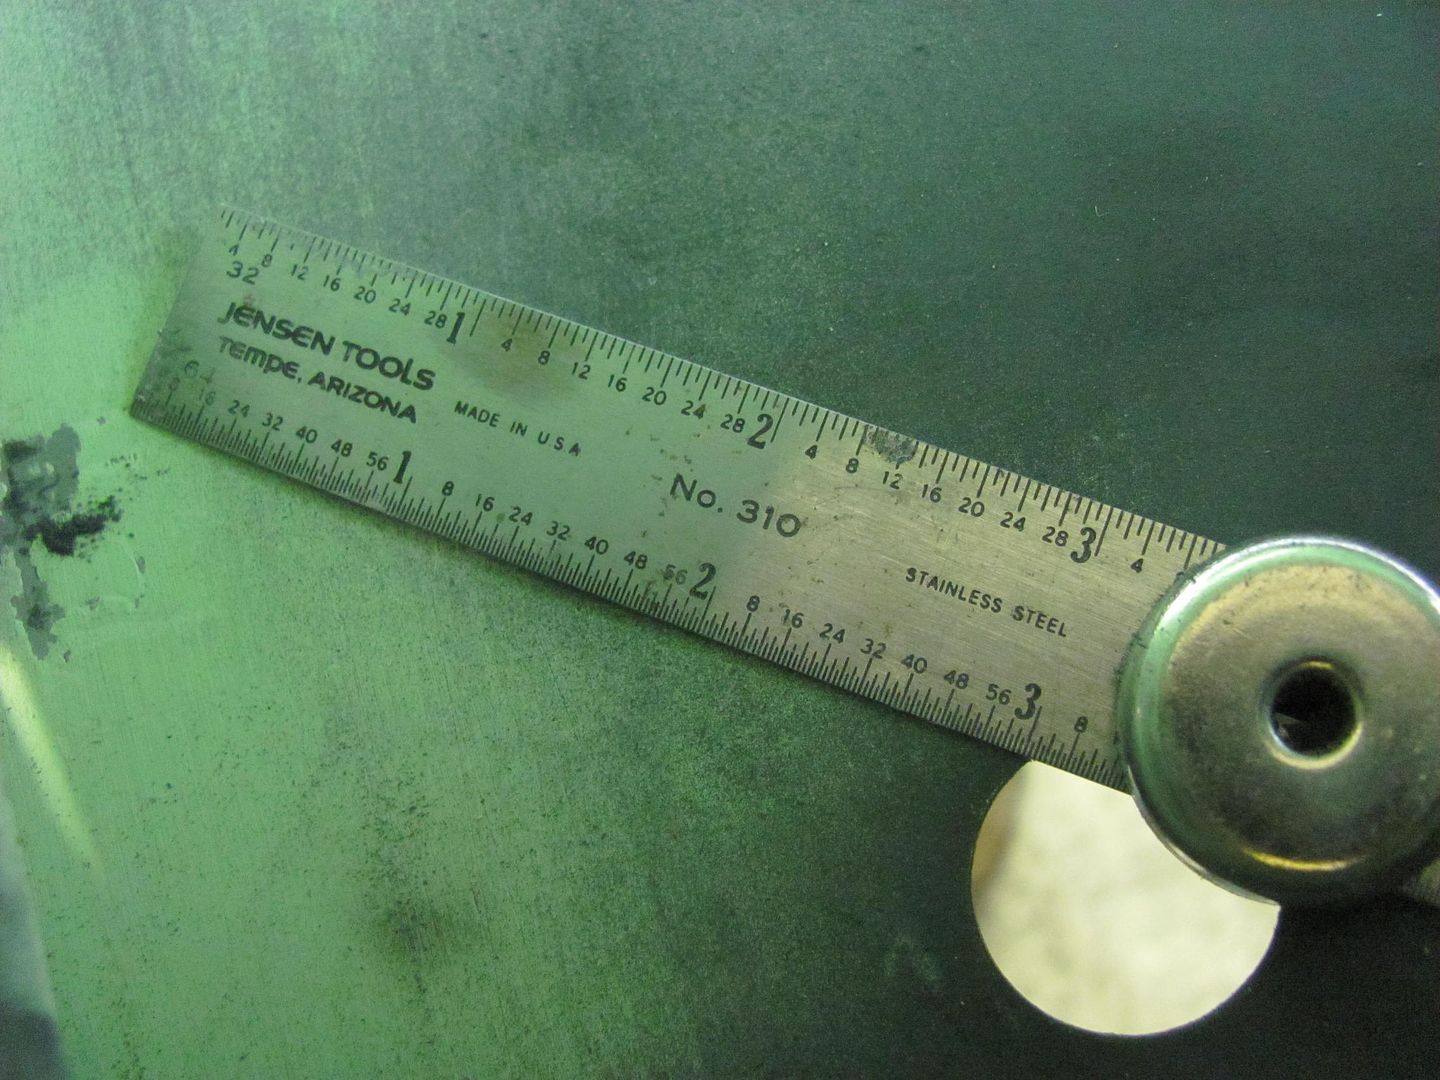 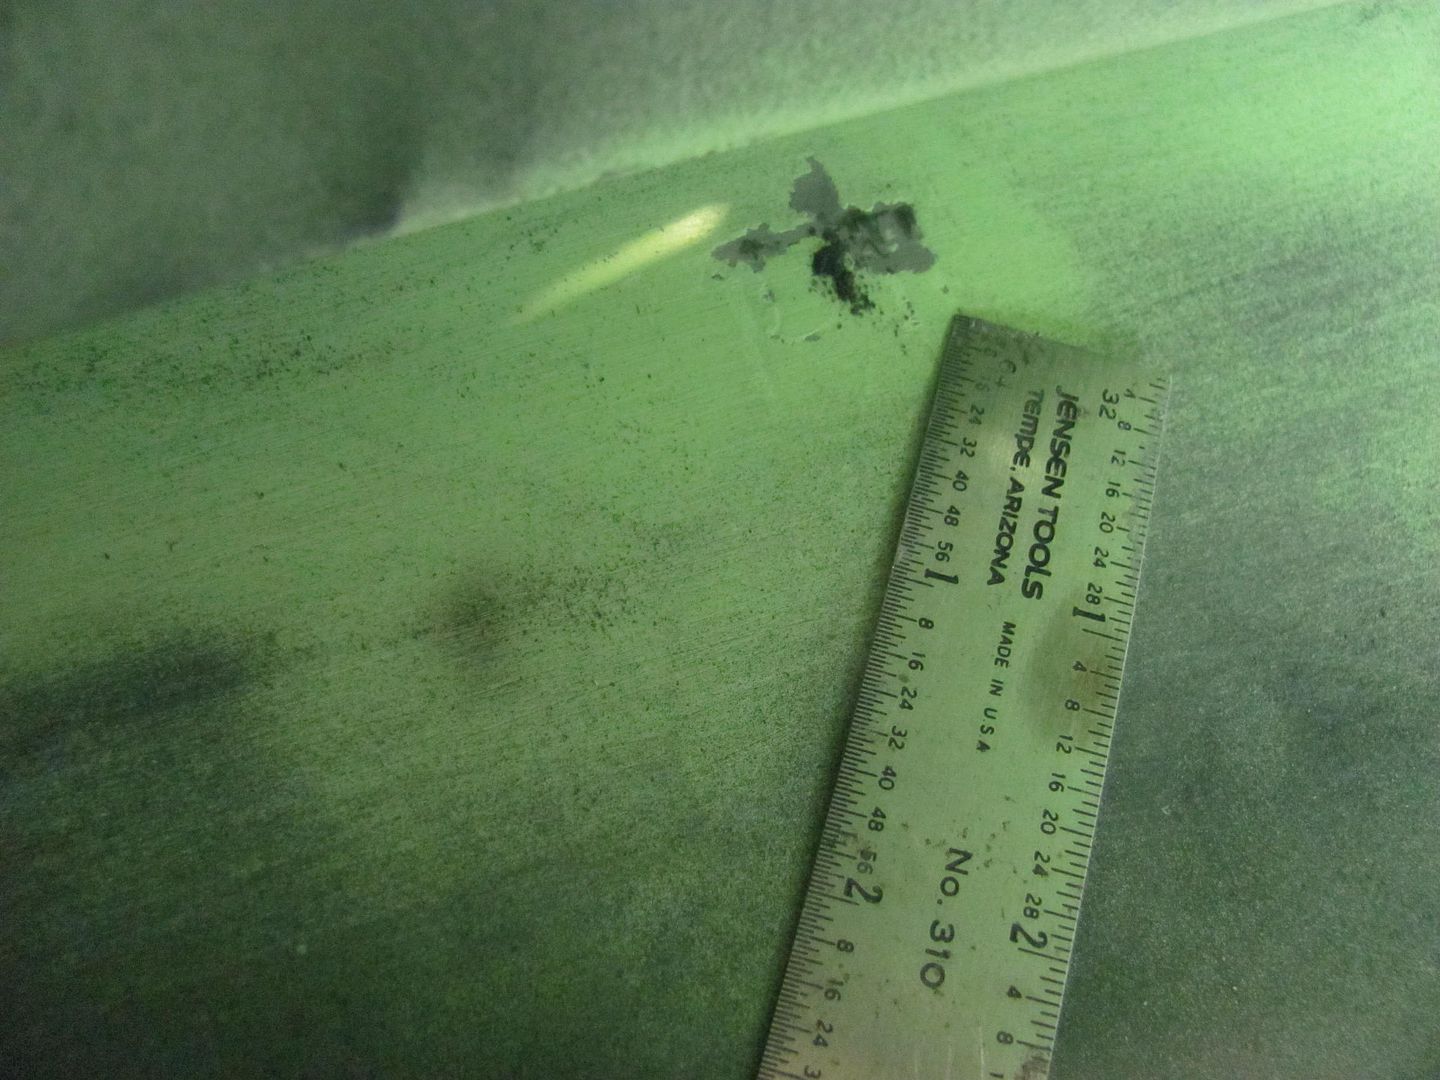 As soon as I saw this I realized there had only been one thing inside that could have caused it... the painting fixture we made.. 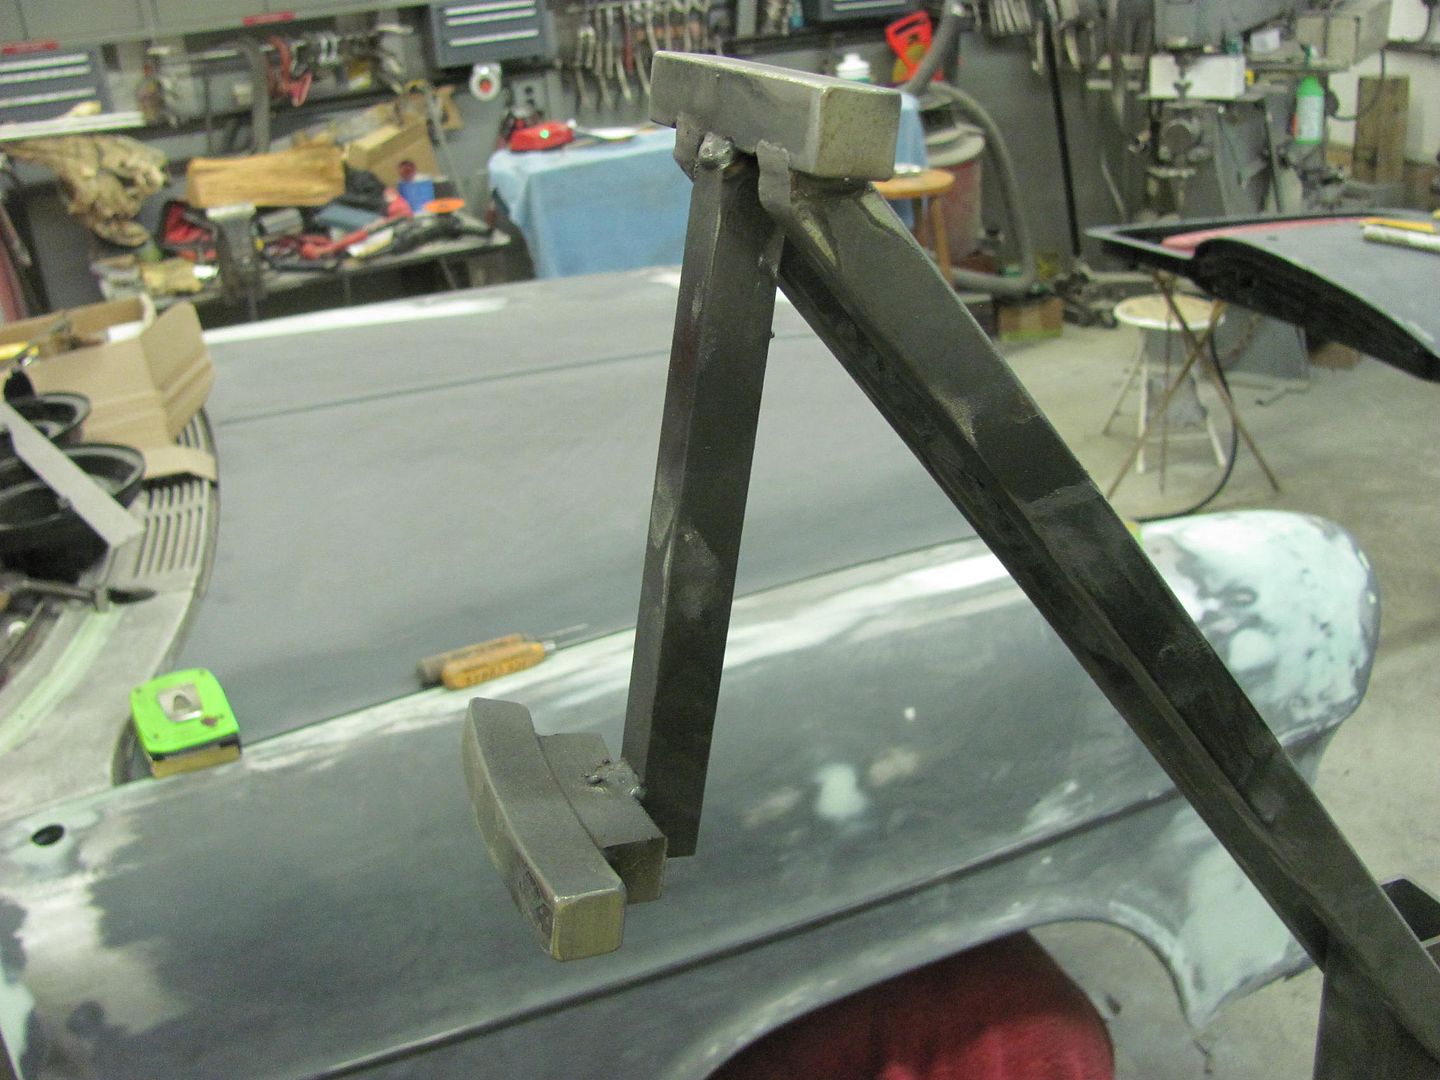 This was made to hold the tail gate in correct alignment as on the car for painting. I had radiused the lower bar but failed to do so on the top one. A check of the skin with body sweeps shows that a #15 sweep is about correct, so it was used to verify some relief grinding on the top bar... 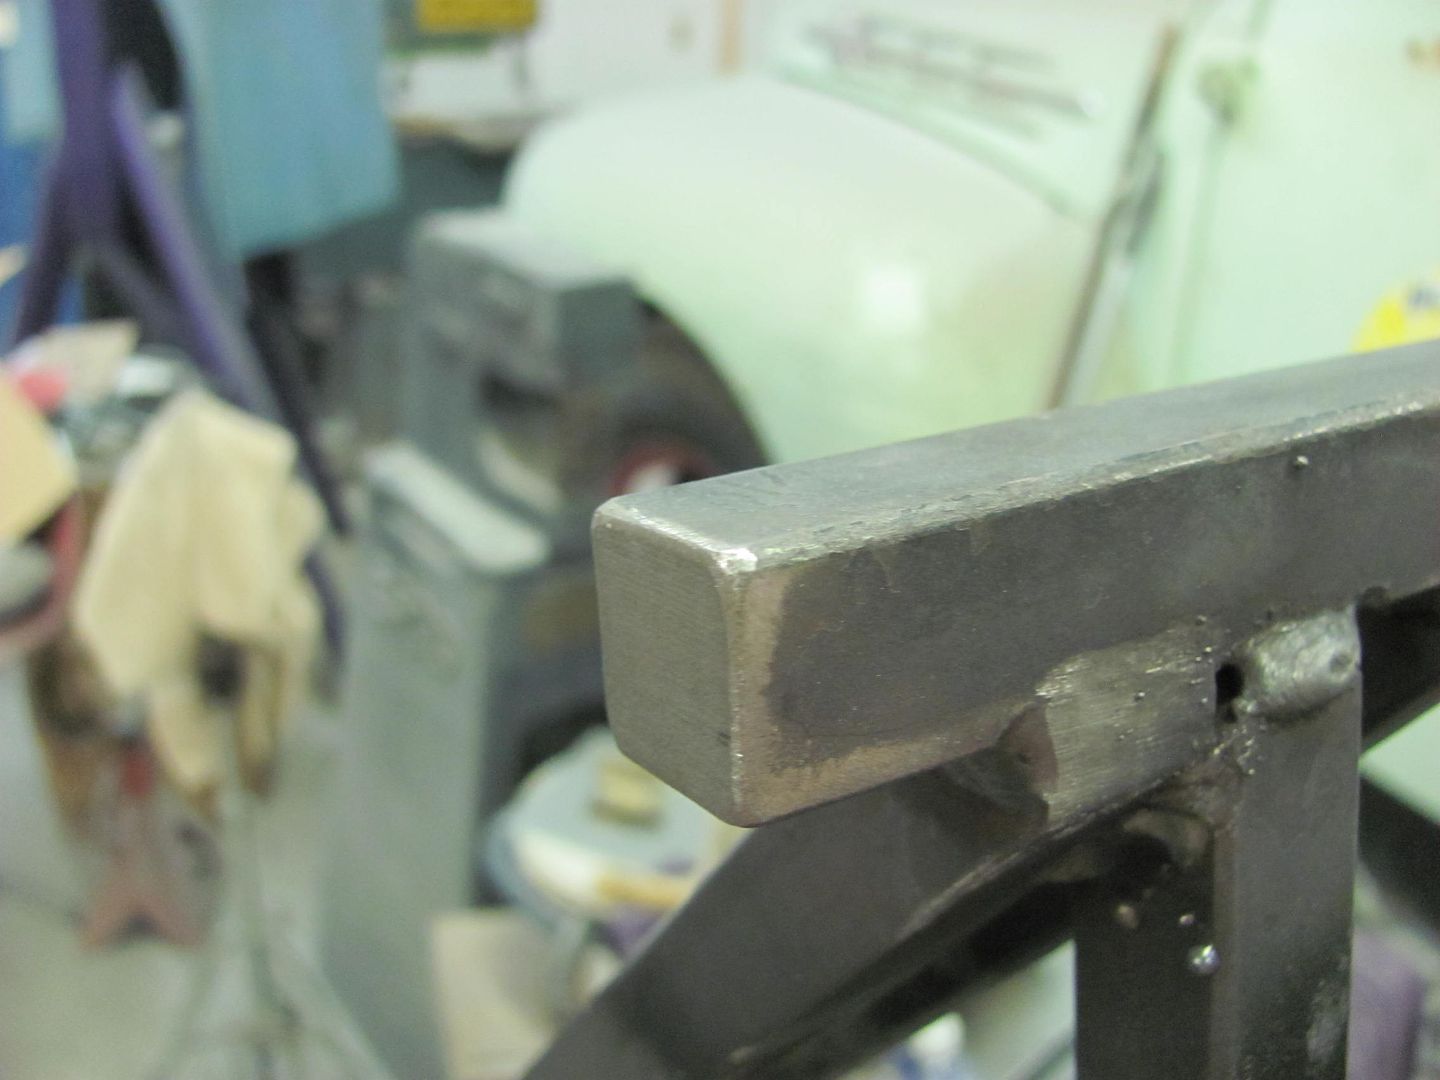 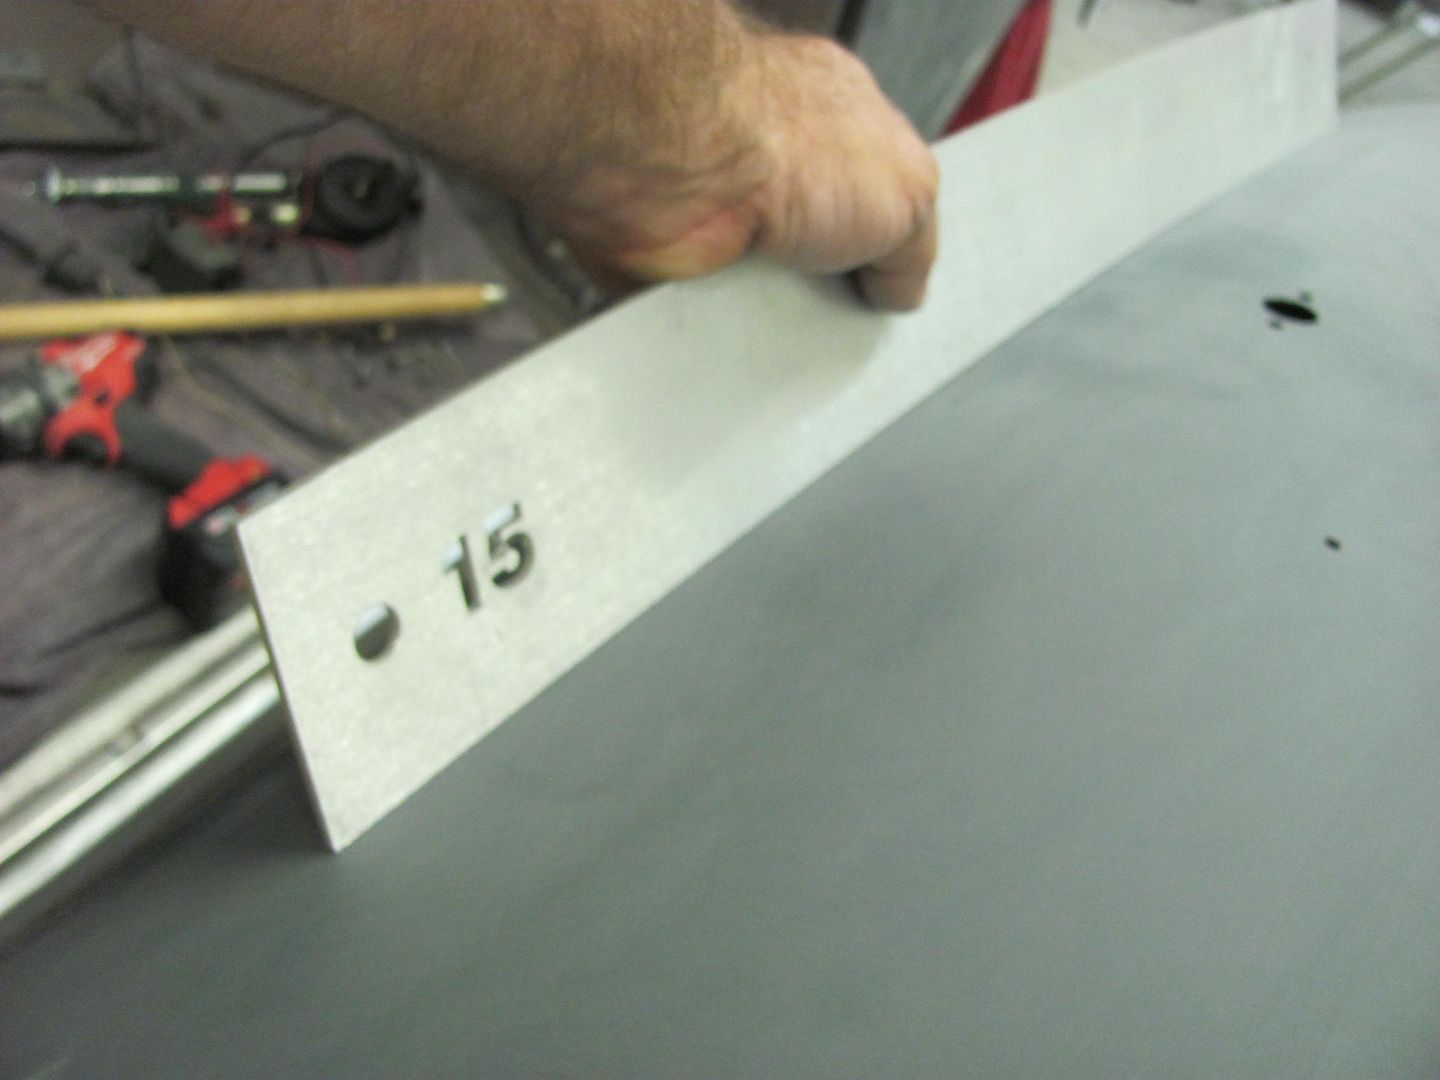  As added insurance, some truck cap gasket seal was added to further isolate the issue on both top and bottom bar....   On a positive note, glad to find this issue in the primer stage...... But let's back up a second and look at this picture, it should have been my red flag. Where the second mark to the left in the picture was not as round, looking at it now does show a rather symmetrical device was causing this.. So please use my lesson in dumassery to prevent a similar occurrence.
__________________
Robert |
|
|
|
|
07-19-2015, 05:20 PM
|
#21 |
|
Registered User
Join Date: Jan 2013
Location: Leonardtown, MD
Posts: 1,637
|
Re: 55 Wagon Progress
Another job in the shop, here's one of the downfalls of the insulation blankets the factory used above exhaust systems...
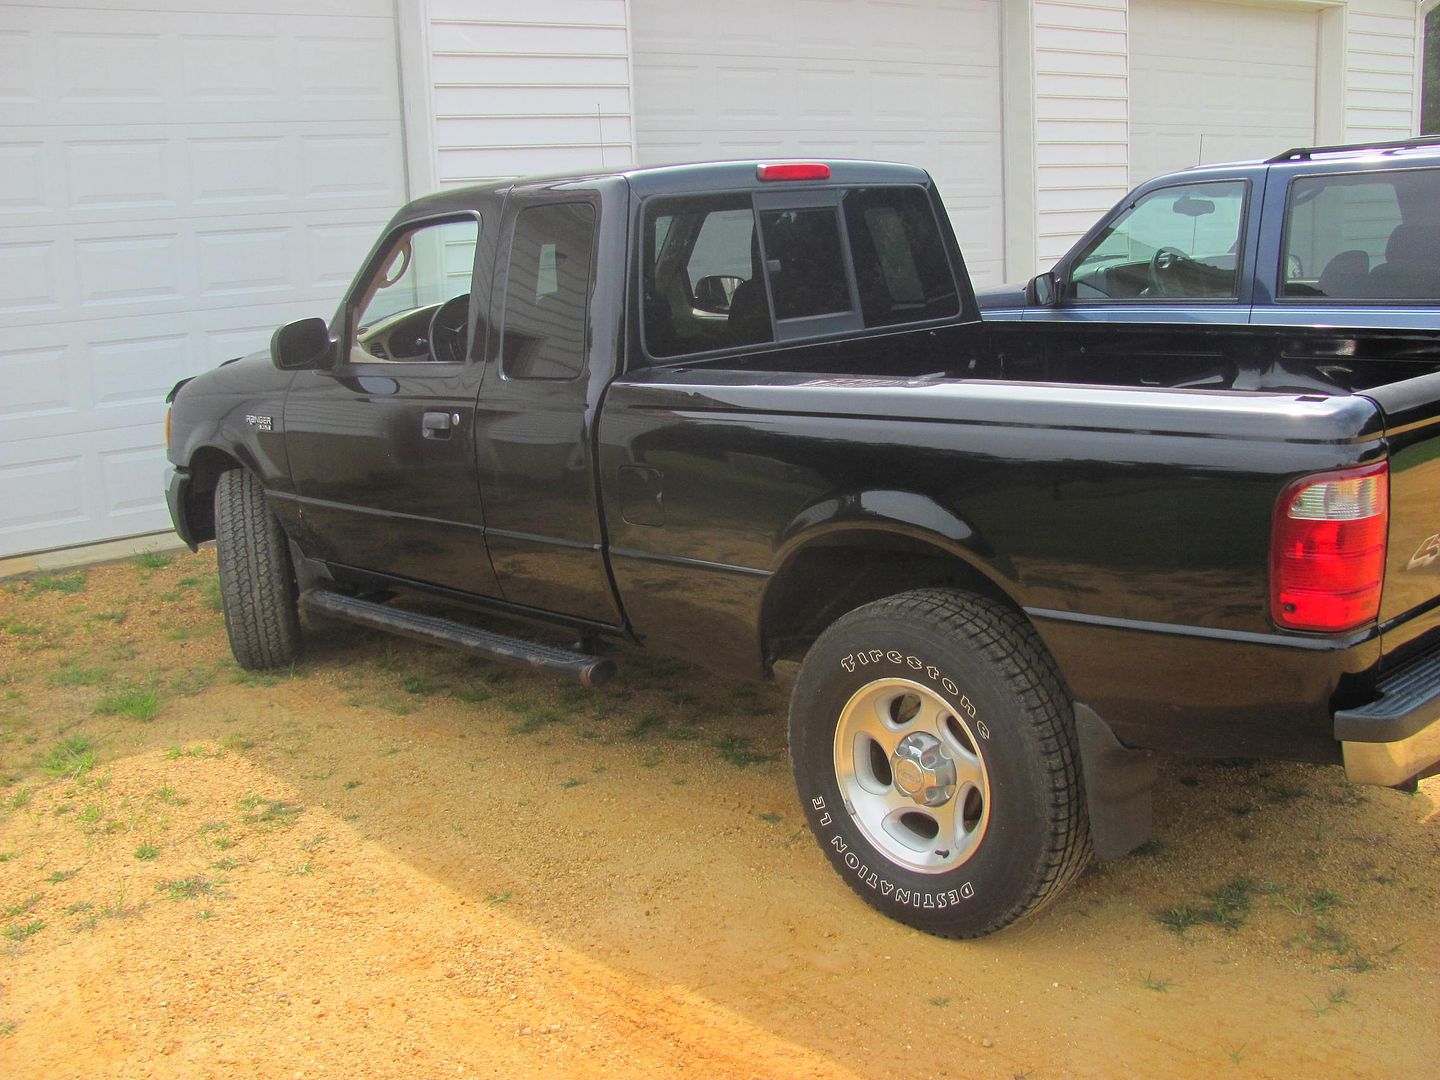 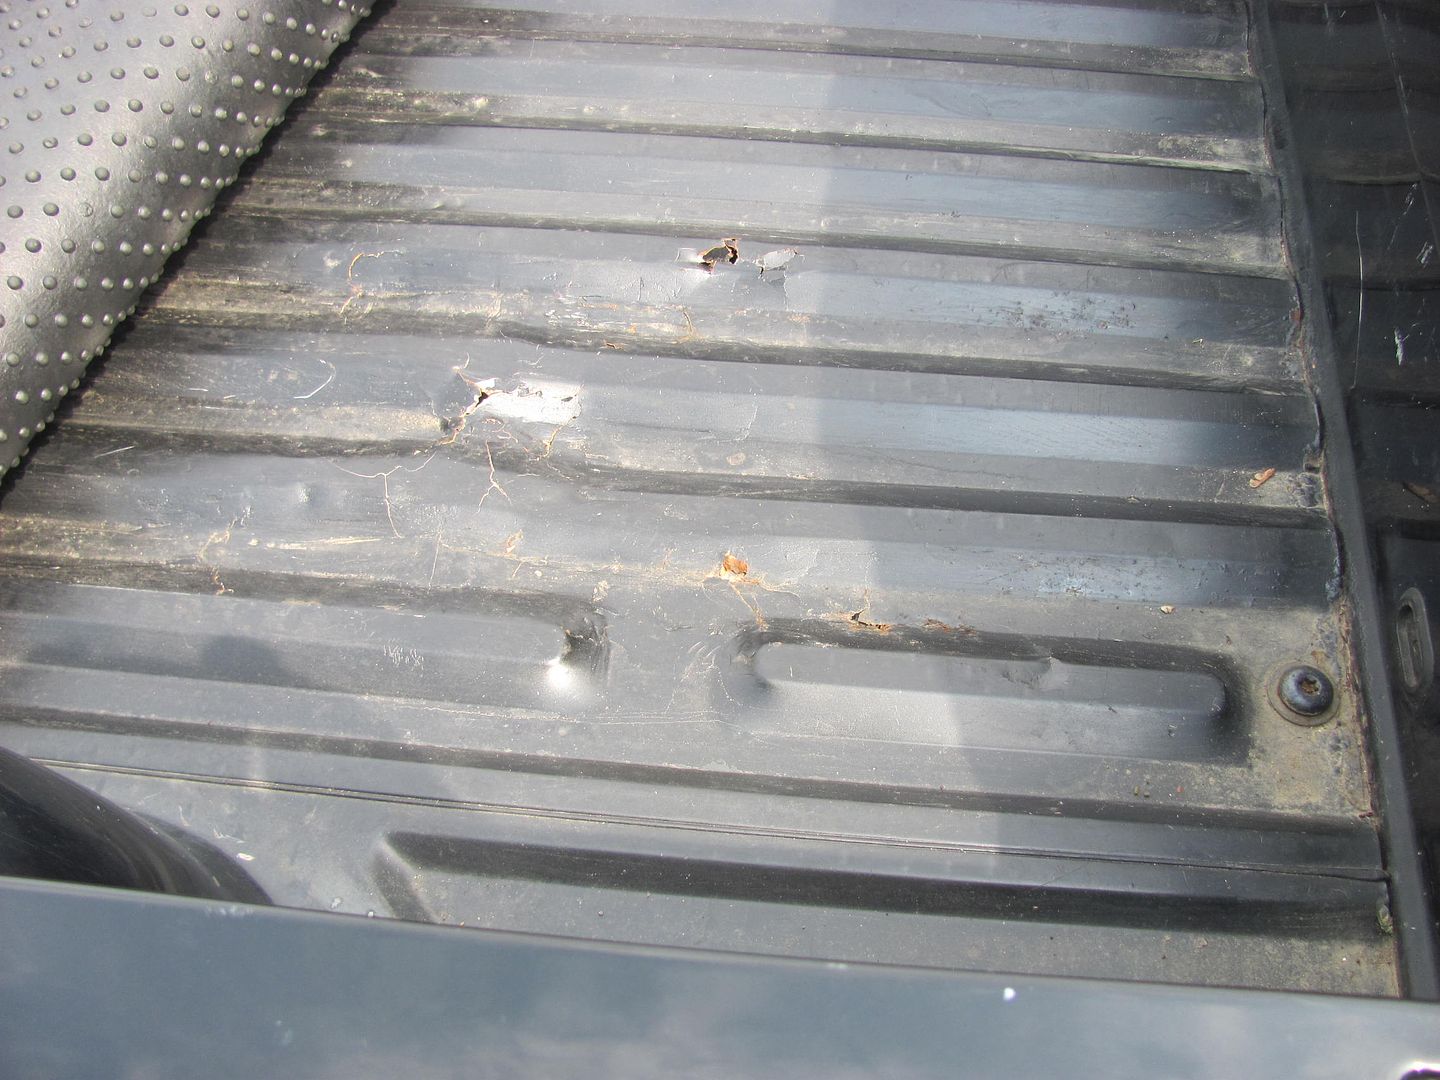 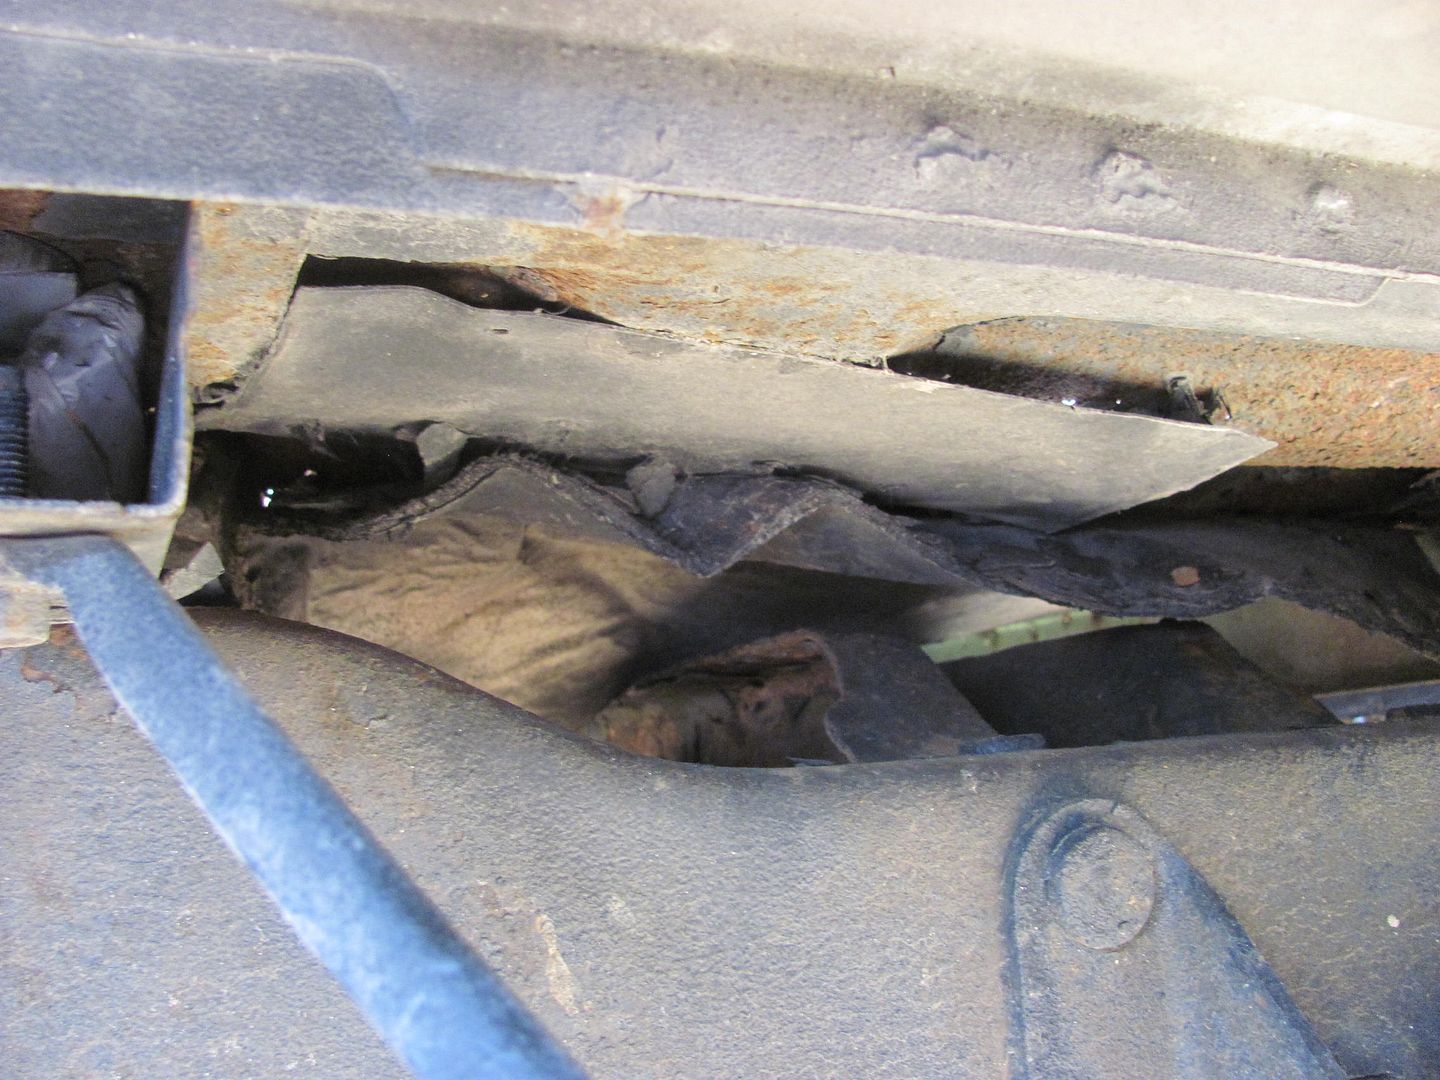 Nice moisture traps and rust generators. All the used beds found either had similar rust issues or the lower quarters rounded under where the salvage yards had removed them and set them down on the ground. So we went back to the local dealer and ordered the bed floor and new cross members. We have a couple cross members that still haven't arrived, but we can get started in prepping for epoxy primer on the parts we do have.. Scuffing up the floor using 400 grit. Here's the new apprentice for this job, my niece Katie. (her truck) She's not afraid of work and needed little instruction. 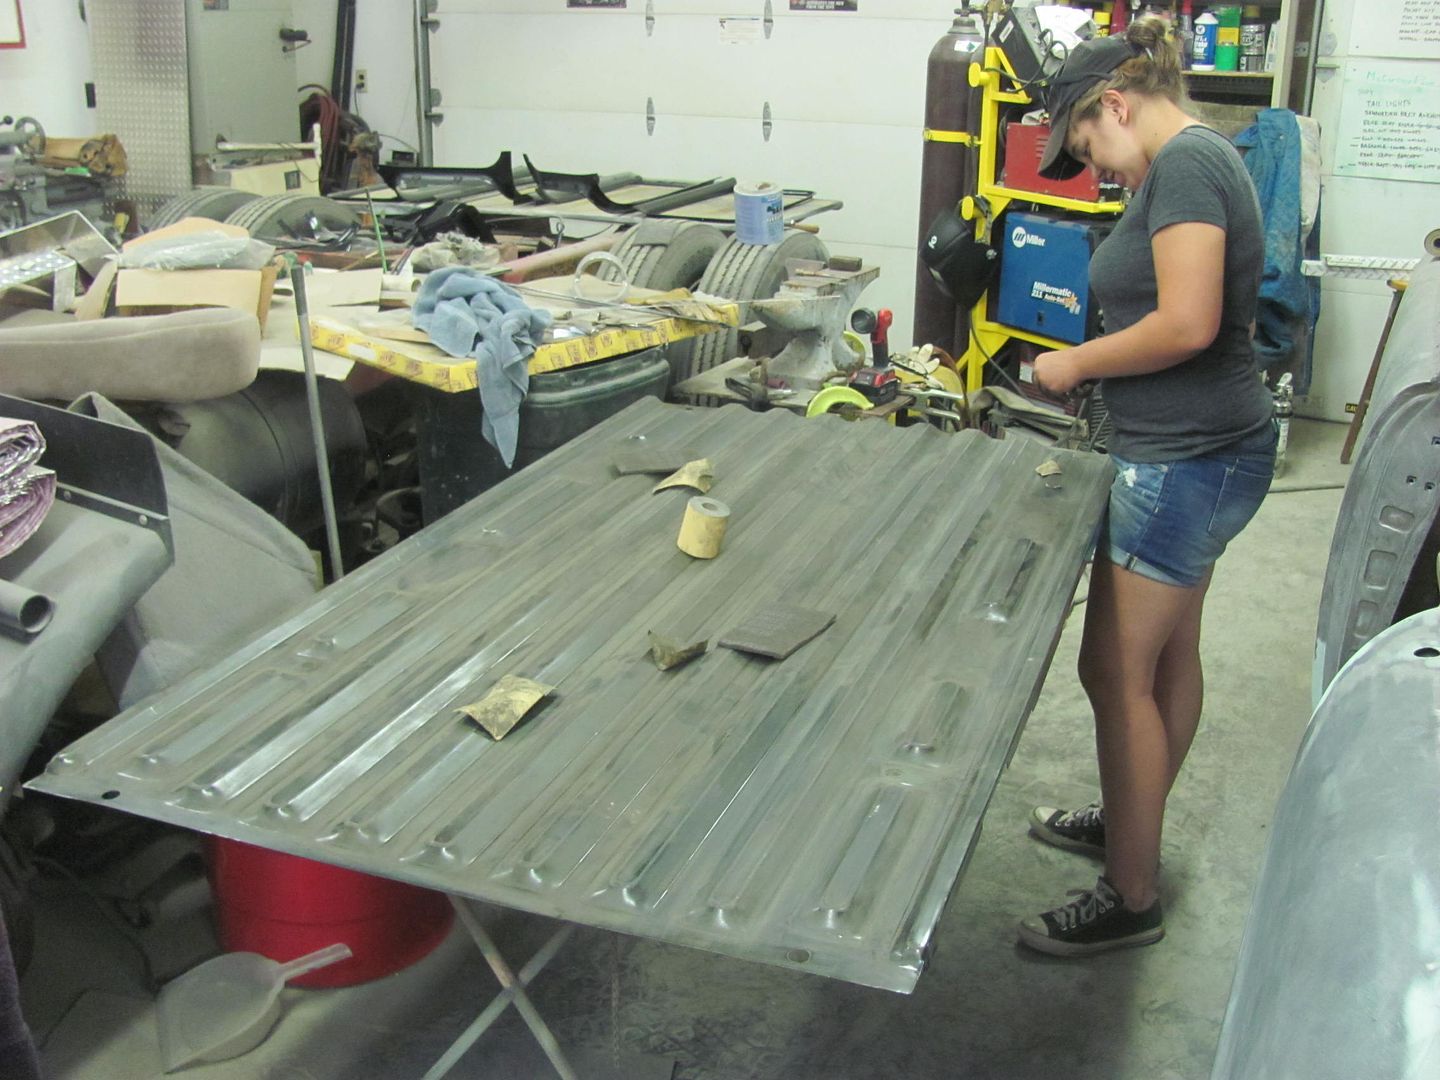 All scuffed, now to wait on the cross members to come in.. 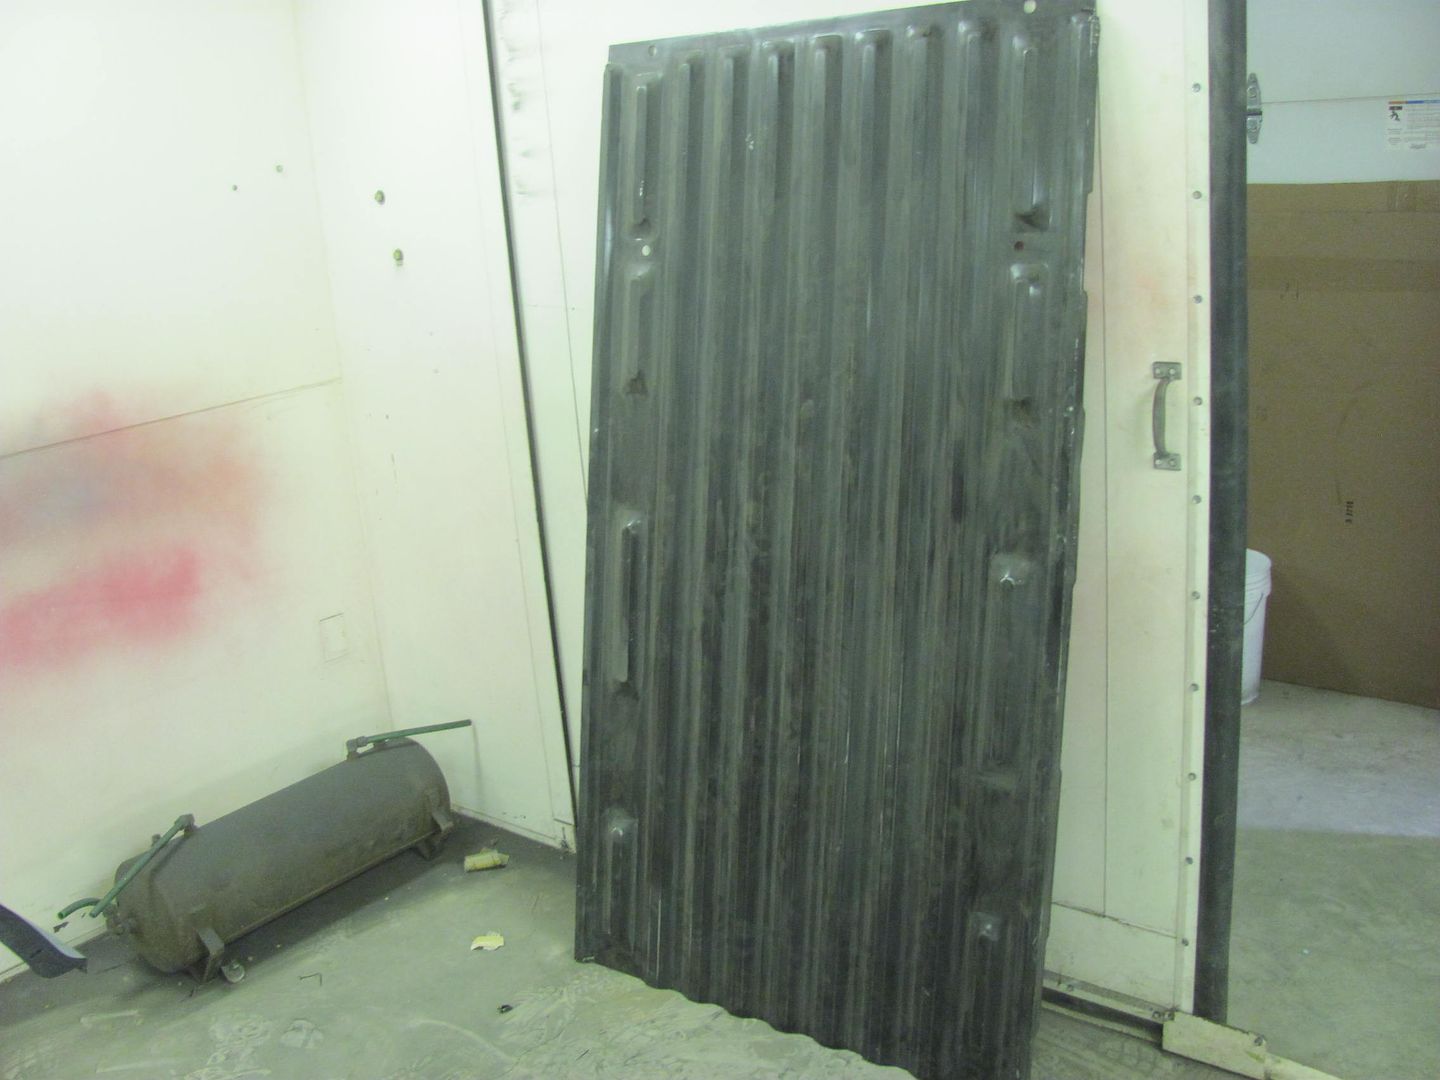 Meanwhile Kyle and I have continued blocking body parts for another dose of epoxy... 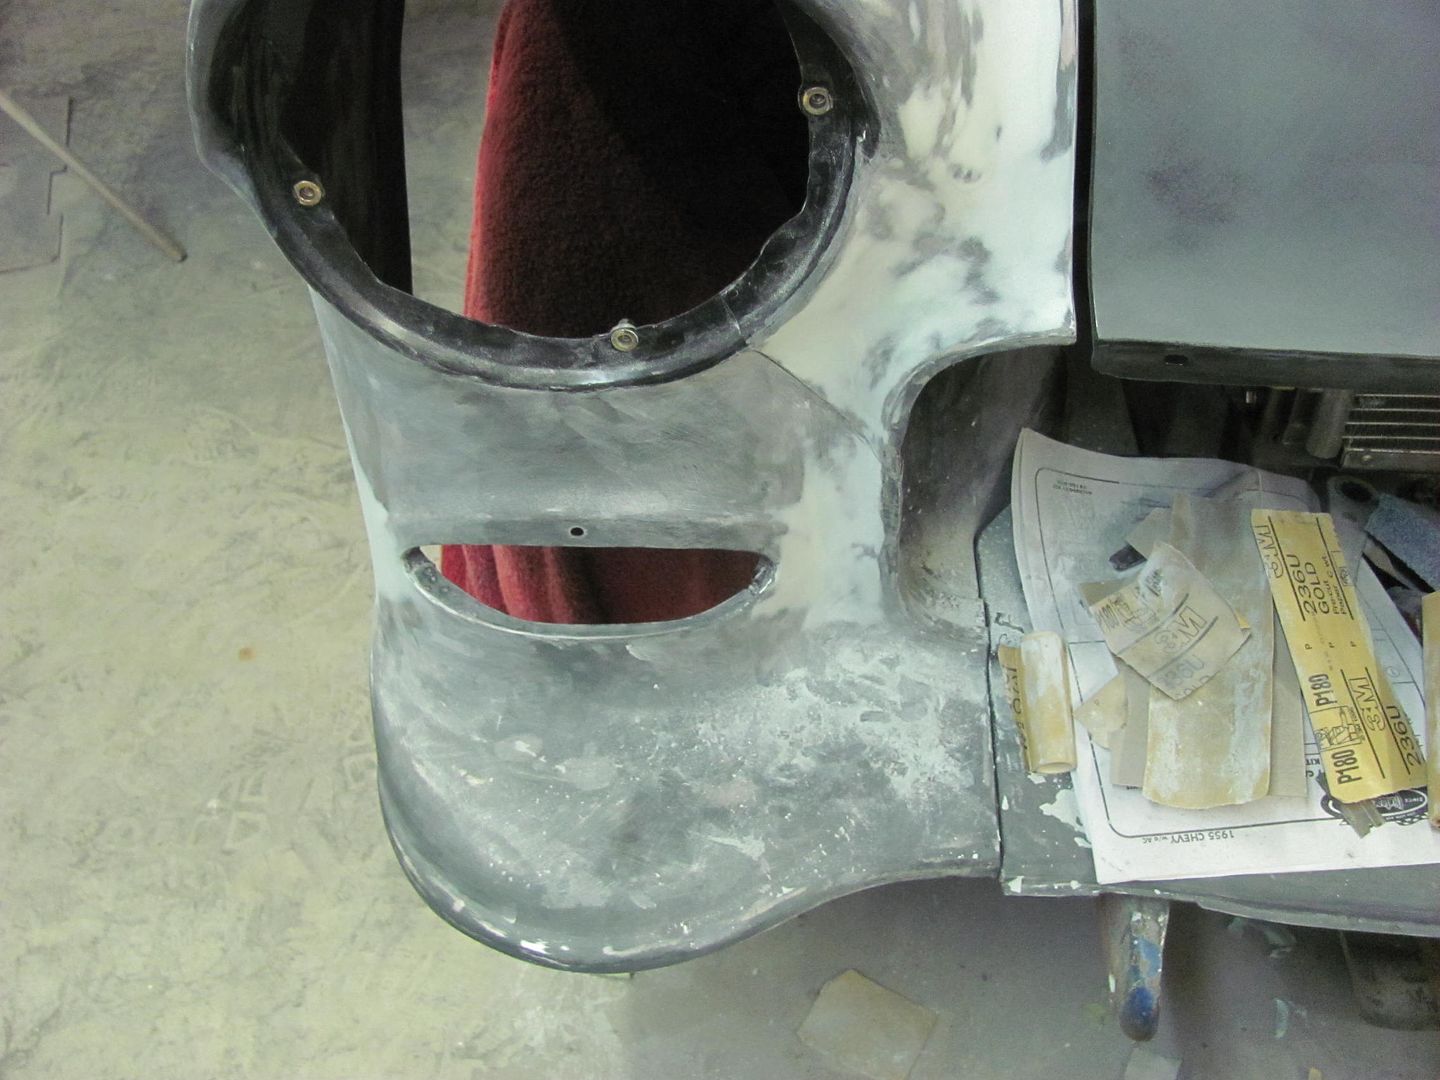 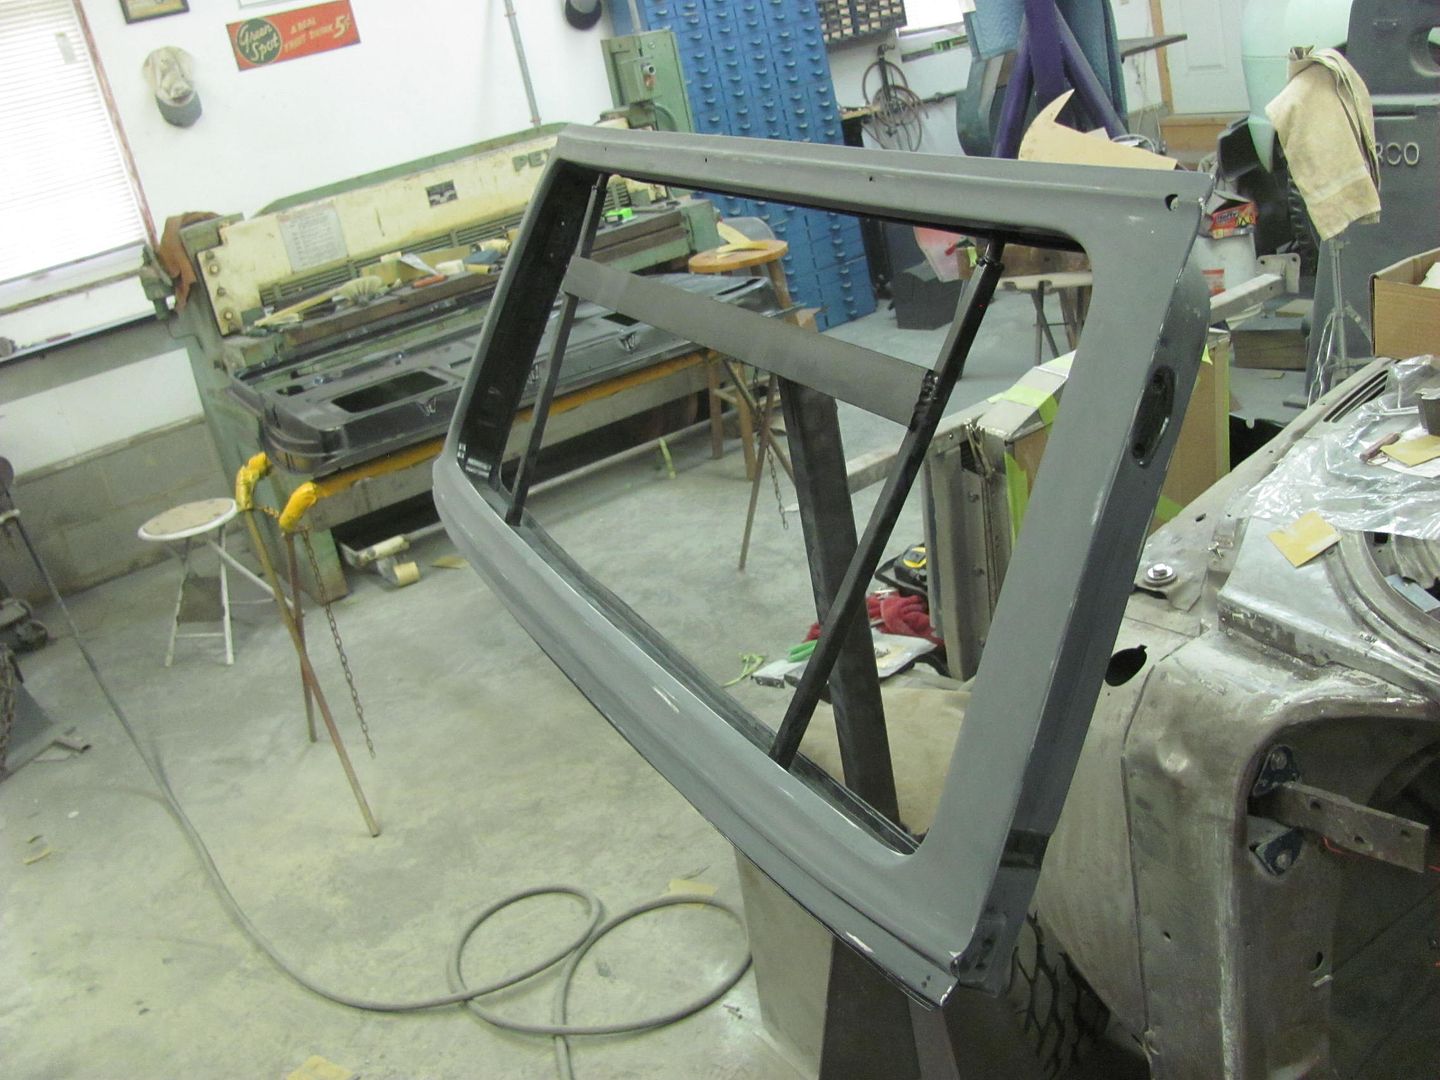 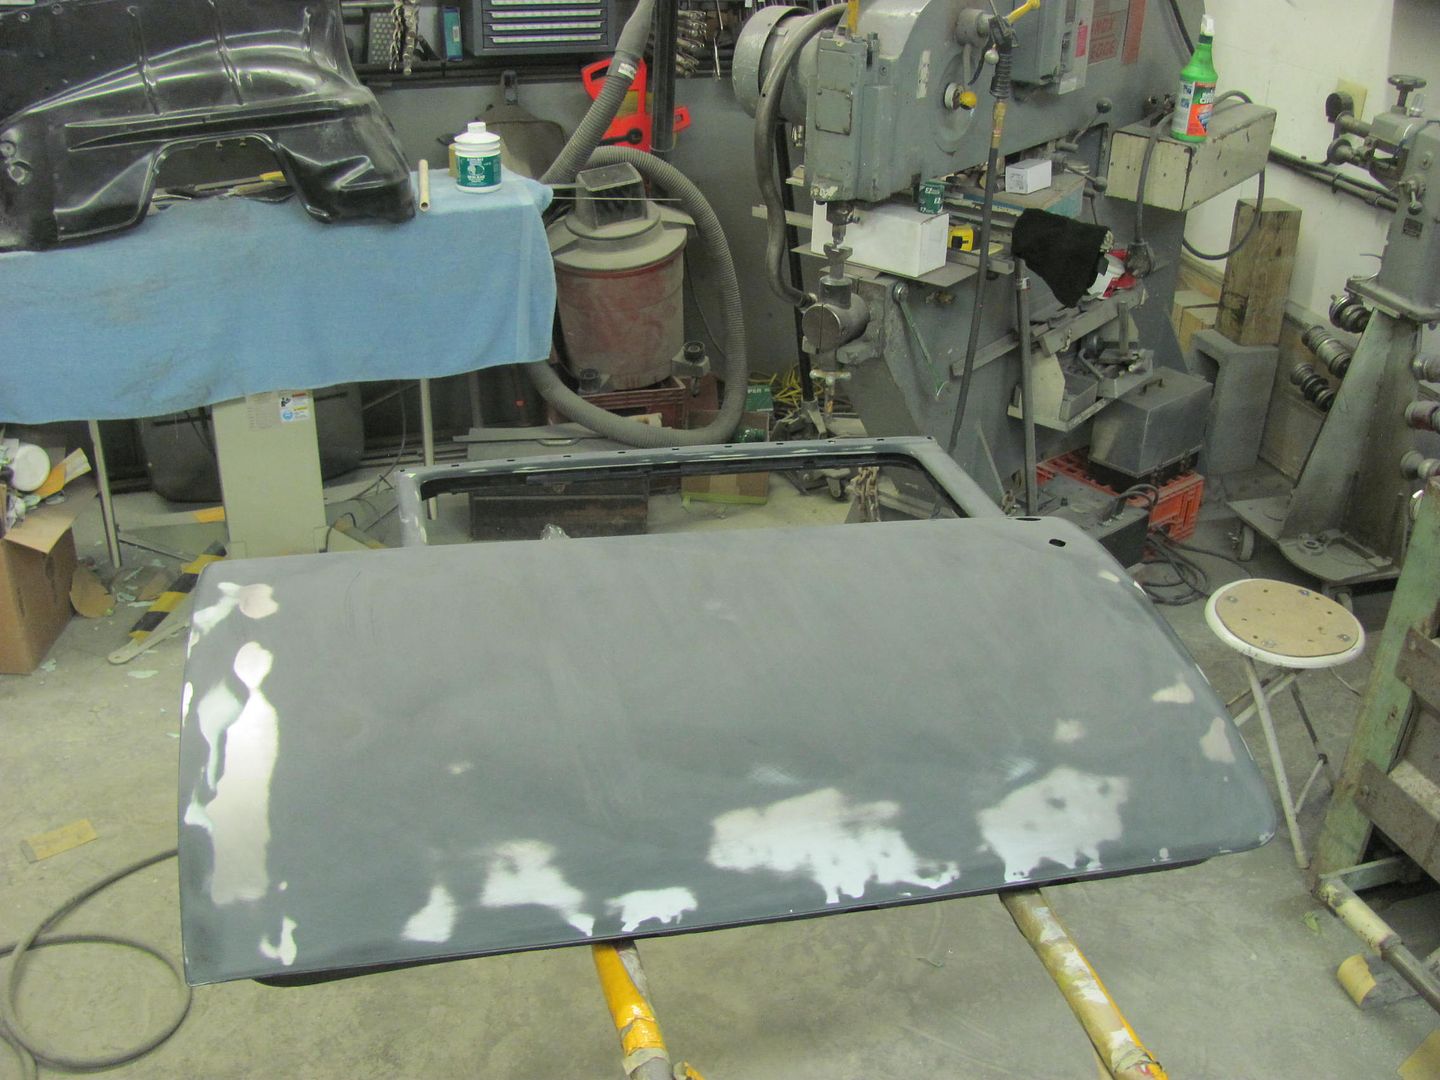 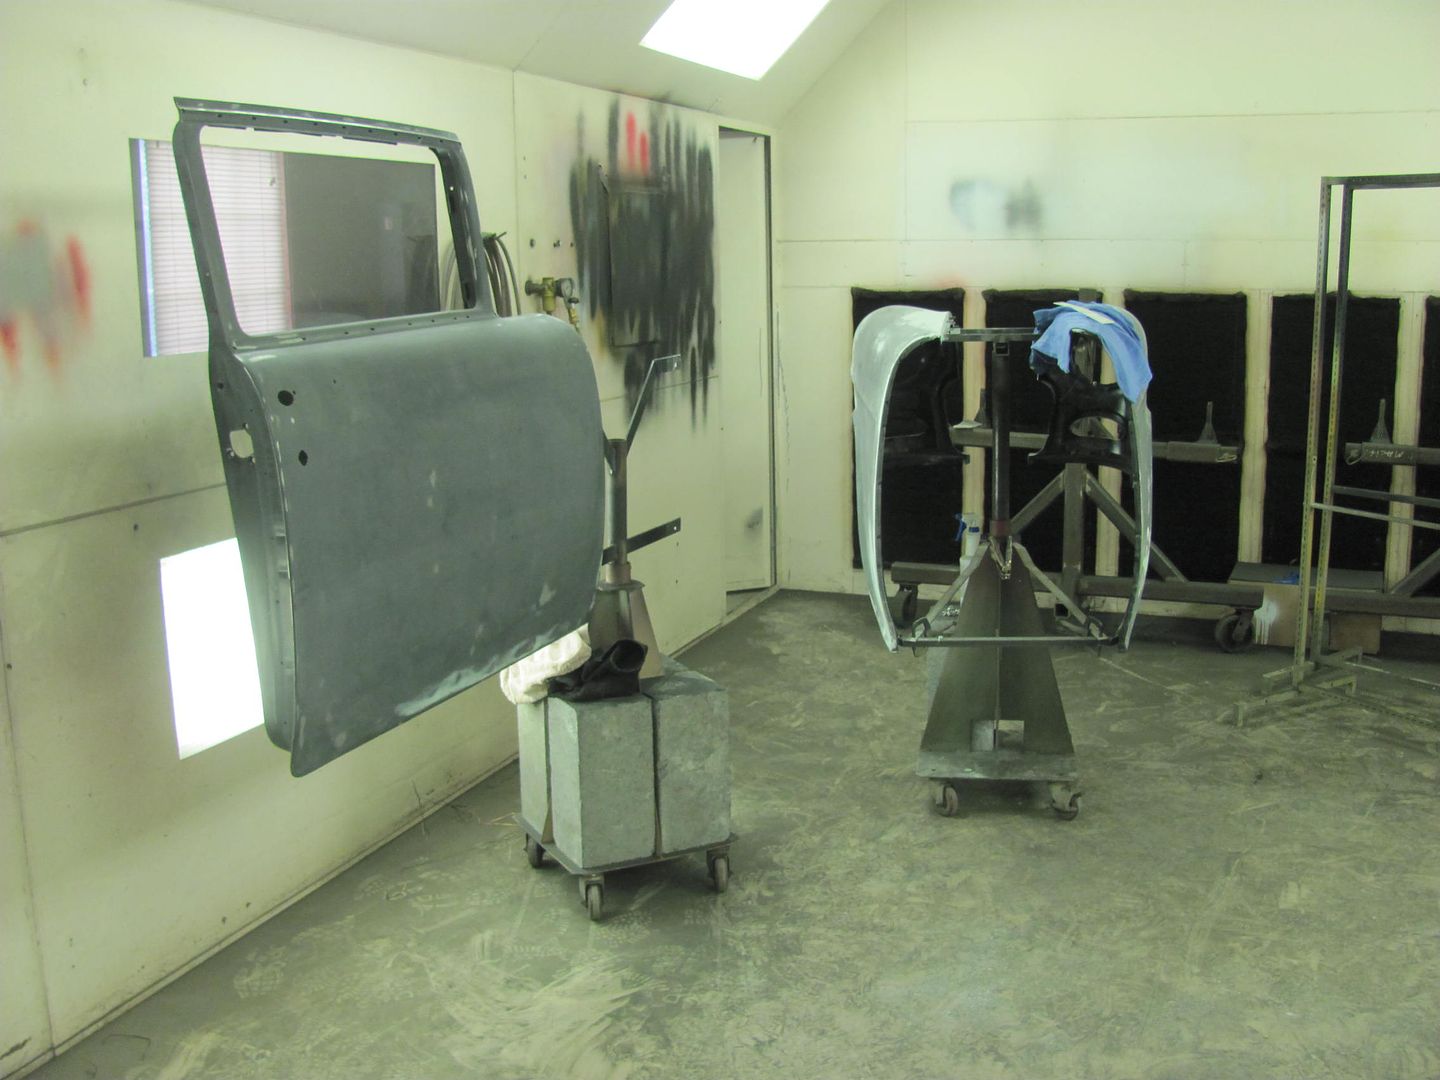
__________________
Robert |
|
|
|
|
07-19-2015, 09:25 PM
|
#22 |
|
Registered User
Join Date: May 2007
Location: Deale Md
Posts: 4,663
|
Re: 55 Wagon Progress
So if your name starts with a K you can hang out in the shop with Robert and have fun while learning.
__________________
James 63 GMC V6 4speed carryall 65 chevy swb bbw V8 auto 68 K20 327/4 speed, buddy buckets 2002 GMC CC Dually Duramax 64 GMC lwb 3/4 V6 4speed SOLD 66 GMC swb bbw buddy buckets SOLD IG duallyjams The only thing that stays the same is constant change! |
|
|
|
|
07-26-2015, 11:40 PM
|
#23 | |
|
Registered User
Join Date: Jan 2013
Location: Leonardtown, MD
Posts: 1,637
|
Re: 55 Wagon Progress
Quote:
Thanks for the comments guys! Got some more SPI Epoxy sprayed, here's the parts for Katie's truck that she prepped... 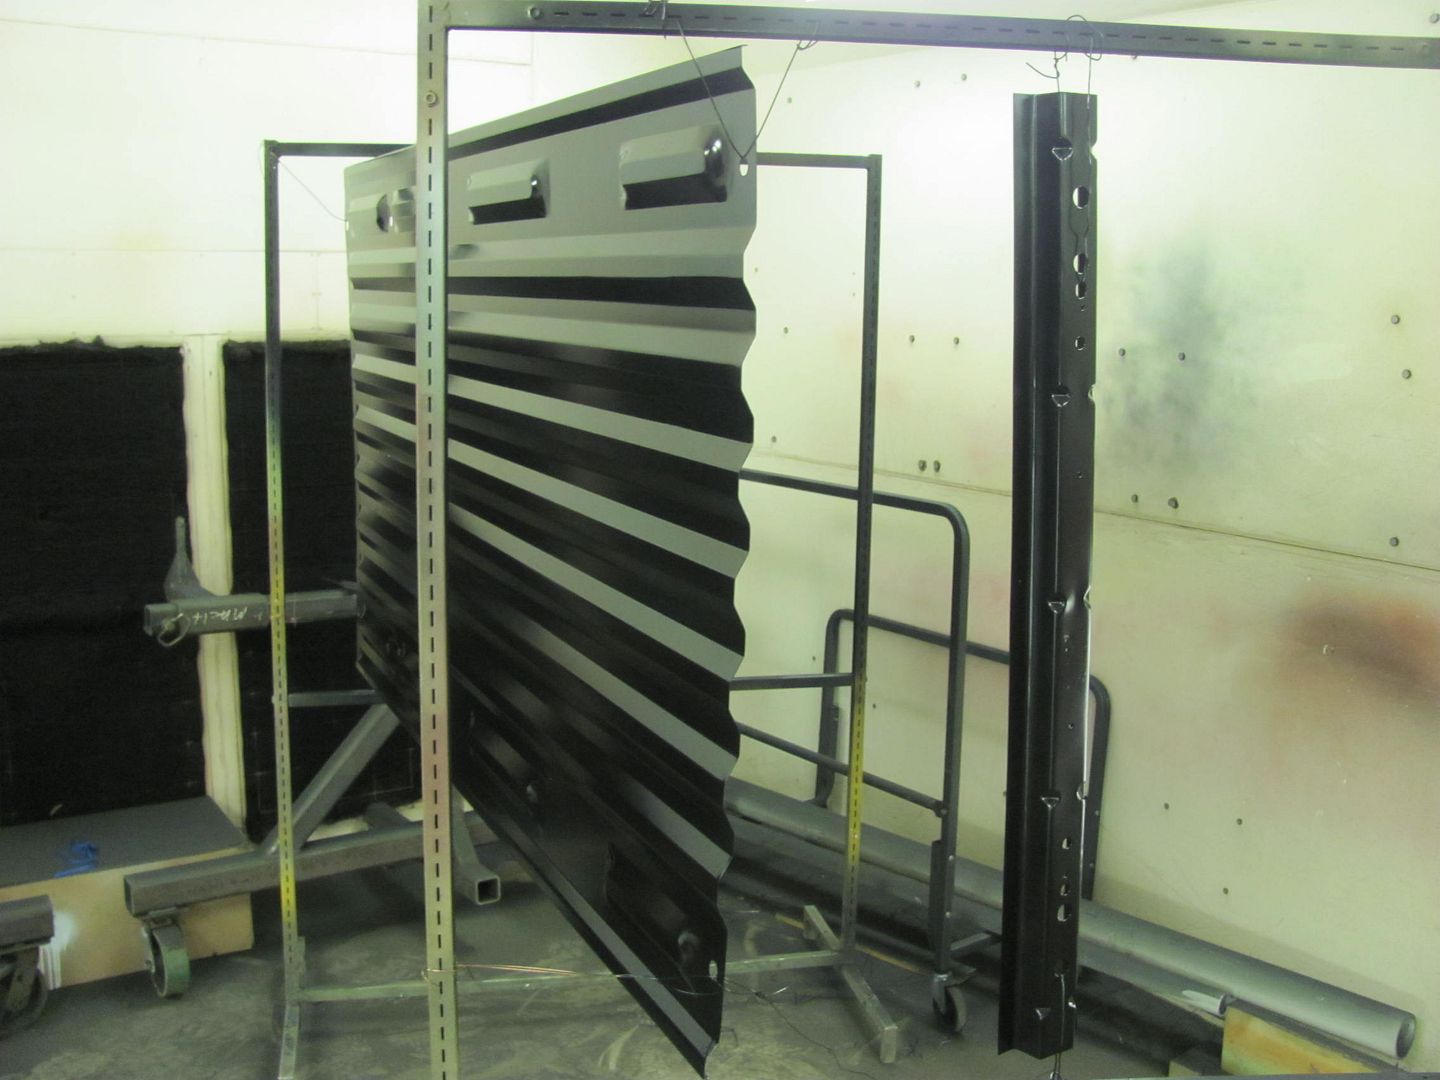 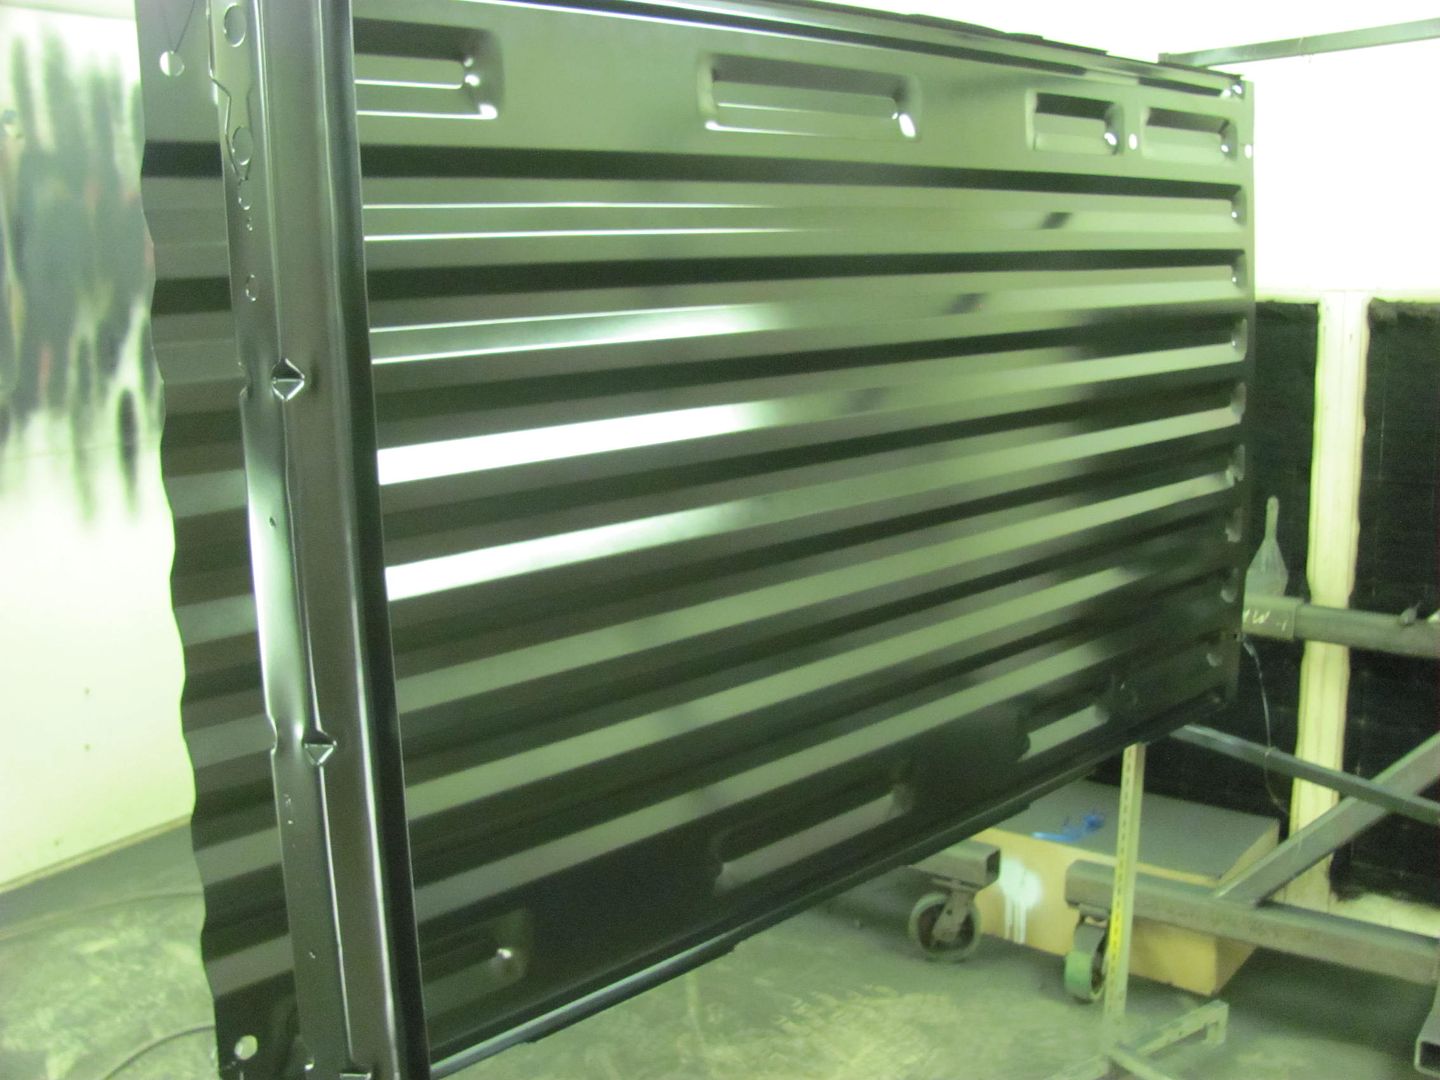 ....and some more on the wagon parts.... 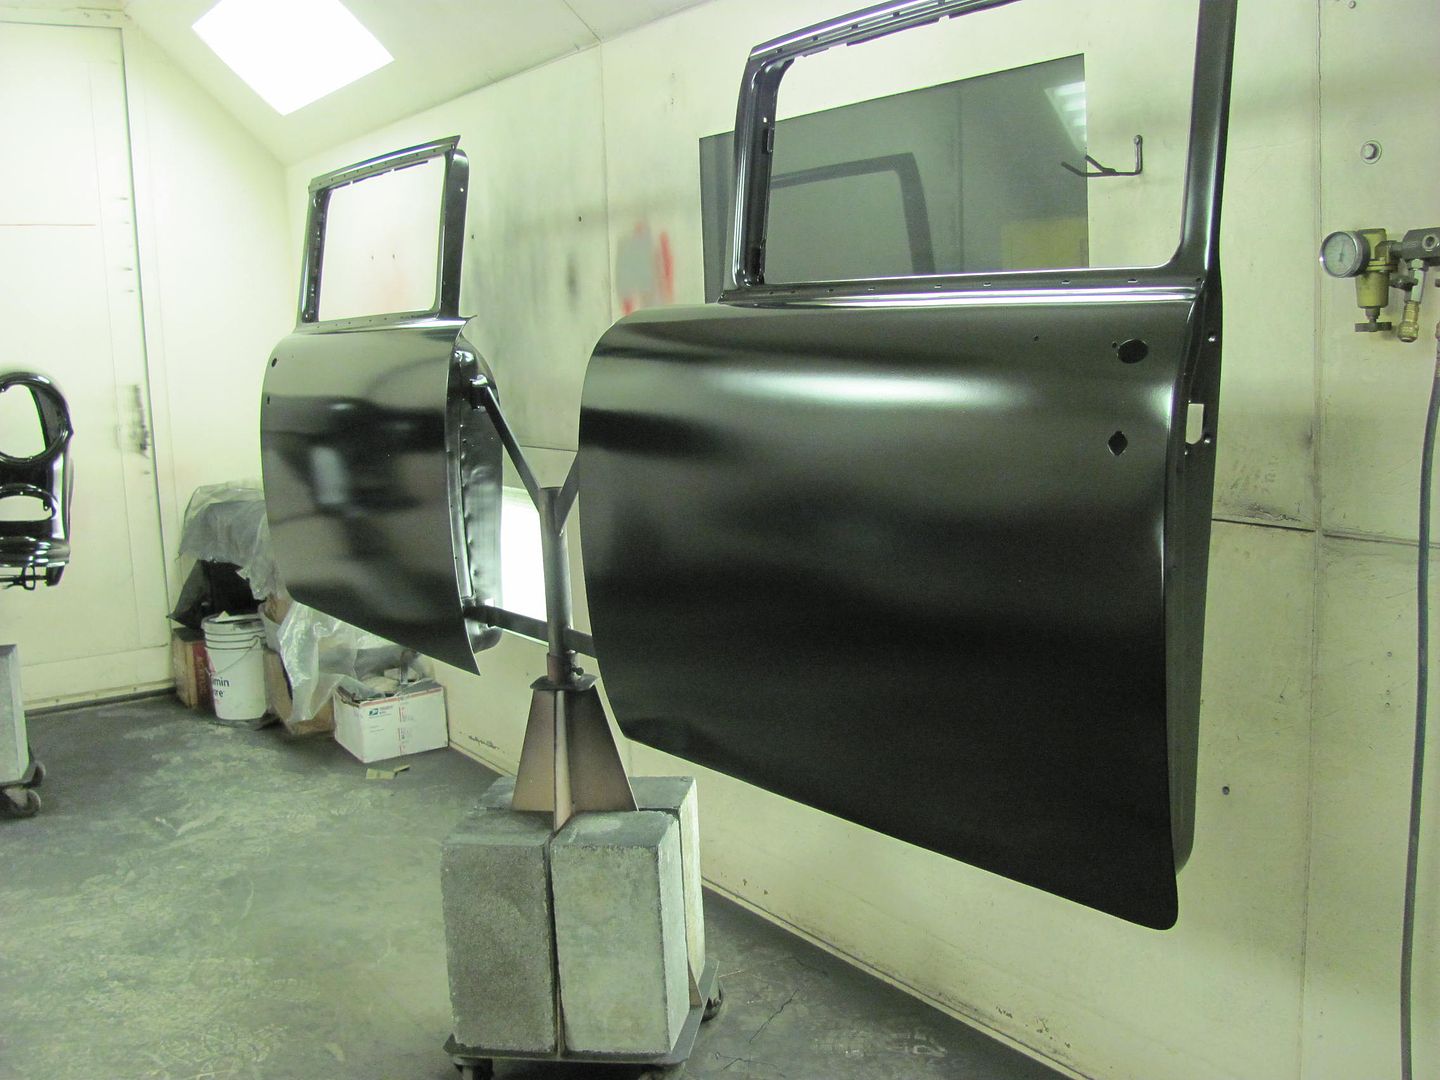 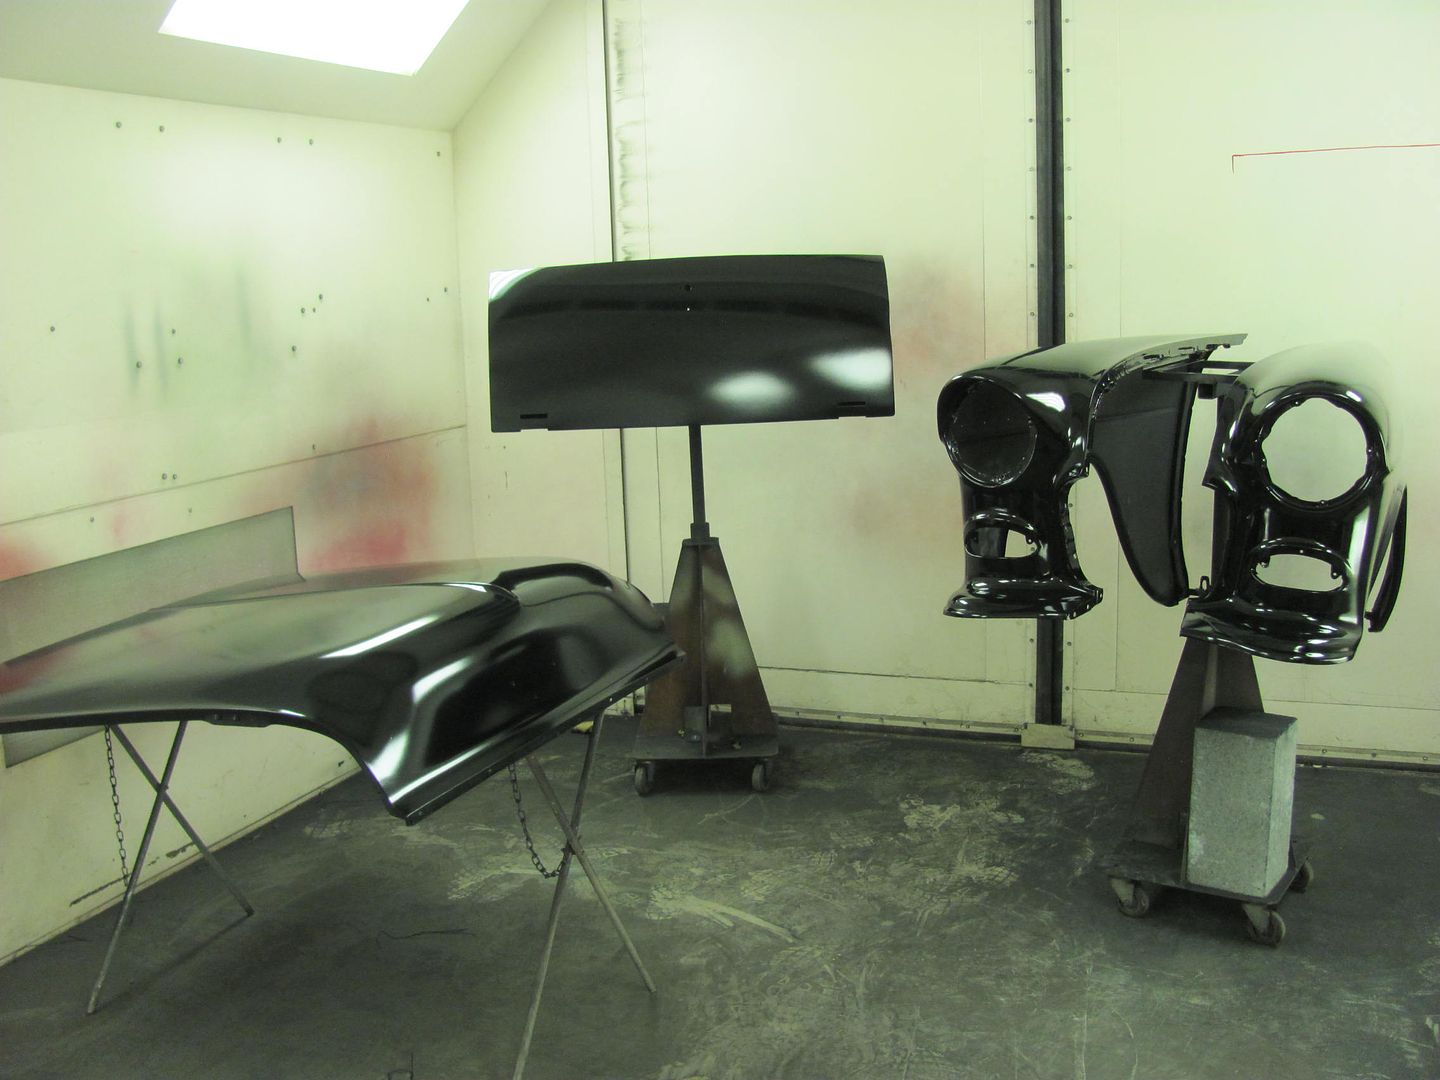 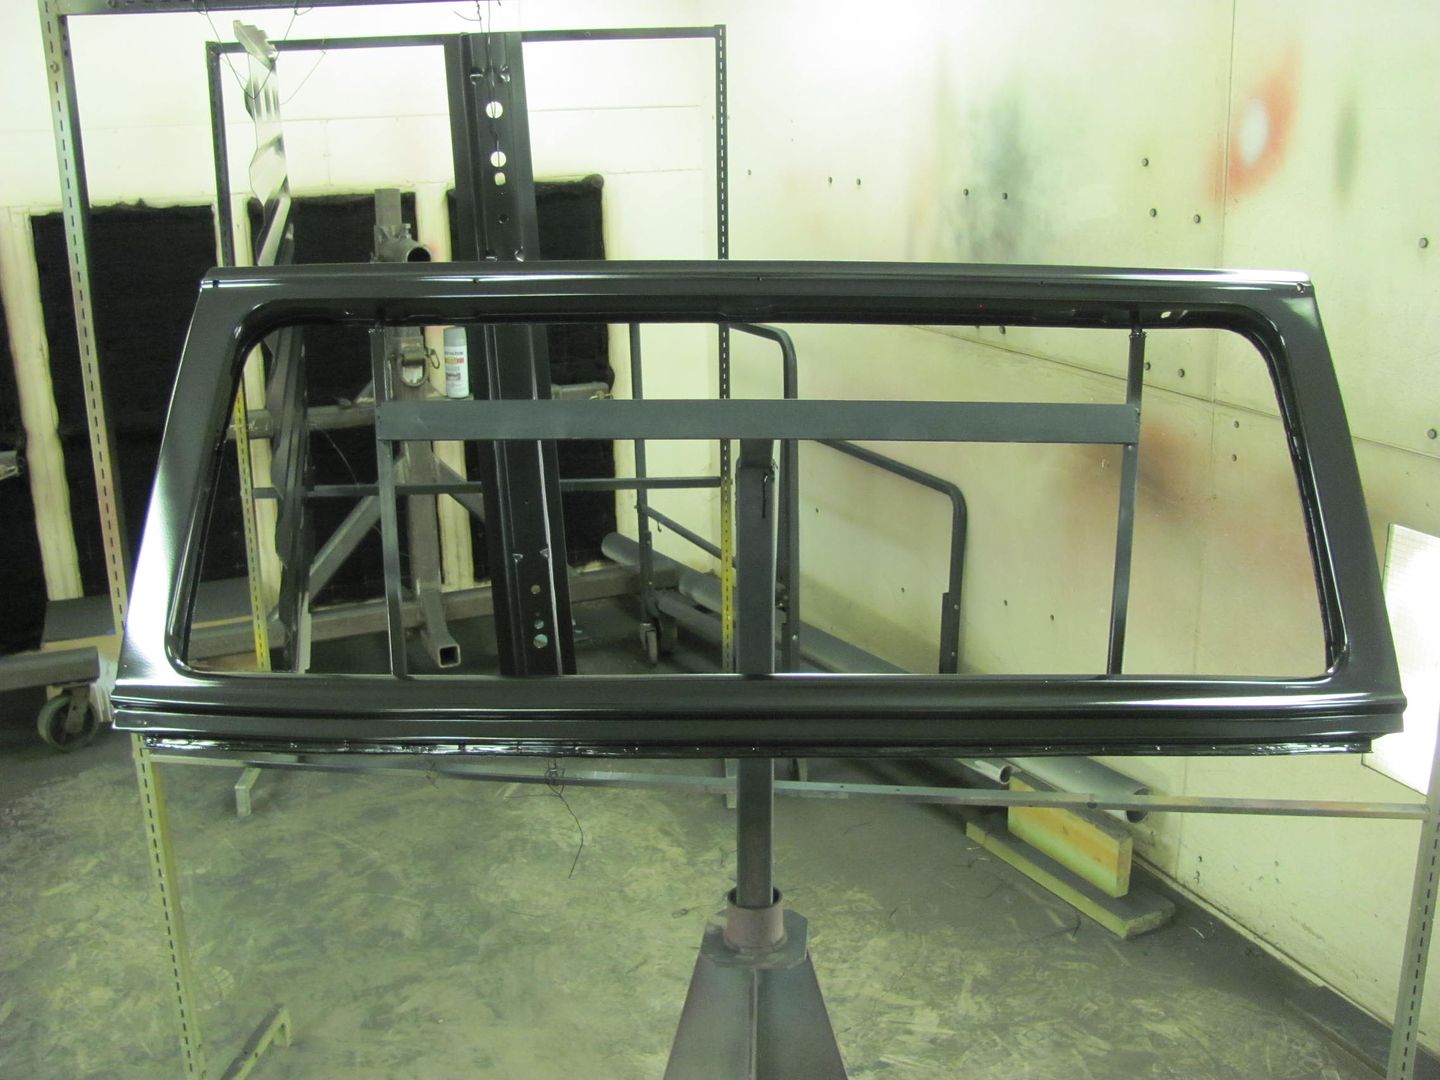  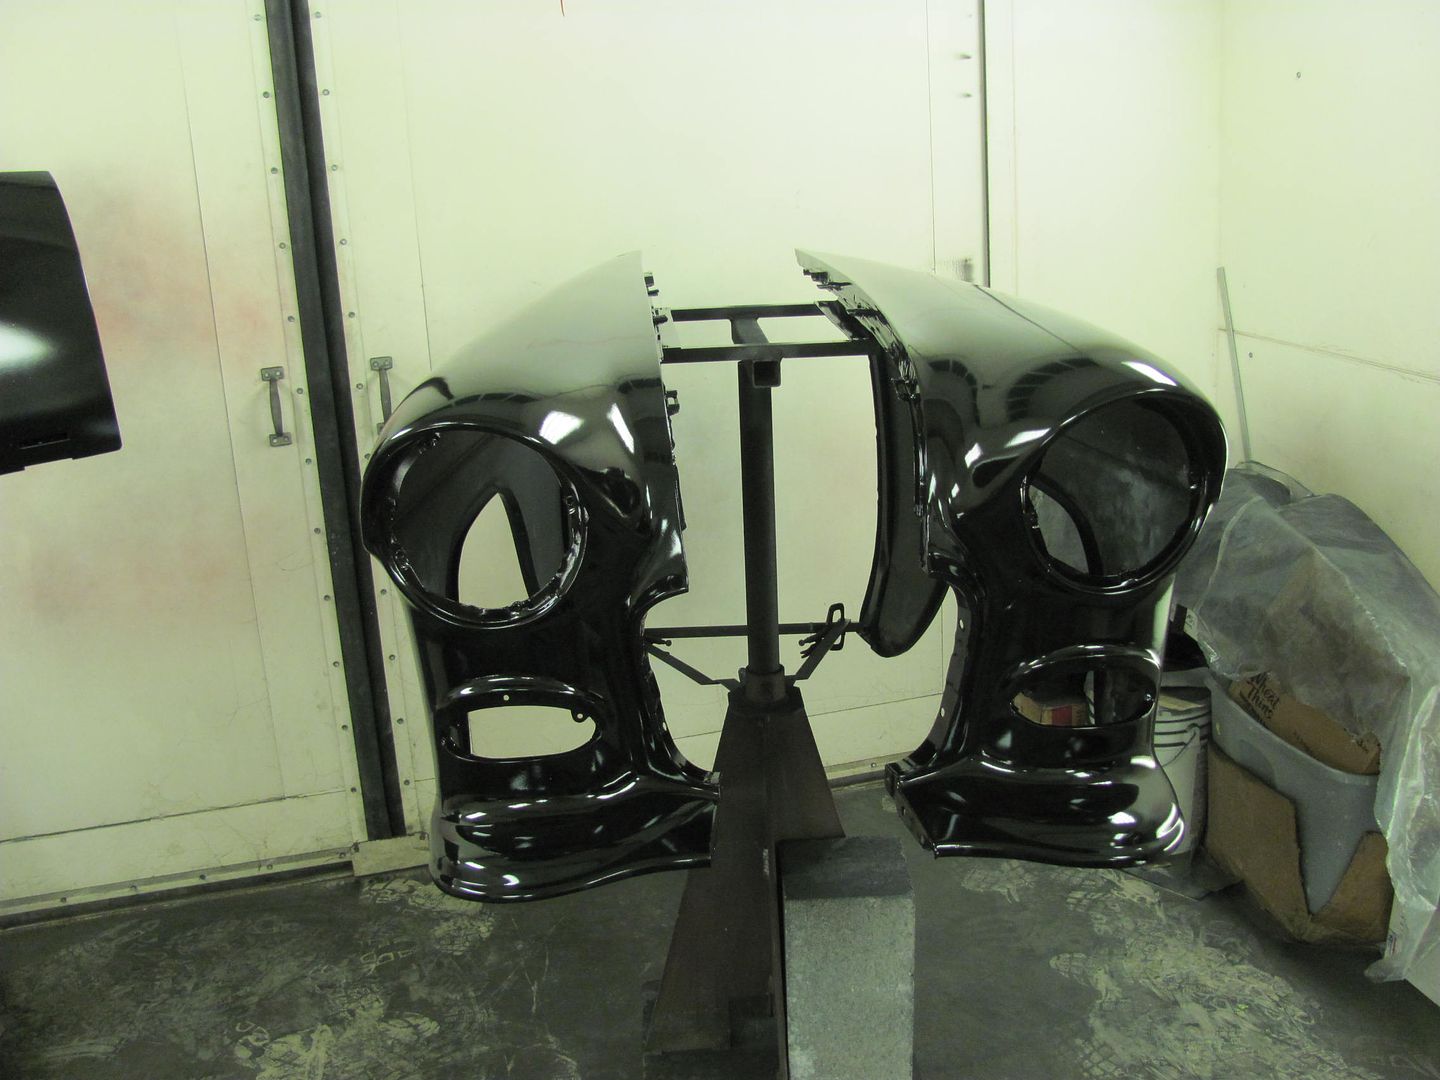
__________________
Robert |
|
|
|
|
|
07-24-2015, 09:32 PM
|
#24 |
|
Registered User
Join Date: Oct 2007
Location: Spanaway
Posts: 8,451
|
Re: 55 Wagon Progress
Been a while but just caught up. Nice work aws always!
__________________
Mike. Swamp Rat build thread : http://67-72chevytrucks.com/vboard/s...d.php?t=595019 72 3/4T 4X4 4" BDS Lift 33" BFG's |
|
|
|
|
07-25-2015, 01:51 PM
|
#25 |
|
Senior Member
Join Date: Jul 2012
Location: Oblong, Illinois
Posts: 7,017
|
Re: 55 Wagon Progress
Tons of great work, cool ideas and useful tools. Thanks again for continuing to share.
|
|
|
|
 |
| Bookmarks |
|
|


 Hybrid Mode
