Quote:
Originally Posted by dean jendro

Really looking good, John. Can't wait to see it back on the frame!
|
Thanks!
At this point with the cab and doors painted, I started wetsanding and buffing the paint. I like to "bodywork" the orange peel out of the clear just, much like blocking primer flat. This leaves the panels dead flat and the seams are smooth and very defined/detailed with no orange peel.
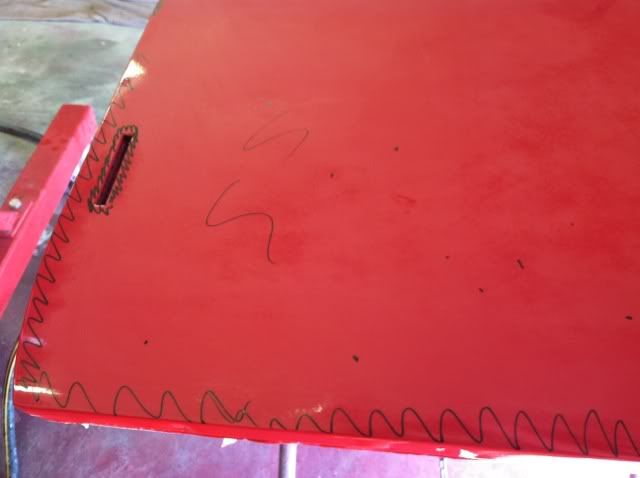
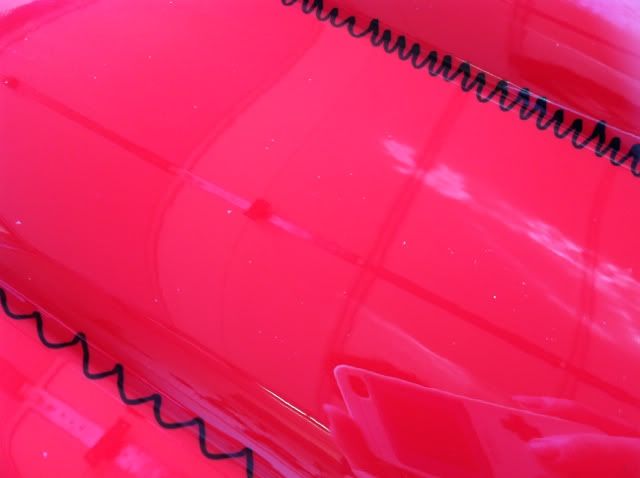
I start with a Sharpie marker on all edges and bodylines. Most people will tell you not to sand or buff anywhere near edges/lines or you'll cut through. Well, this leaves you with areas that are slick as glass, and areas around the seams/edges that still have orange peel. This technique only applies if you do the underlaying bodywork with the same block sanding style I've used during the whole bodywork process or you'll cut through the high/low spots of the paint when blocking the clear down. If your edges and bodylines aren't straight, the block will cut the high spots in a hurry.
I very lightly block the surface with 1000 grit to show the imperfections, then mark them with the marker. By marking the edges and trash/imperfections with a sharpie, you can see exactly how much you're cutting so you cut just enough to level the surface and keep from sanding through the clear.
Then use a zig-zag pattern to cover the whole shape of the seam.
I sand the flatter part of the body line first sanding at an angle to the bodyline, taking care not to sand in straight lines. Sanding in line with the crease/bodyline will leave "drag" marks in the same shape as the block. I sand just enough to take the top of the sharpie off of the flat section, and leave a slight amount of marker showing in the creases. It's easy to burn through on edges with 1000 grit so I leave some sharpie marks showing, I'll save getting it completely smooth for the 2000 grit step.
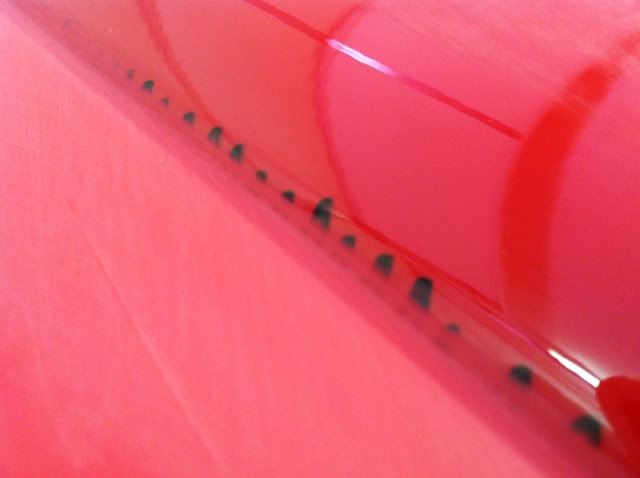
Once the flat section is sanded, I masked it off and sanded the rounded part. This keeps from sanding the edge further or slipping and digging into the flat part.
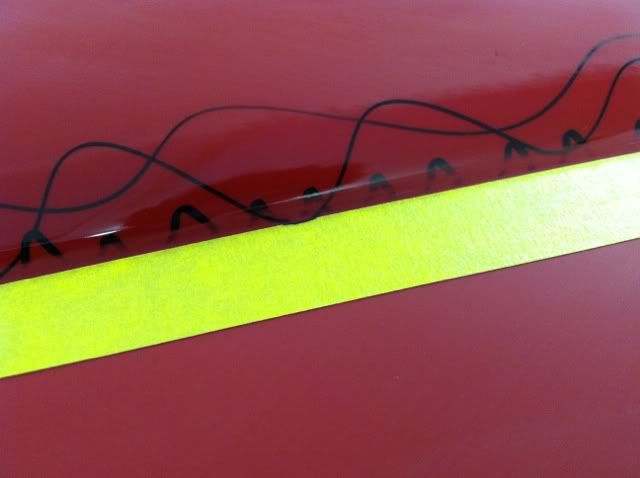
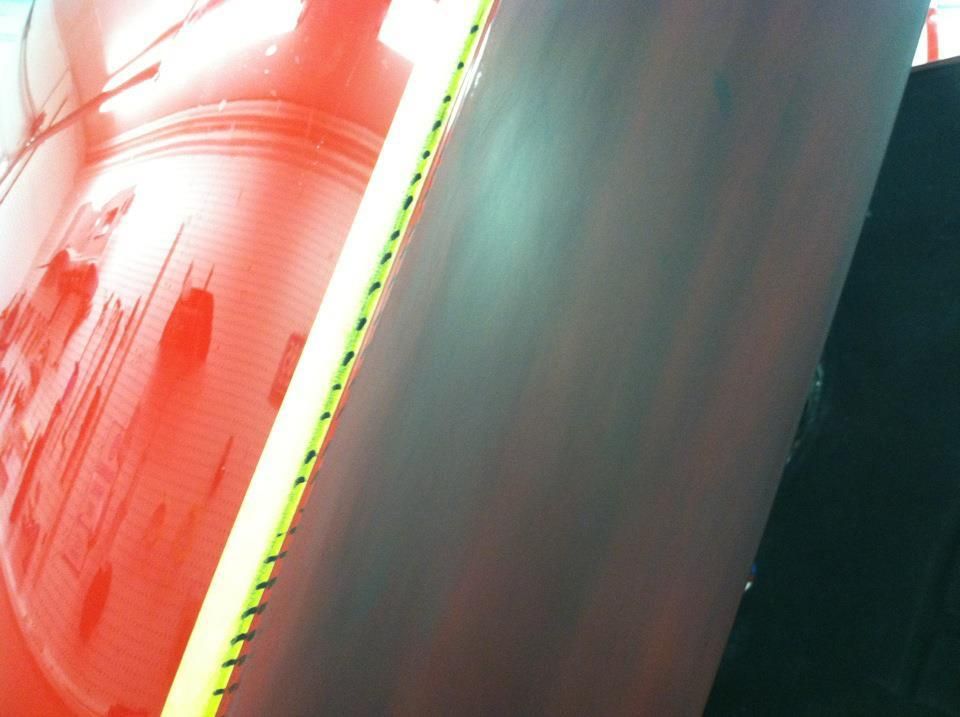
This is the little bit of sharpie showing after the 1000 grit step which will be sanded off in the 2000 grit step. You can see the "X" pattern I used when sanding, so there's no drag marks or distortion from the edge of the sanding block.
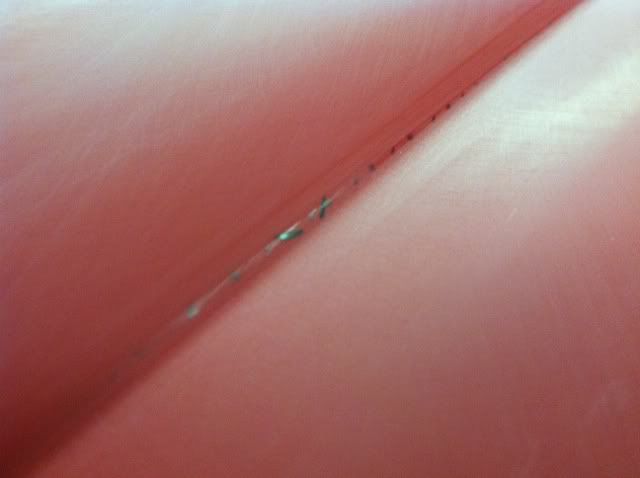
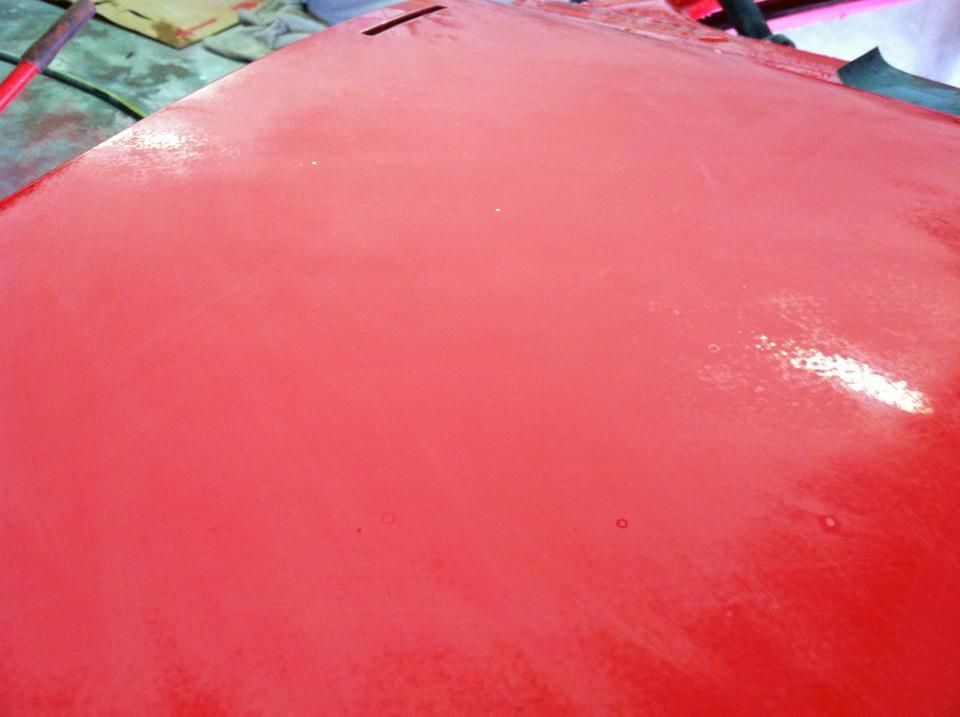
Once everything was blocked with 1000 grit I use dry guidecoat made from ground up charcoal sticks (art store) to coat the entire surface. This lets me wetsand with 2000 grit just enough to get the 1000 grit scratches out without taking more clear off than necessary.
After guidecoating and sanding with 2000/2500 using the same masking technique show above. At this point the panel had a slight sheen and is ready for buffing.
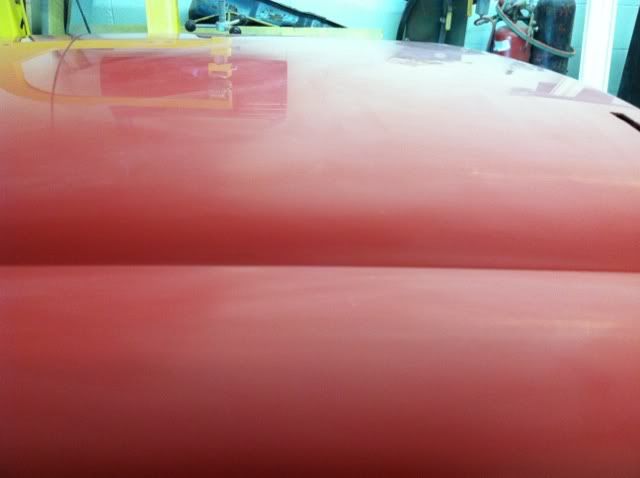
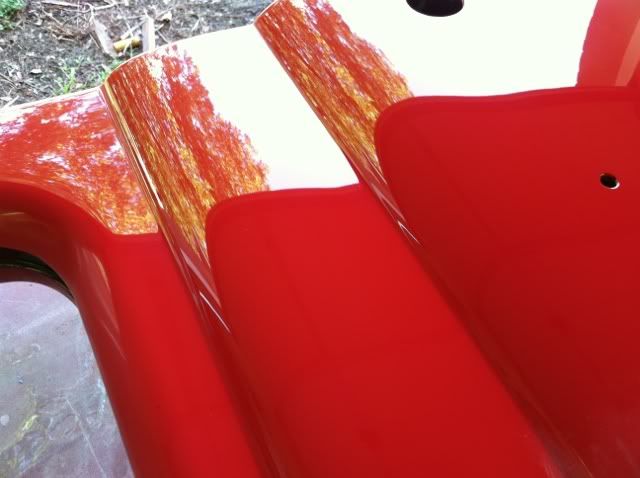
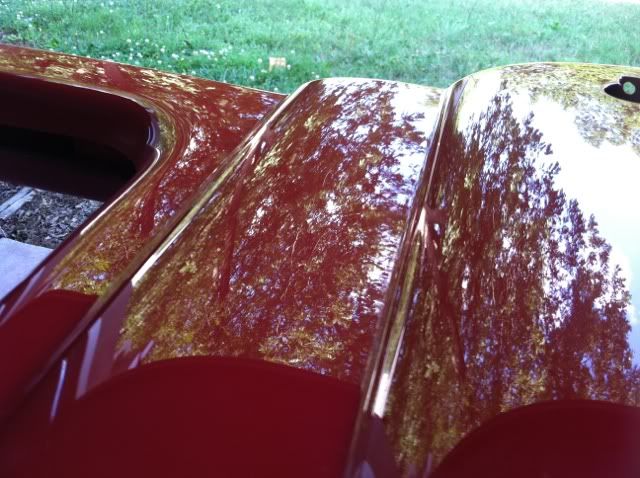
And after buffing. I hold the buffer so the pad is spinning "off" the edges and isn't cutting into the edge. That keeps the edges from burning. On body lines, I like to used buffing pads that have a pointed edge, and sand in-line with the crease.
The body lines and edges look as good as the flat parts of the panels this way, and the whole panel is evenly flat- no orange peel spots anywhere. Sanding with 1000 grit gets the paint dead flat, and once it's brought back with 2000/2500 and buffing, the surface of the paint seemingly disappears and all you see is the reflections. Done right with no drag marks, stray scratches, or buffer marks your eyes have a hard time finding and focusing on the surface of the paint!