
|
 01-13-2016, 08:24 PM
|
#626 |
|
Registered User
Join Date: Jan 2013
Location: Leonardtown, MD
Posts: 1,637
|
Re: 55 Wagon Progress
Got a picture?
__________________
Robert |

|

|
|
01-13-2016, 08:55 PM
|
#627 |
|
Registered User
Join Date: Jan 2012
Location: Eastern Ontario, Canada
Posts: 1,041
|
Re: 55 Wagon Progress
 I plan on cleaning up the casting flash and painting the aluminum parts. Just not sure on the rusty steel yokes.
__________________
1952 Canadian Chevy 1300 C4 IFS & D44 IRS 5.3 HO L33 My Build: http://67-72chevytrucks.com/vboard/s...d.php?t=632938 
|
|
|
|
|
01-13-2016, 09:07 PM
|
#628 |
|
Registered User
Join Date: Jan 2013
Location: Leonardtown, MD
Posts: 1,637
|
Re: 55 Wagon Progress
Look for some "pre-caulking filler rope" or other such product to seal between the shafts and the housing. Then media blast, the pull out the rope afterward and use air nozzle to clean up anything that may have sneaked past. Leave out for the Epoxy painting stage, a bit more paint inside shouldn't hurt..
Oh.. and I'd separate the half shafts to clean up the yokes and paint all the nooks and crannies.
__________________
Robert Last edited by MP&C; 01-13-2016 at 09:17 PM. |
|
|
|
|
01-16-2016, 10:03 PM
|
#629 |
|
Registered User
Join Date: Jan 2013
Location: Leonardtown, MD
Posts: 1,637
|
Re: 55 Wagon Progress
Getting things ready for the next round of SPI epoxy, here hanging the 9" rear on the multi-purpose rotisserie a-frame..
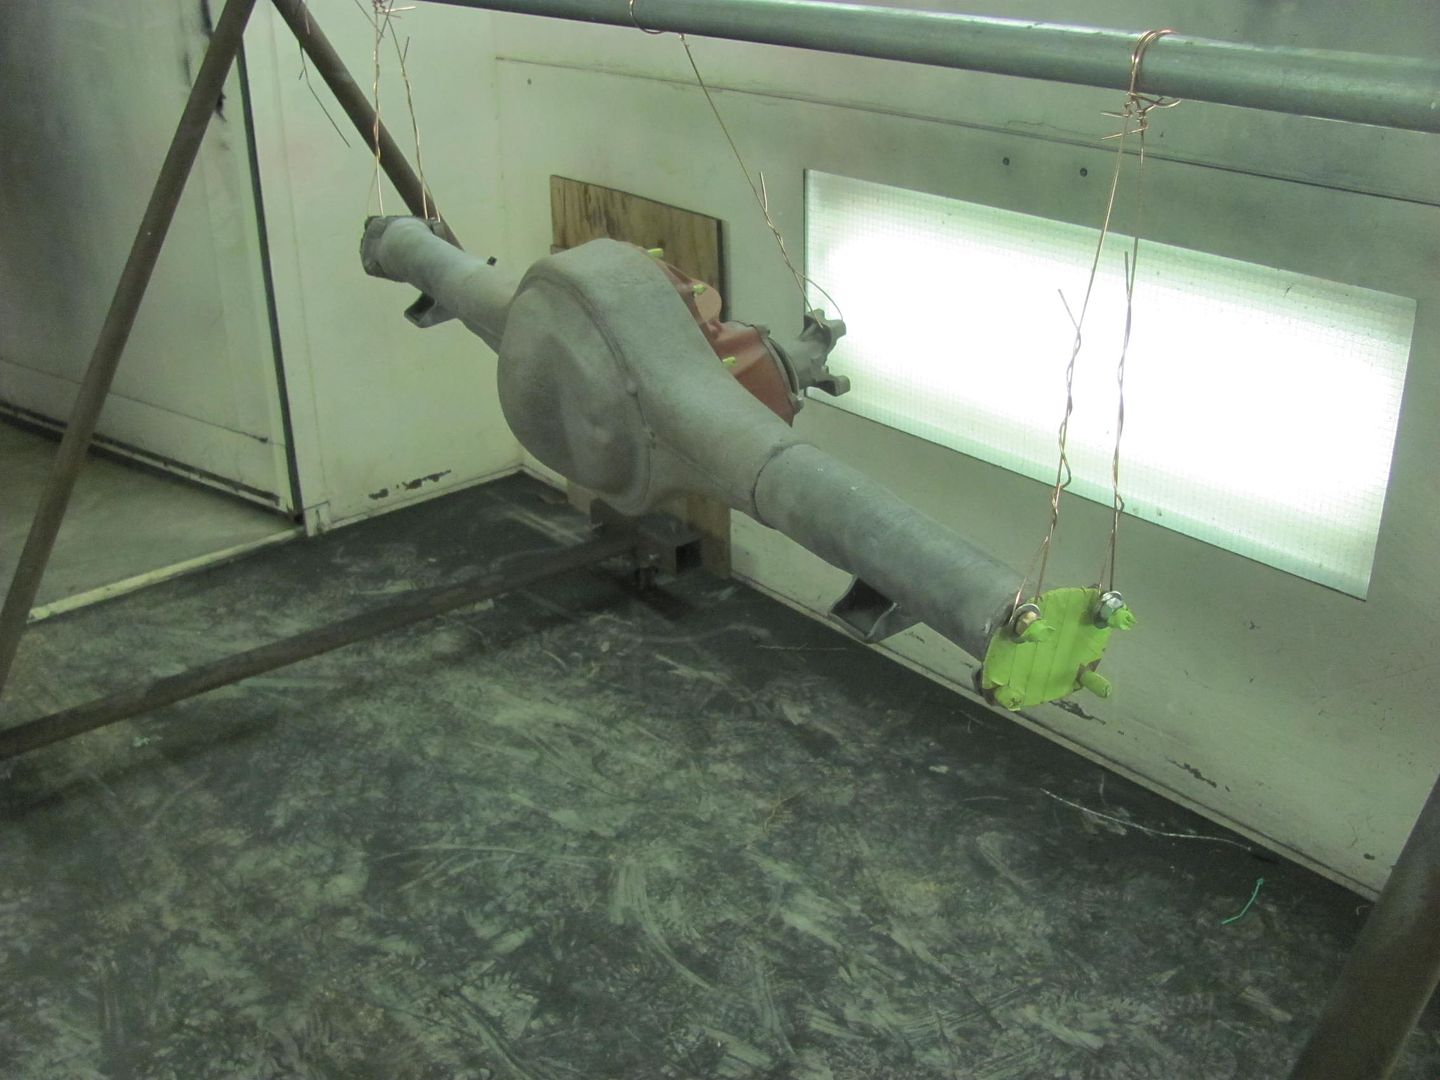 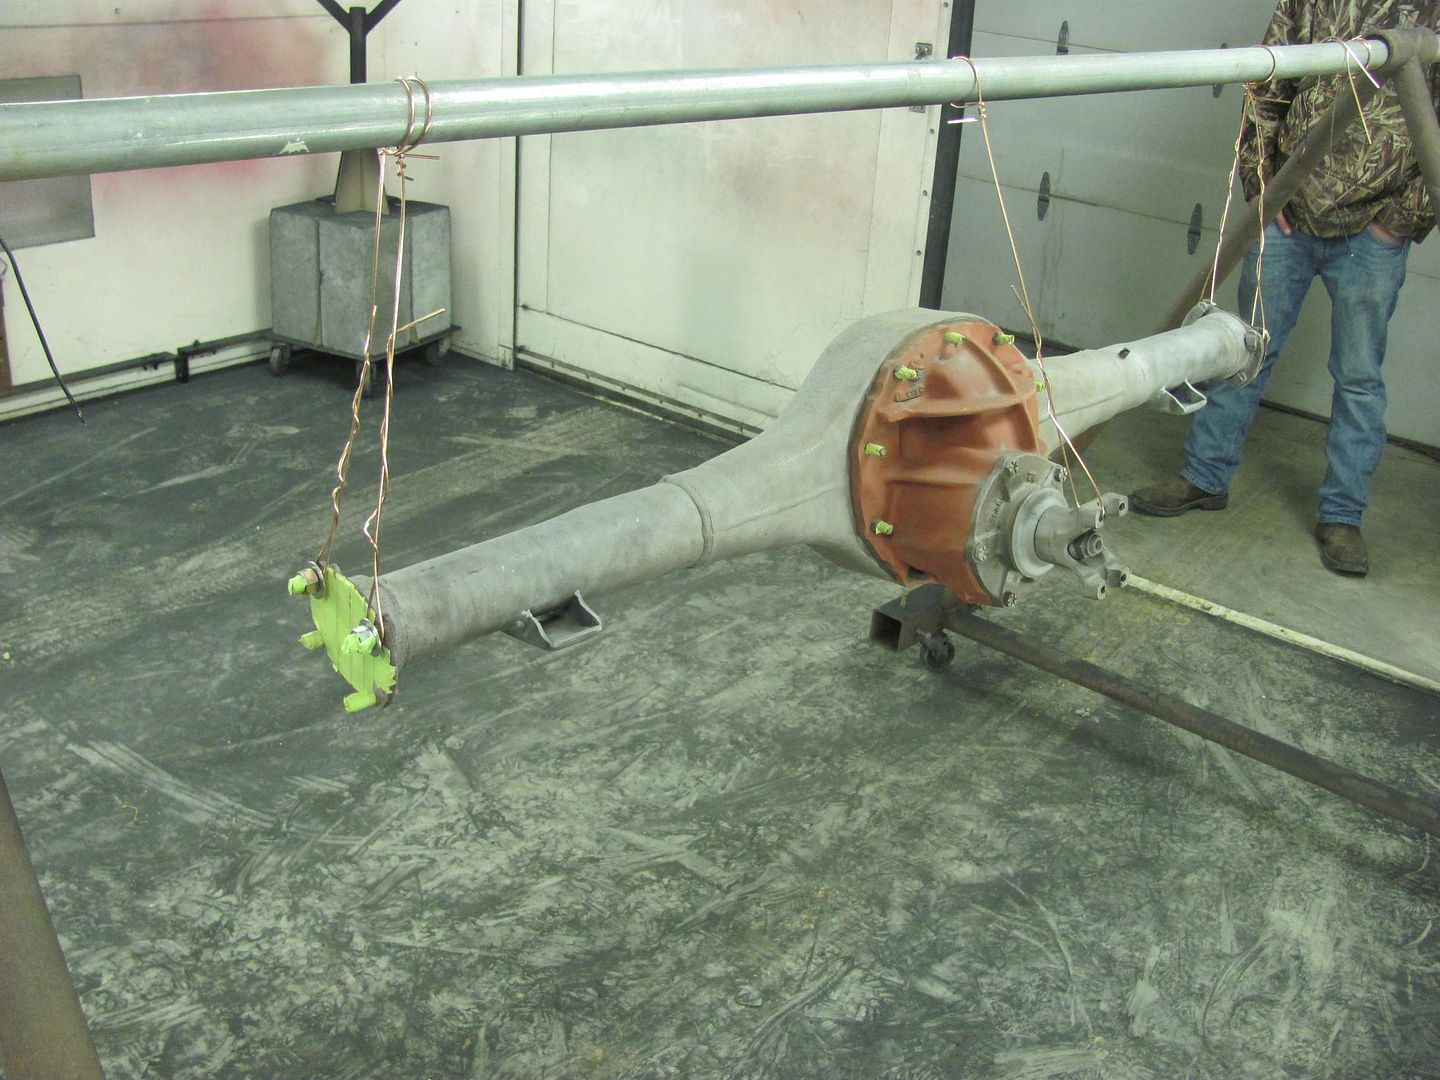 We had this bare spot after the last time we blocked, and had bumped it a bit with the flat body hammer. 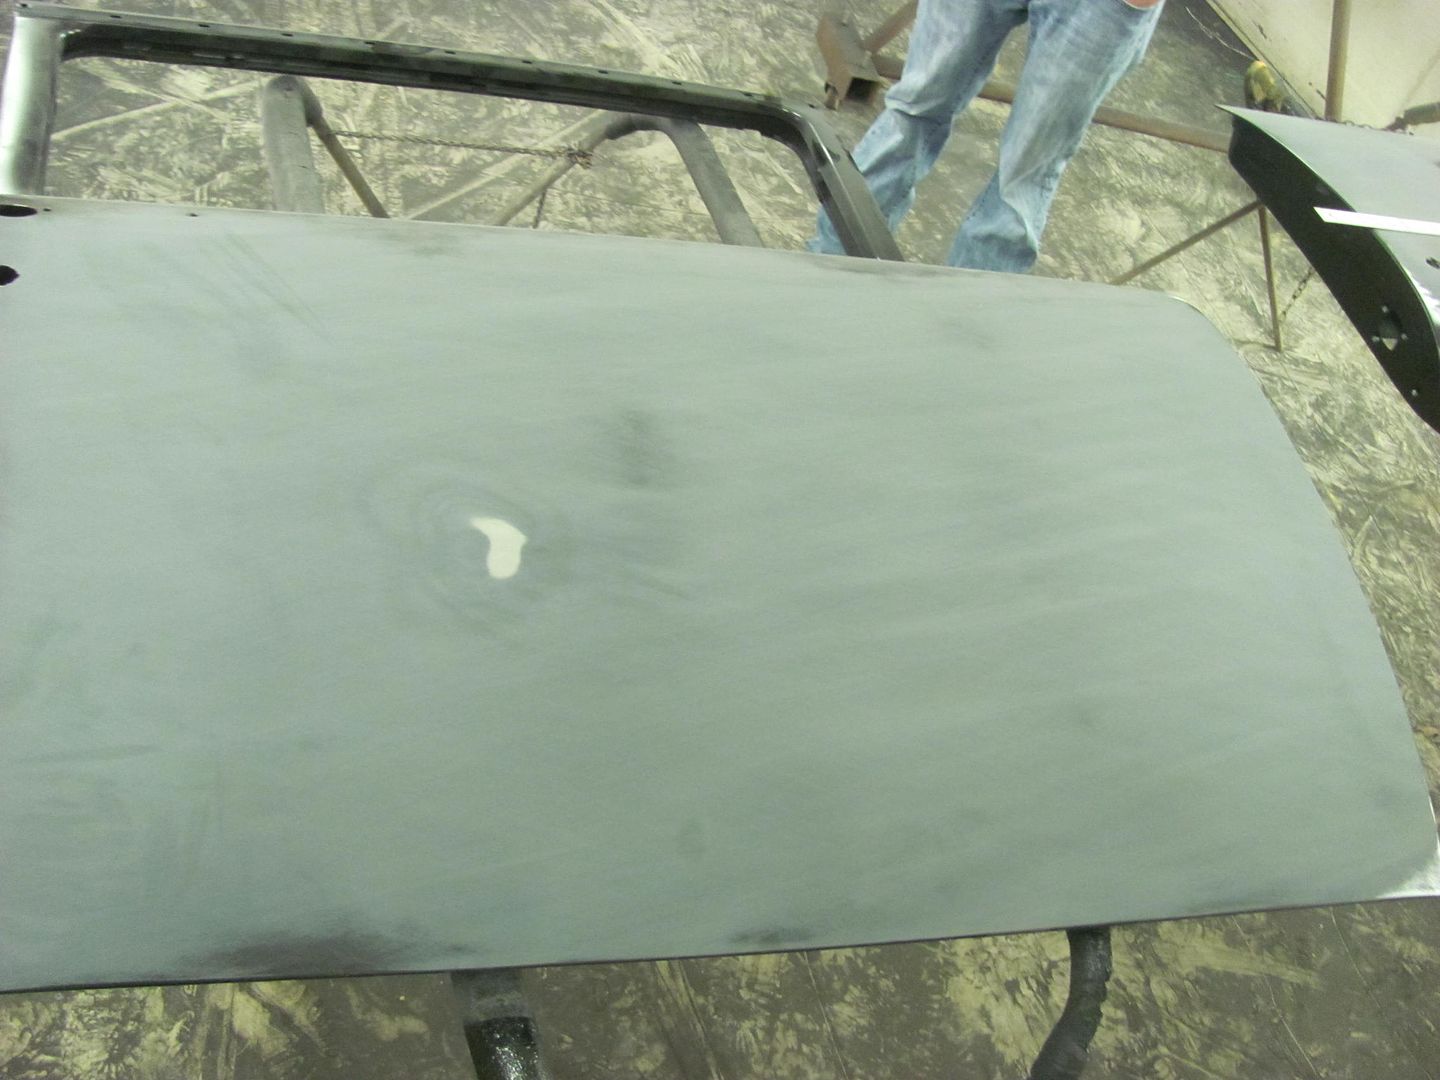 Doesn't look like it did much to rectify the issue, let's look further....  Looks like the rear end of the inside bracket is pushing a bit on the skin, no wonder the hammer didn't do much. Time to find the tool for the job, a pair of crimping pliers for stove pipe/ductwork..... 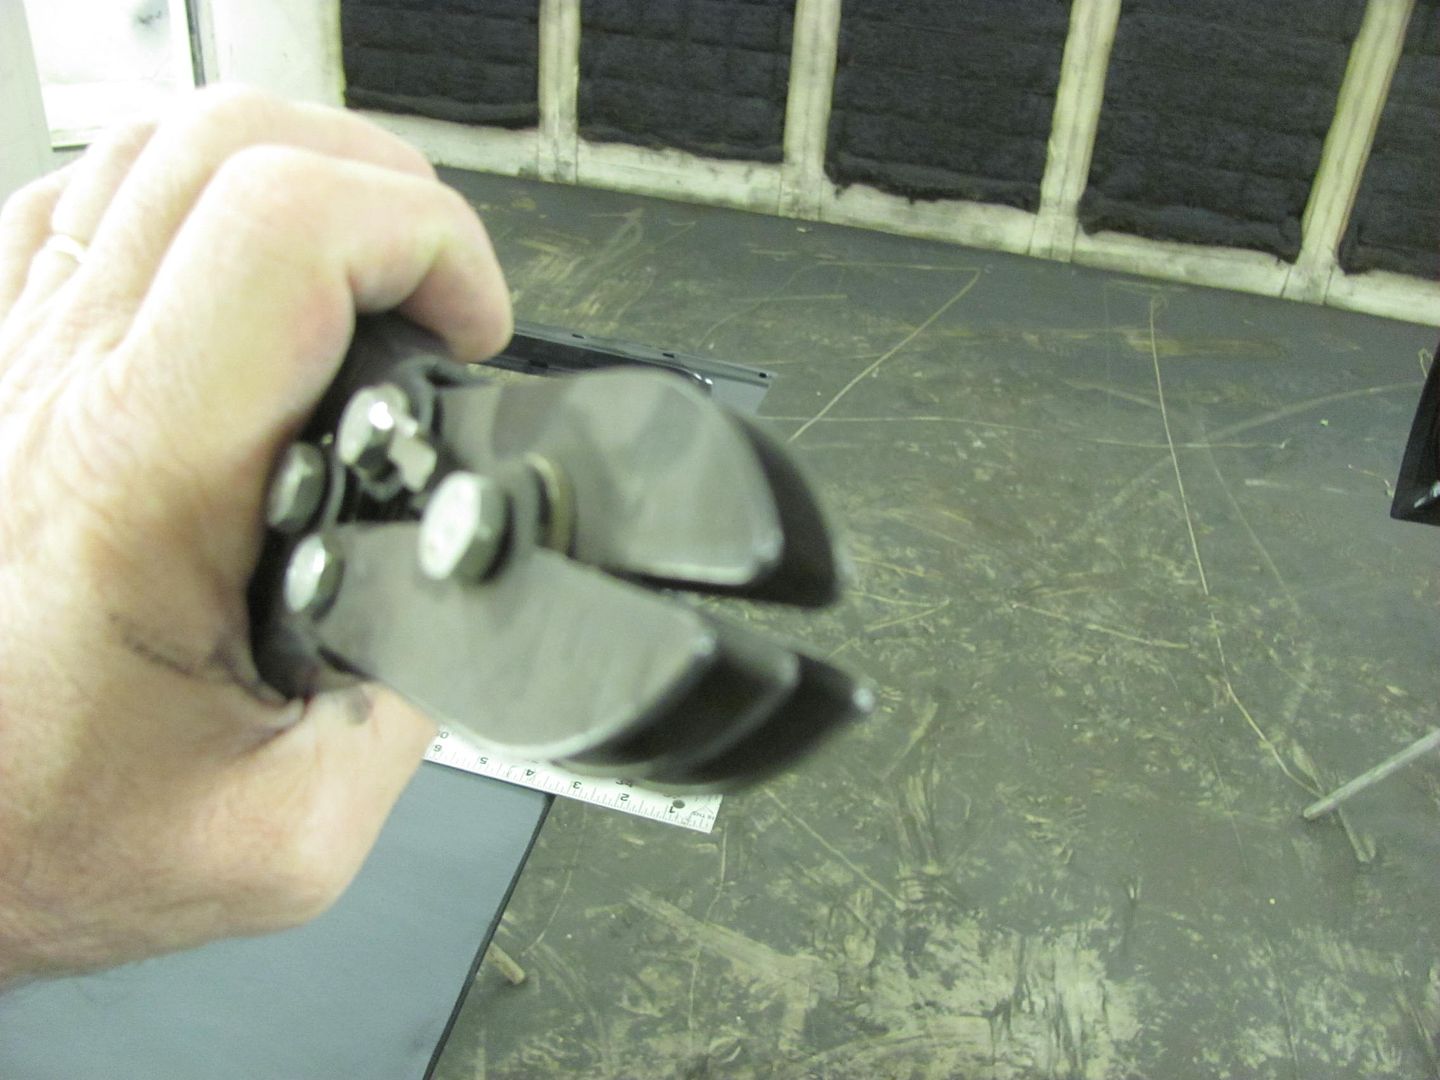 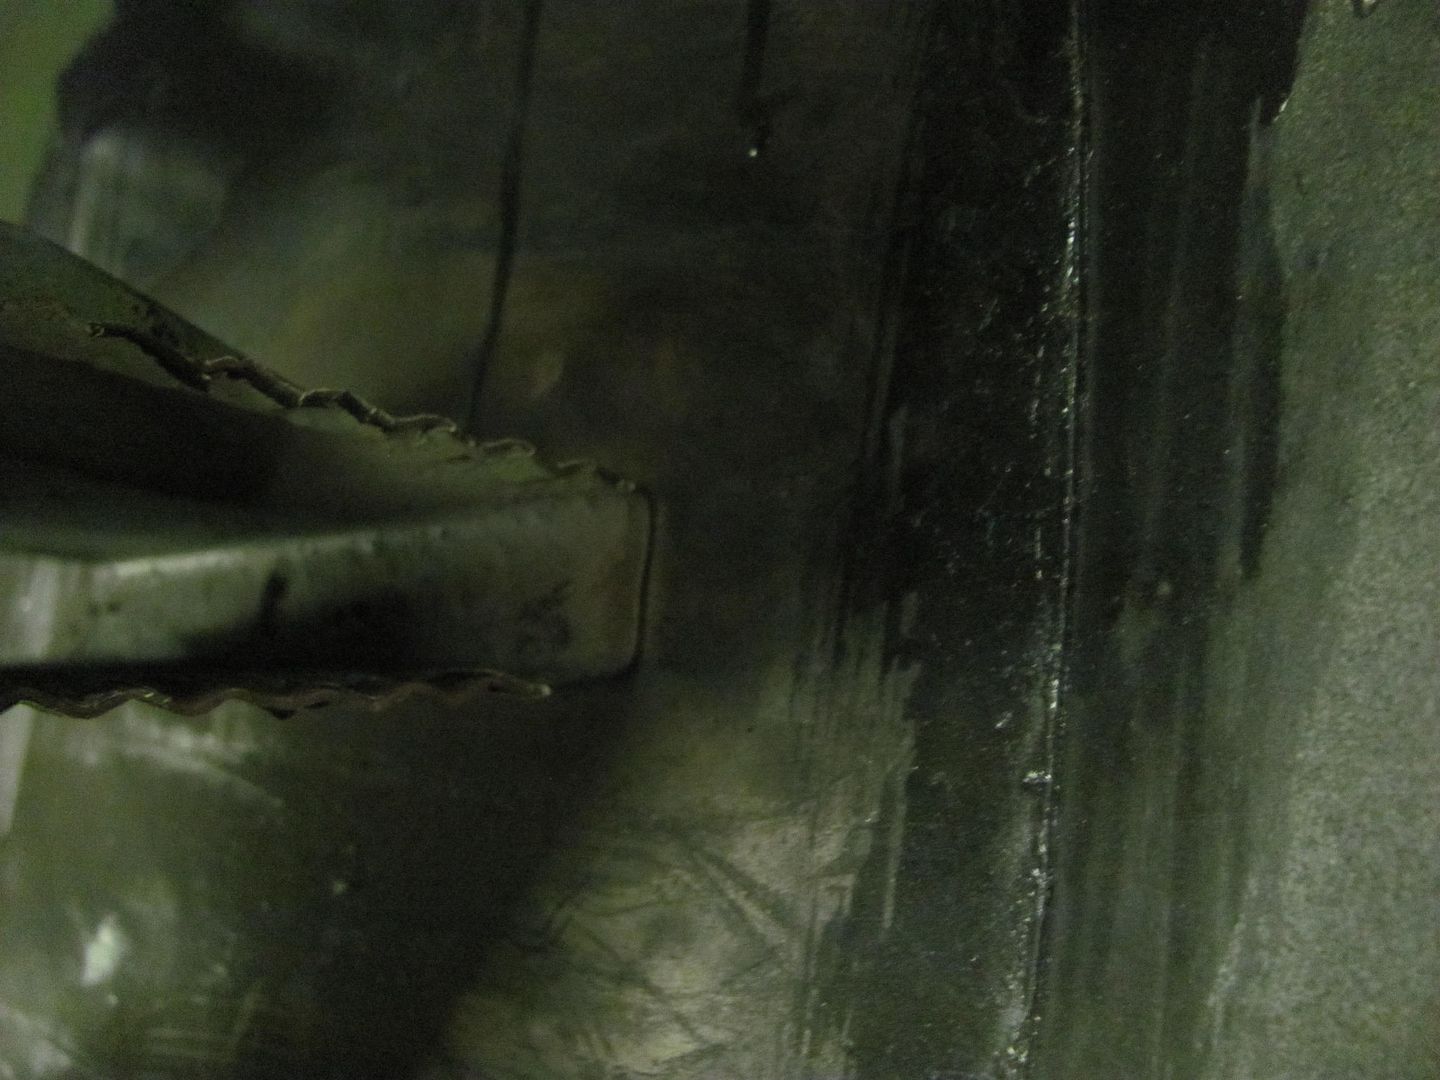 That should give us some breathing room, and bumped it again with the hammer. Put the SPI in the paint shaker, should have tapped the lid a bit tighter.. 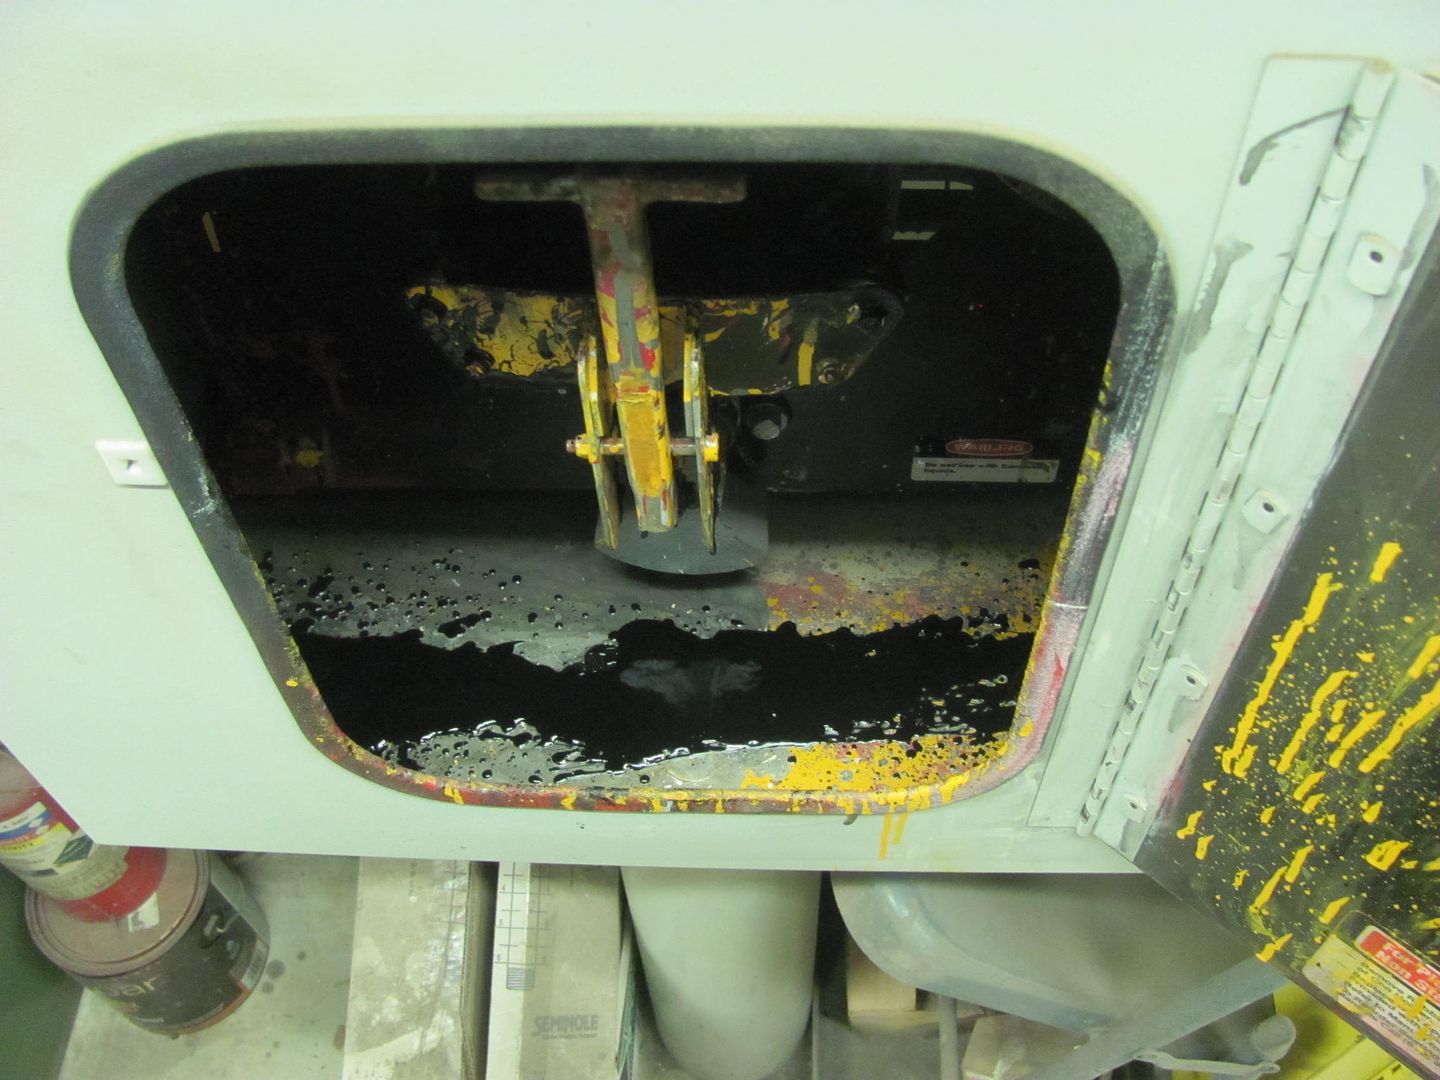 More parts ready for spraying.... 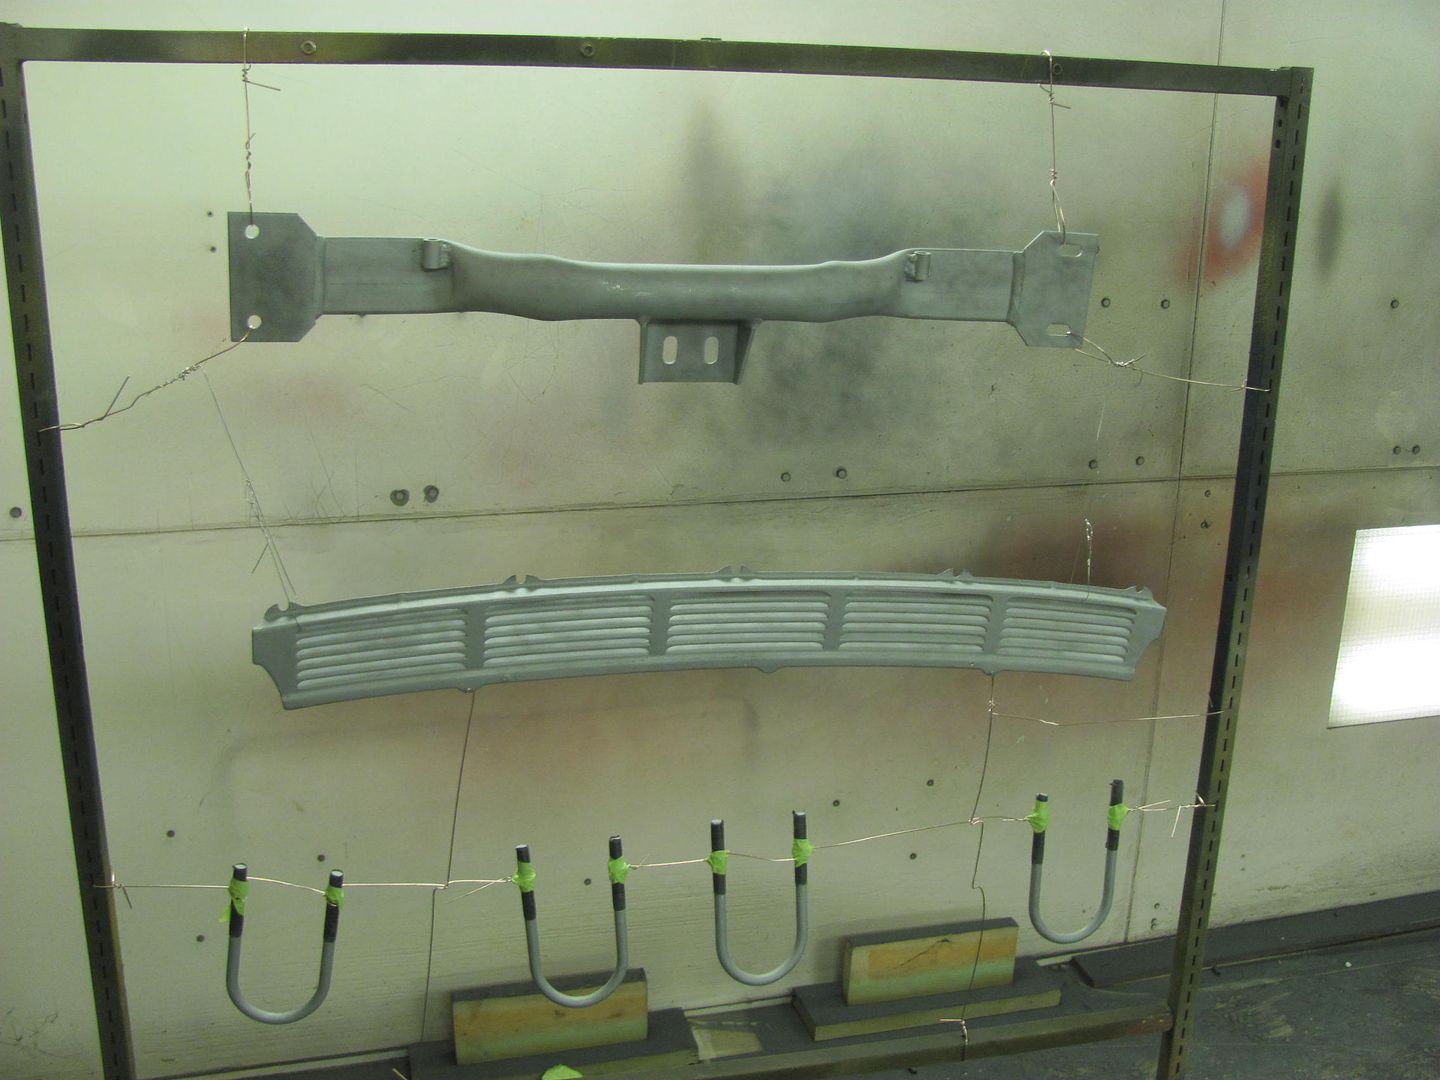 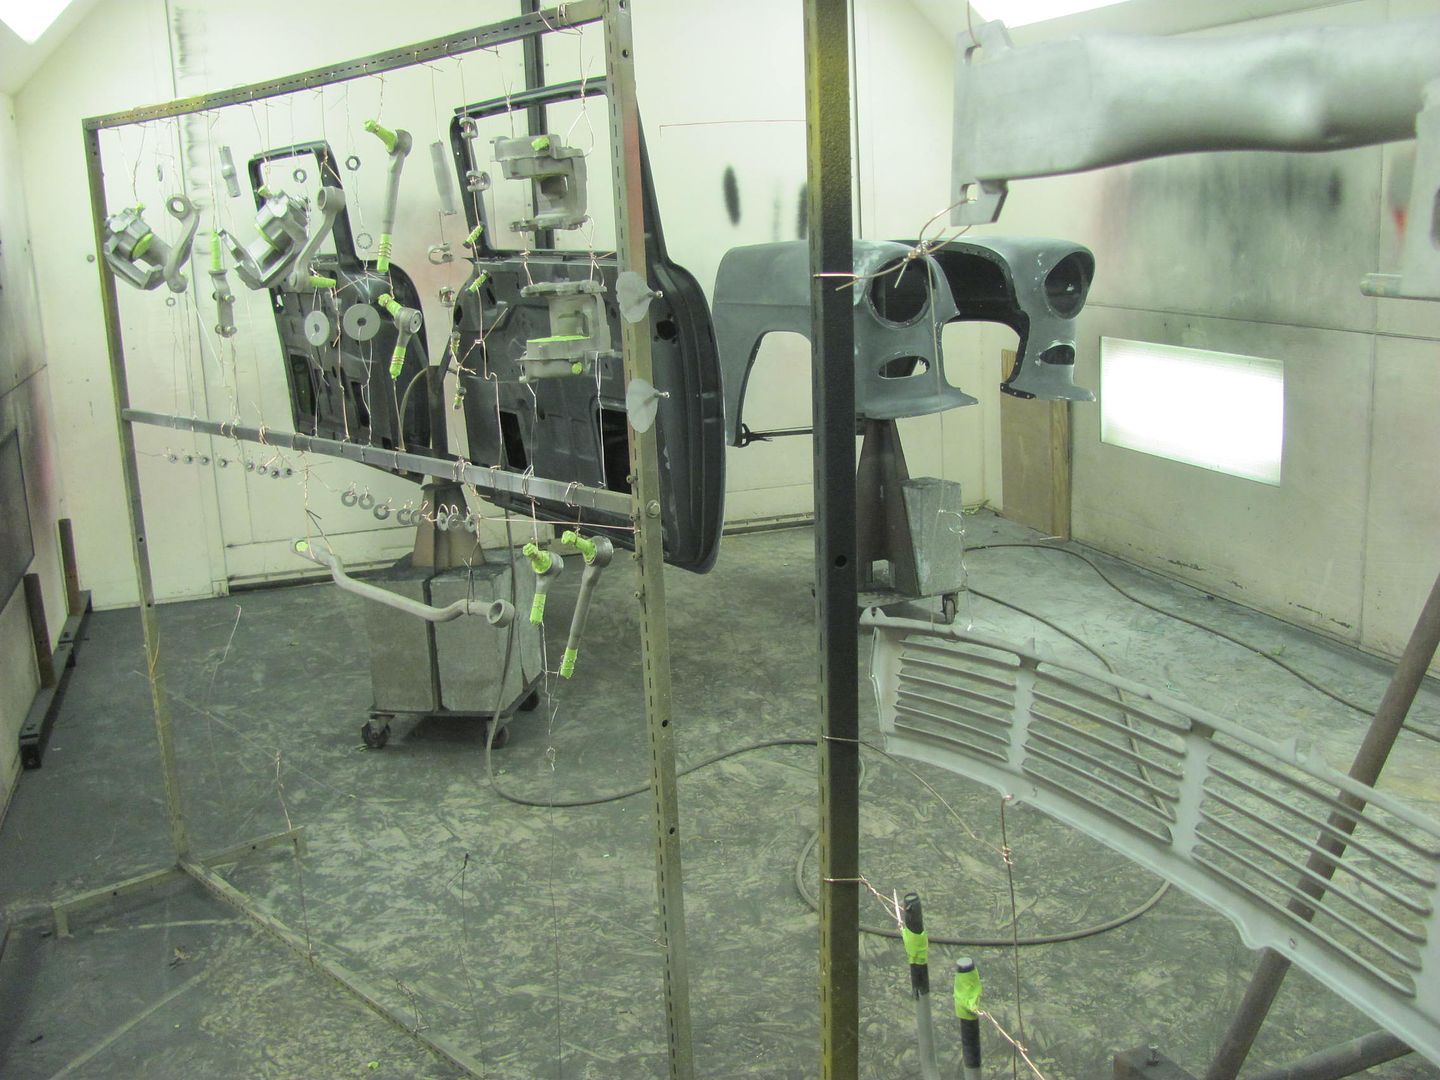 After 3 coats of epoxy.... 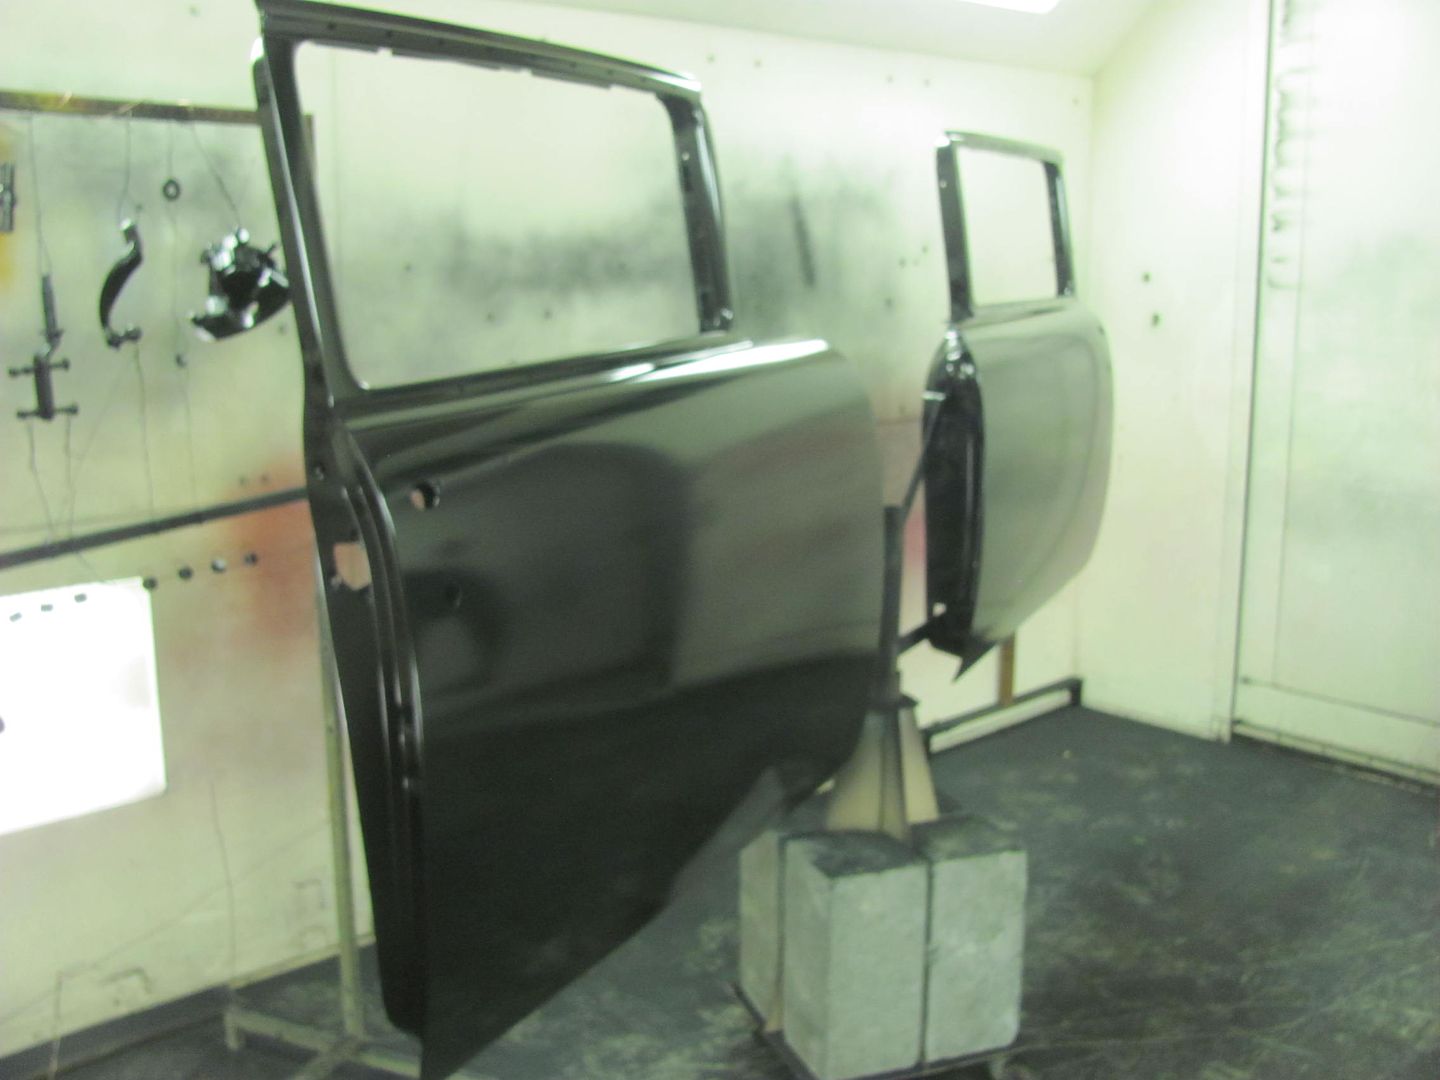 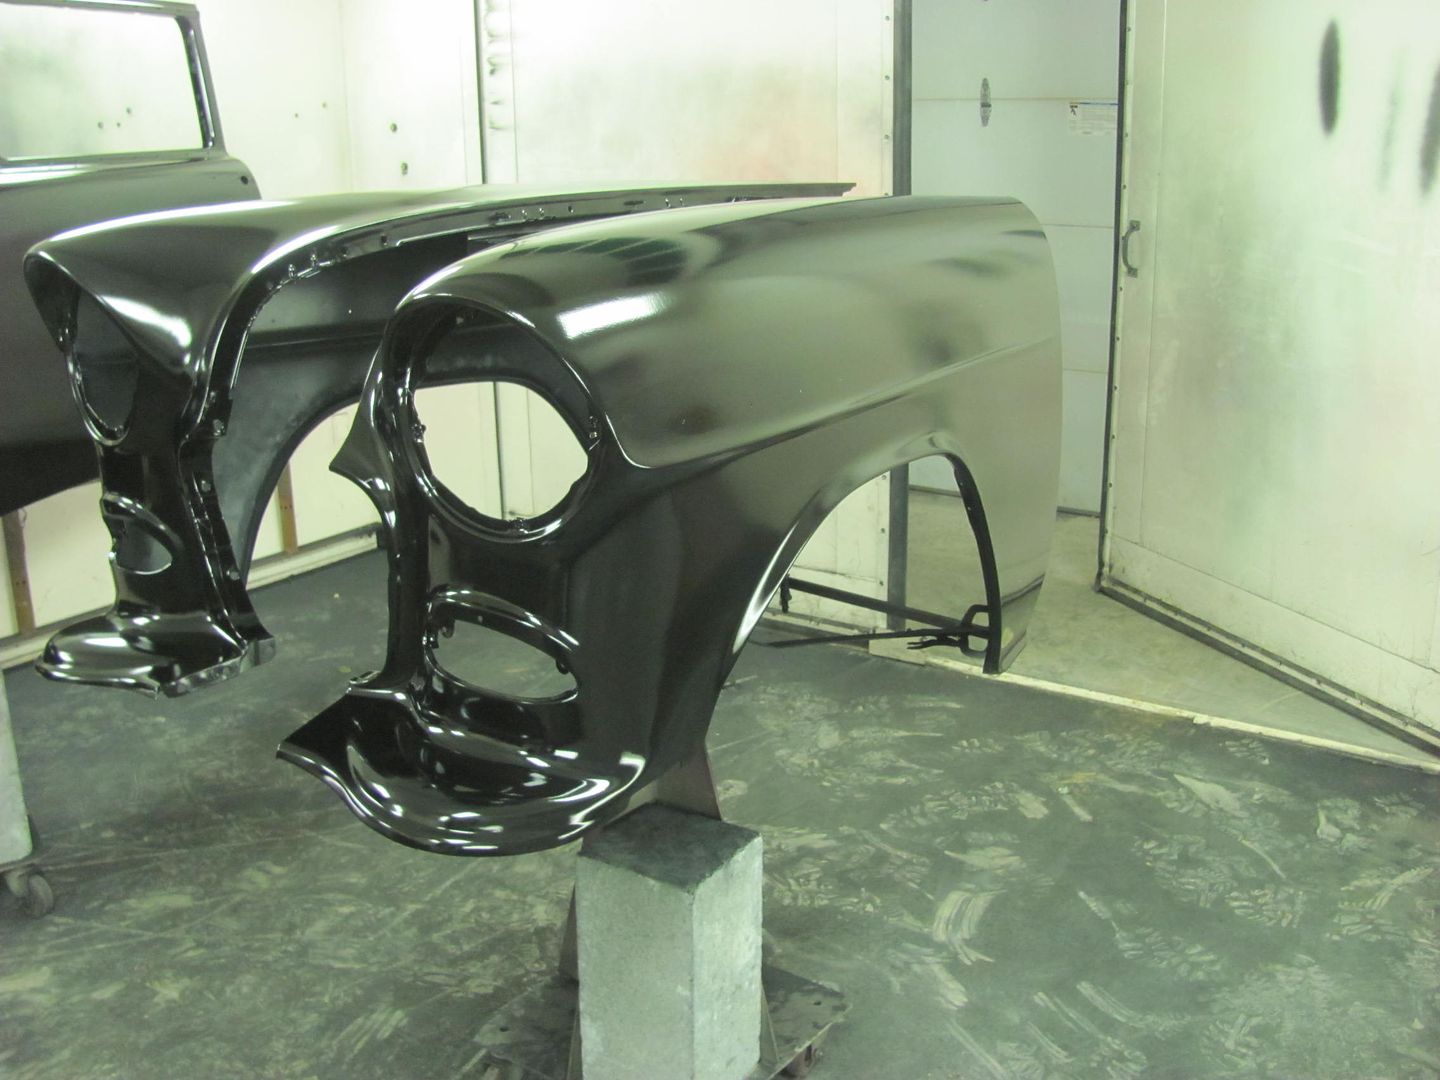 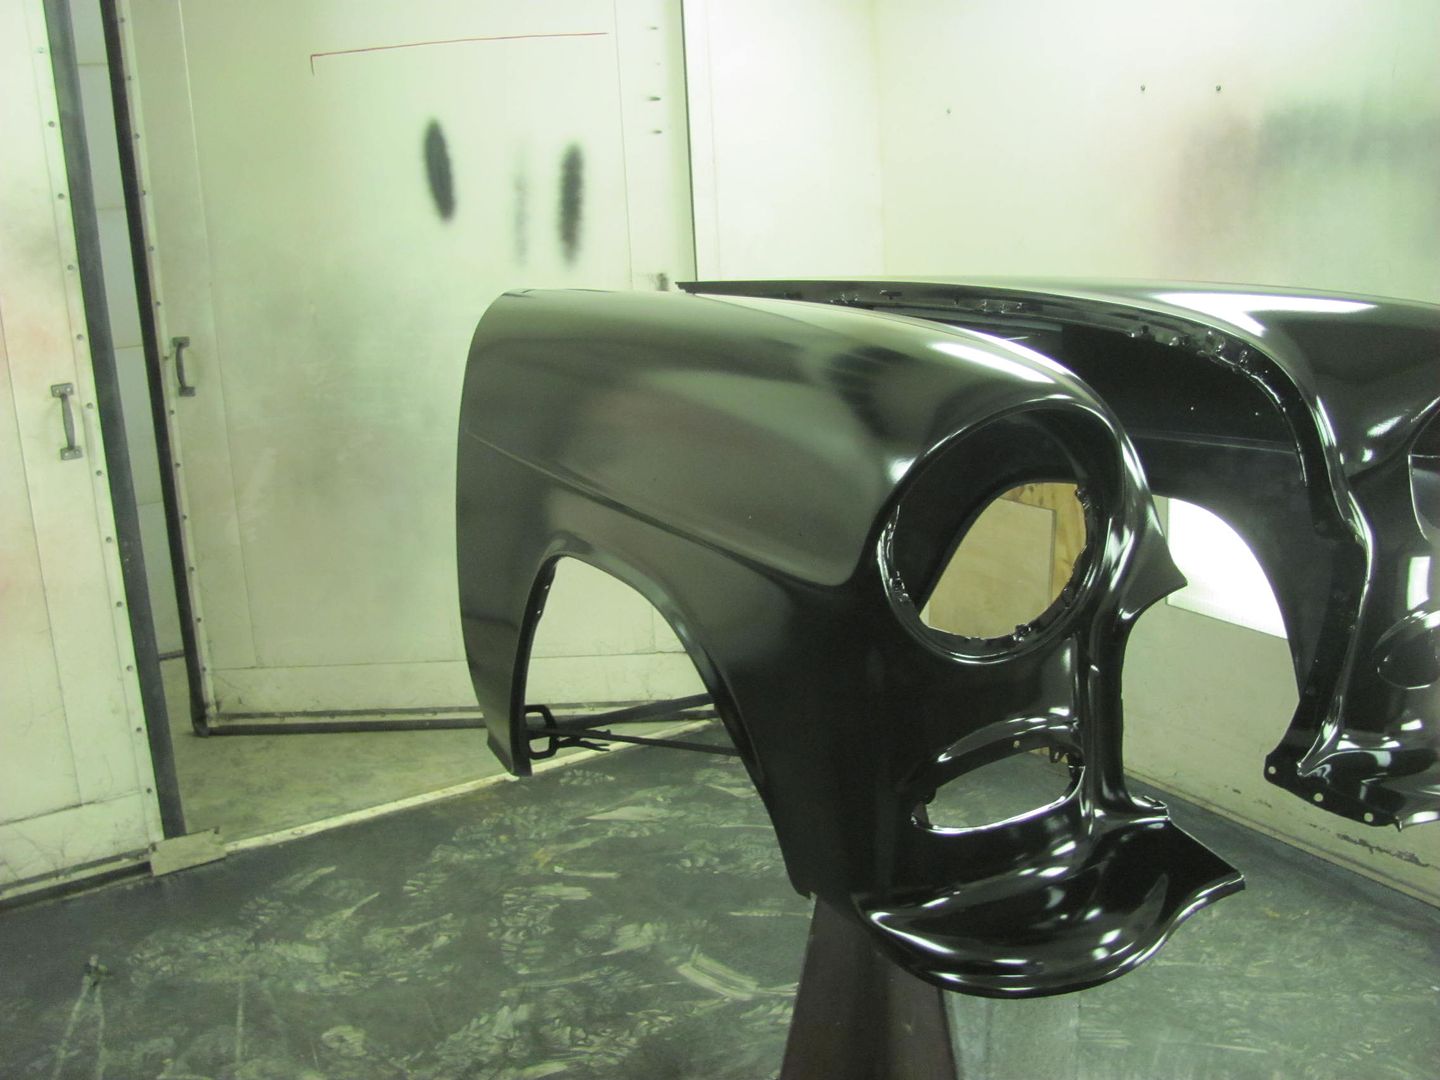 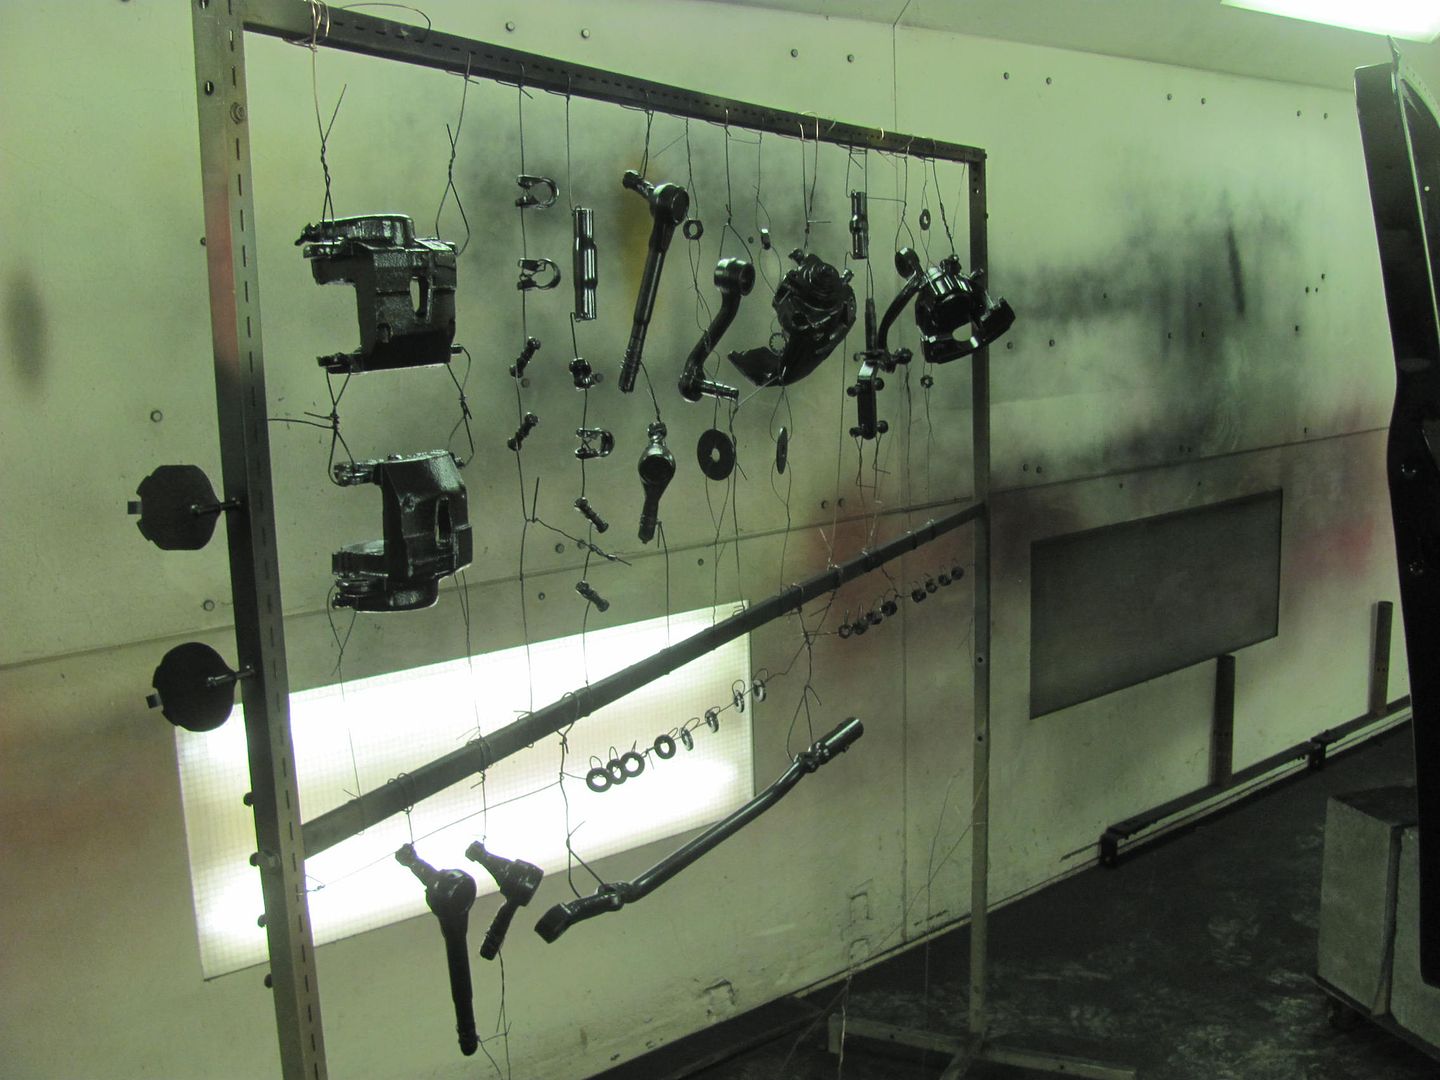 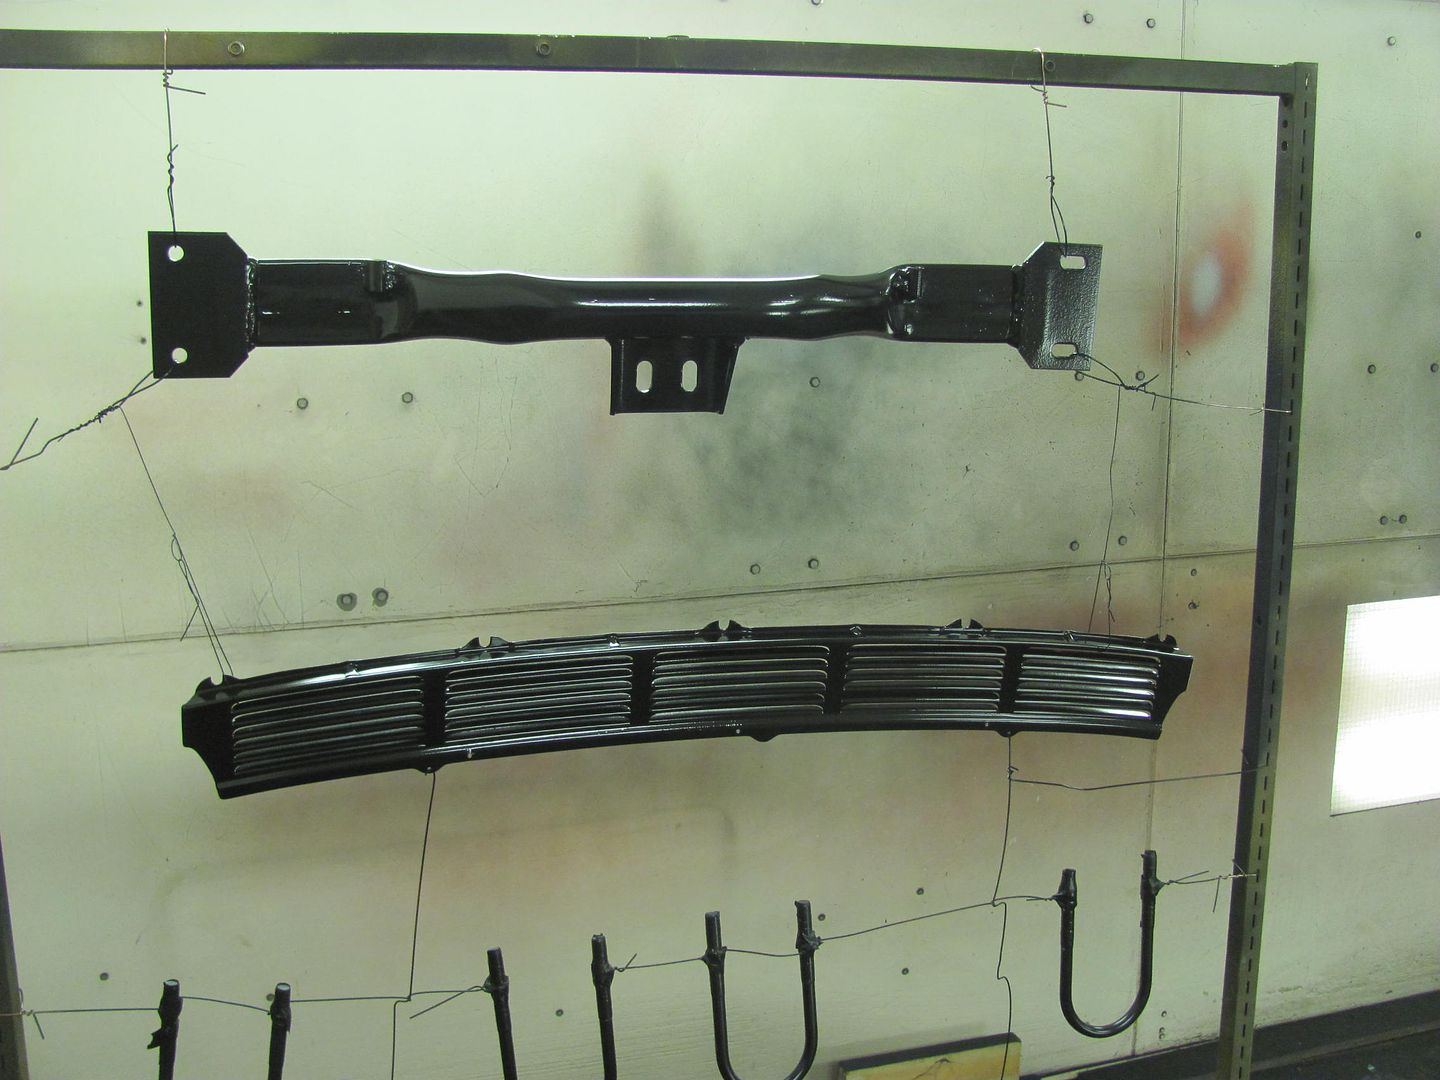 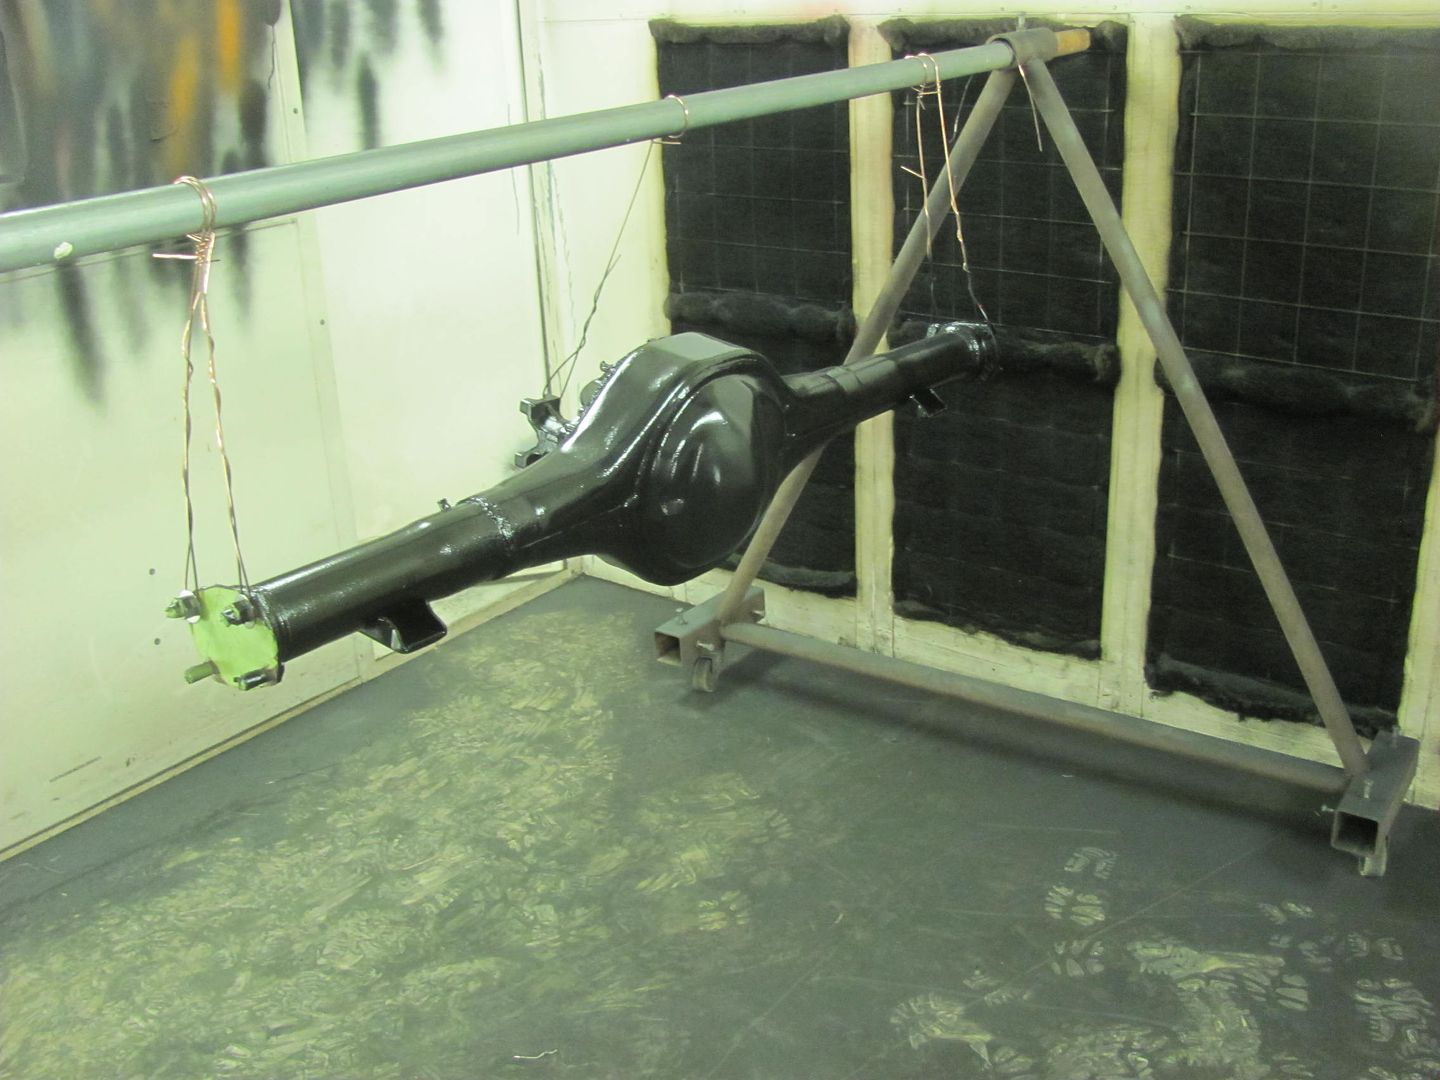 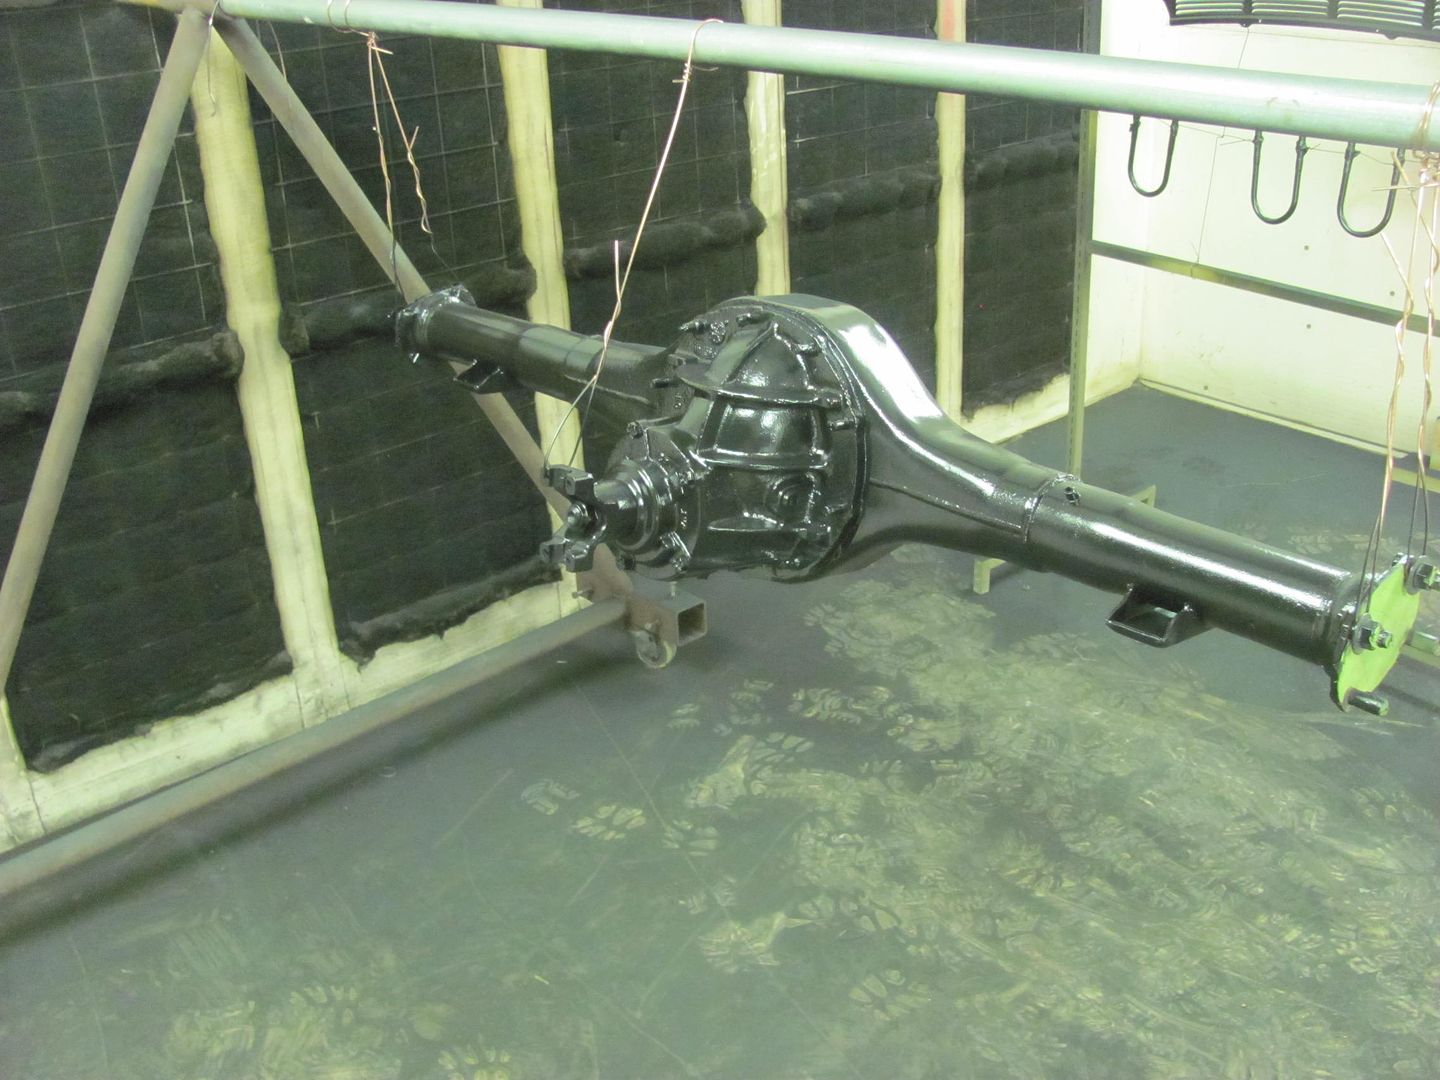 Here's some of the "restraint" methods for painting the small parts.... 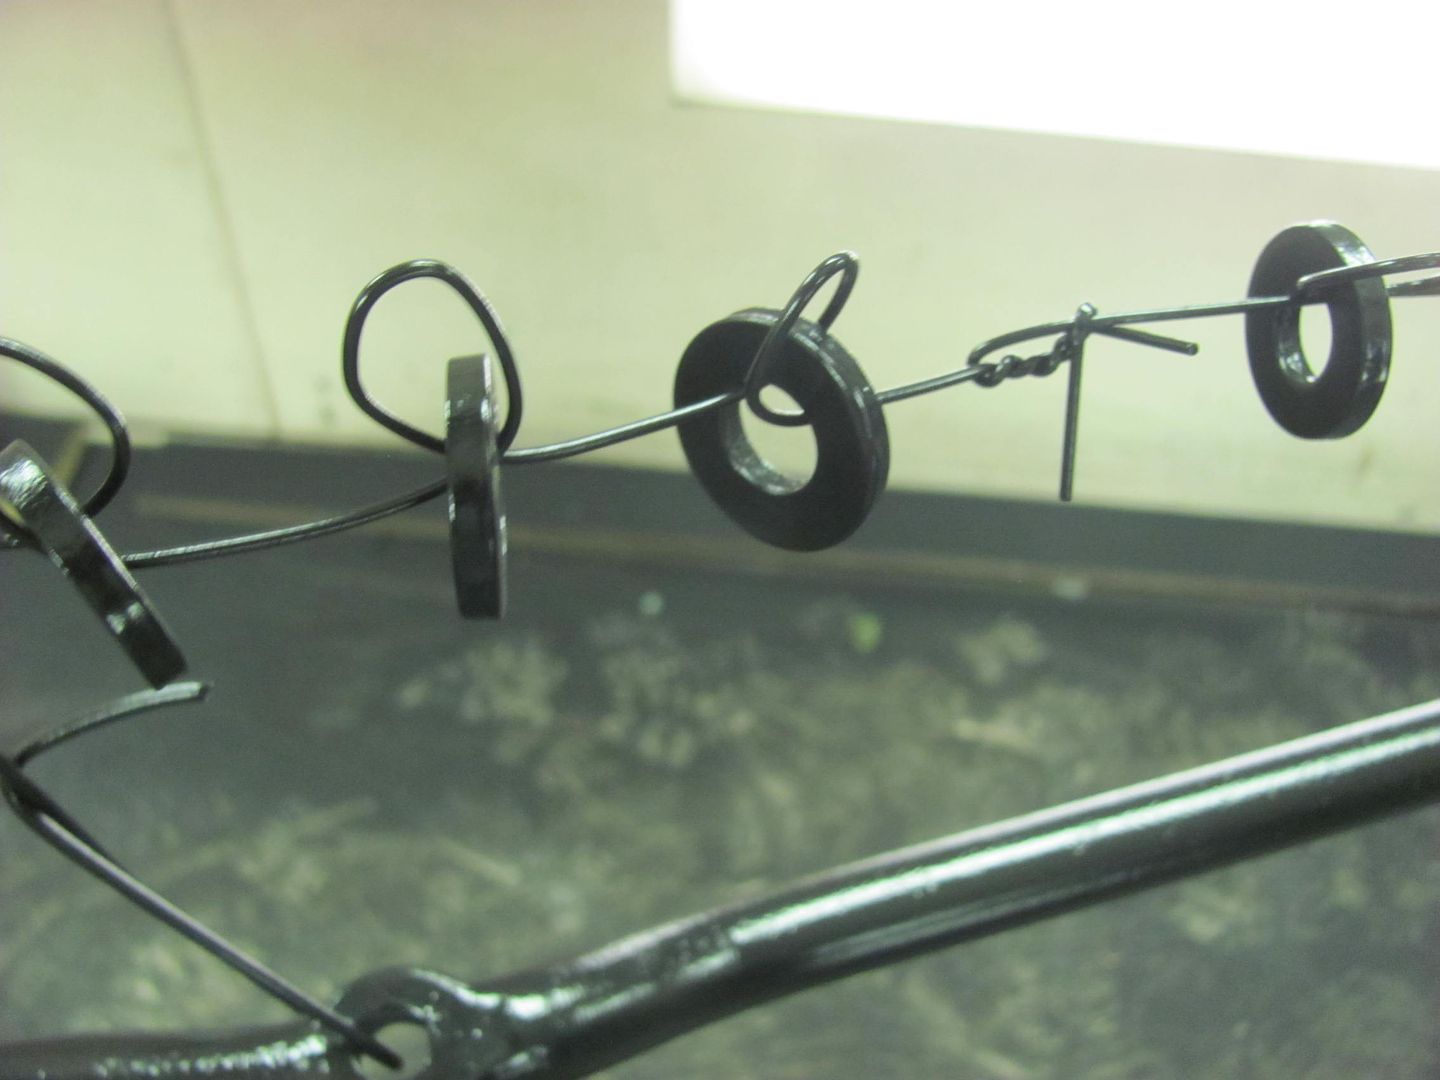  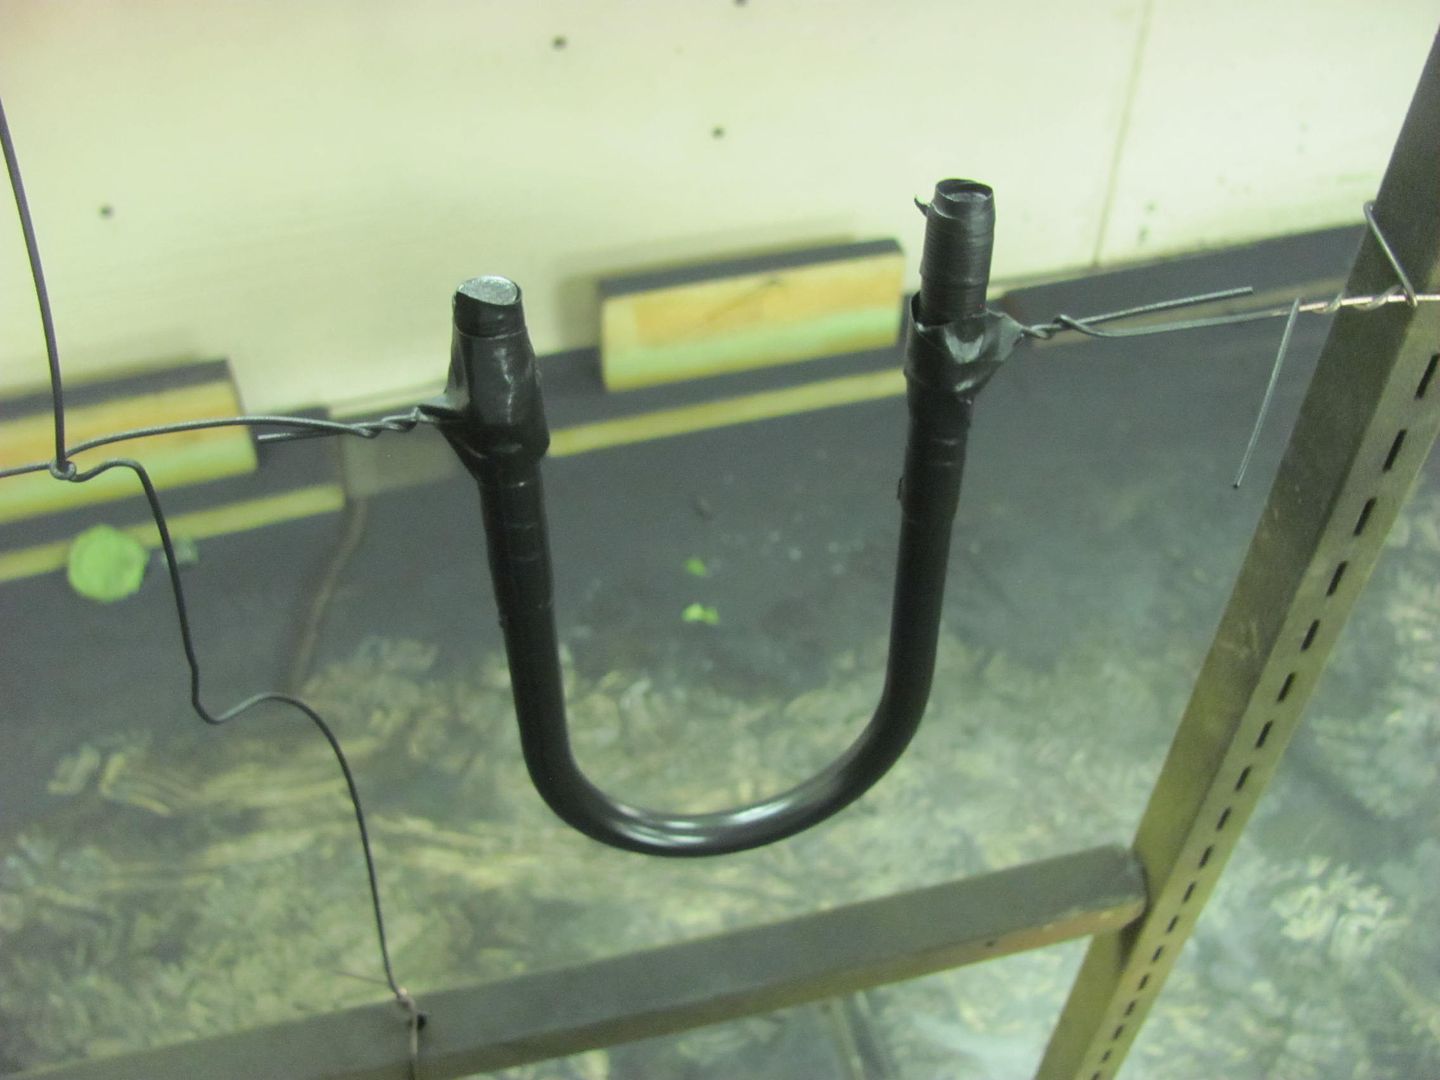 I think the fenders should be good for wet sanding after this go round: https://www.youtube.com/watch?v=wHrxzkEc618 .
__________________
Robert |
|
|
|
|
01-21-2016, 11:31 PM
|
#630 |
|
Registered User
Join Date: Jan 2013
Location: Leonardtown, MD
Posts: 1,637
|
Re: 55 Wagon Progress
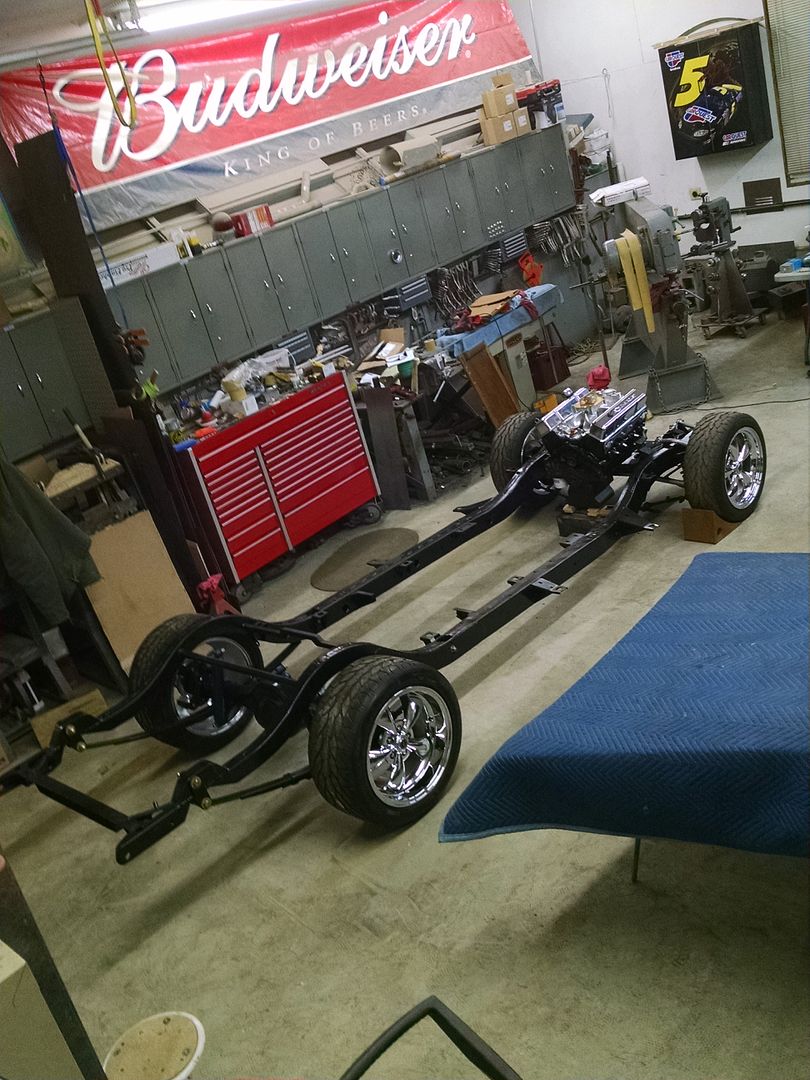
Well we didn't get many pictures tonight, but we've got the frame back on 4 wheels!
__________________
Robert |
|
|
|
|
01-22-2016, 12:19 AM
|
#631 |
|
Senior Member
 Join Date: Mar 2011
Location: West Plains, Missouri
Posts: 7,555
|
Re: 55 Wagon Progress
Looking very nice...Jim
__________________
my build thread: http://67-72chevytrucks.com/vboard/s...d.php?t=459839 Jimbo's long bed step build:http://67-72chevytrucks.com/vboard/s...t=464626<br /> |
|
|
|
|
01-26-2016, 11:57 PM
|
#632 |
|
Registered User
Join Date: Jan 2013
Location: Leonardtown, MD
Posts: 1,637
|
Re: 55 Wagon Progress
Thanks Jim!
Well after the weekend off for the Snowmaggedon, back at more parts prep for the next round of primer.. Kyle did some media blasting on the steering box and other parts while I blocked out the inside of the hood and the hood brace.. 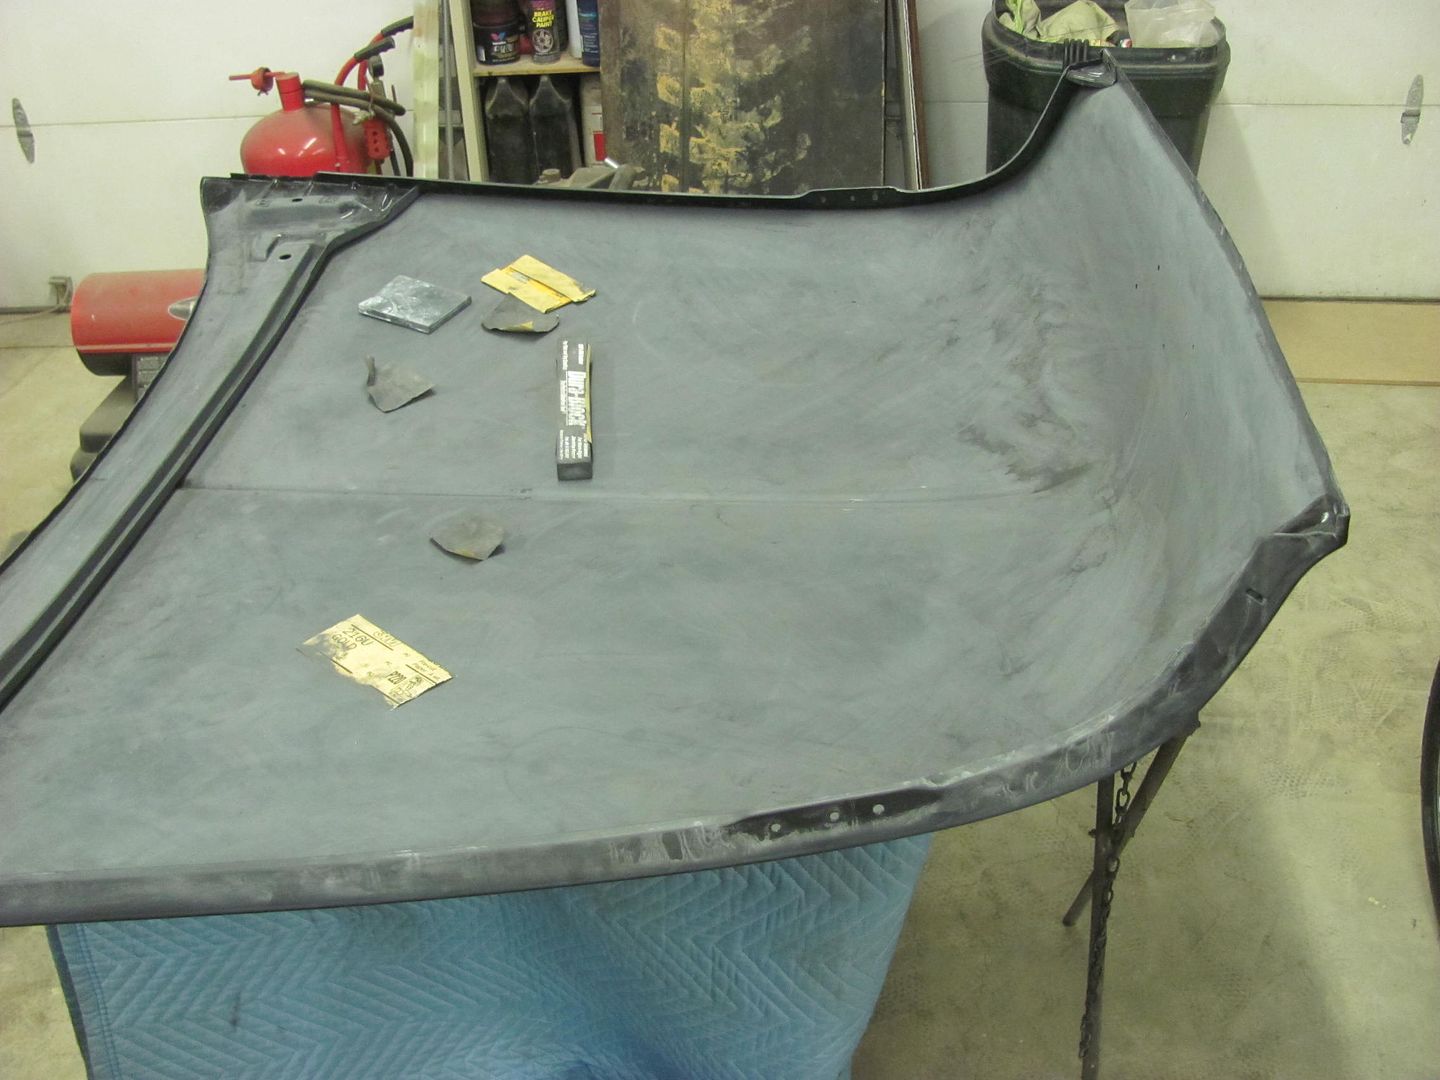 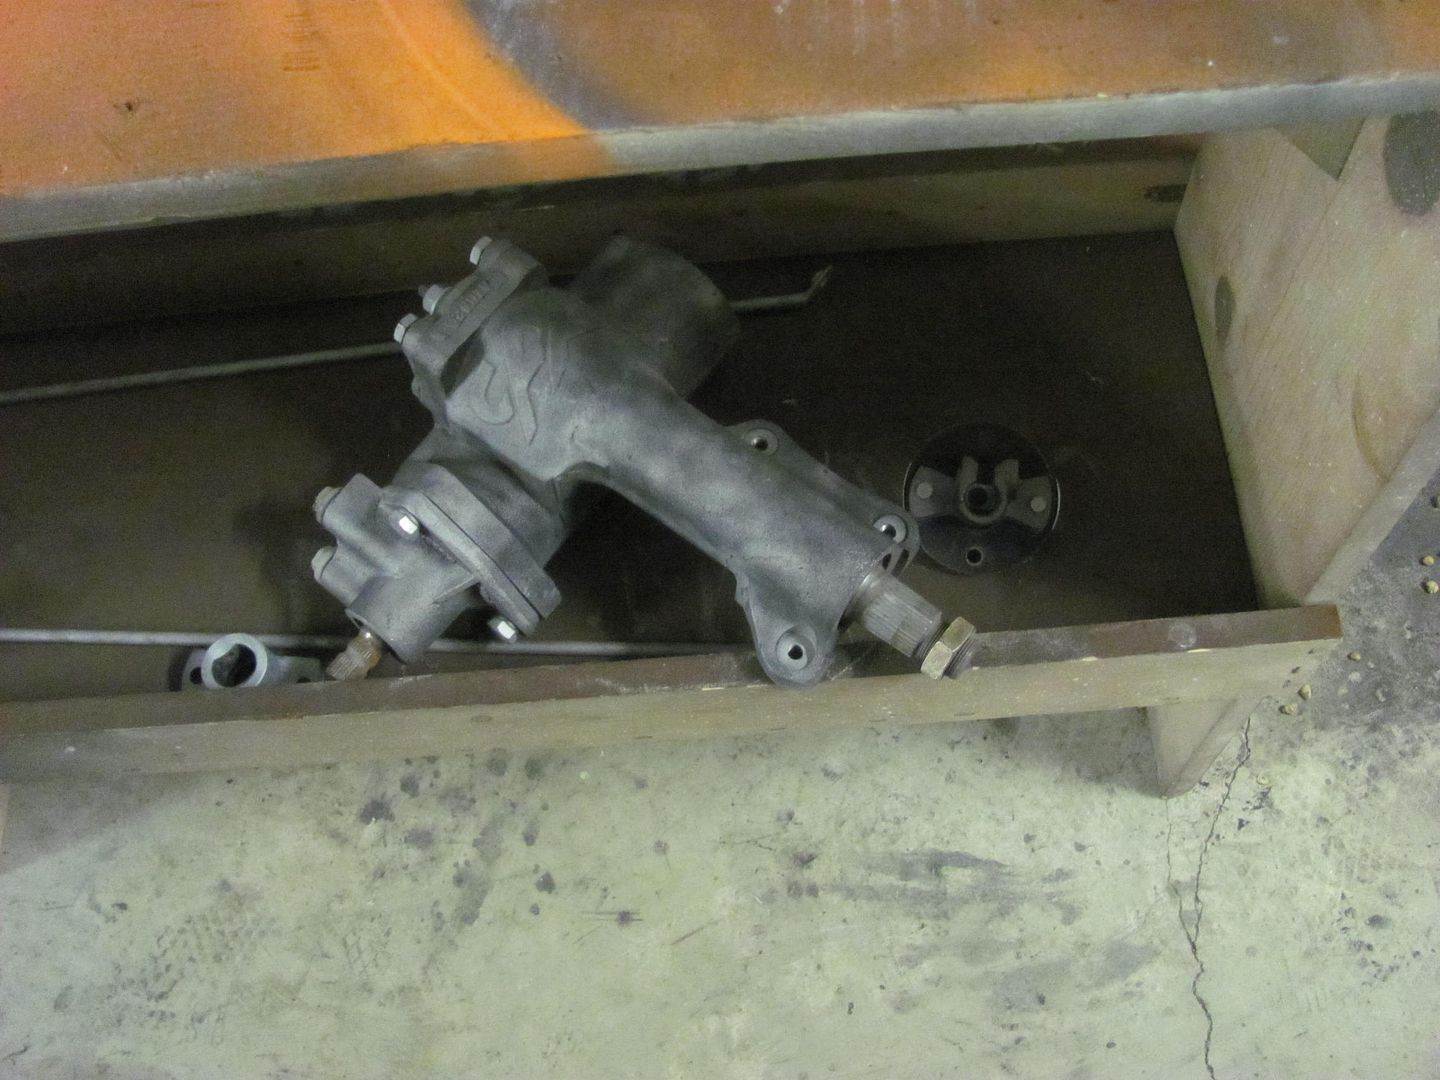 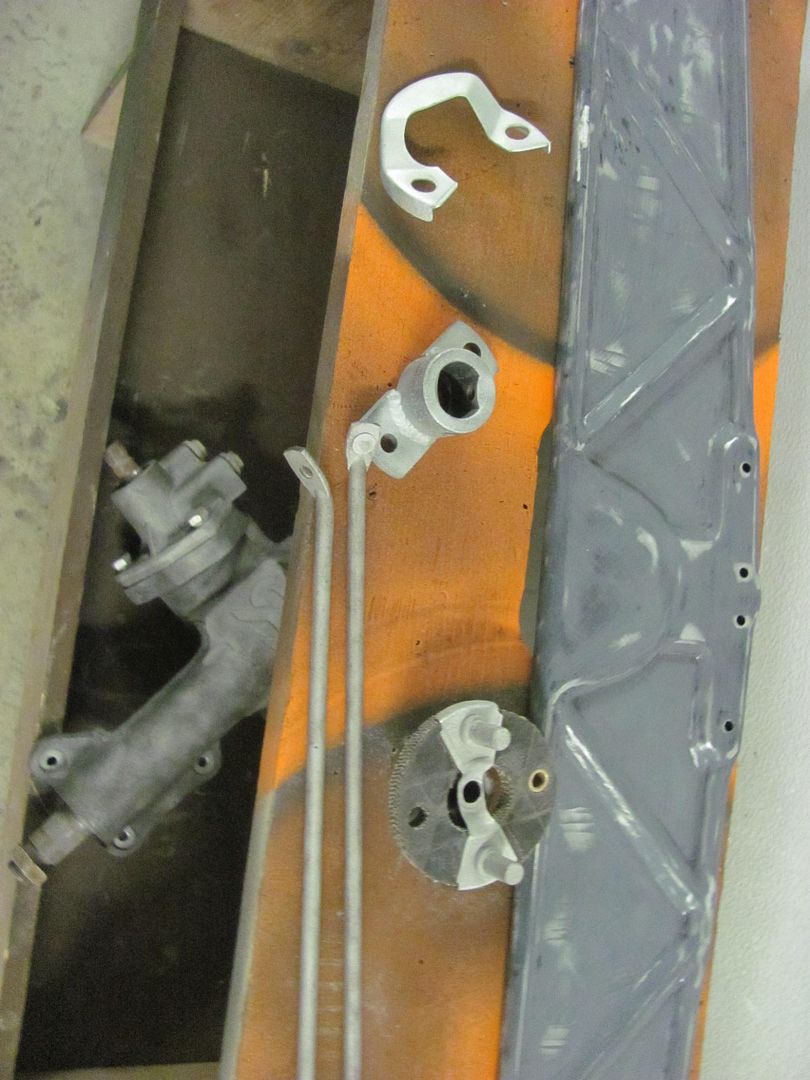 Then Kyle worked on degreasing and scuffing the trans... 
__________________
Robert |
|
|
|
|
01-27-2016, 10:29 AM
|
#633 |
|
Registered User
Join Date: Jan 2012
Location: Eastern Ontario, Canada
Posts: 1,041
|
Re: 55 Wagon Progress
Nice! Not worried about media getting in the steering box while blasting? I have the same sanding blocks, how do you like them?
__________________
1952 Canadian Chevy 1300 C4 IFS & D44 IRS 5.3 HO L33 My Build: http://67-72chevytrucks.com/vboard/s...d.php?t=632938
|
|
|
|
|
01-27-2016, 10:41 AM
|
#634 |
|
Registered User
Join Date: Jan 2013
Location: Leonardtown, MD
Posts: 1,637
|
Re: 55 Wagon Progress
It looked to be pretty tight around the shafts, and we had plastic plugs in the PS orifices. So Kyle just stayed away from the input/output shafts and got the bulk of it..
I have Durablocks, AFS, and countless home-made for special application. Each has there calling 
__________________
Robert |
|
|
|
|
01-28-2016, 11:53 PM
|
#635 |
|
Registered User
Join Date: Jan 2013
Location: Leonardtown, MD
Posts: 1,637
|
Re: 55 Wagon Progress
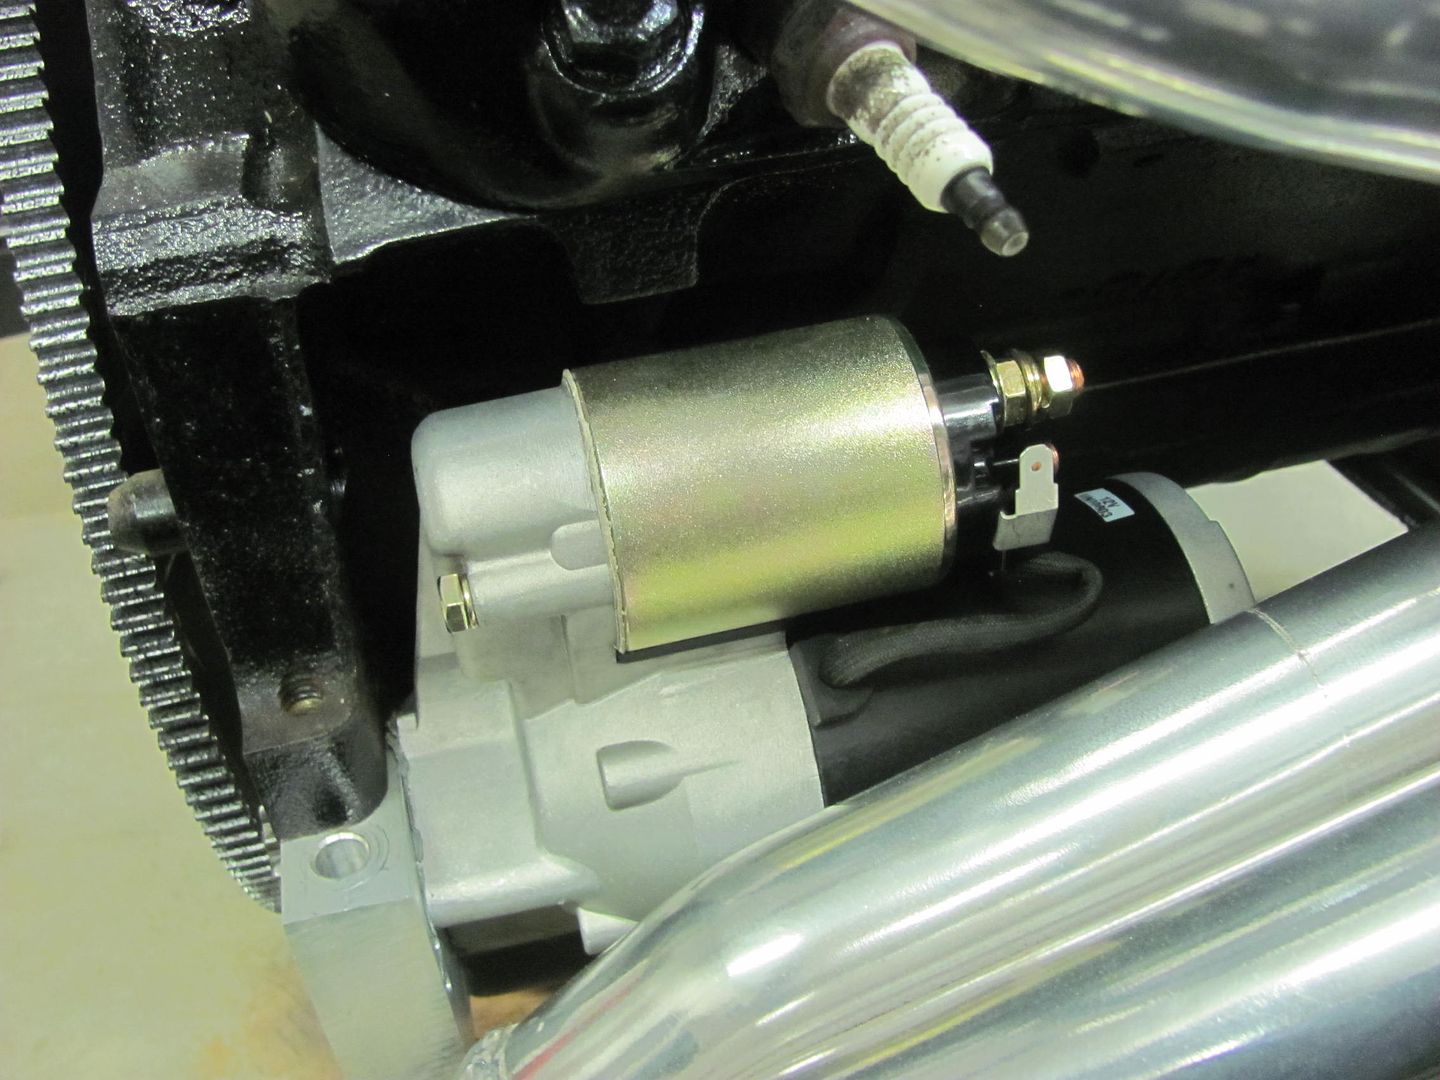
I started some engine assembly this evening, getting the flex plate bolted on and torqued down, starter installed and checked for clearance, and checked clearances for the header..
   Kyle blocked out the doors, it looks like our "adjustment" with the stovepipe crimper pliers did the trick to remove the high spot...  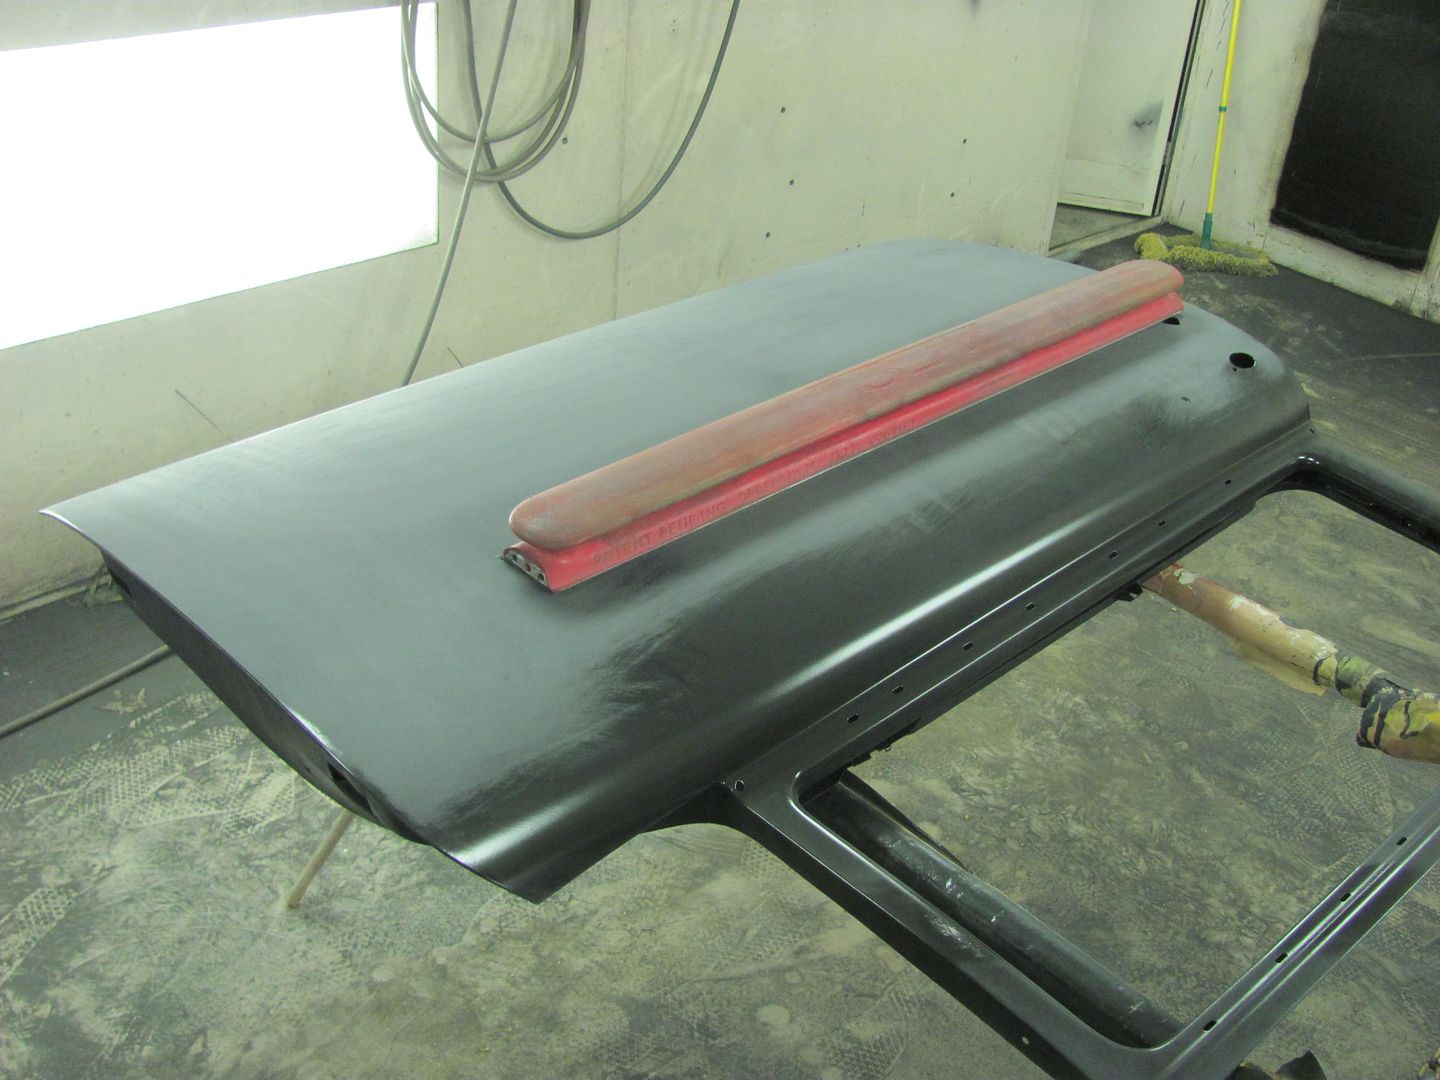
__________________
Robert |
|
|
|
|
01-29-2016, 01:27 AM
|
#636 |
|
Registered User
Join Date: Apr 2011
Location: .
Posts: 3,104
|
Re: 55 Wagon Progress
With the trans being aluminum and high temp, what primer and paint will you use?
Looks great. Can't wait to see it all back together. |
|
|
|
|
01-29-2016, 08:56 AM
|
#637 |
|
Registered User
Join Date: Jan 2013
Location: Leonardtown, MD
Posts: 1,637
|
Re: 55 Wagon Progress
We're going to use the SPI epoxy to give it a nice semi-gloss black.
__________________
Robert |
|
|
|
|
02-02-2016, 01:07 AM
|
#638 |
|
Registered User
Join Date: Jan 2013
Location: Leonardtown, MD
Posts: 1,637
|
Re: 55 Wagon Progress
We worked Sunday this past weekend, Kyle got a few more pieces media blasted so we could get some epoxy sprayed.. Then, as I was spraying, Kyle gave the wagon a Scotchbrite scrub with some soapy water to neutralize the soda...
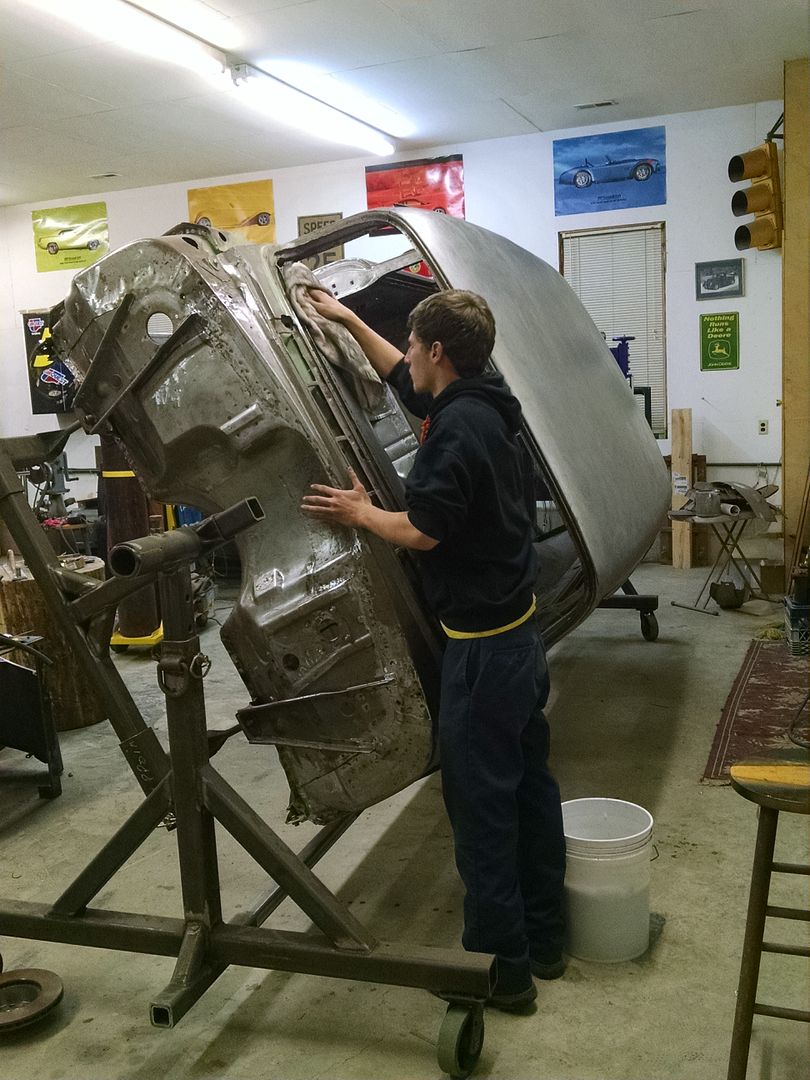 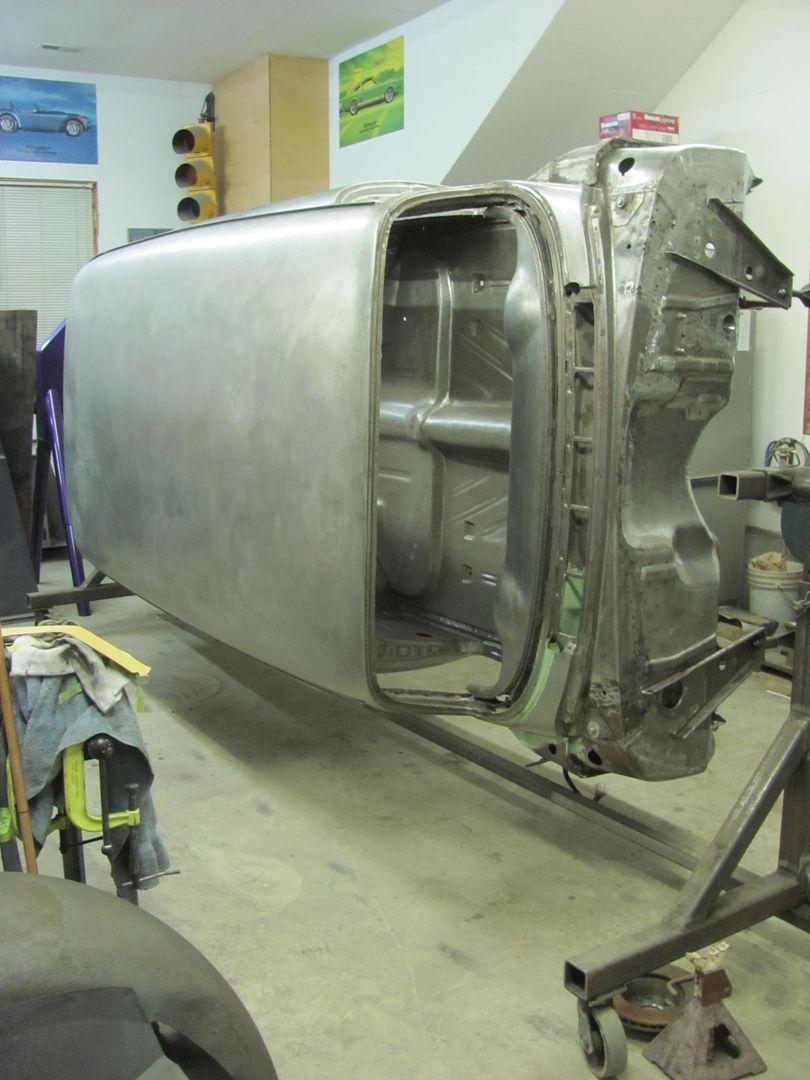 Doors moved out of the way.....for now.. 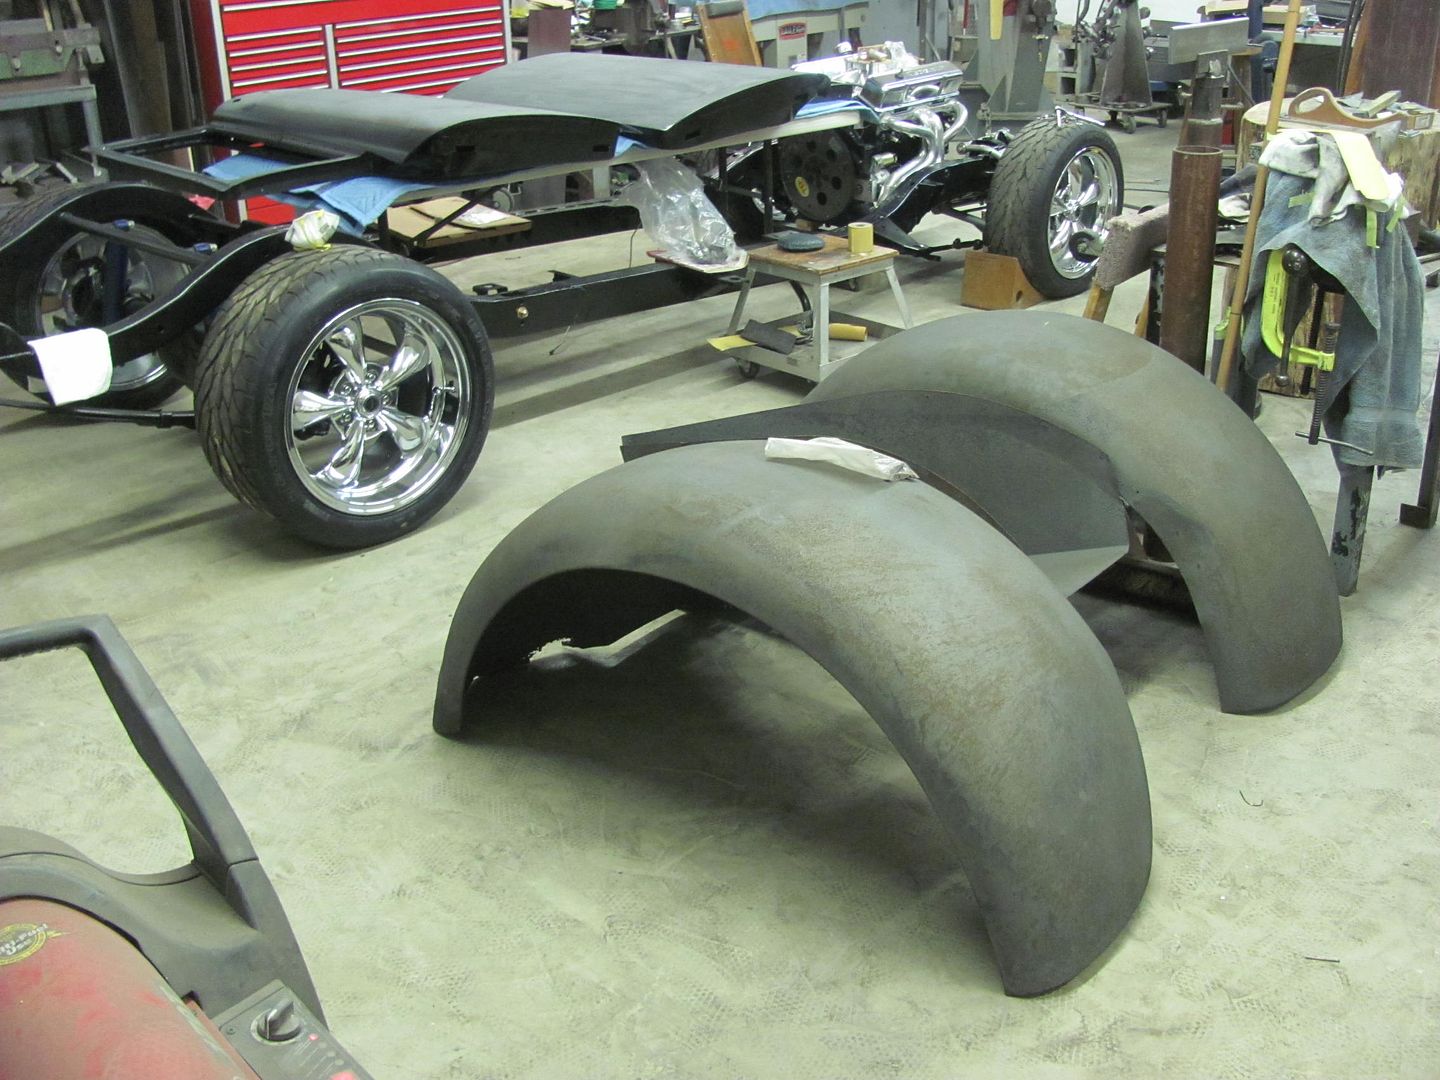 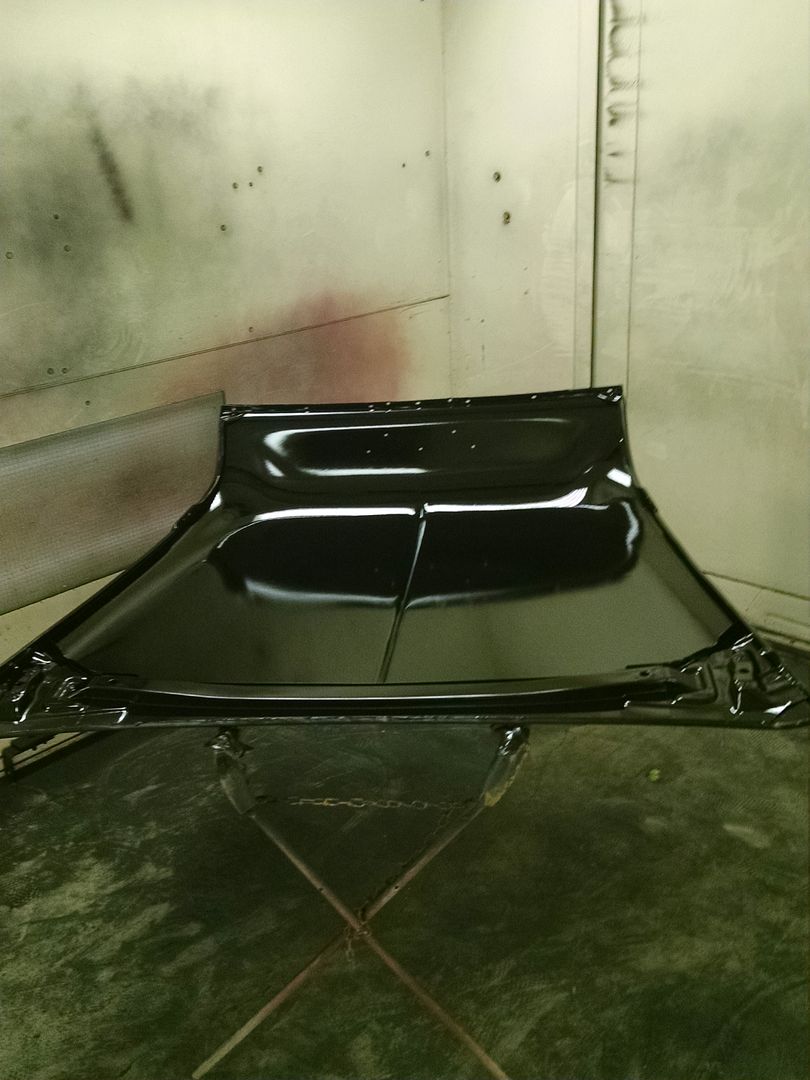 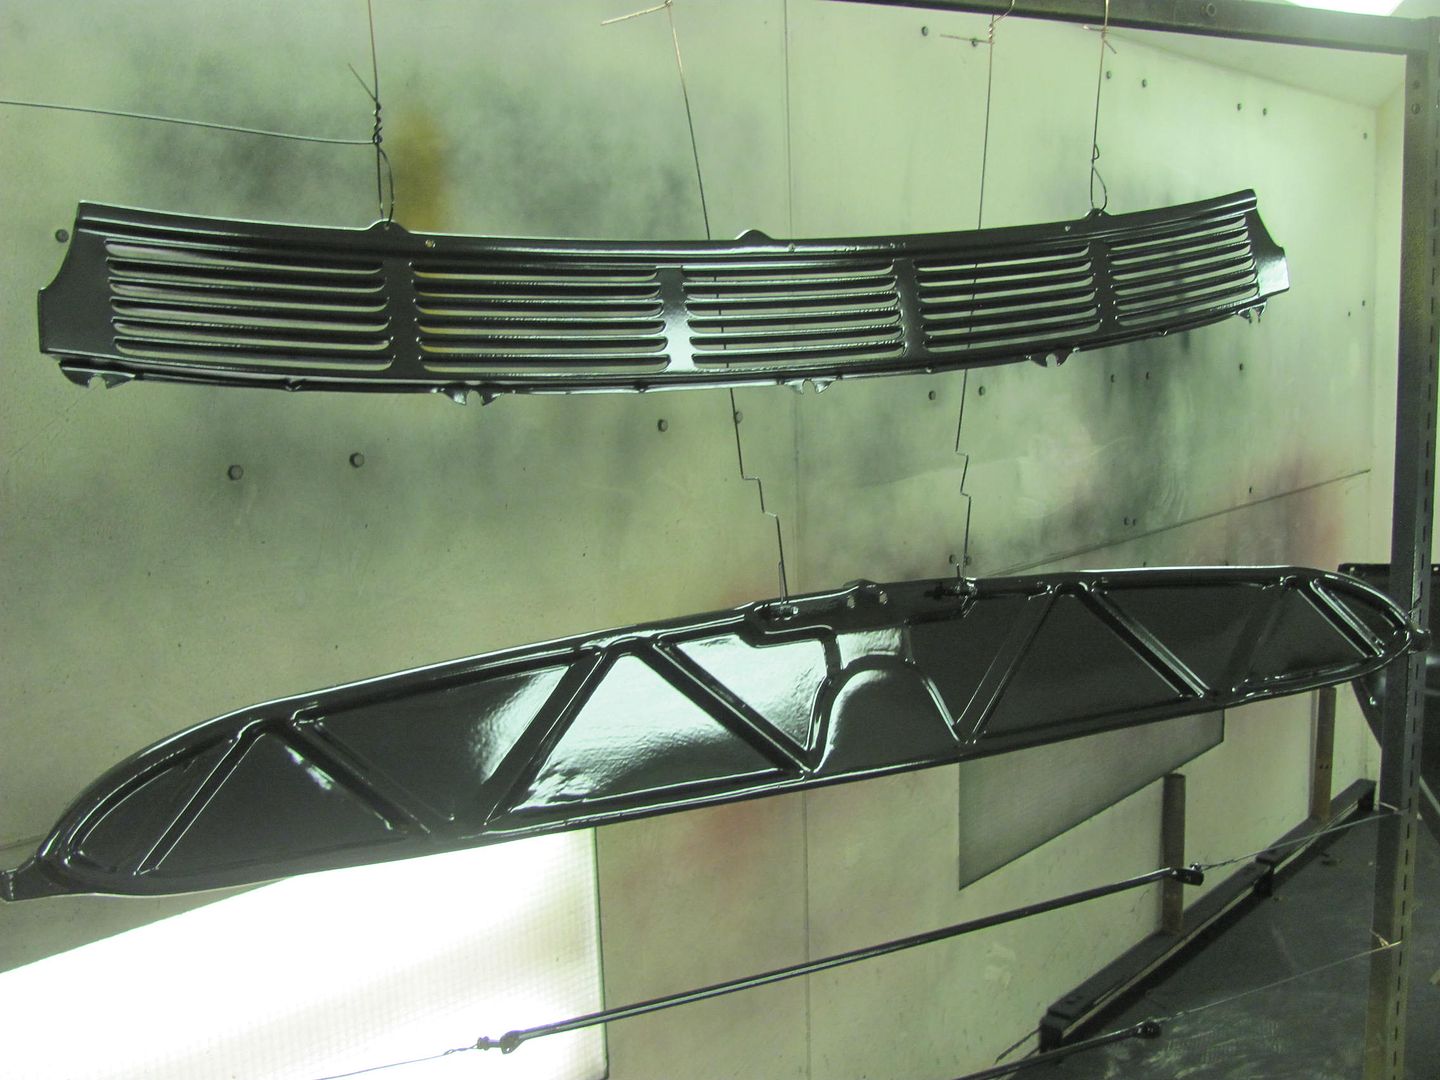 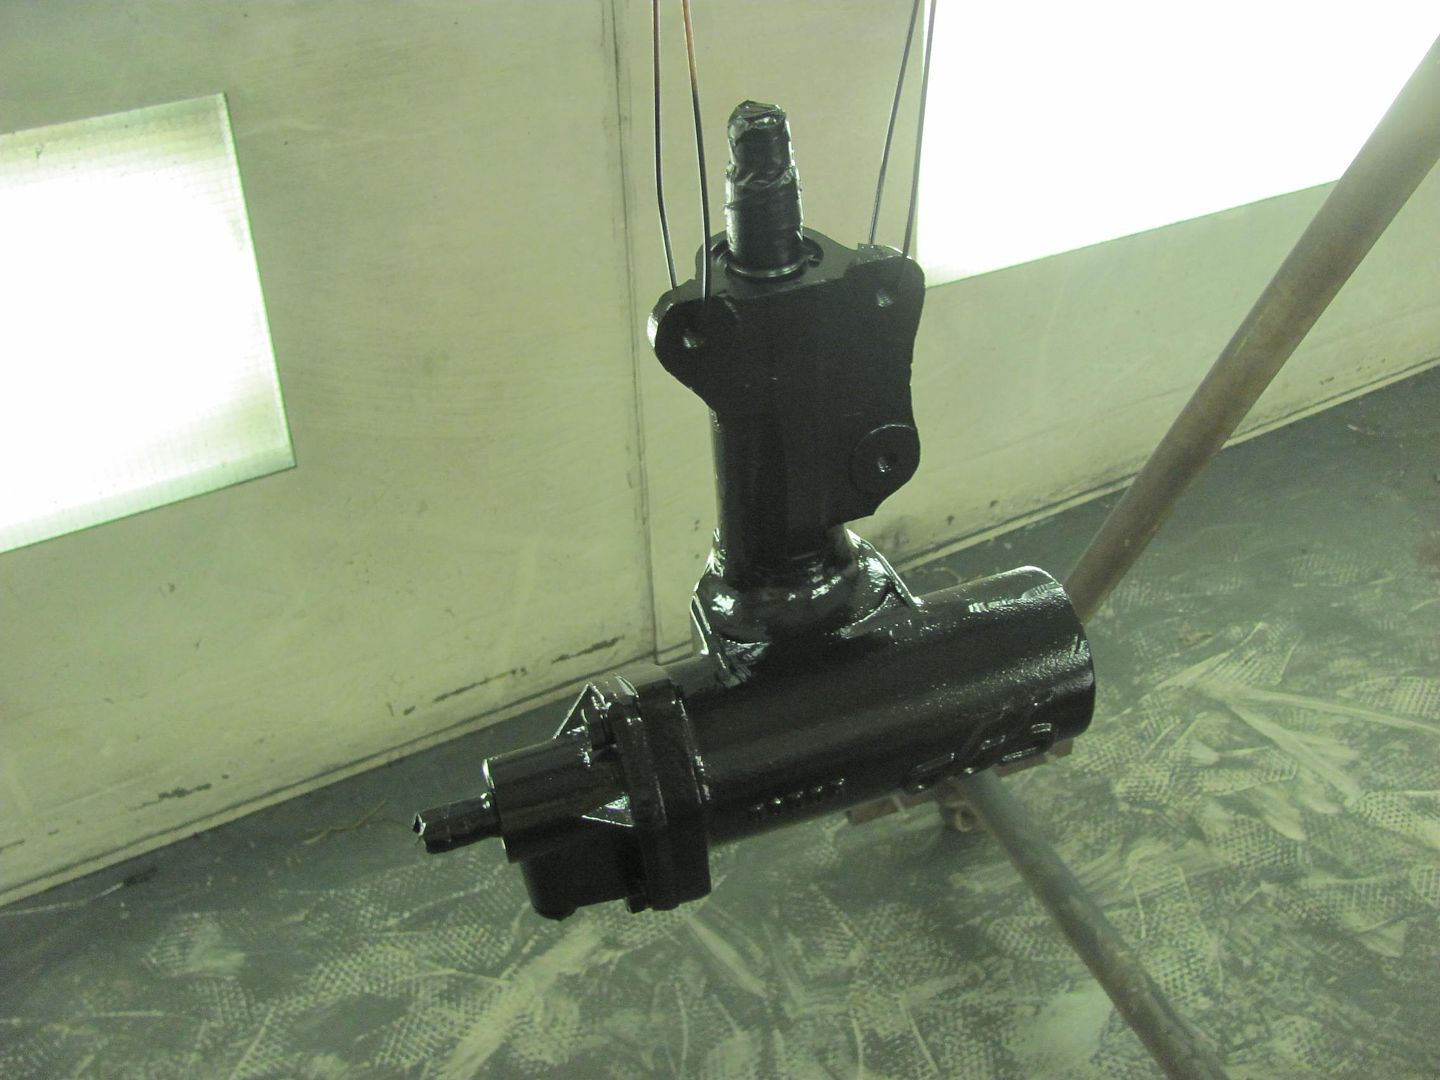 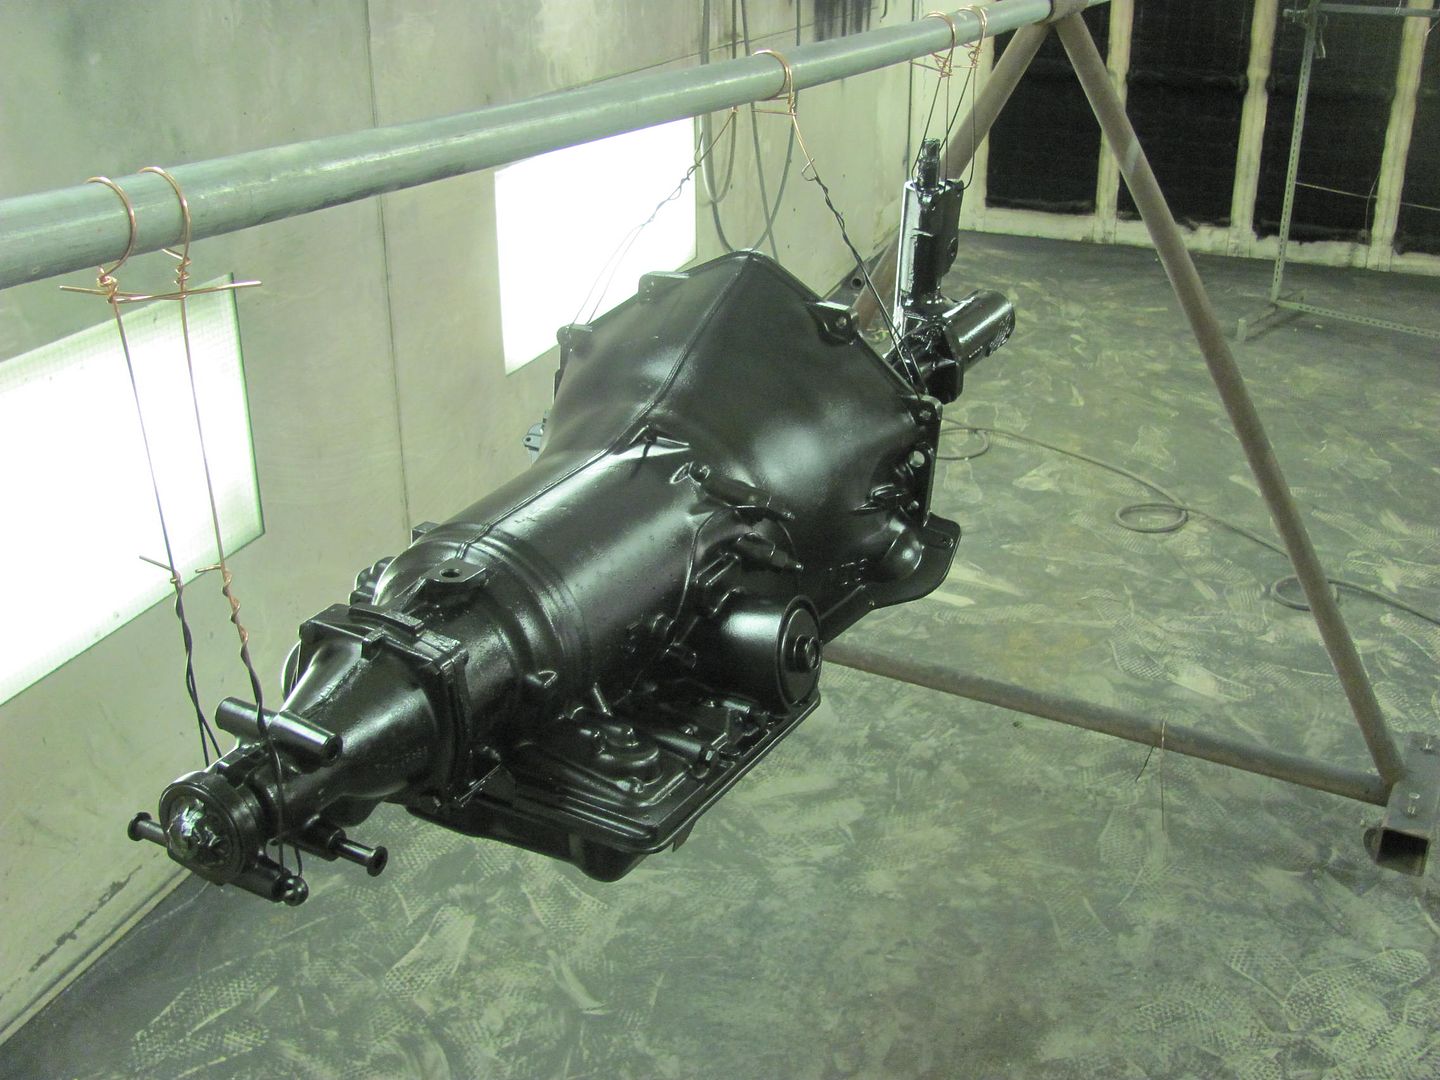 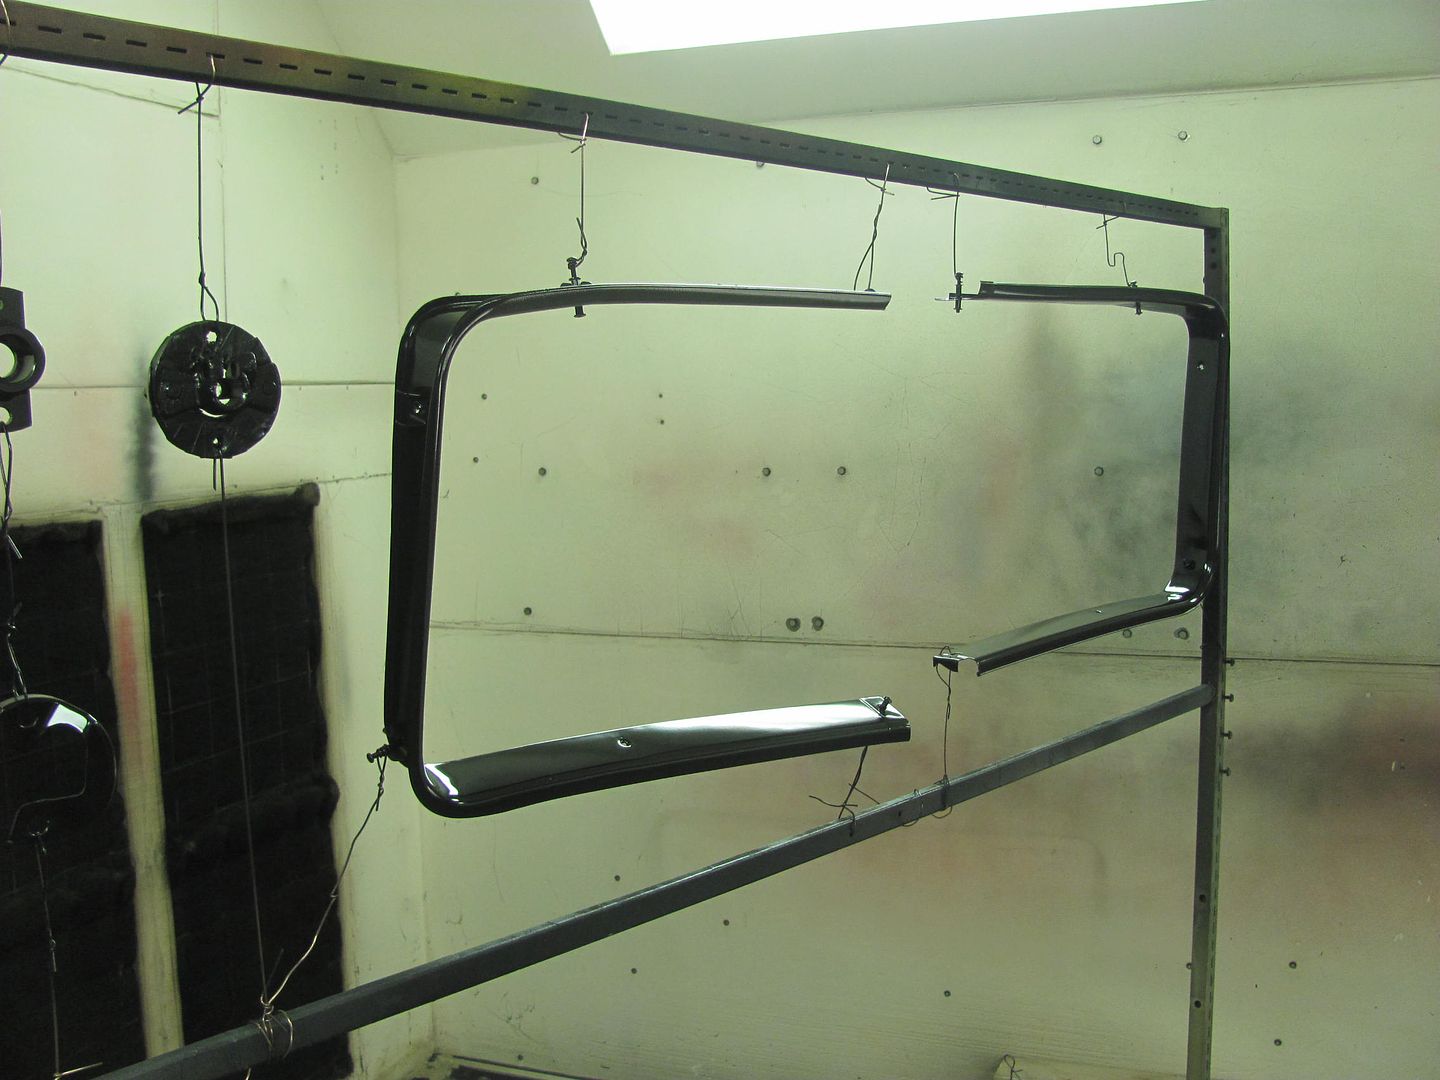 Sometimes the part has no holes for securing for paint.... 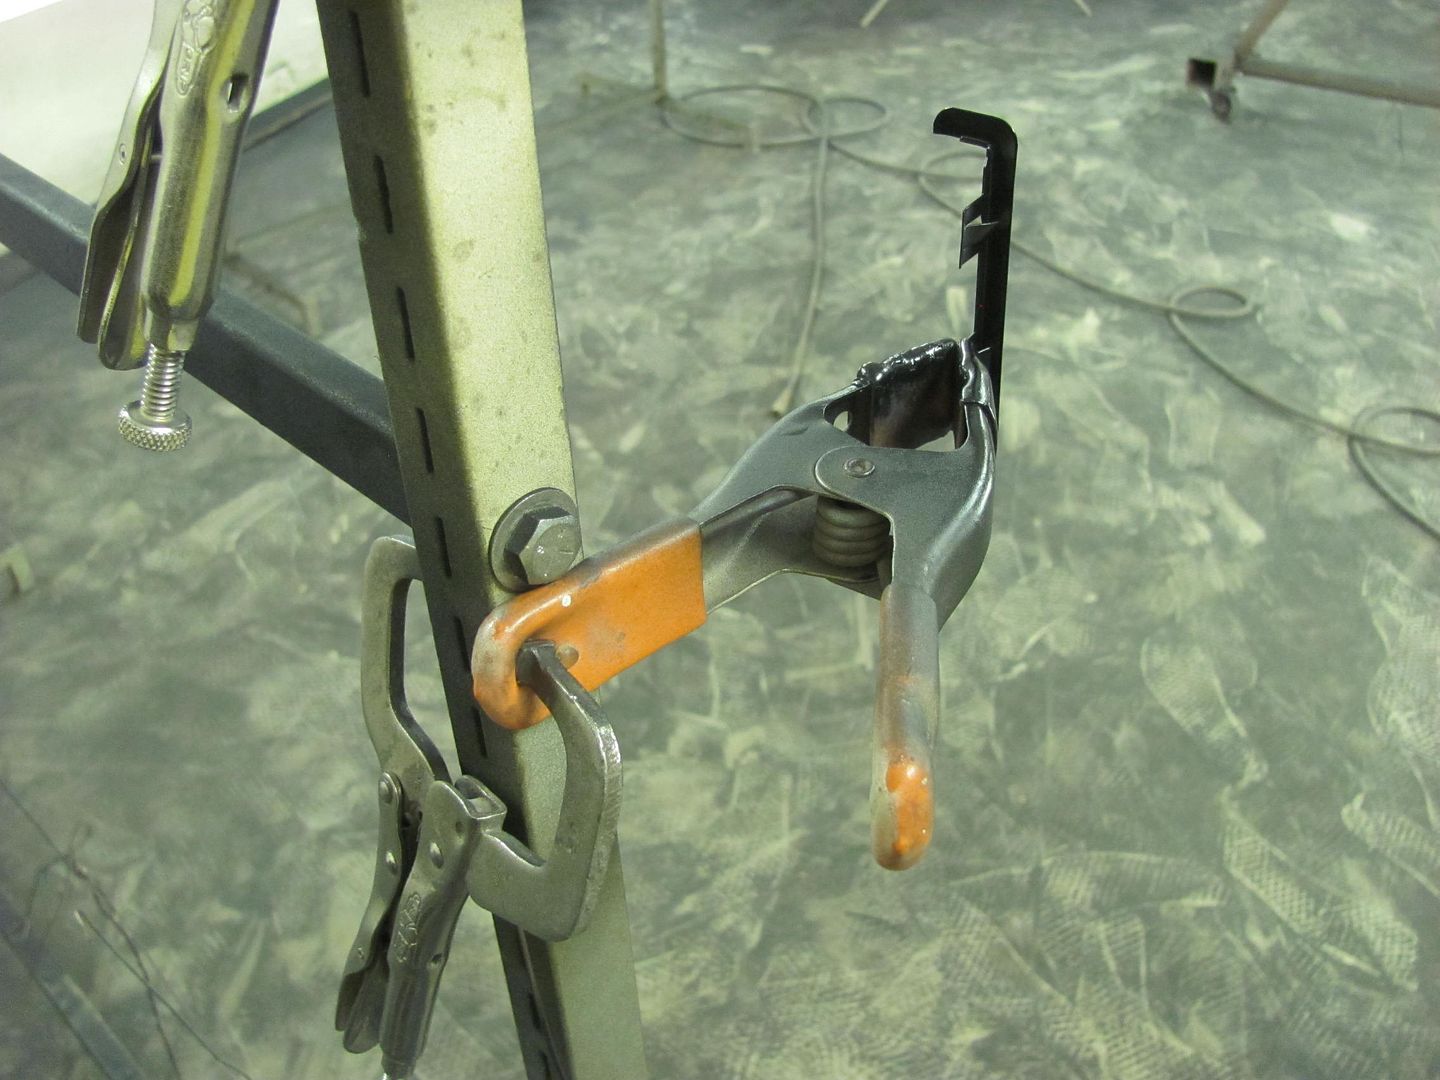 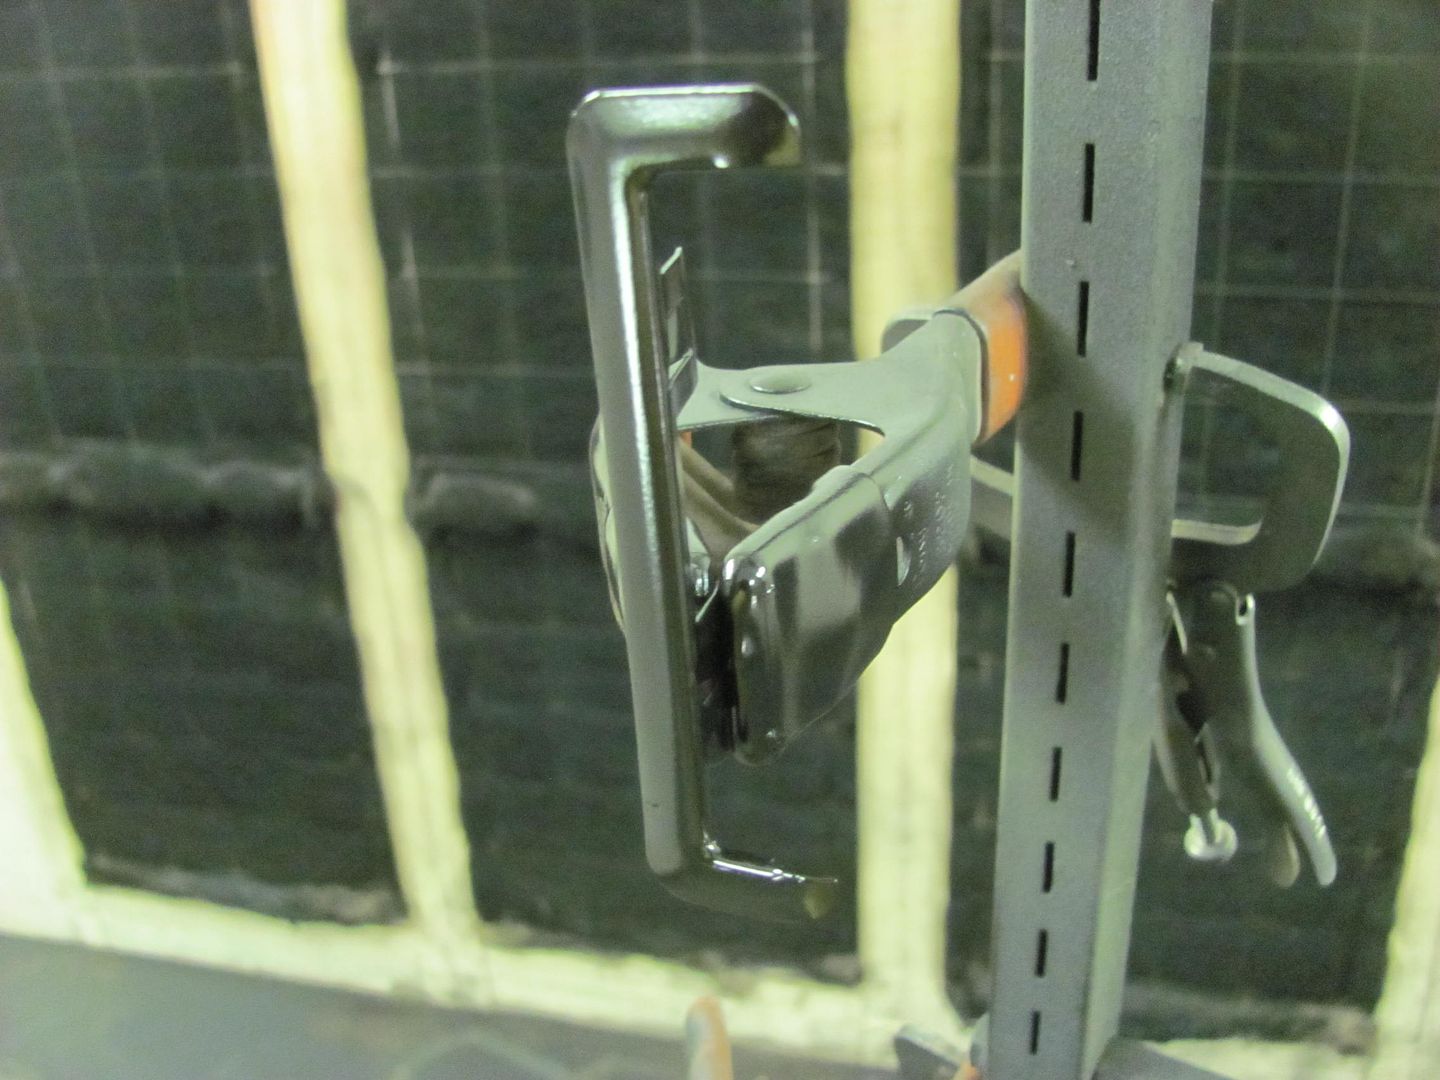
__________________
Robert |
|
|
|
|
02-05-2016, 12:06 AM
|
#639 |
|
Registered User
Join Date: Jan 2013
Location: Leonardtown, MD
Posts: 1,637
|
Re: 55 Wagon Progress
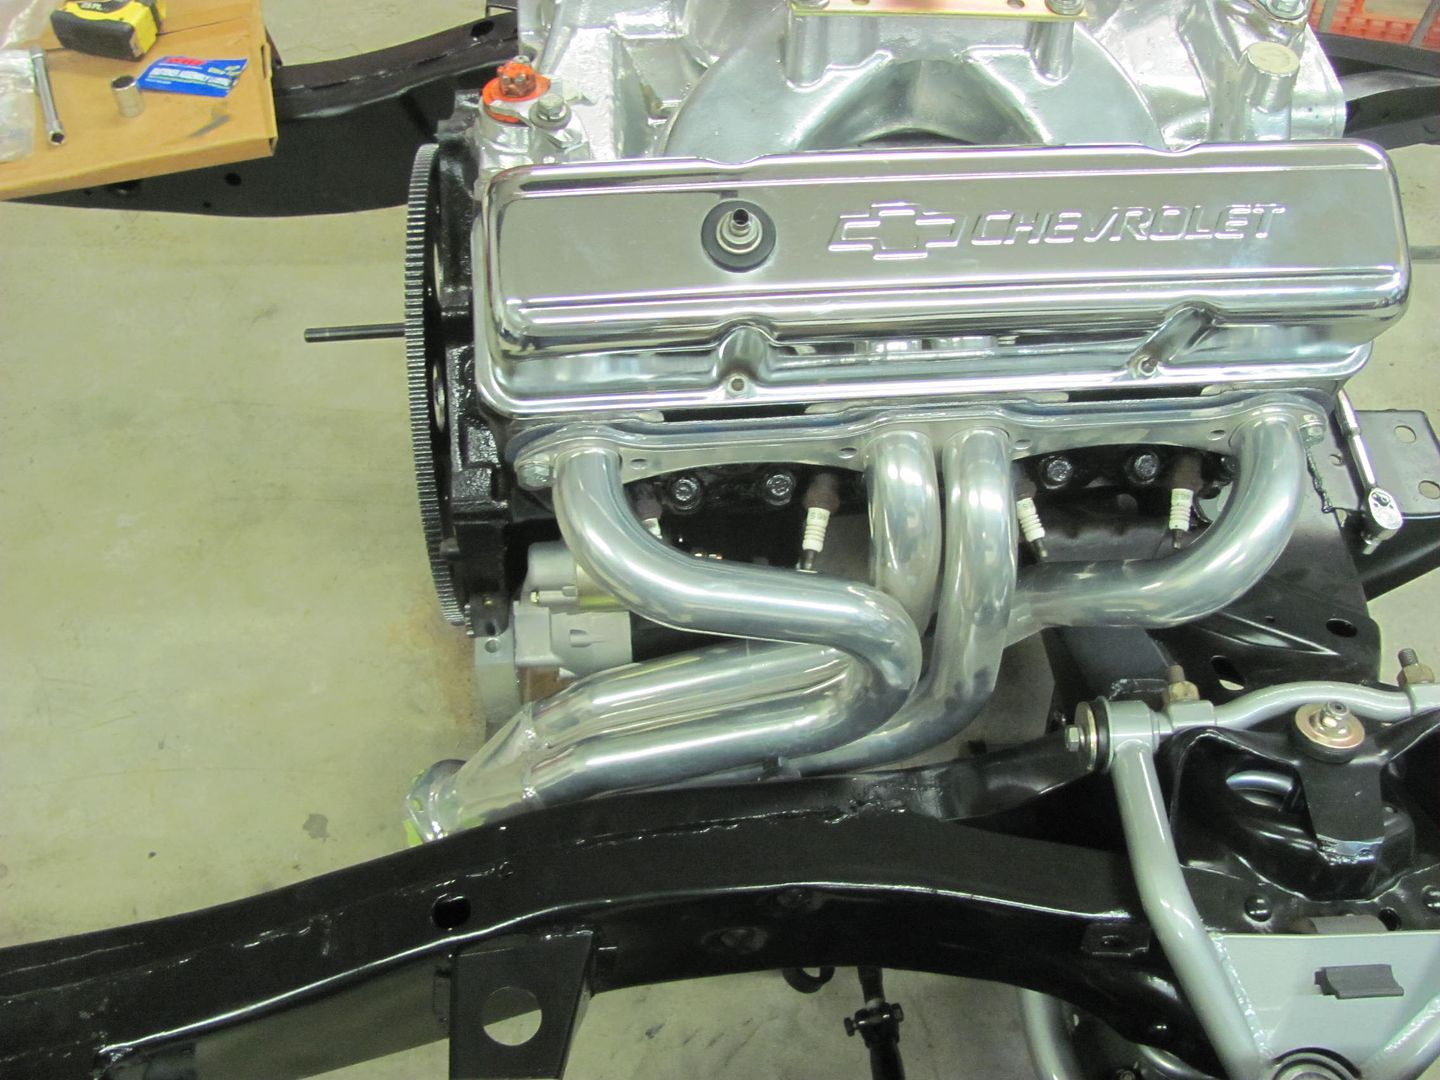
Tonight's update, Headers installed using stainless socket heads....
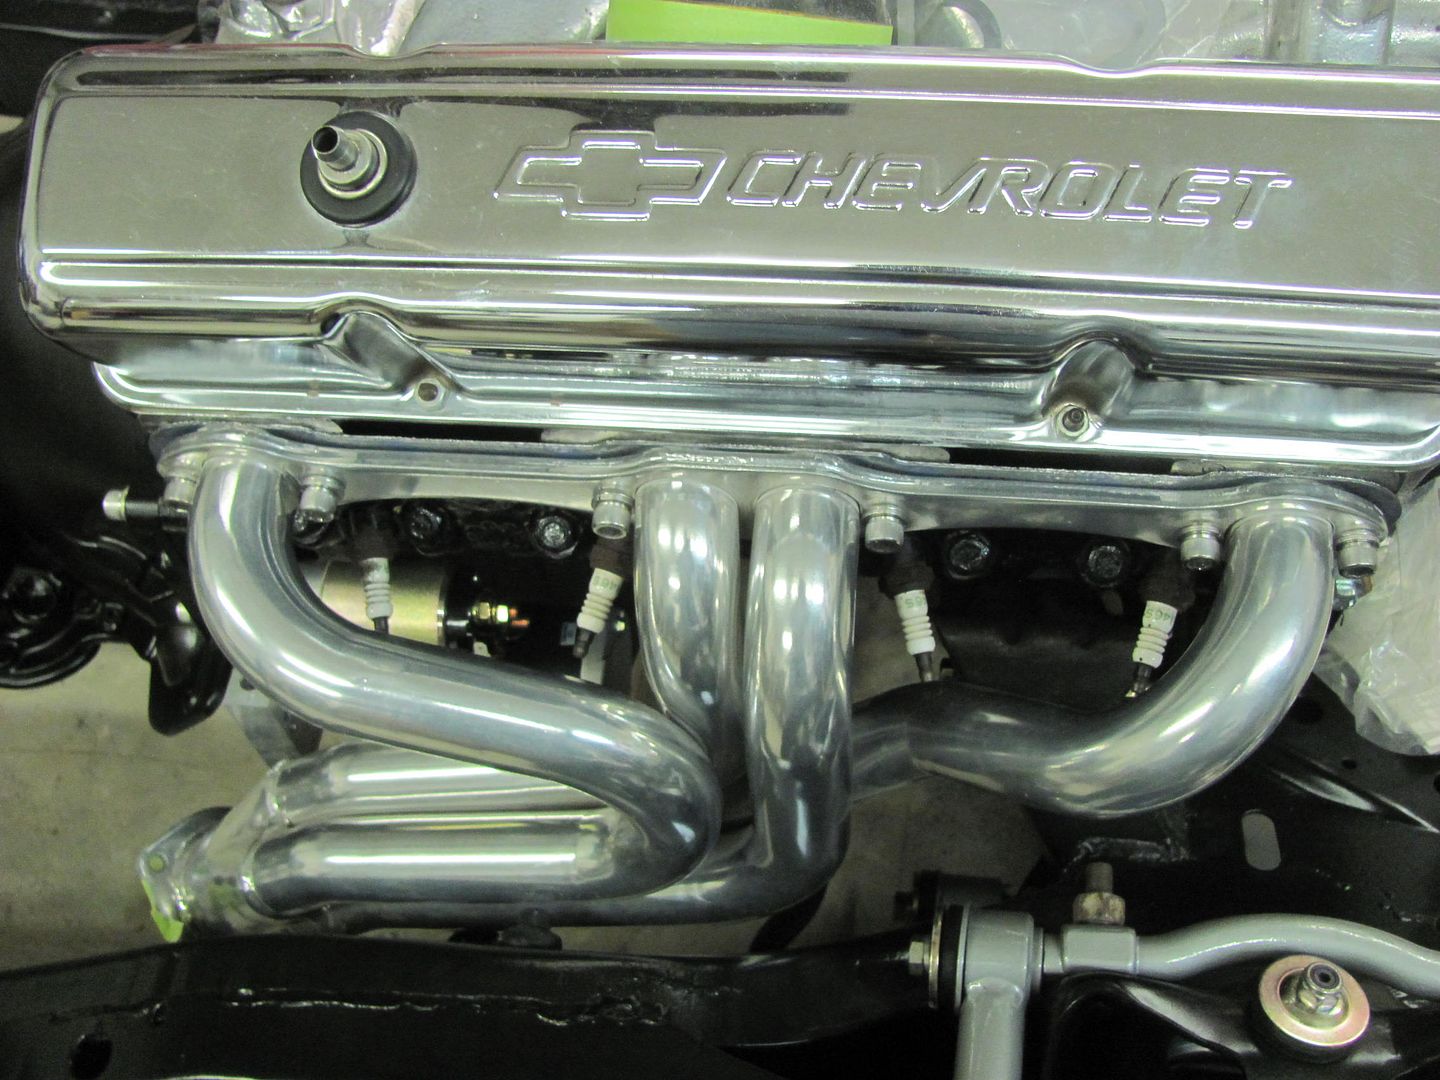 Trans and driveshaft installed 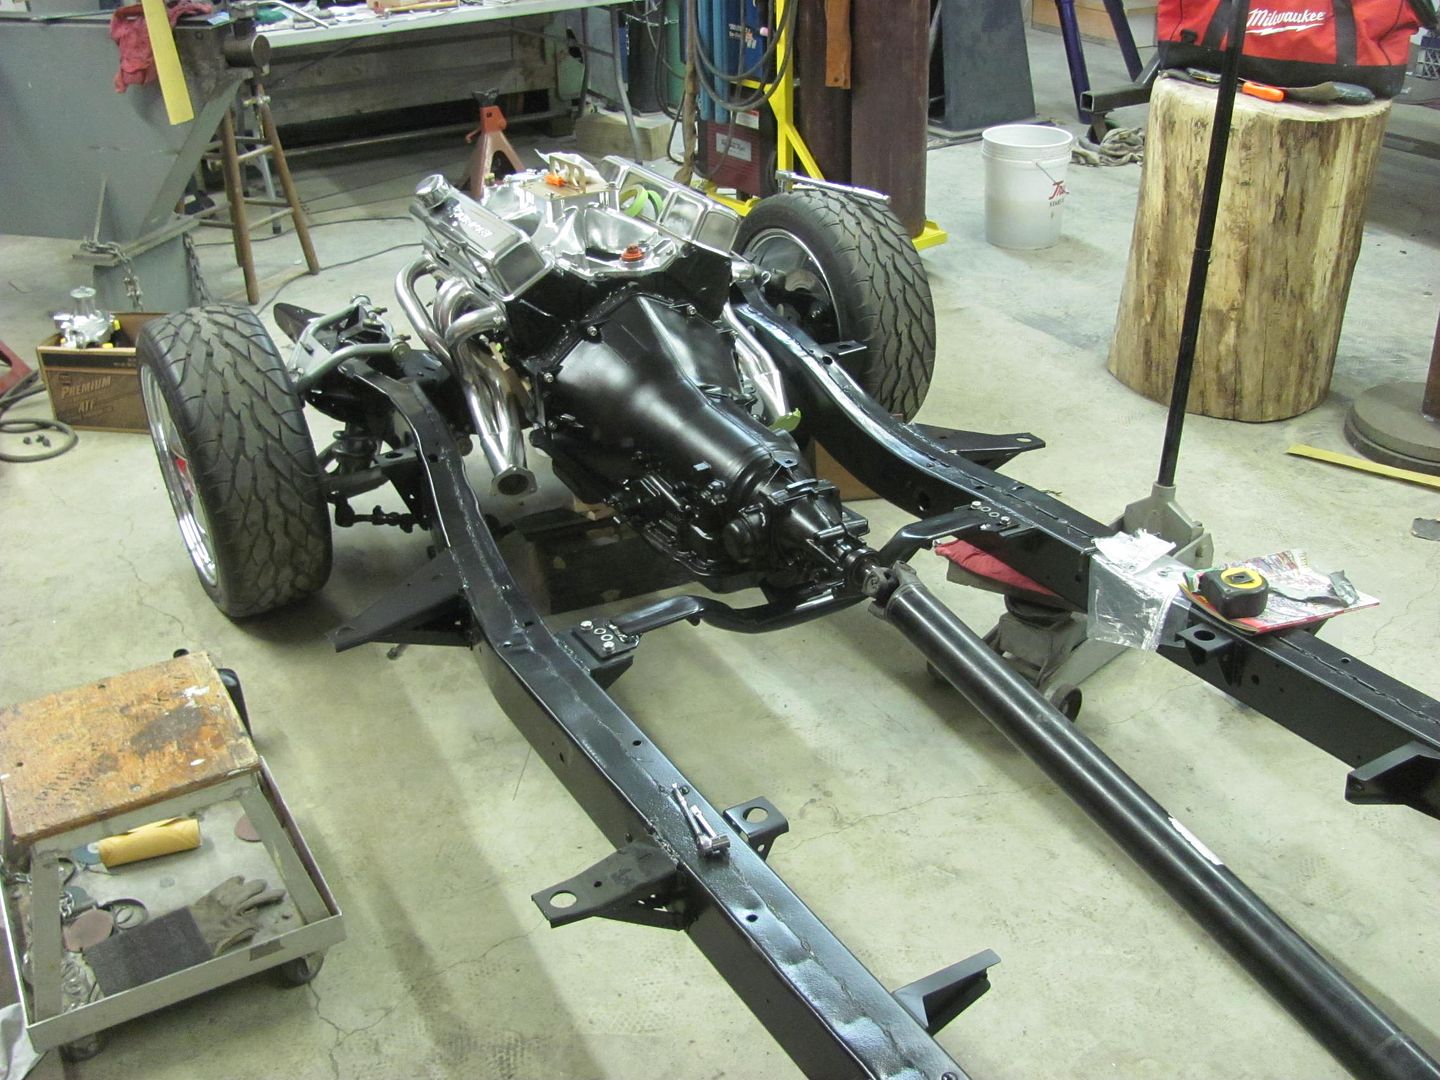 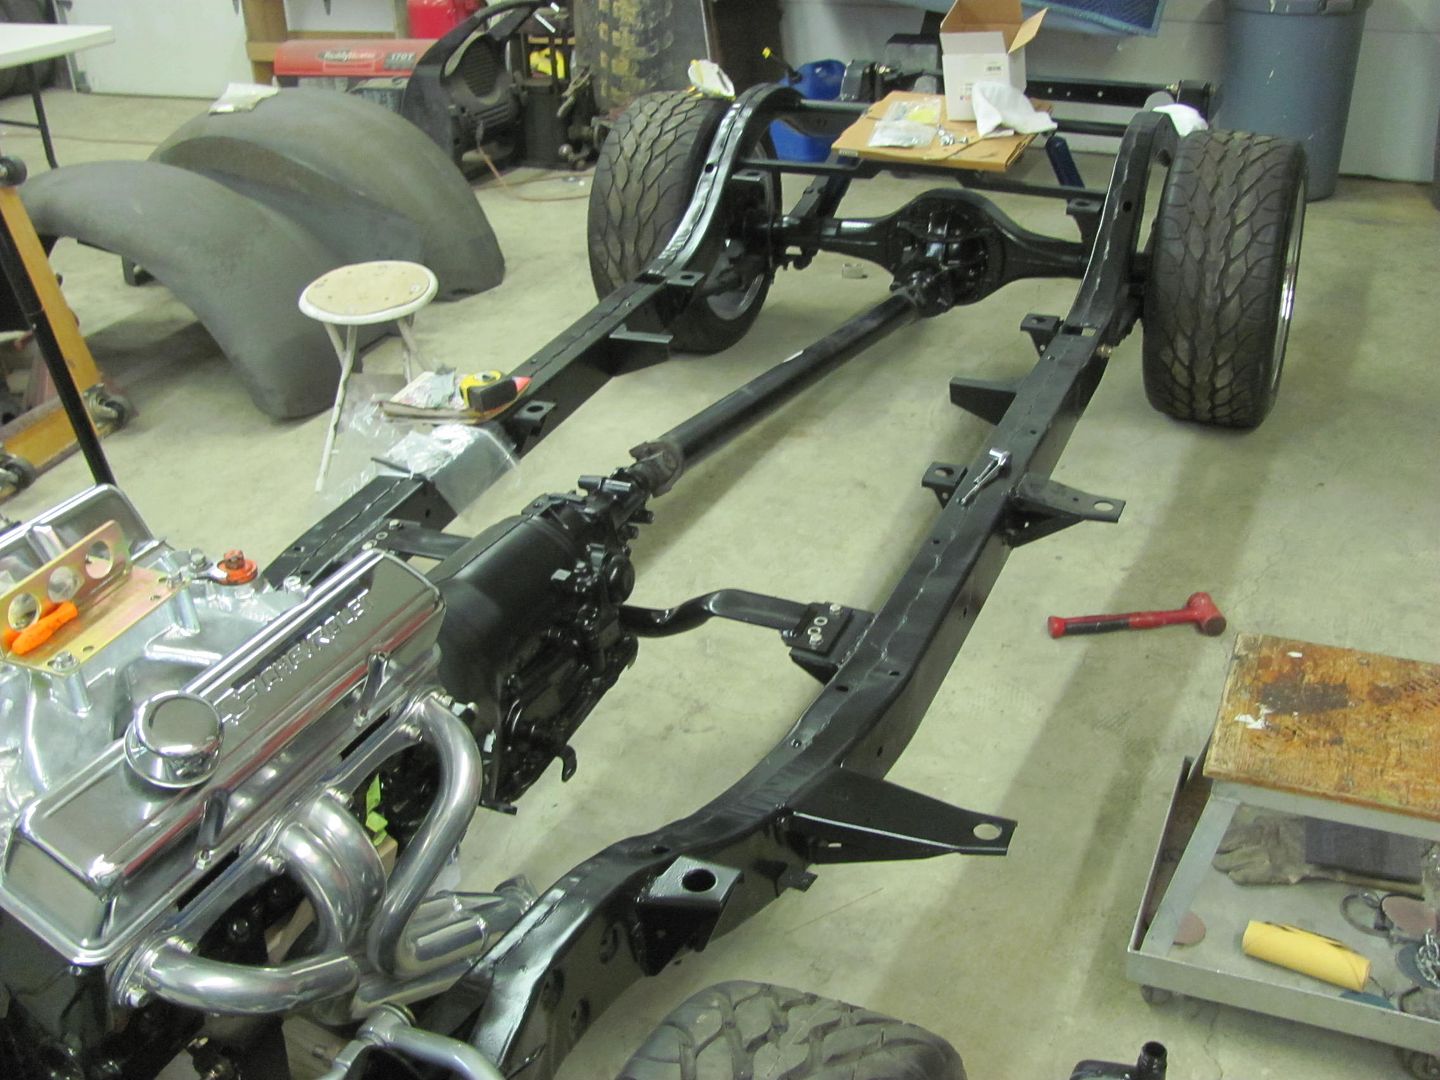 Exhaust installation... 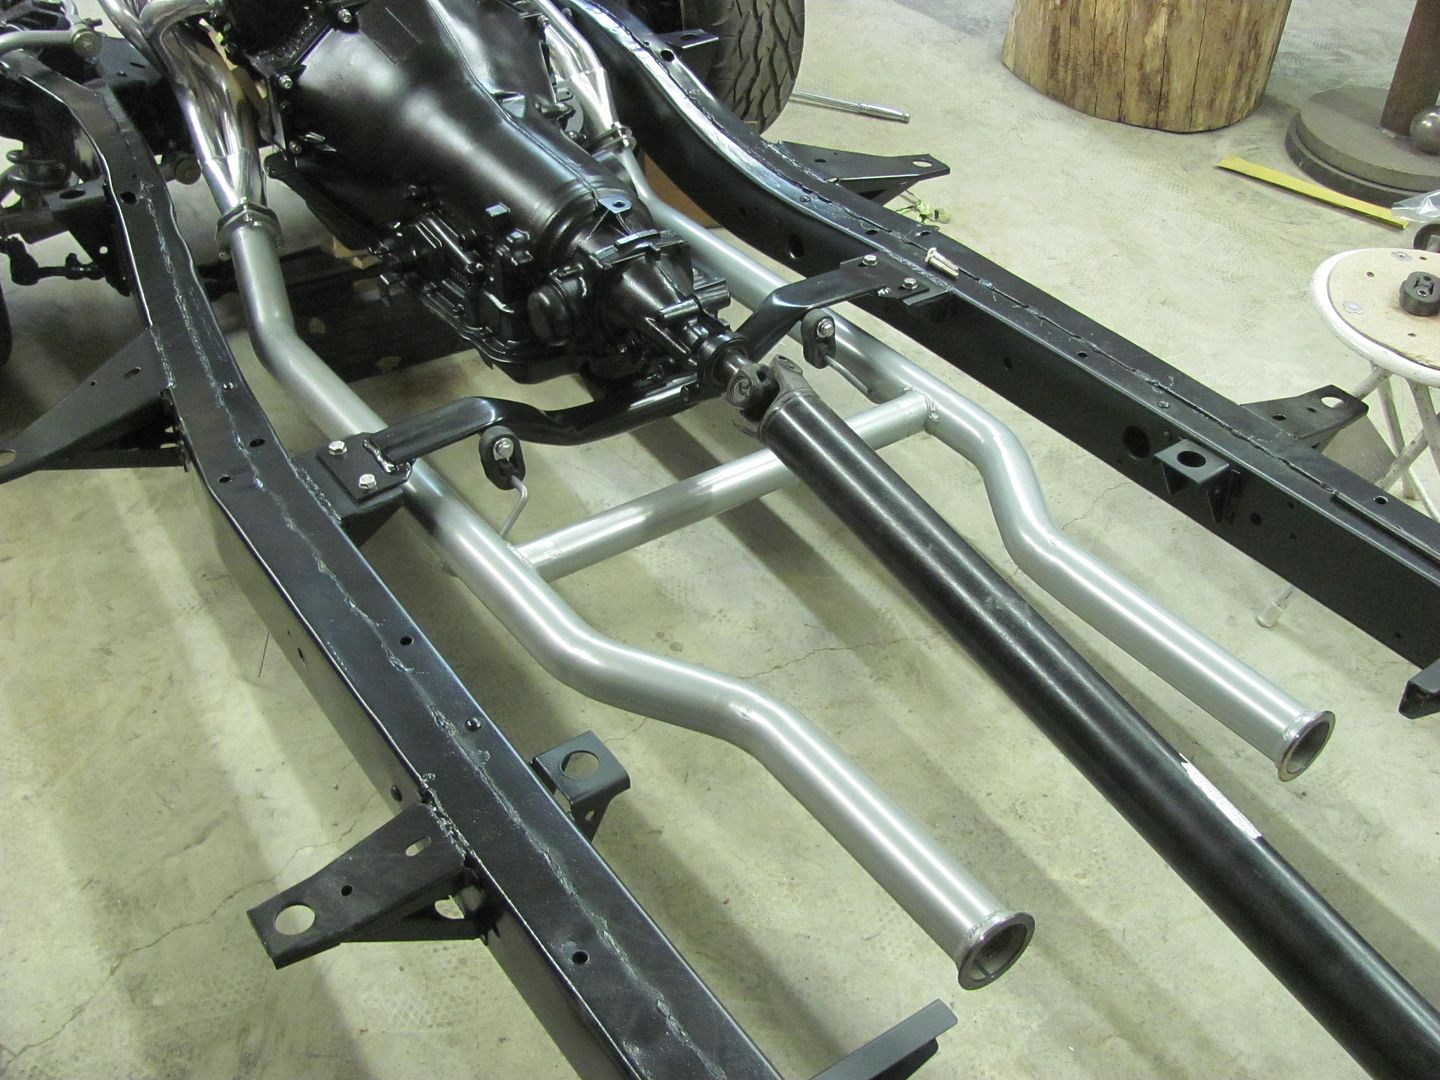 Steel donut gaskets.... 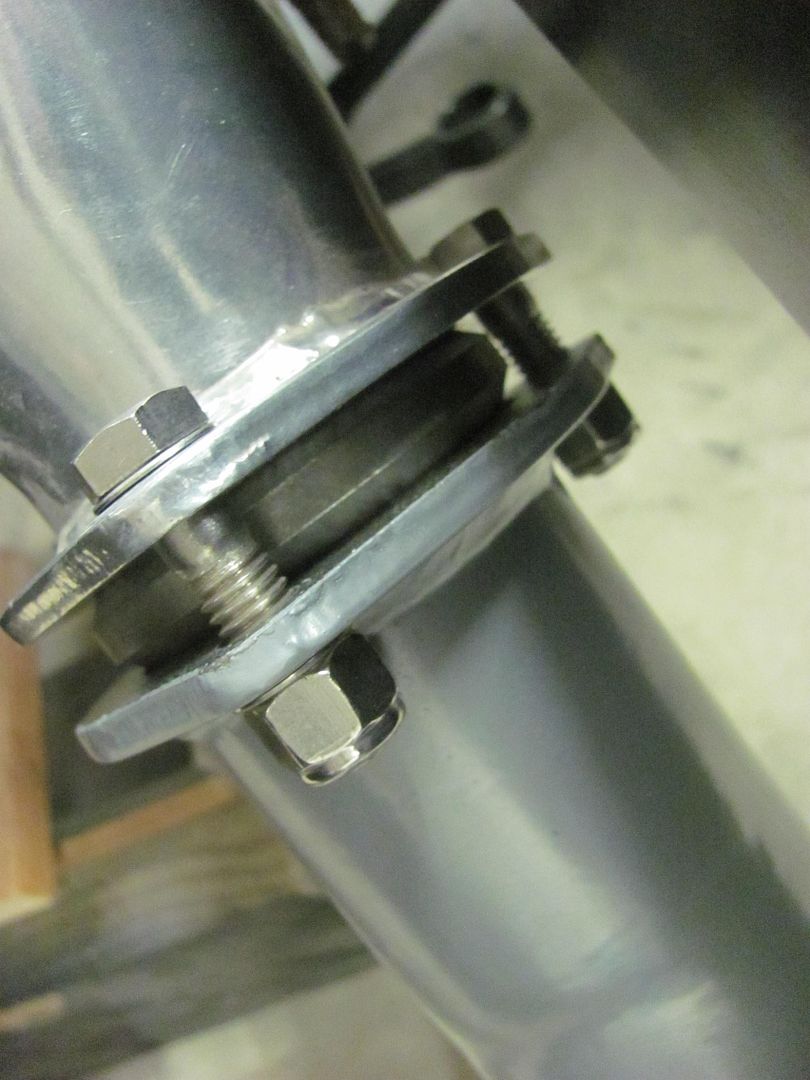 Exhaust that will be heard but not seen.... 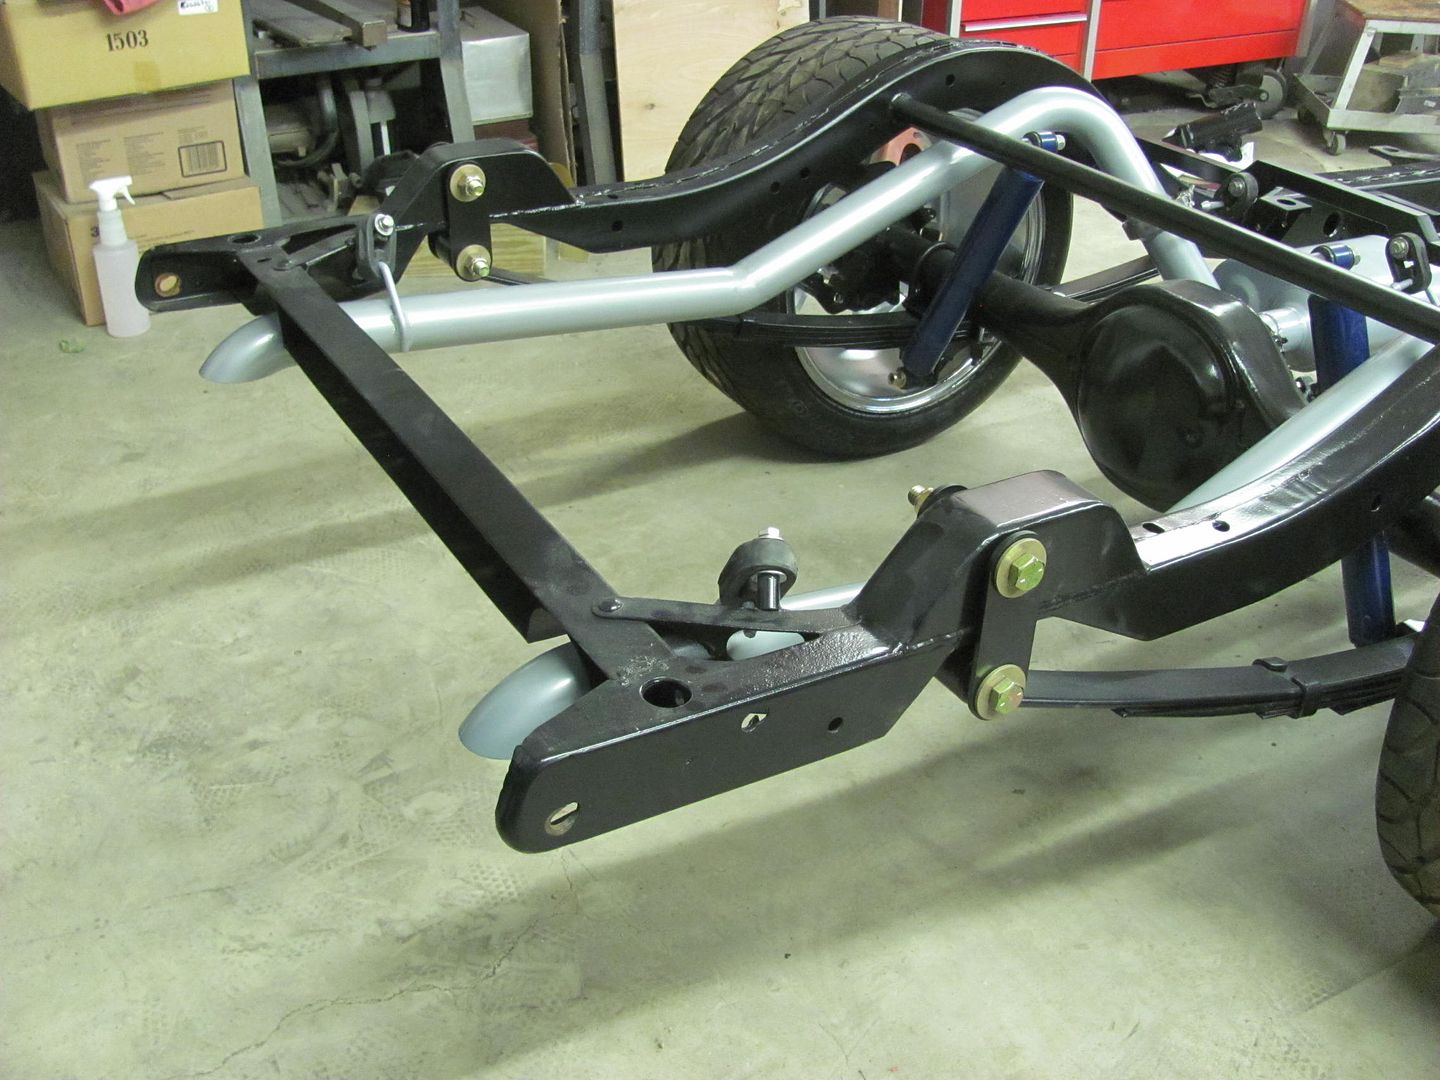 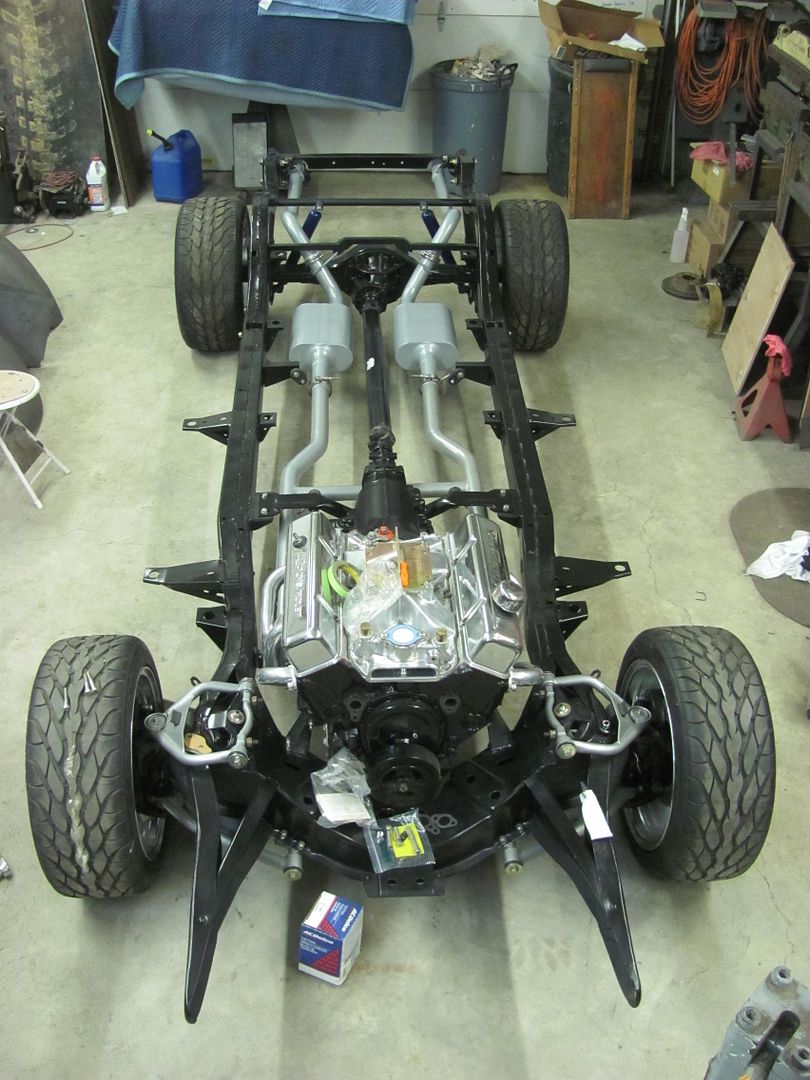 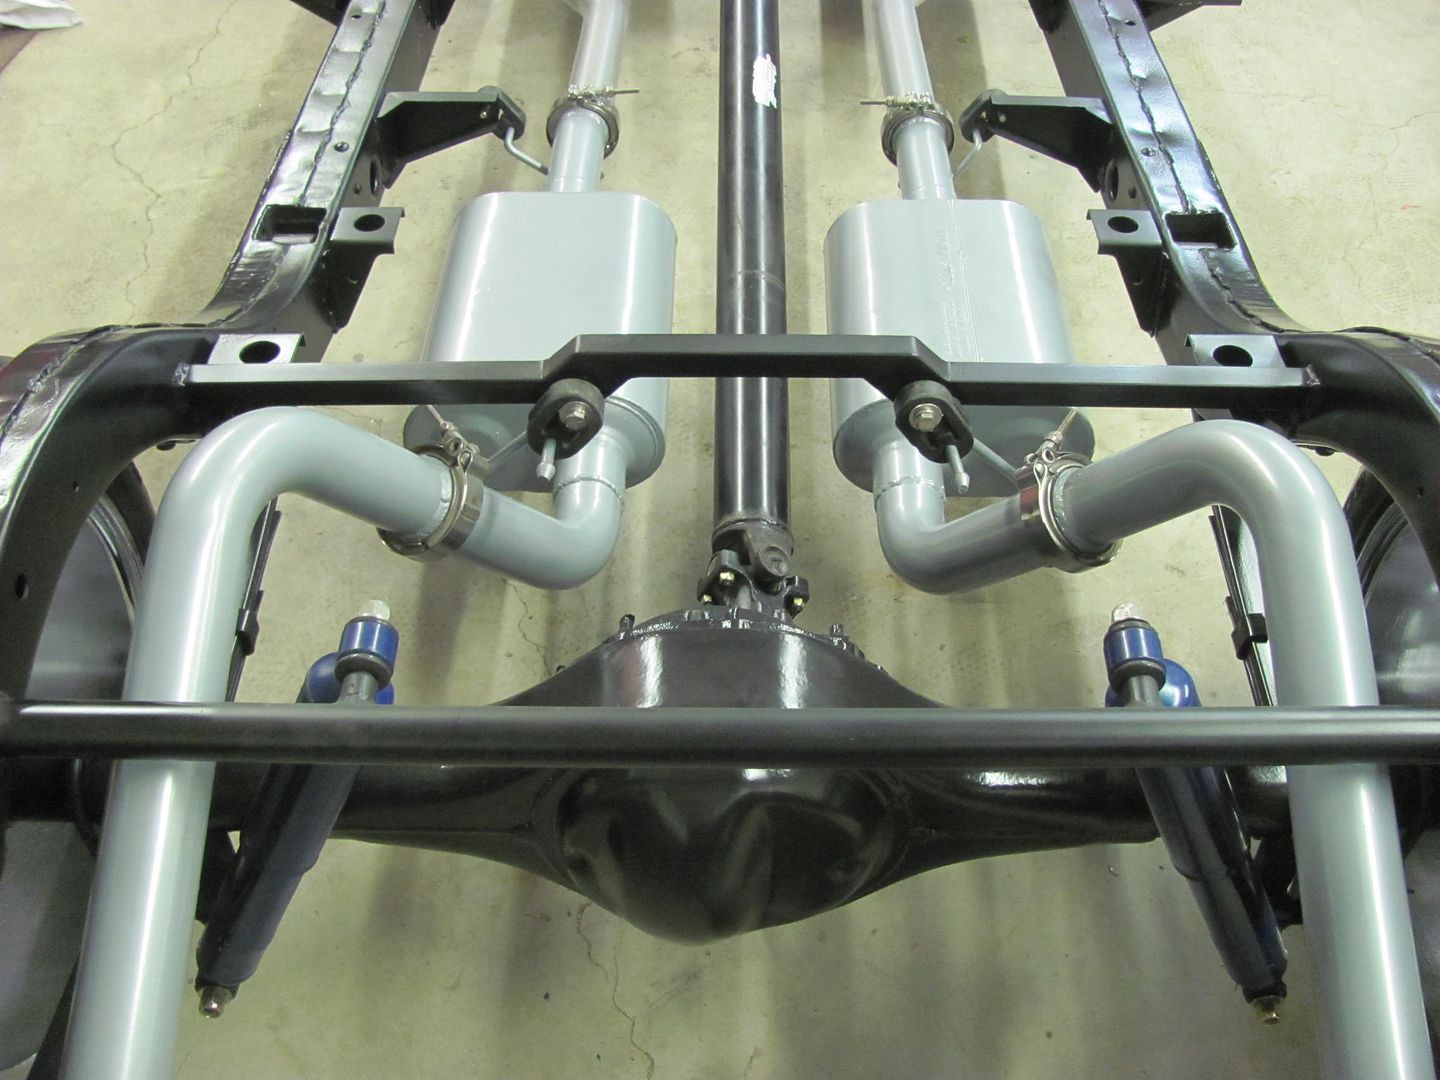 Header clearance issues to the steering box... 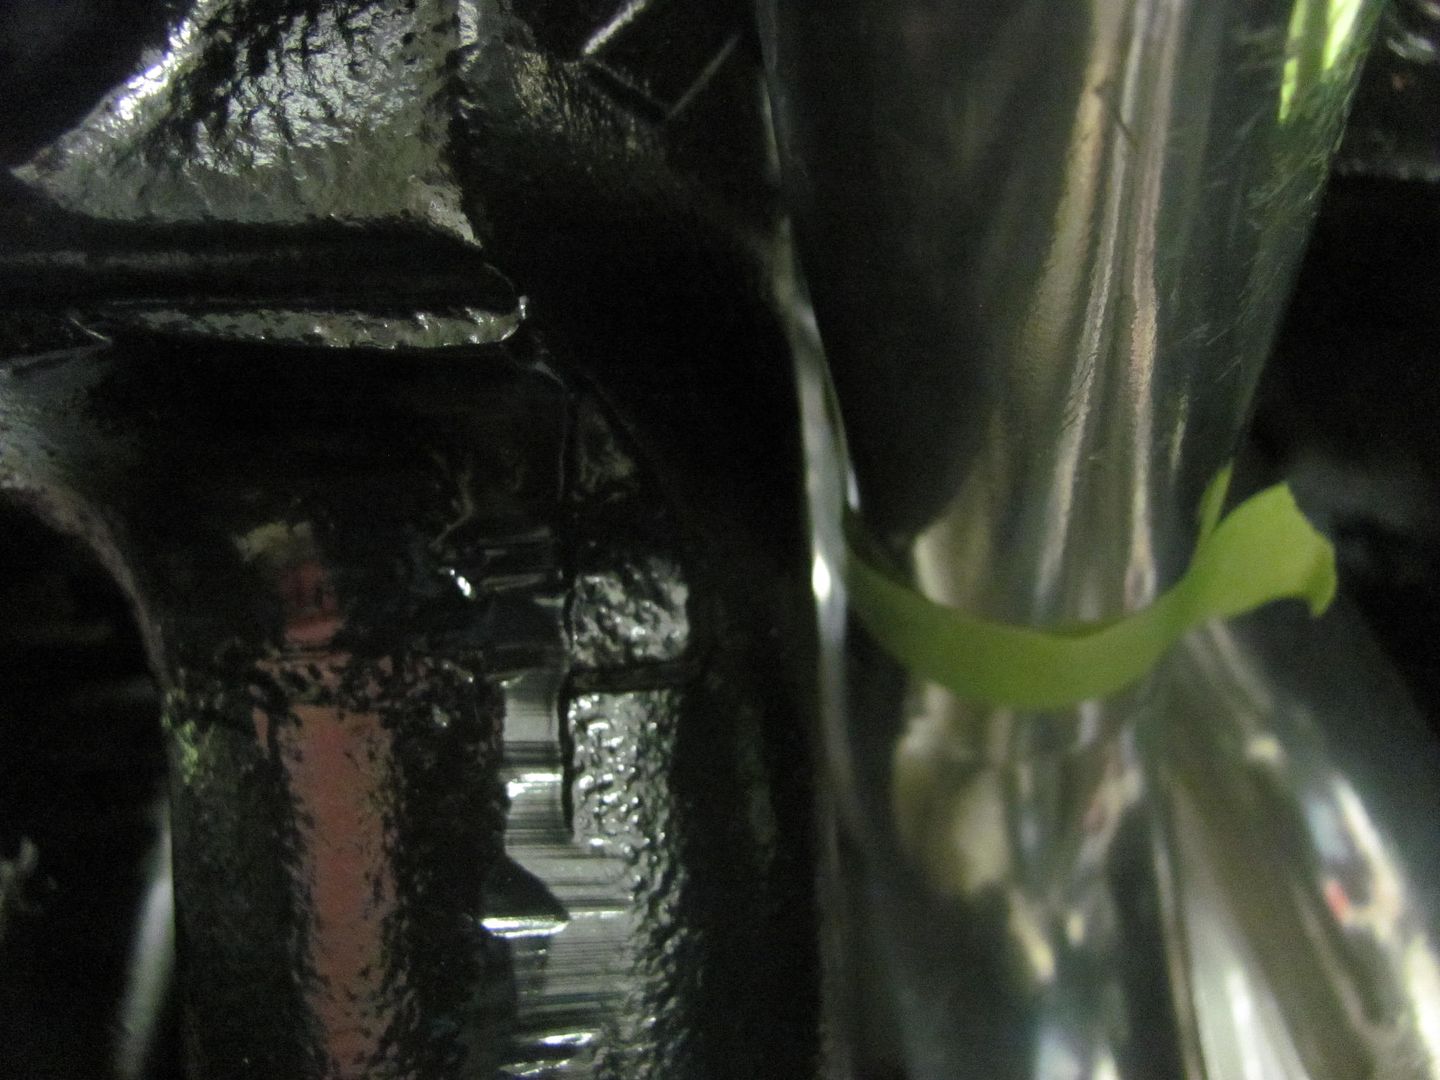 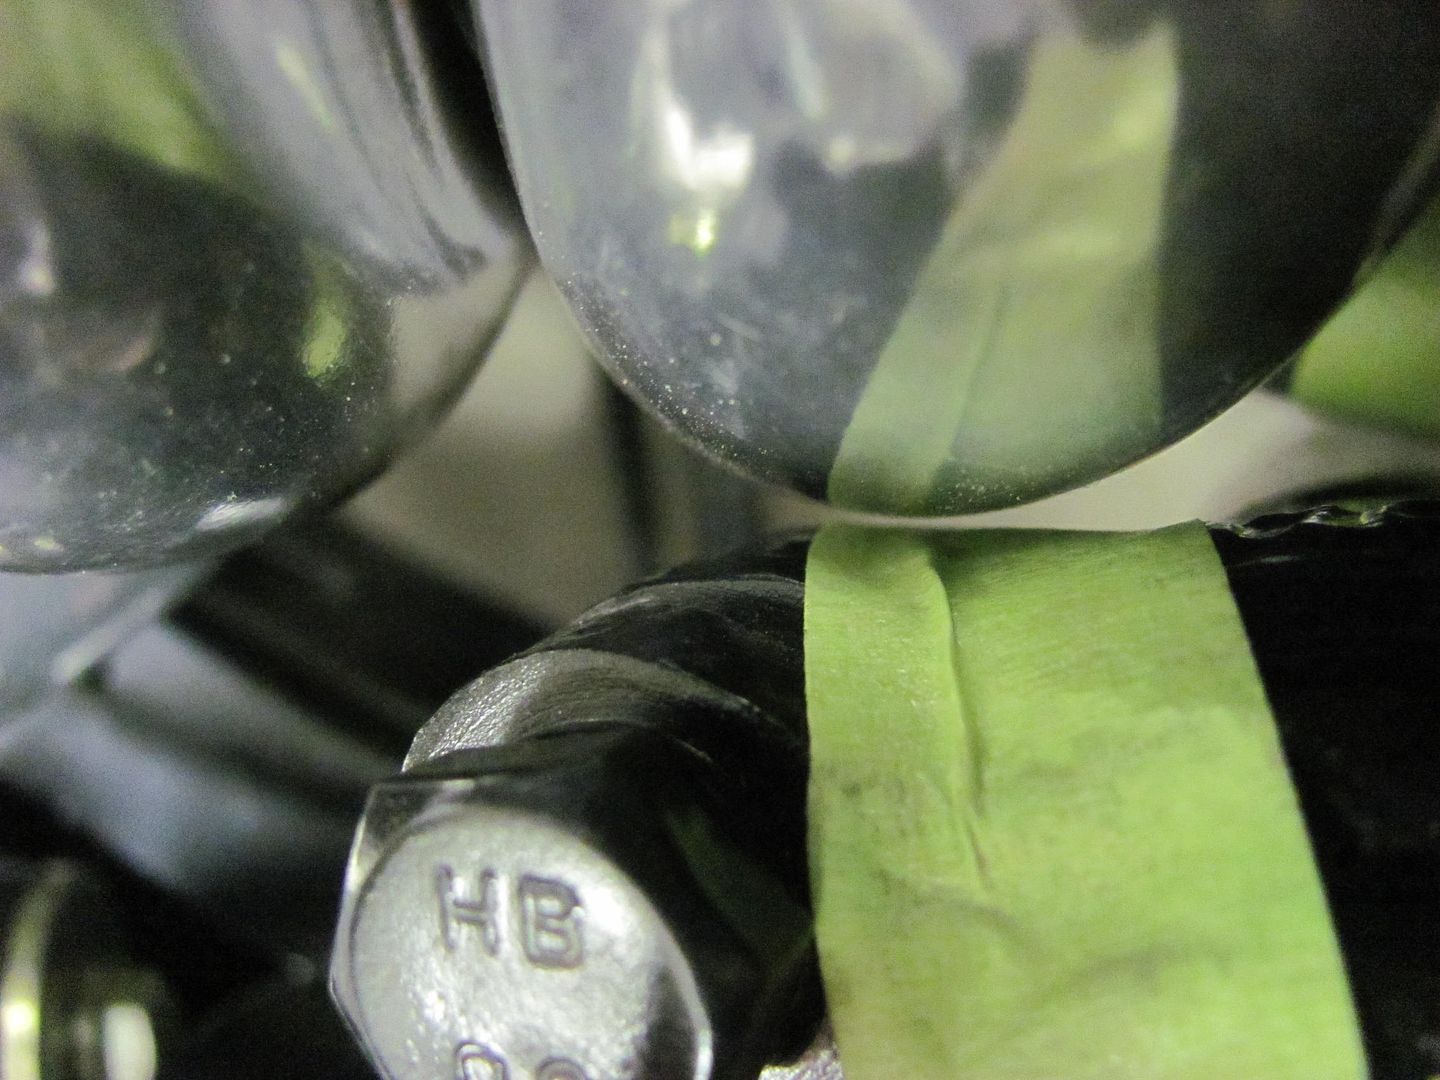 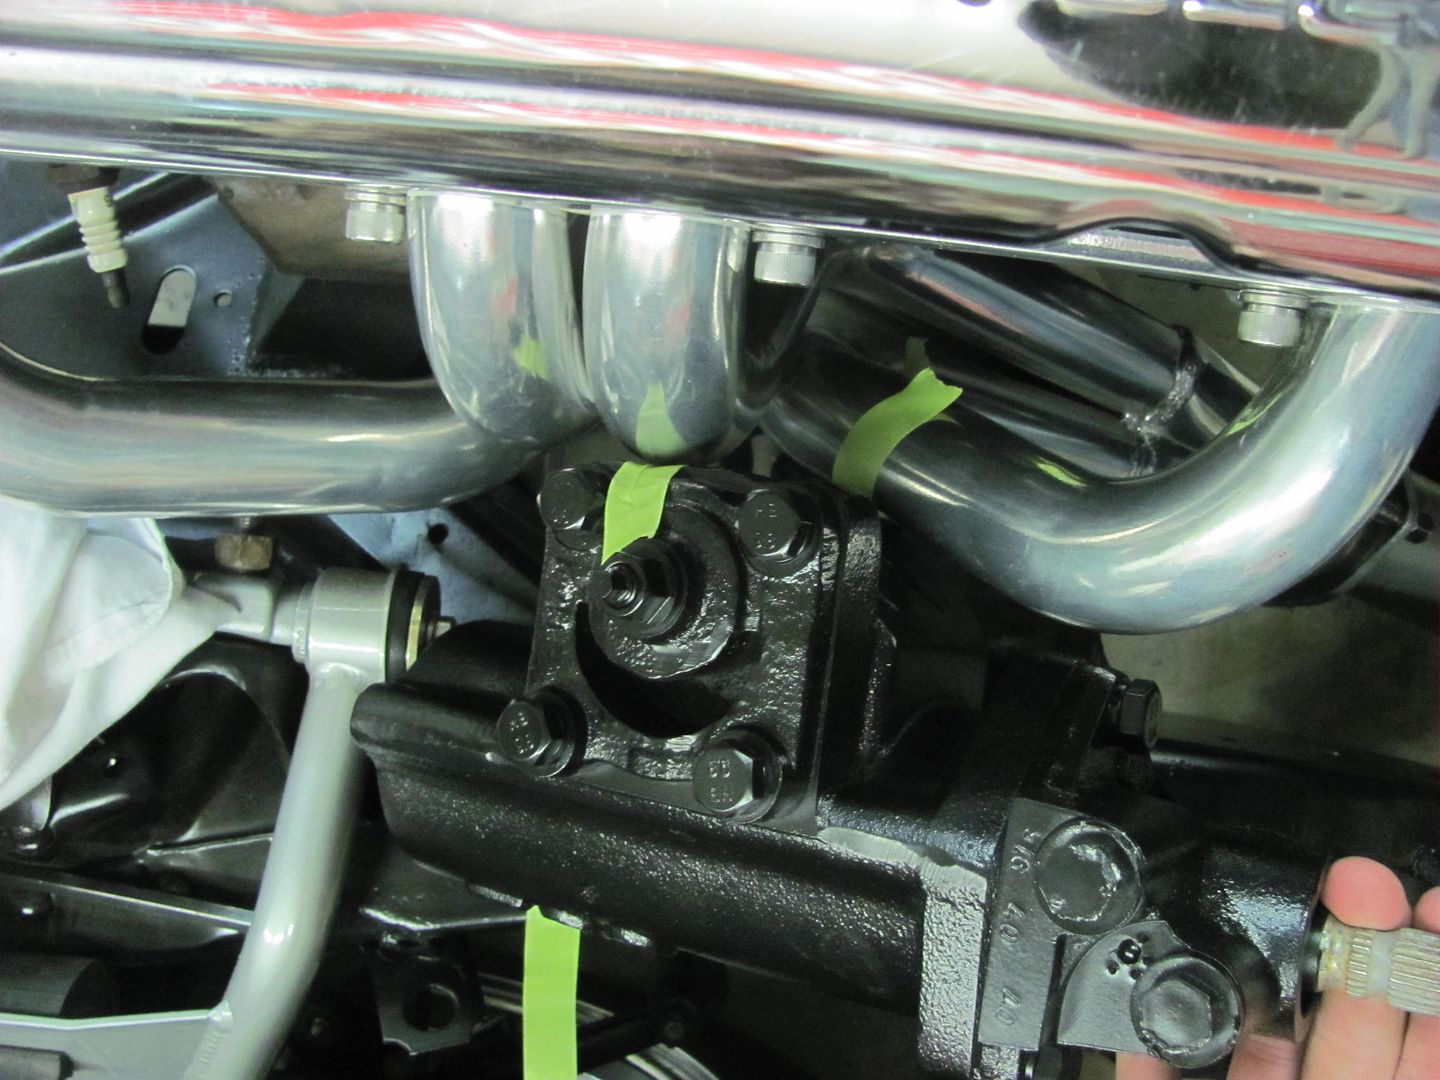 Header clearance tool for tube #3... 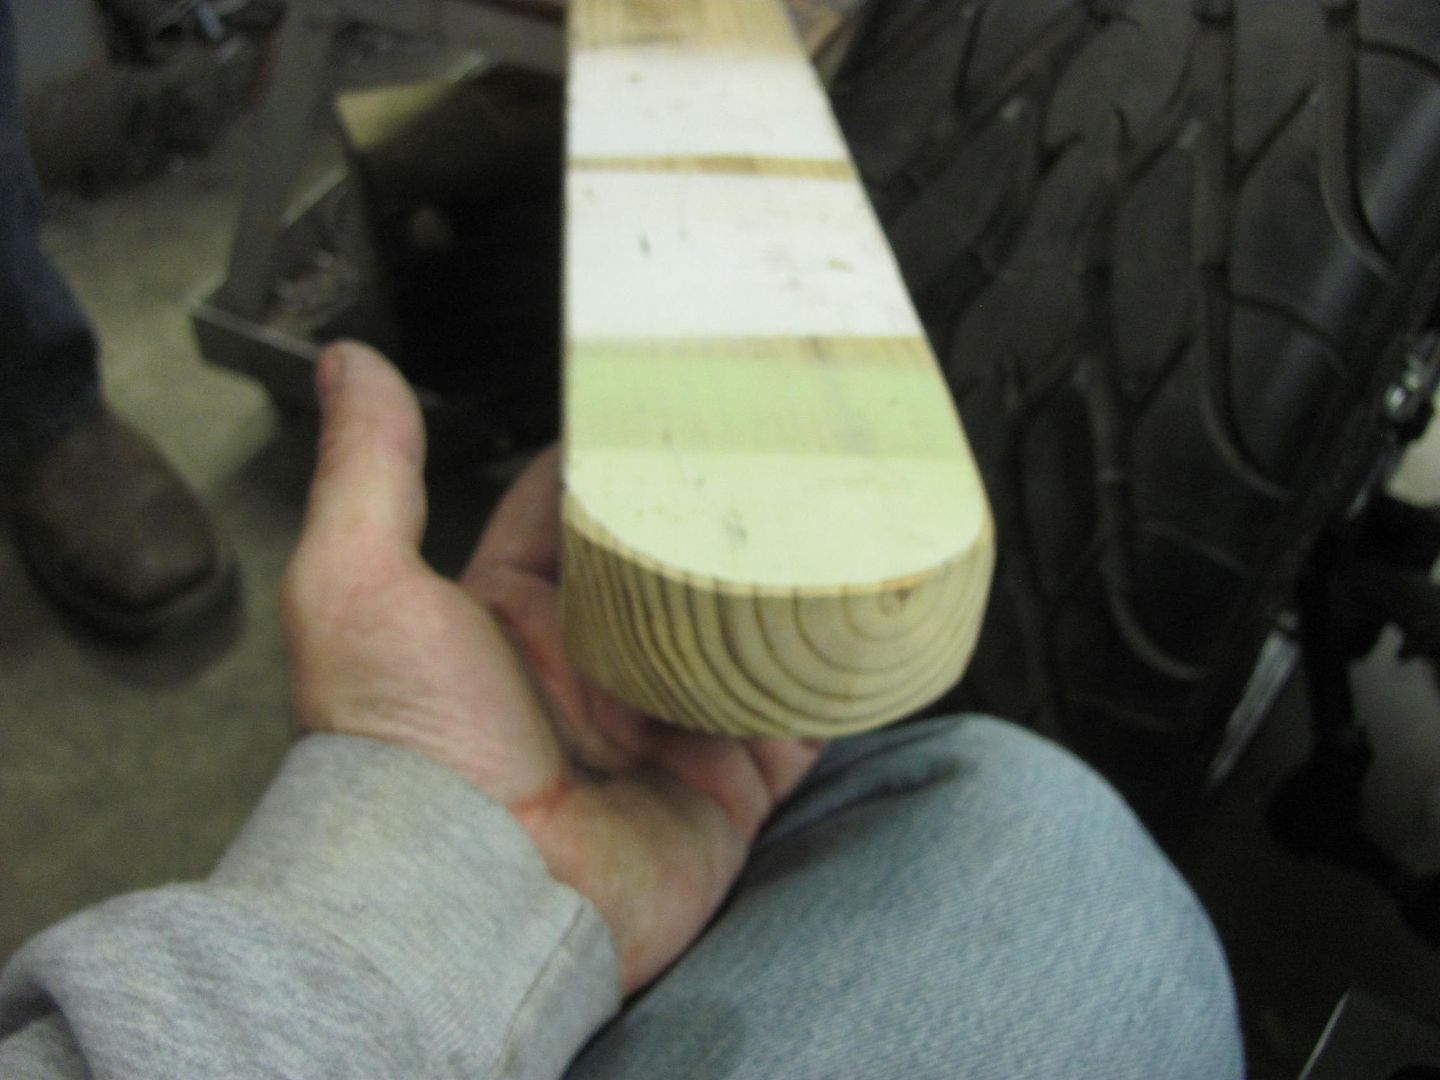 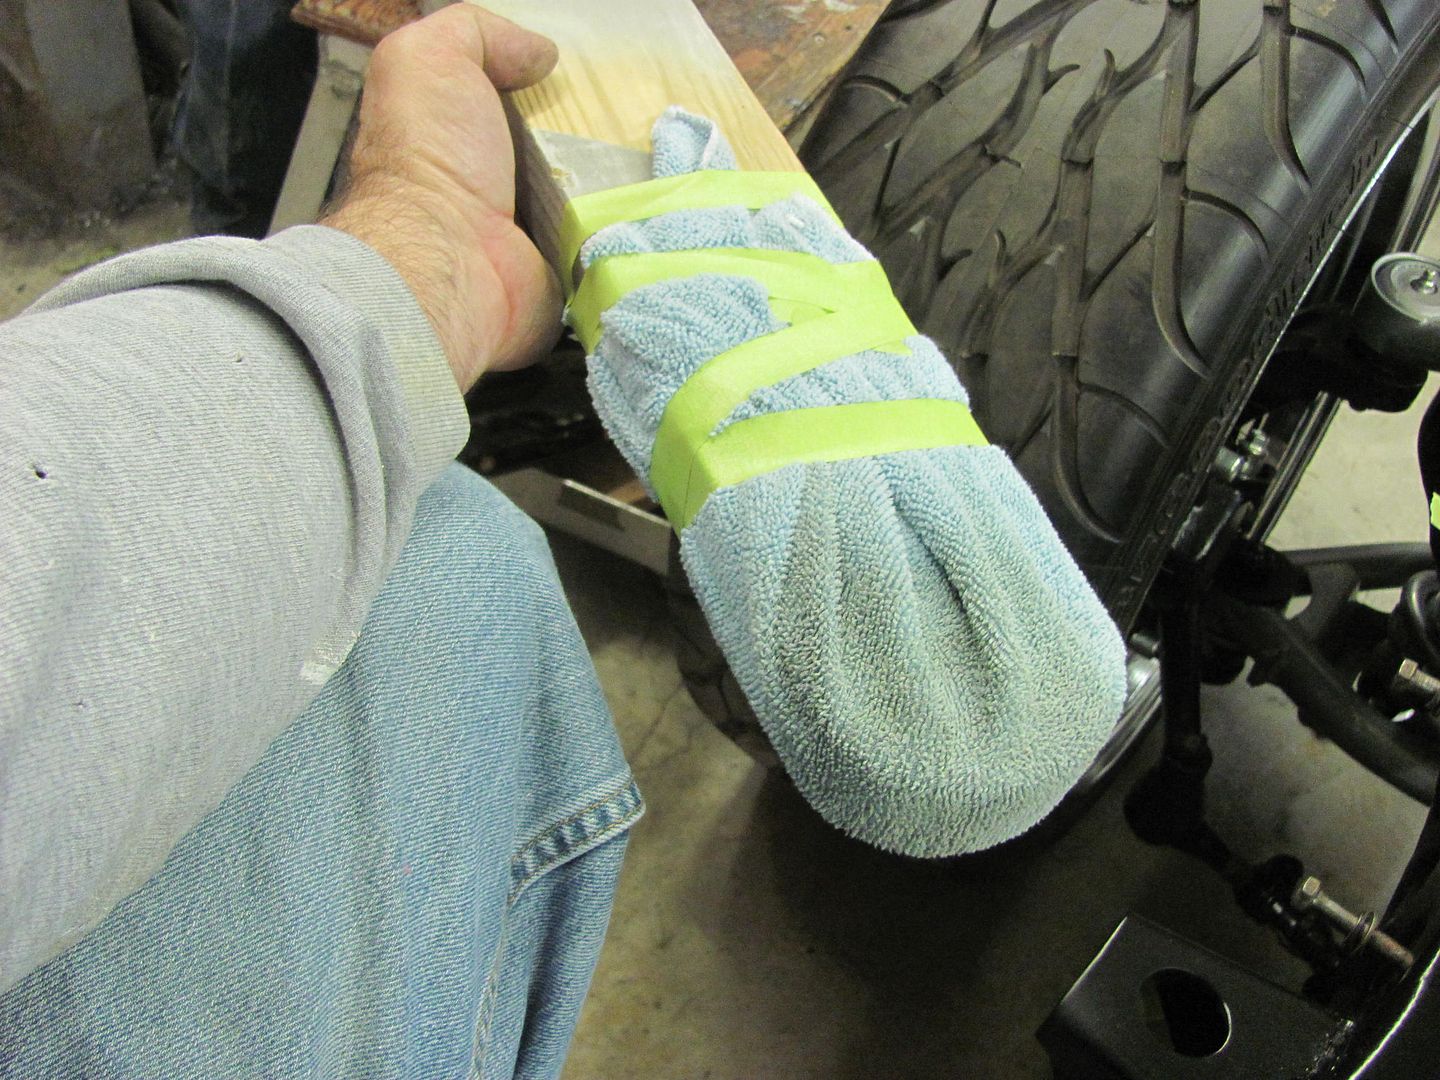 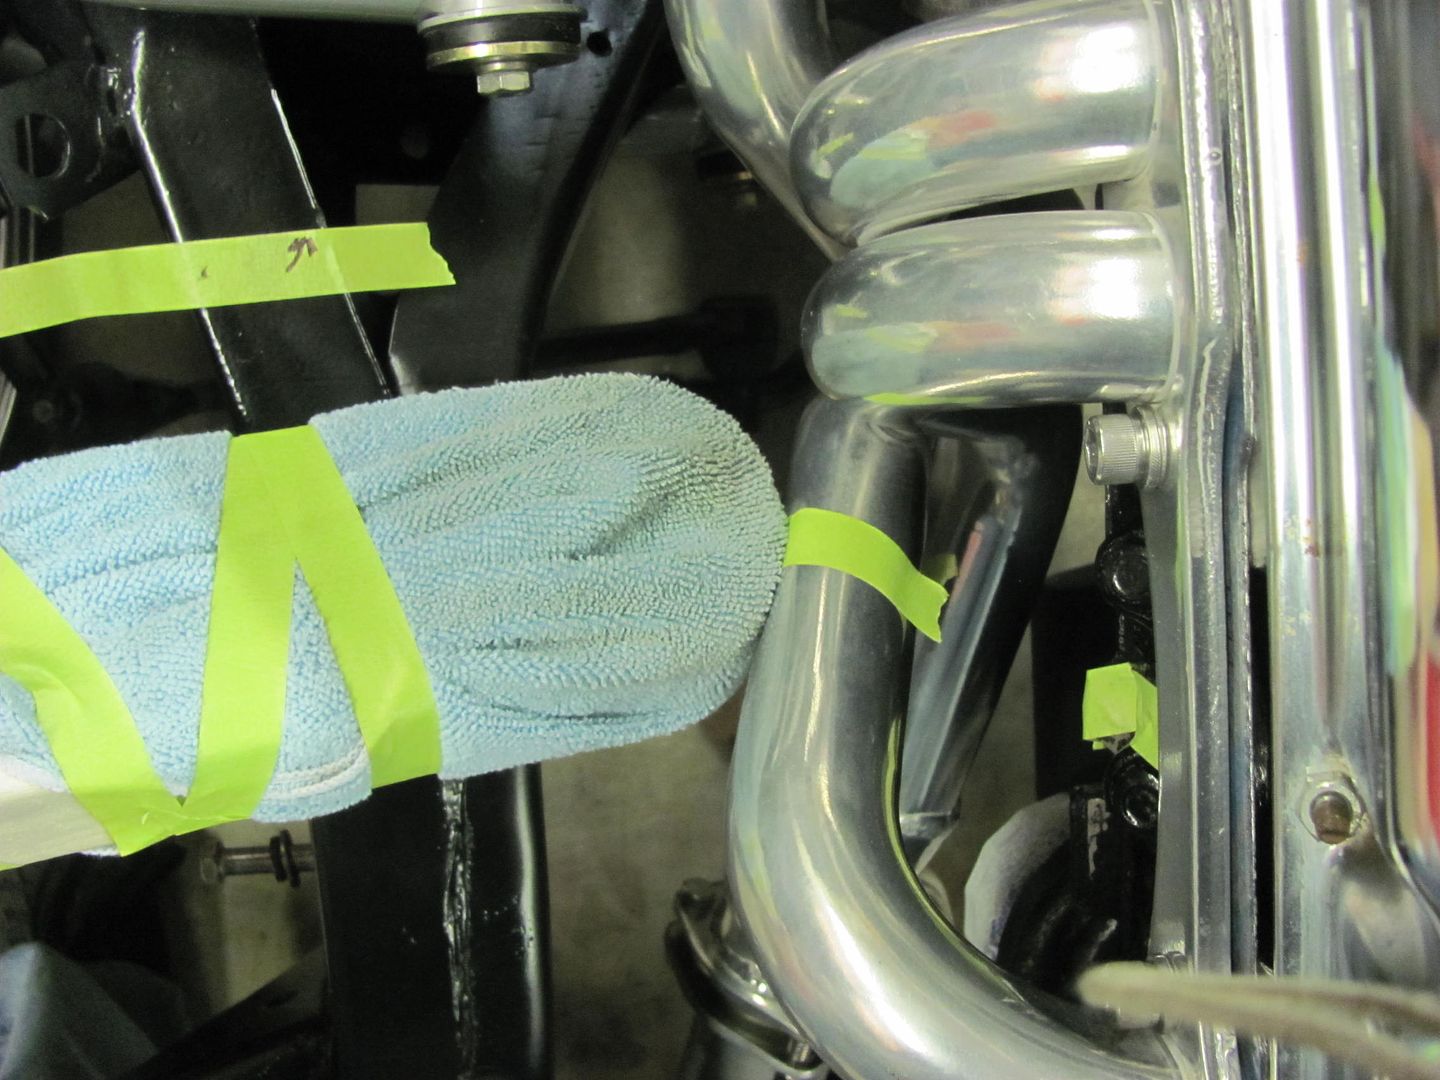  Drum sander clearance for tube #2... looks like we have some touch up painting to do.. 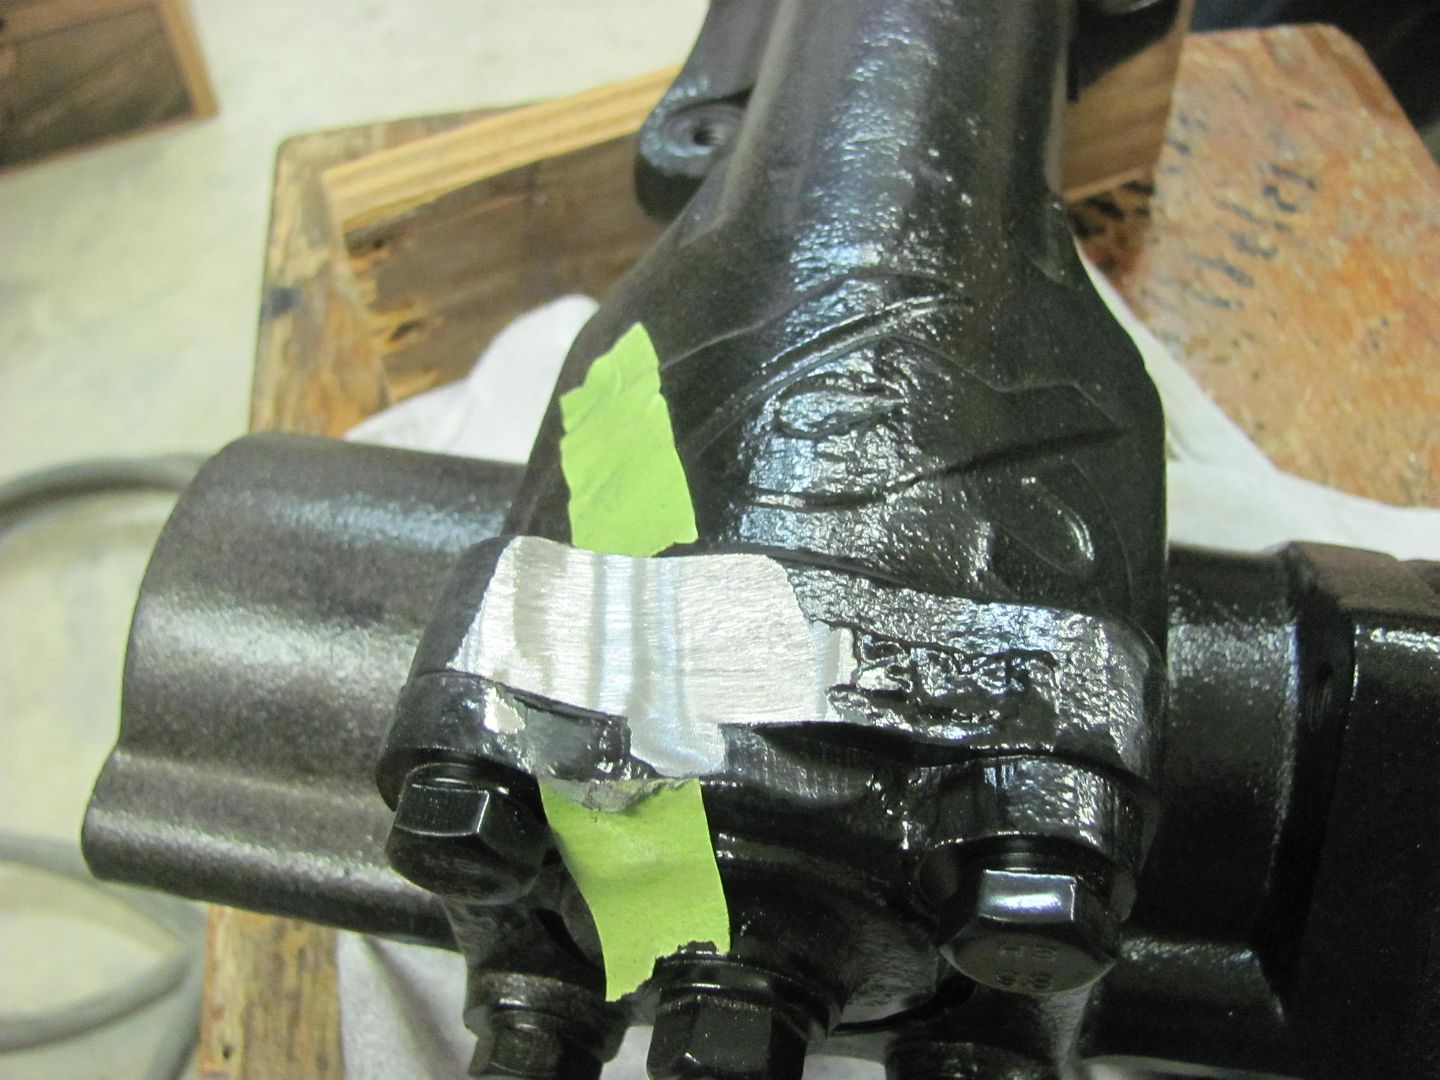 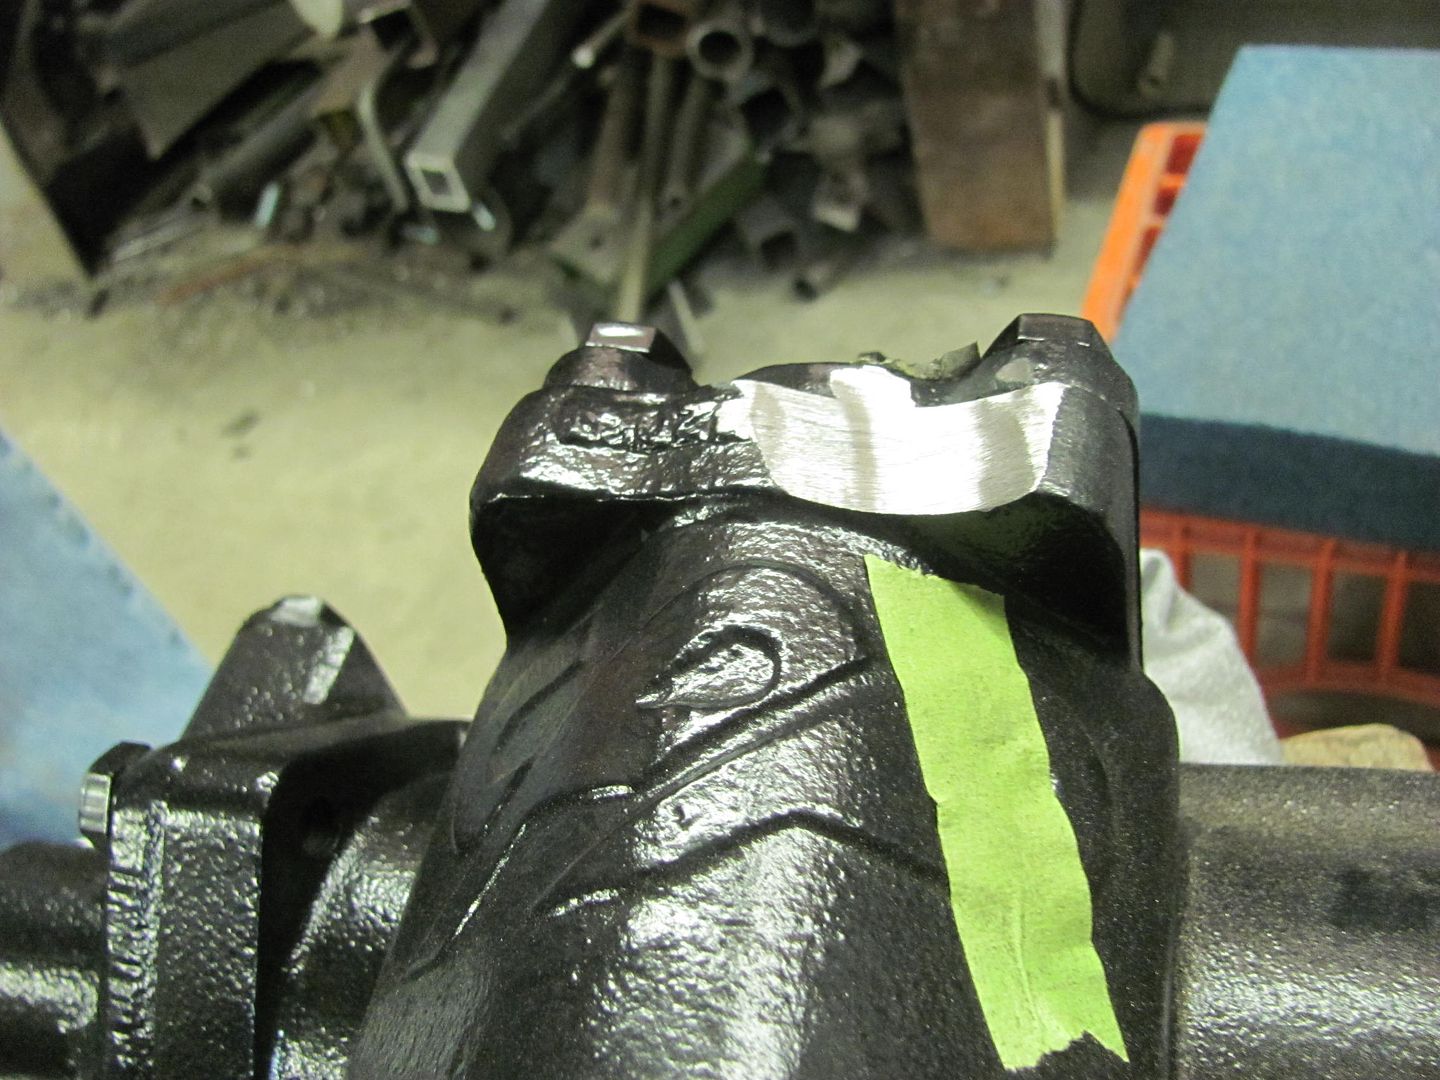 Much better... 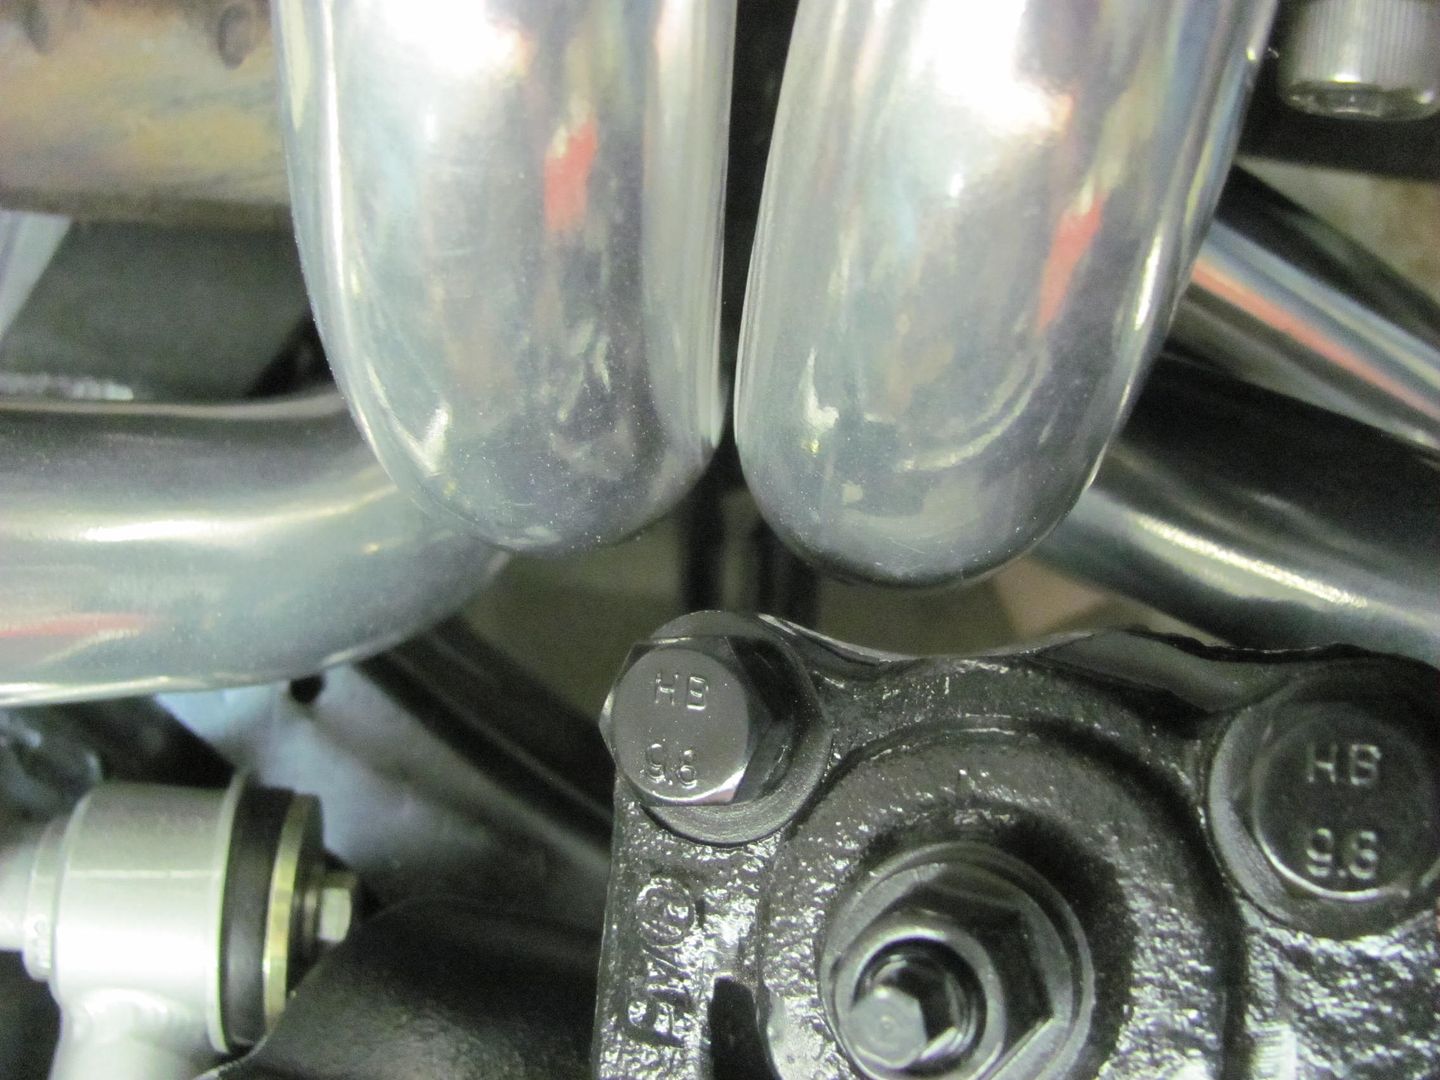 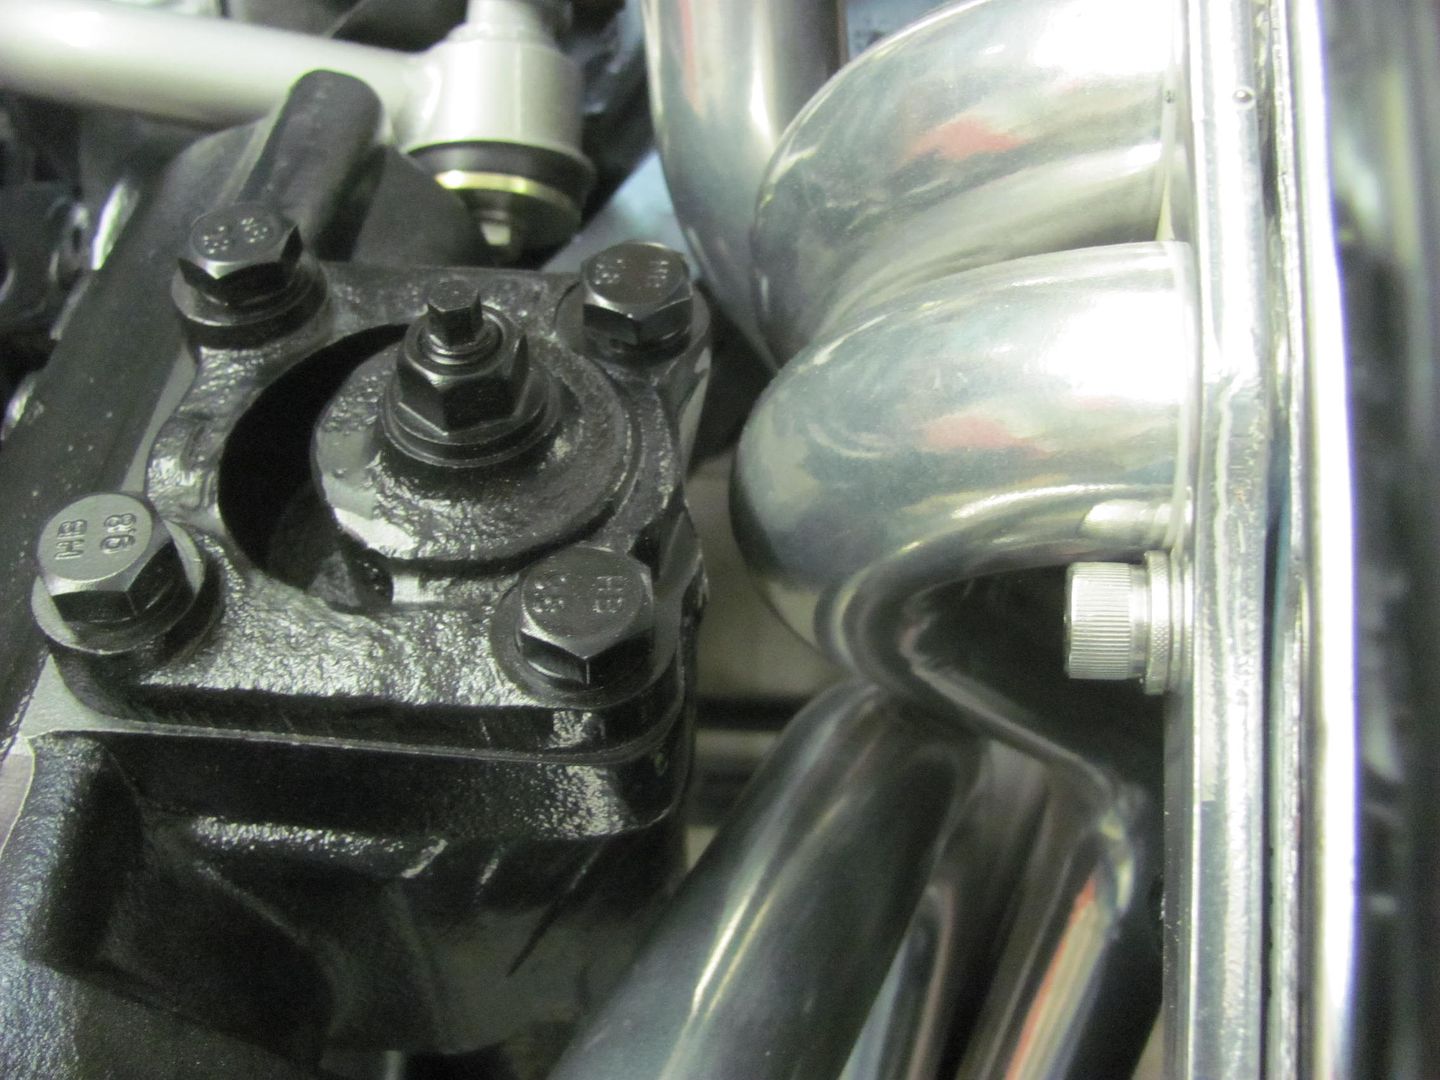
__________________
Robert |
|
|
|
|
02-05-2016, 10:25 AM
|
#640 |
|
Registered User
Join Date: Nov 2011
Location: West Plains Missouri
Posts: 2,088
|
Re: 55 Wagon Progress
Looking good Robert...
Mark..
__________________
http://67-72chevytrucks.com/vboard/s...d.php?t=645774 Project Orangepeel 52 A.D. http://67-72chevytrucks.com/vboard/s...d.php?t=653337 John's LS 49 dodge http://67-72chevytrucks.com/vboard/s...d.php?t=655780 Blake's 67 GMC LS stepside http://67-72chevytrucks.com/vboard/s...d.php?t=690527 Reed 78 FJ40 Rebuild http://67-72chevytrucks.com/vboard/s...d.php?t=733259 Barger's 78 FJ40 |
|
|
|
|
02-06-2016, 10:18 AM
|
#641 |
|
Senior Member
Join Date: Mar 2008
Location: tyler texas
Posts: 1,536
|
Re: 55 Wagon Progress
Awesome work. I know the finished product will be top notch.
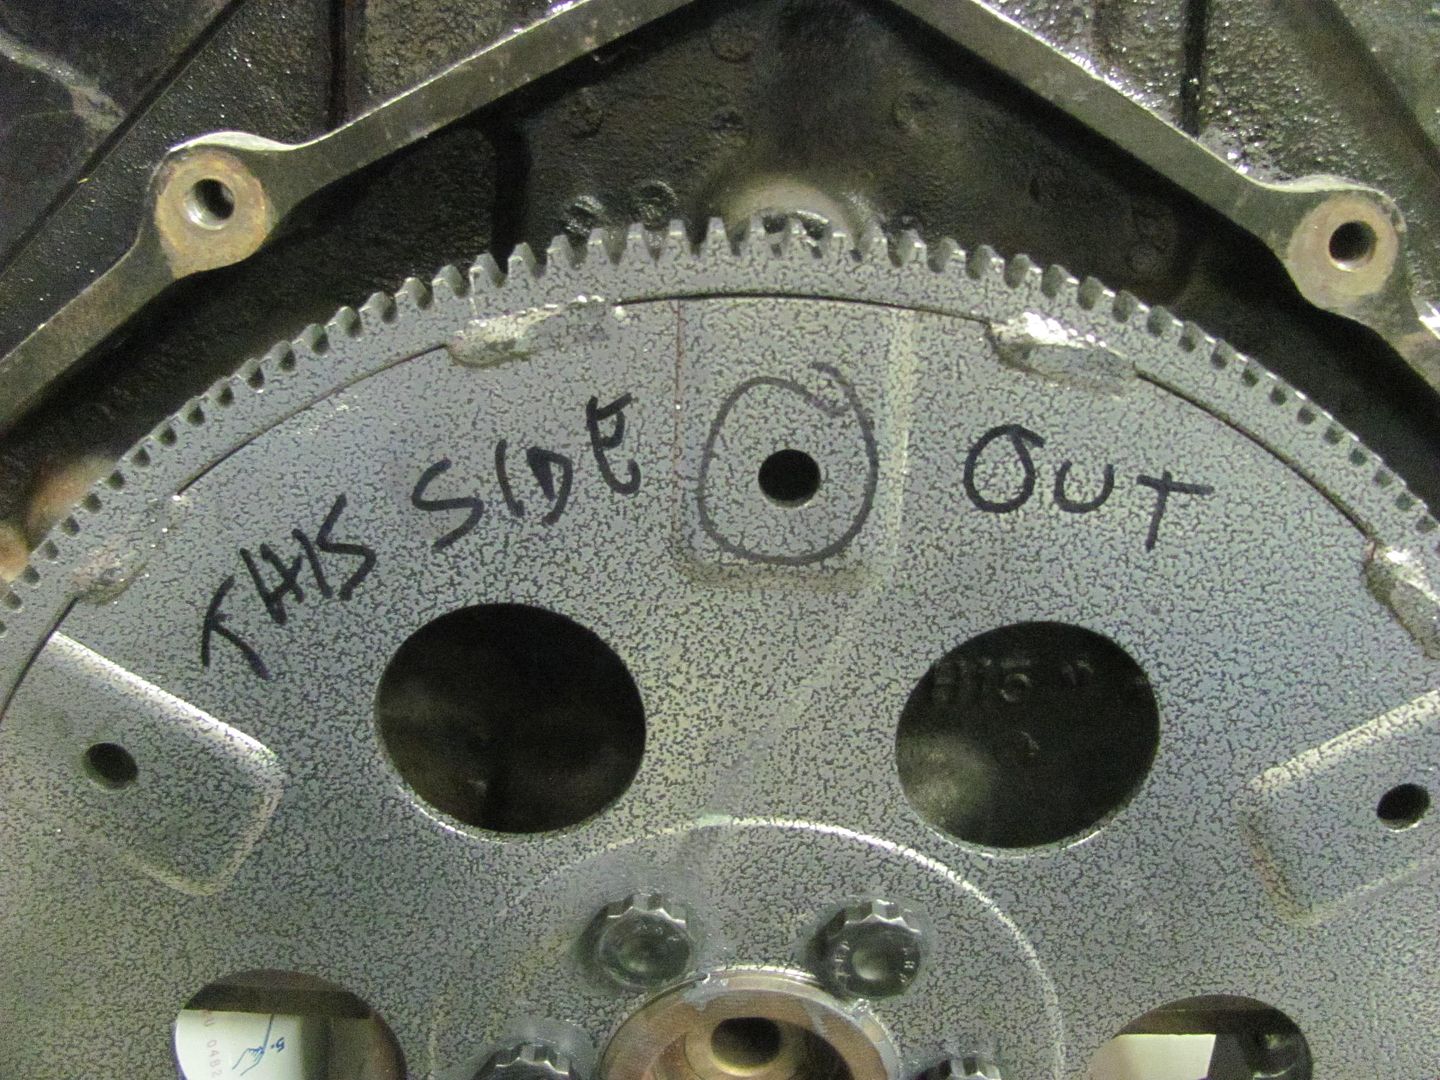
By thee way it looks like you put your flexplate on backwards?
__________________
NHRA Super Street 469C It only runs 10.90 at 156 mph |
|
|
|
|
02-07-2016, 09:25 PM
|
#642 |
|
Registered User
Join Date: Jan 2013
Location: Leonardtown, MD
Posts: 1,637
|
Re: 55 Wagon Progress
First off, thanks to all who let me know the flex plate was in backwards. I don't normally wrench on drivetrains, so glad to find out before the body was on the frame. I guess all the decals gave the false sense of "this side out". Wouldn't you know, when I turned it over, the instructions for dummies was right there in plain sight!
 All back together.... 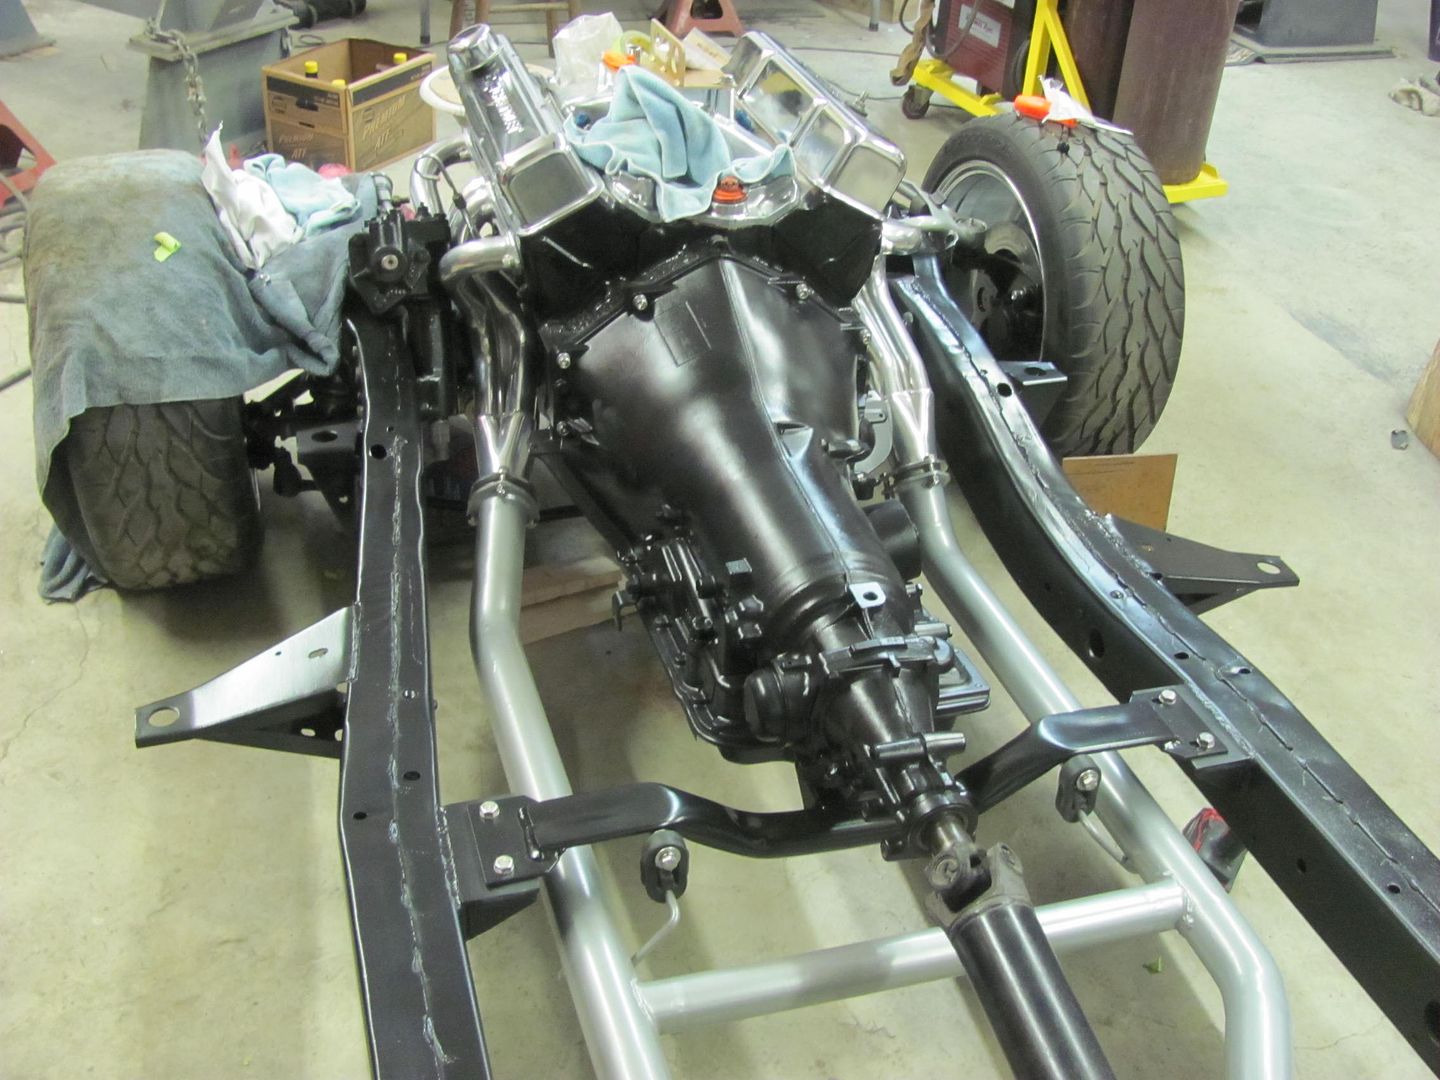 Working on another header clearance issue... 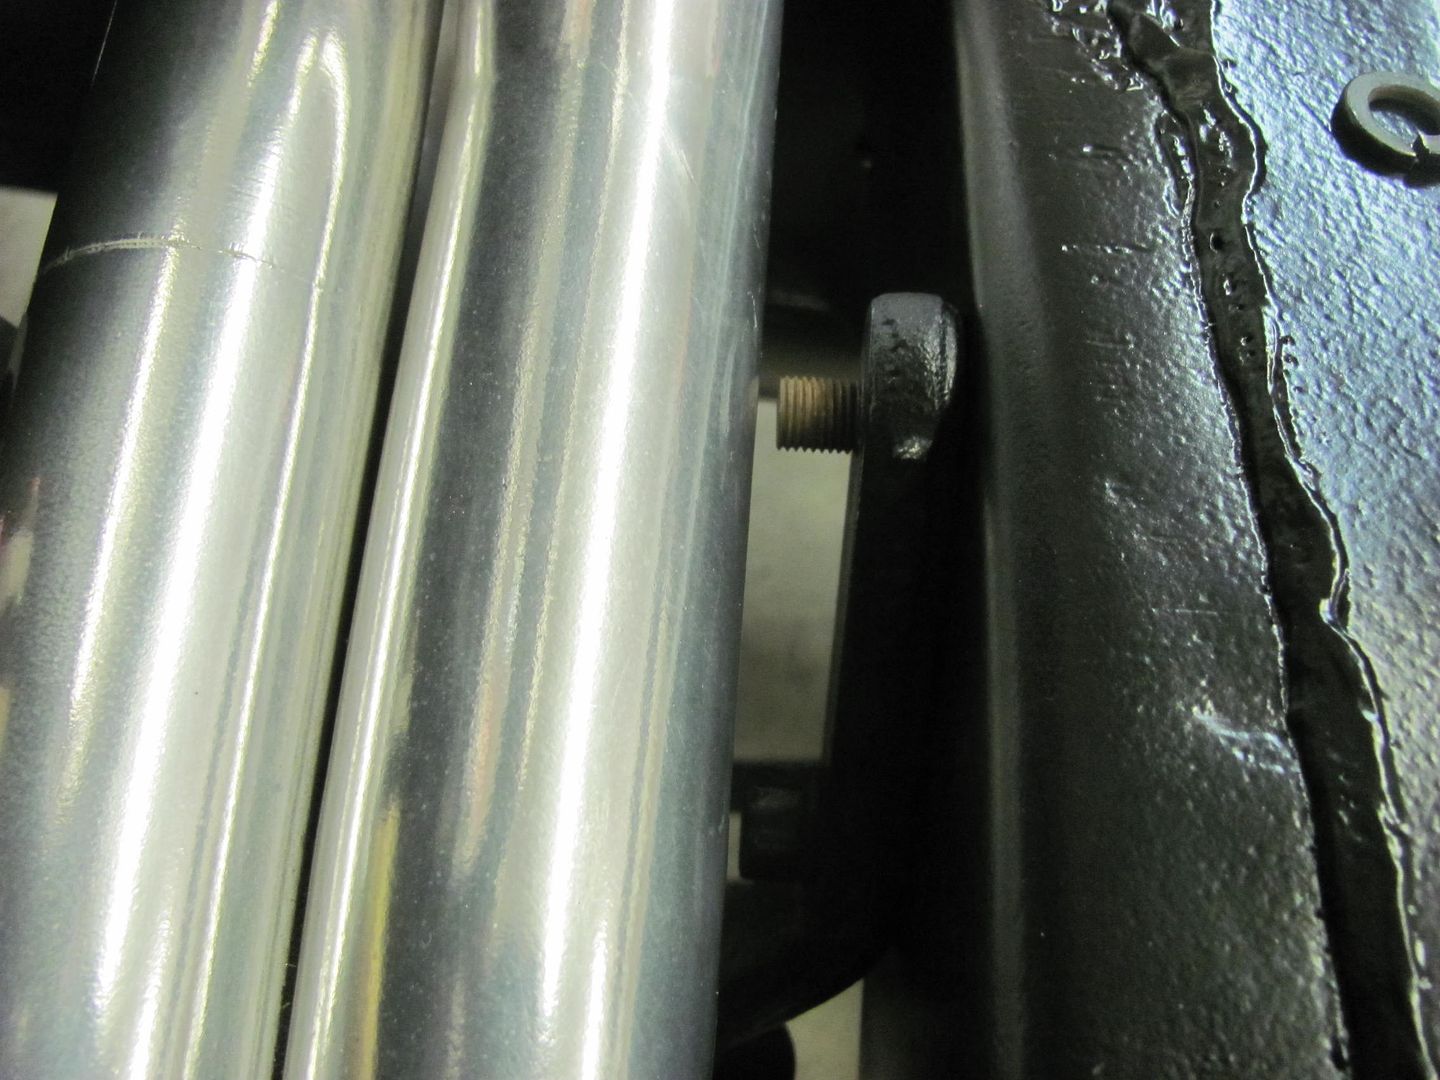 Removed the factory carriage bolts, they will be replaced with some grade 8 hex head bolts, and to add more clearance we'll get rid of the nuts inside and use some locking heli-coils.. 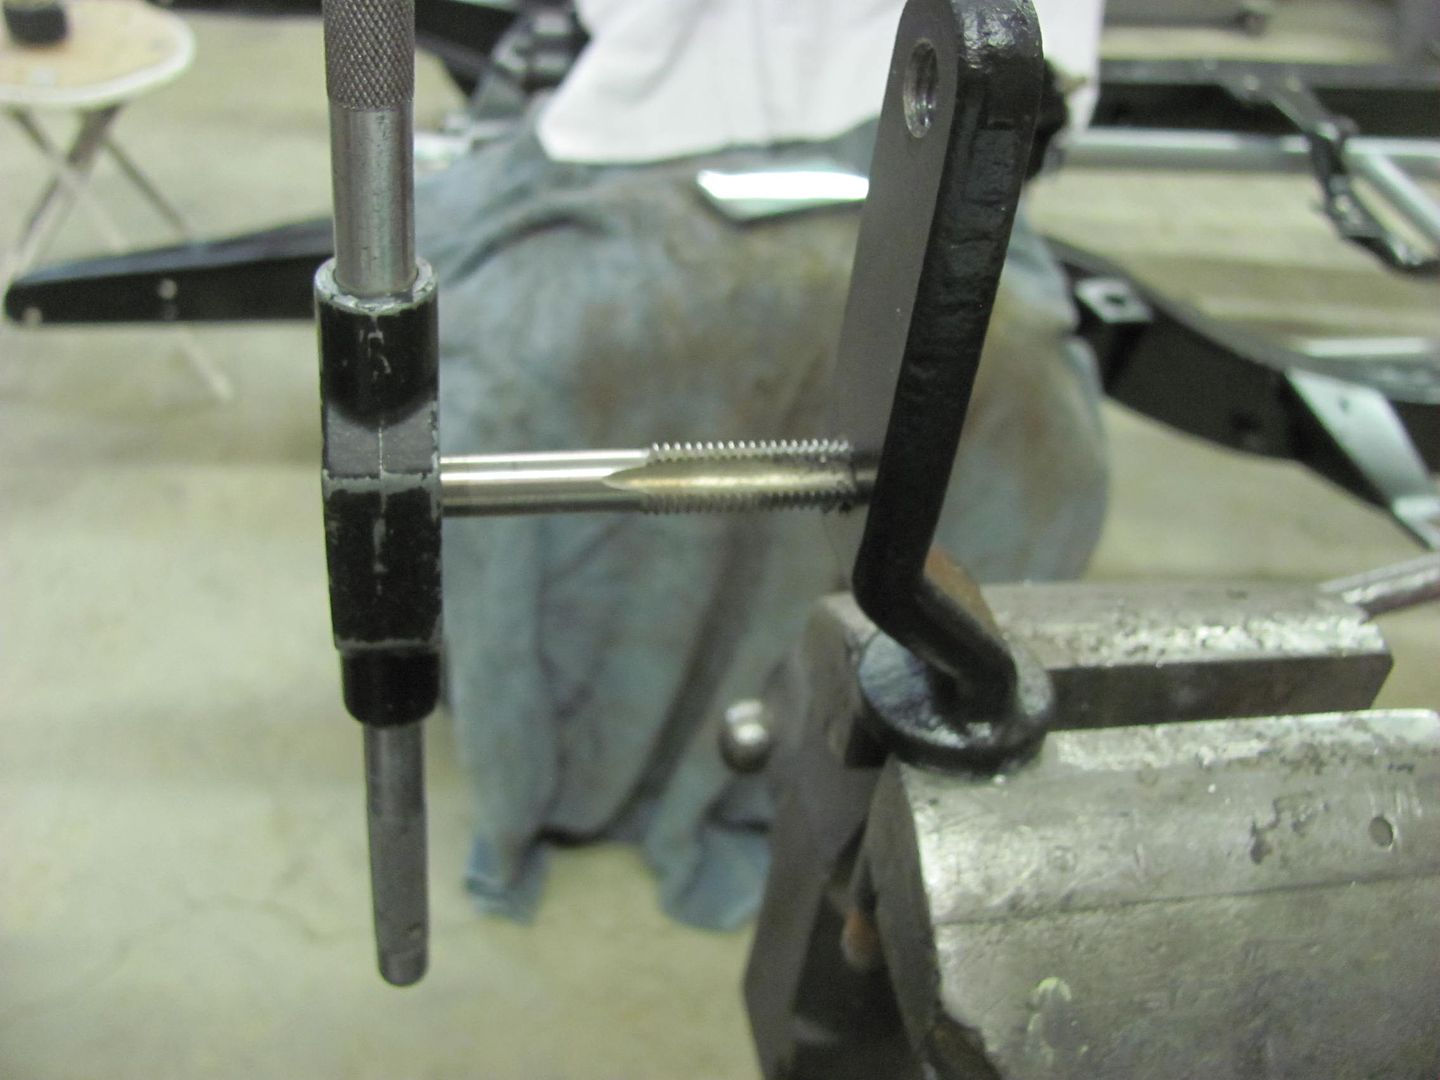 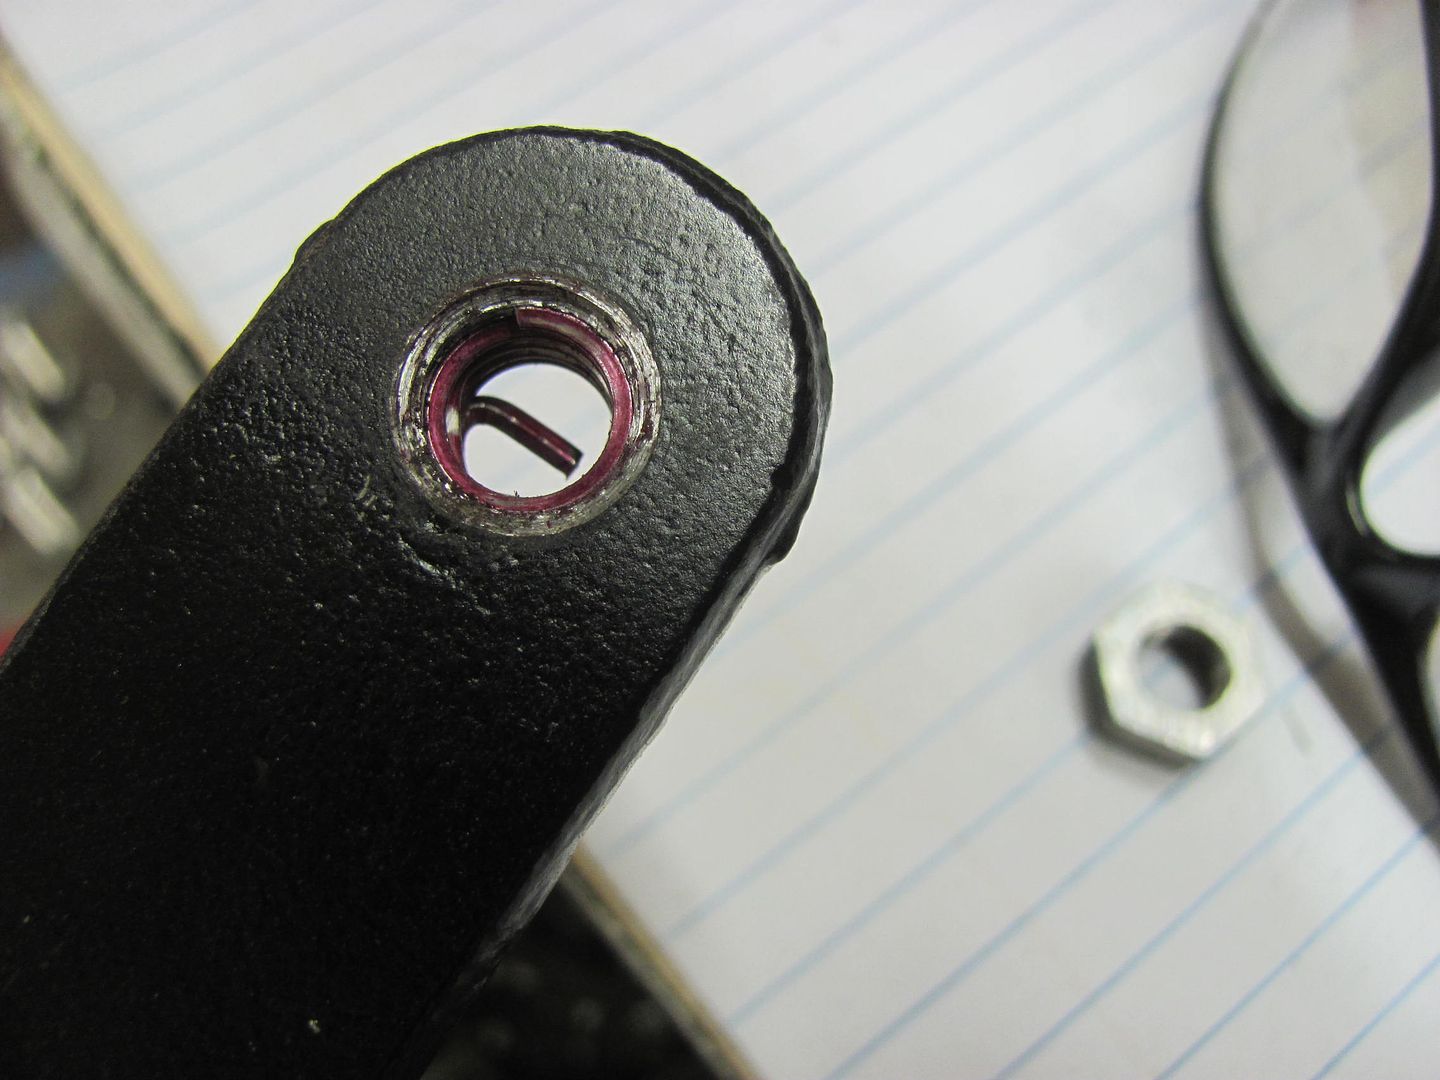 ....for much better clearance. 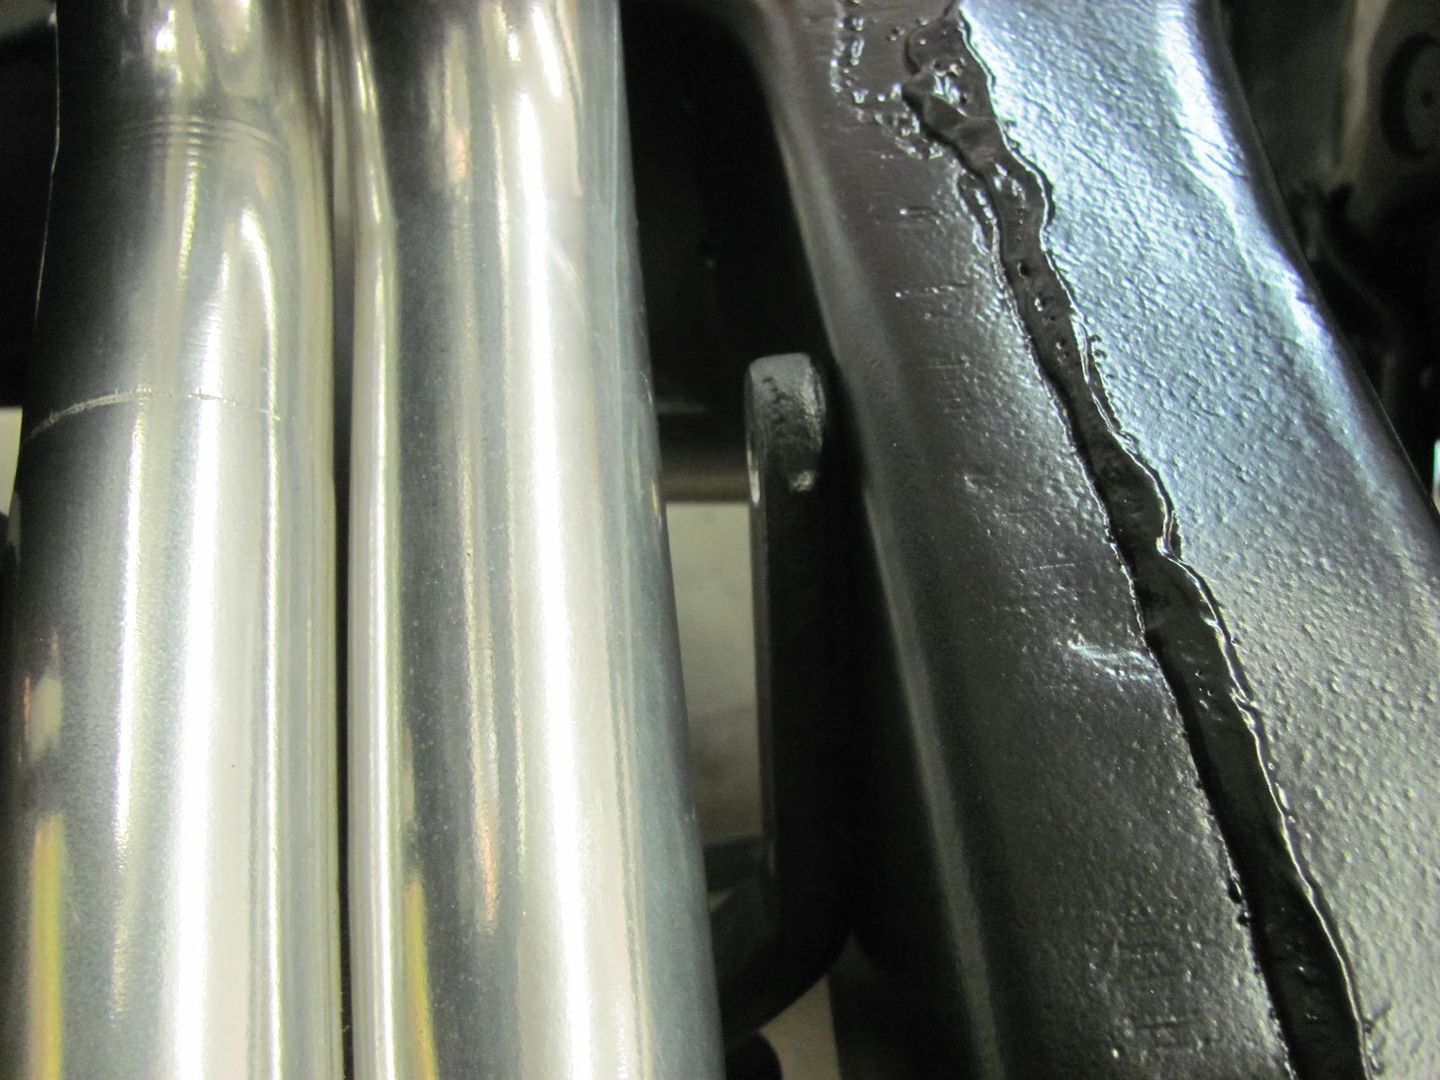 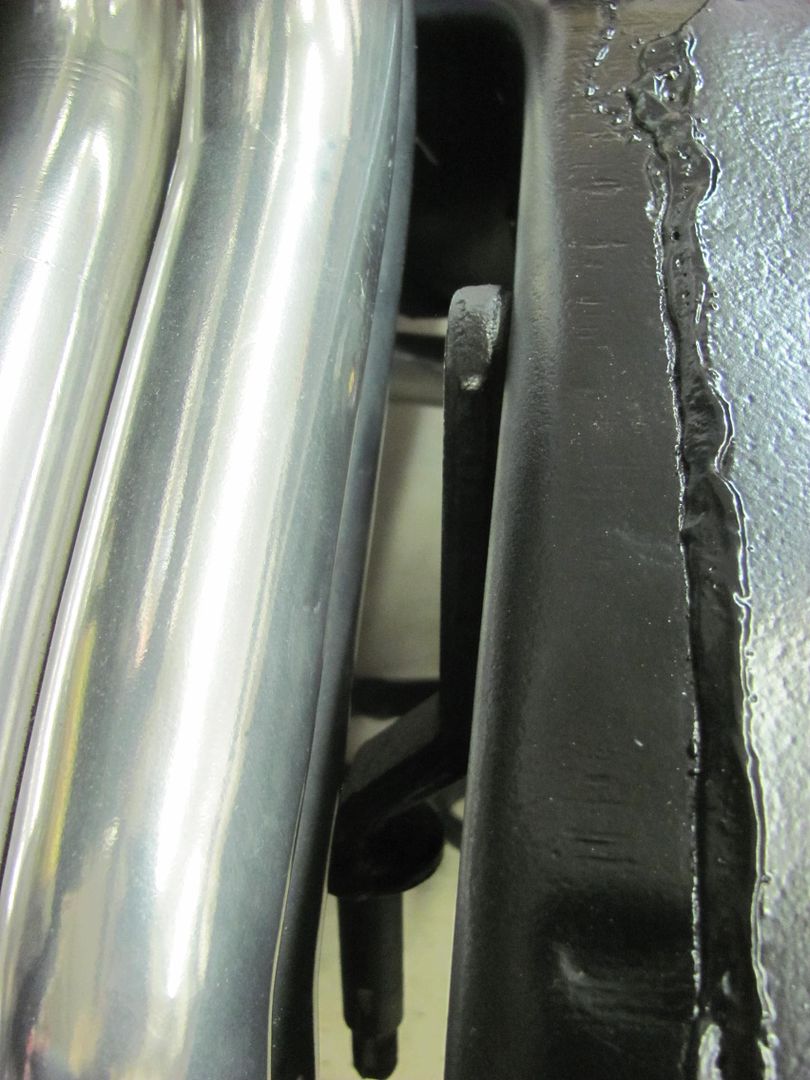 More parts added.... 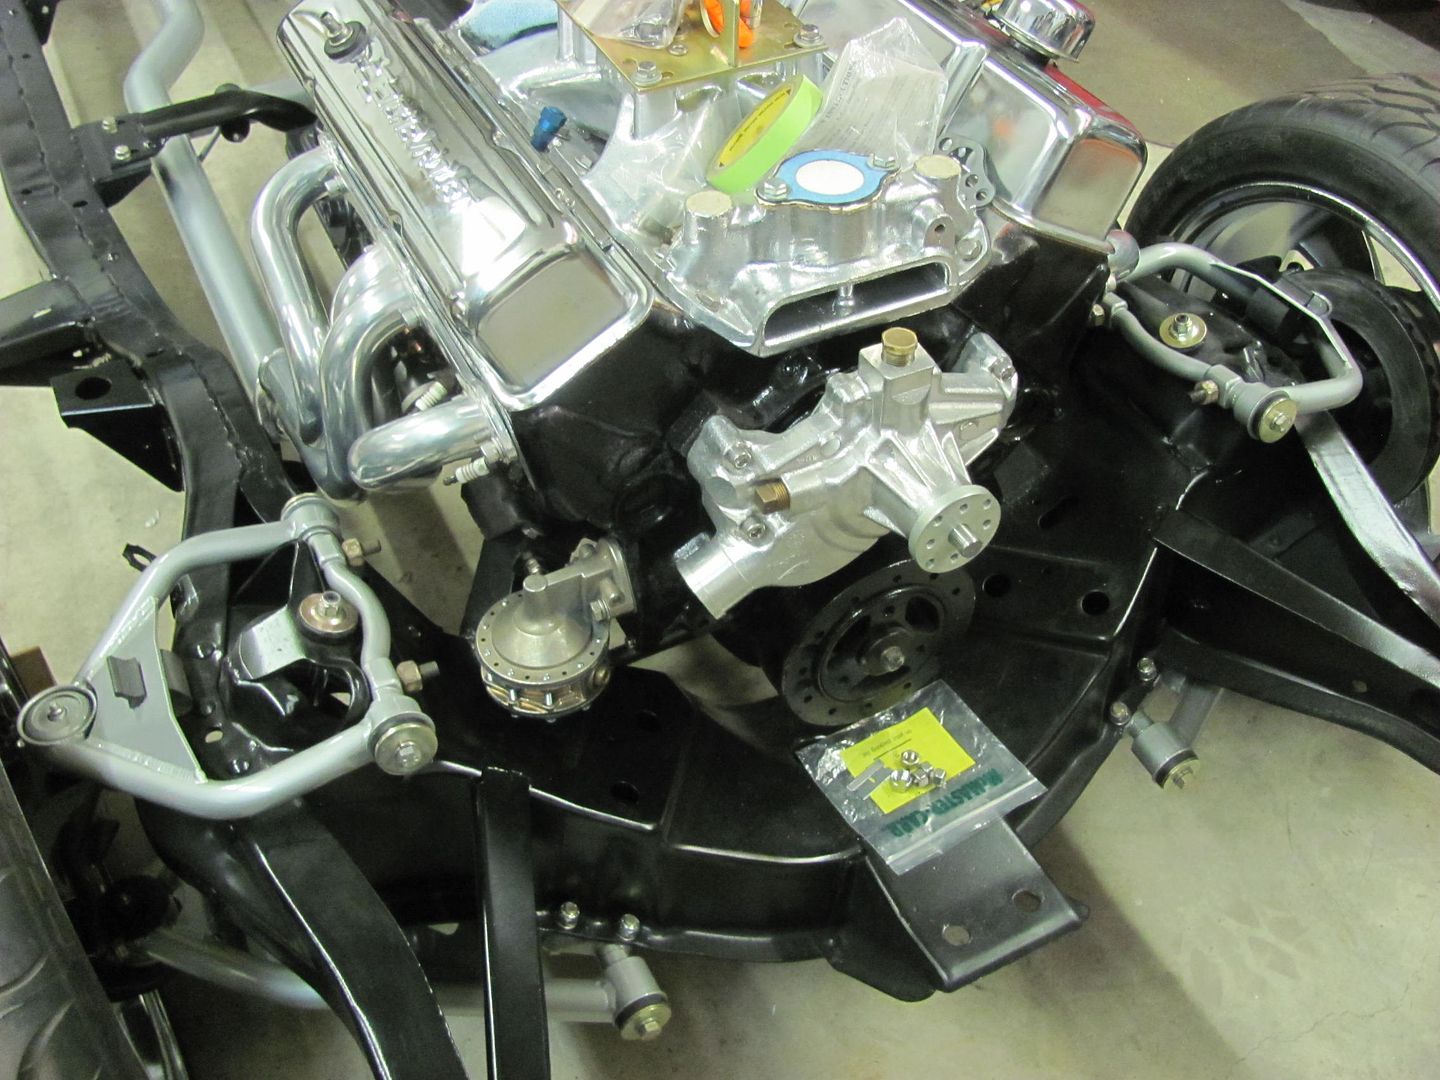 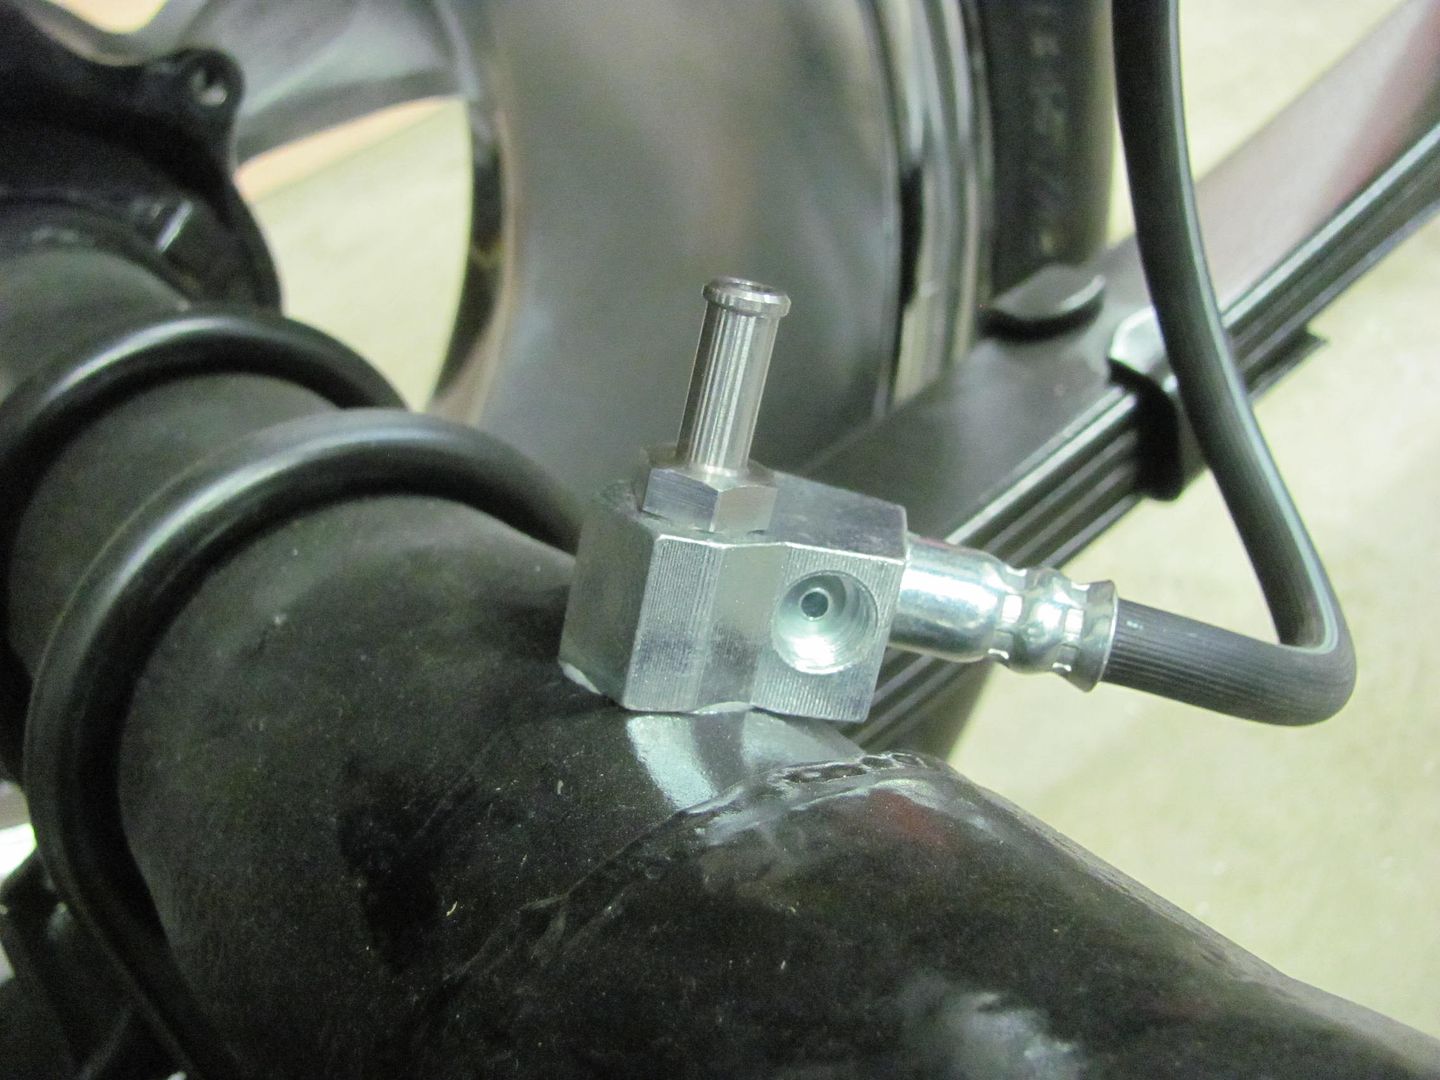 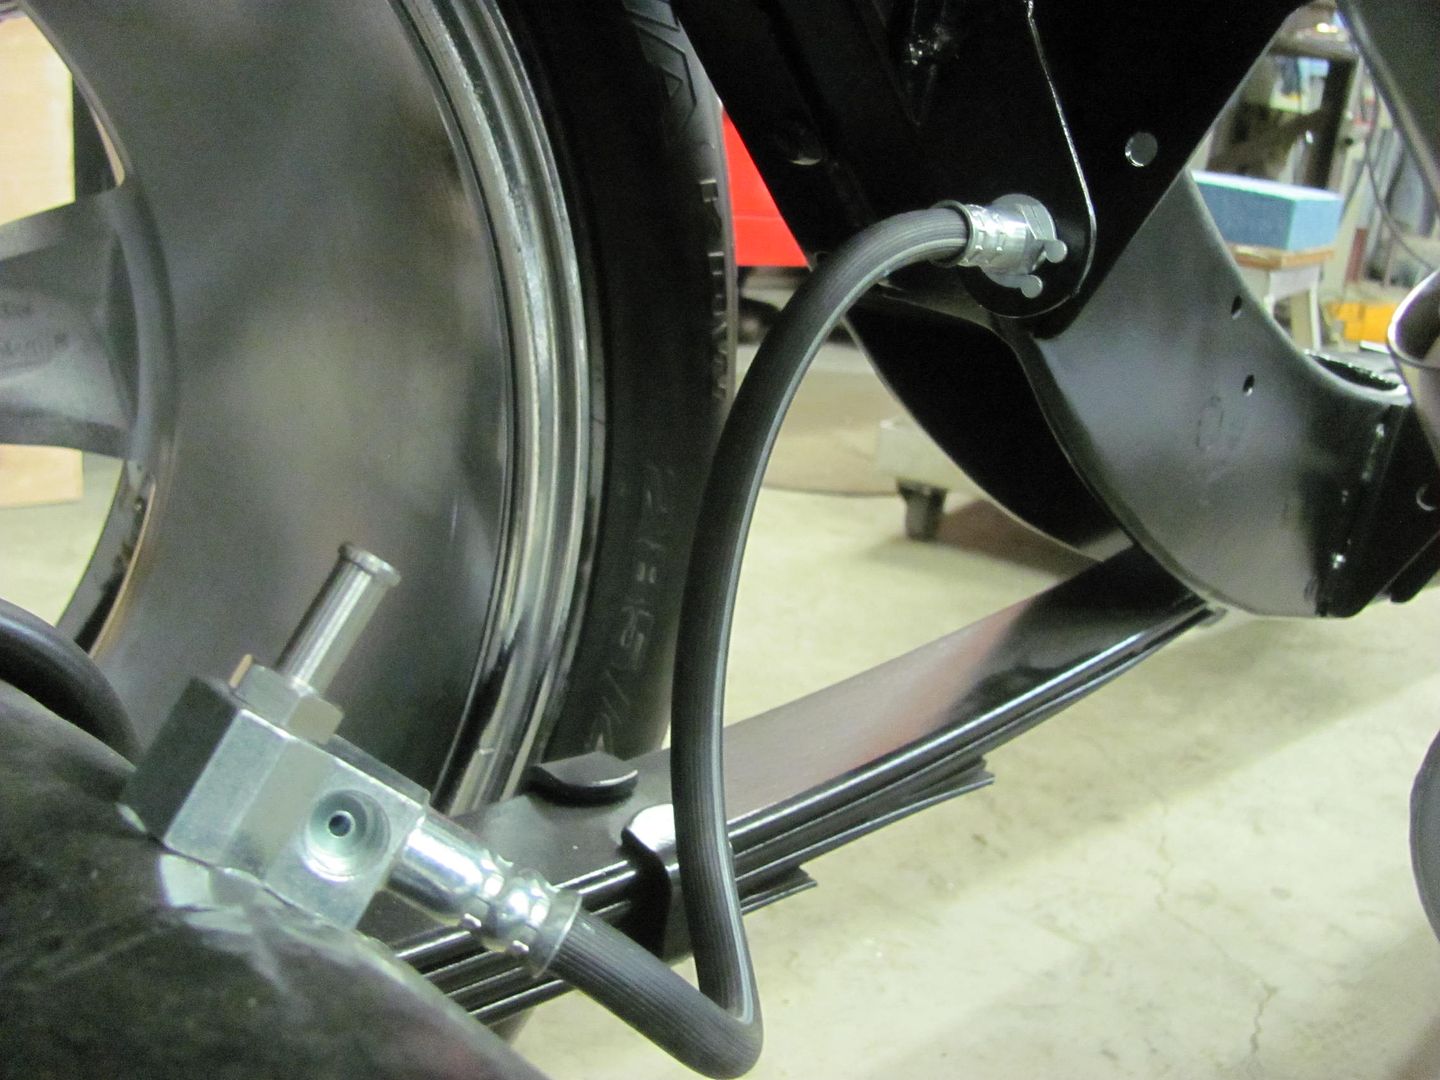
__________________
Robert |
|
|
|
|
02-07-2016, 10:49 PM
|
#643 |
|
Registered User
Join Date: May 2011
Location: Anderson SC
Posts: 3,876
|
Re: 55 Wagon Progress
Looking good! Where did you get the new vented brake tee bolt on the axle?
__________________
Project Goldilocks '66 C10 Short Fleet BBW Build '65 C10 Highly Detailed Stock Restoration Thread '78 Camaro Targa Roof Build '55 International Metal/Body/Paint Work '66 F100 Full Rotisserie Restoration '40 Packard 120 Convertible Coupe Restoration How To Restore and Detail an Original Gauge Cluster How To Detail Sand Body Panels, Edges, Corners, Etc |
|
|
|
|
02-07-2016, 10:59 PM
|
#644 |
|
Registered User
Join Date: Jan 2013
Location: Leonardtown, MD
Posts: 1,637
|
Re: 55 Wagon Progress
__________________
Robert |
|
|
|
|
02-08-2016, 09:06 AM
|
#645 |
|
Senior Member
Join Date: Mar 2008
Location: tyler texas
Posts: 1,536
|
Re: 55 Wagon Progress
Ha ha . i put mine on backwards before. You couldnt turn the motor over because it was bound up against the convertor. The SFI stickers go towards the front. That way you can see them from under the vehicle.
__________________
NHRA Super Street 469C It only runs 10.90 at 156 mph |
|
|
|
|
02-11-2016, 11:46 PM
|
#646 |
|
Registered User
Join Date: Jan 2013
Location: Leonardtown, MD
Posts: 1,637
|
Re: 55 Wagon Progress
Well the stainless lock nuts showed up today, so we pulled the third member, cleaned the mounting surfaces, installed a new gasket and torqued things down.
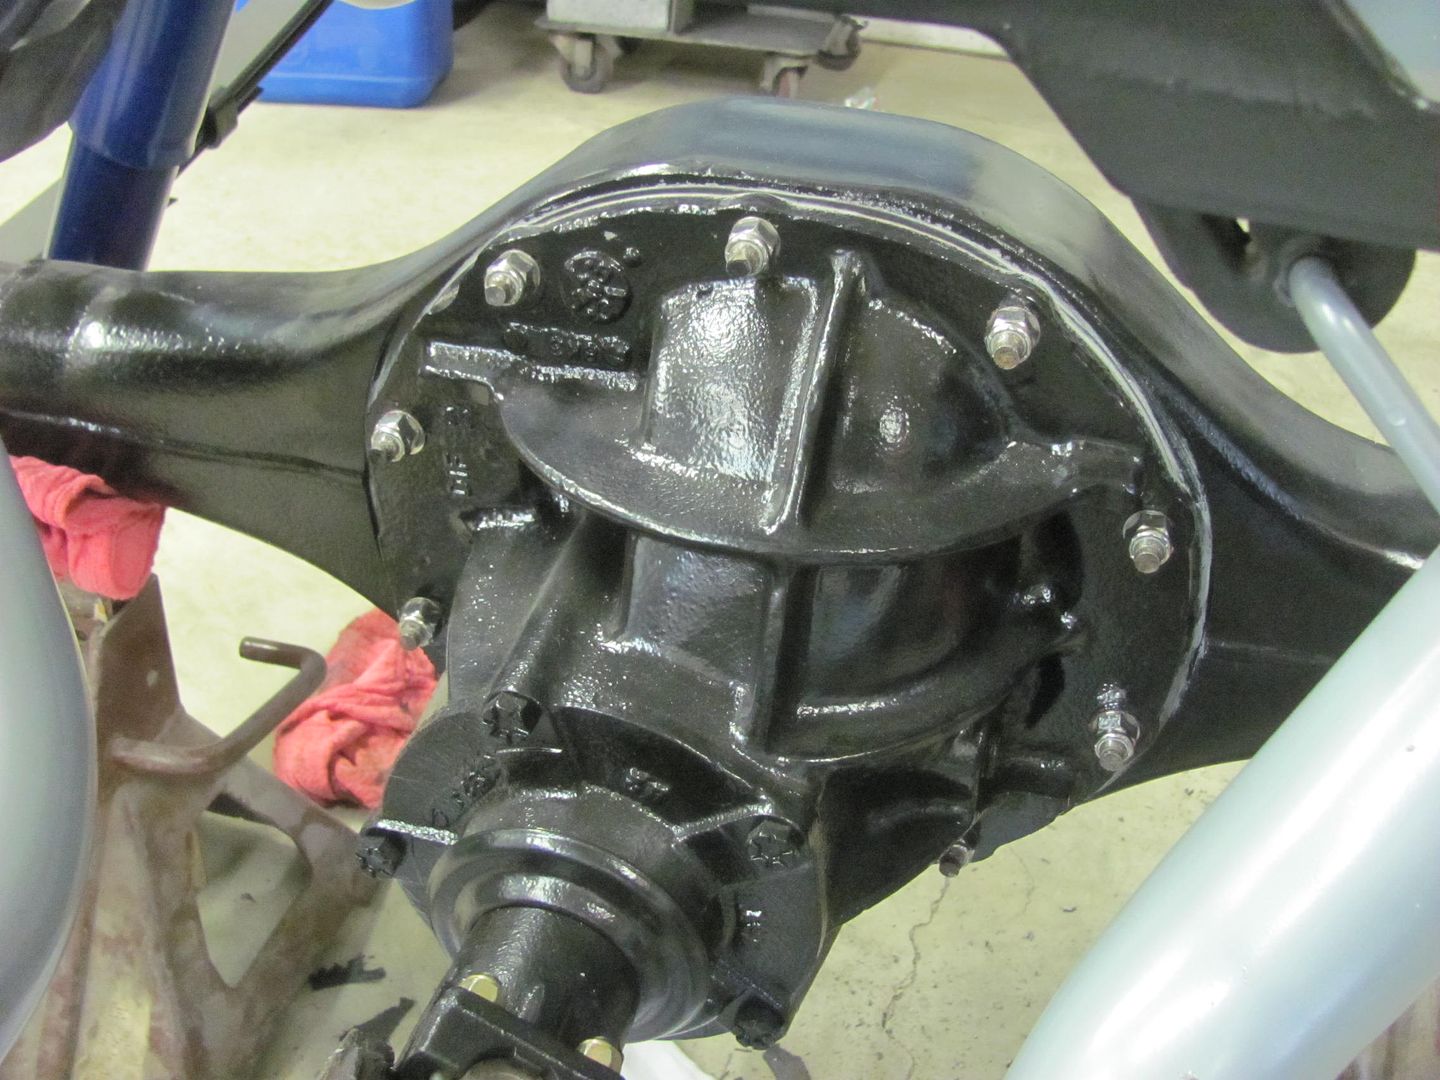  We also had taken delivery of the Explorer brake kit that gives us shoes inside the rotor for the parking brake. So we have some Lincoln Versailles parts if anyone needs some... 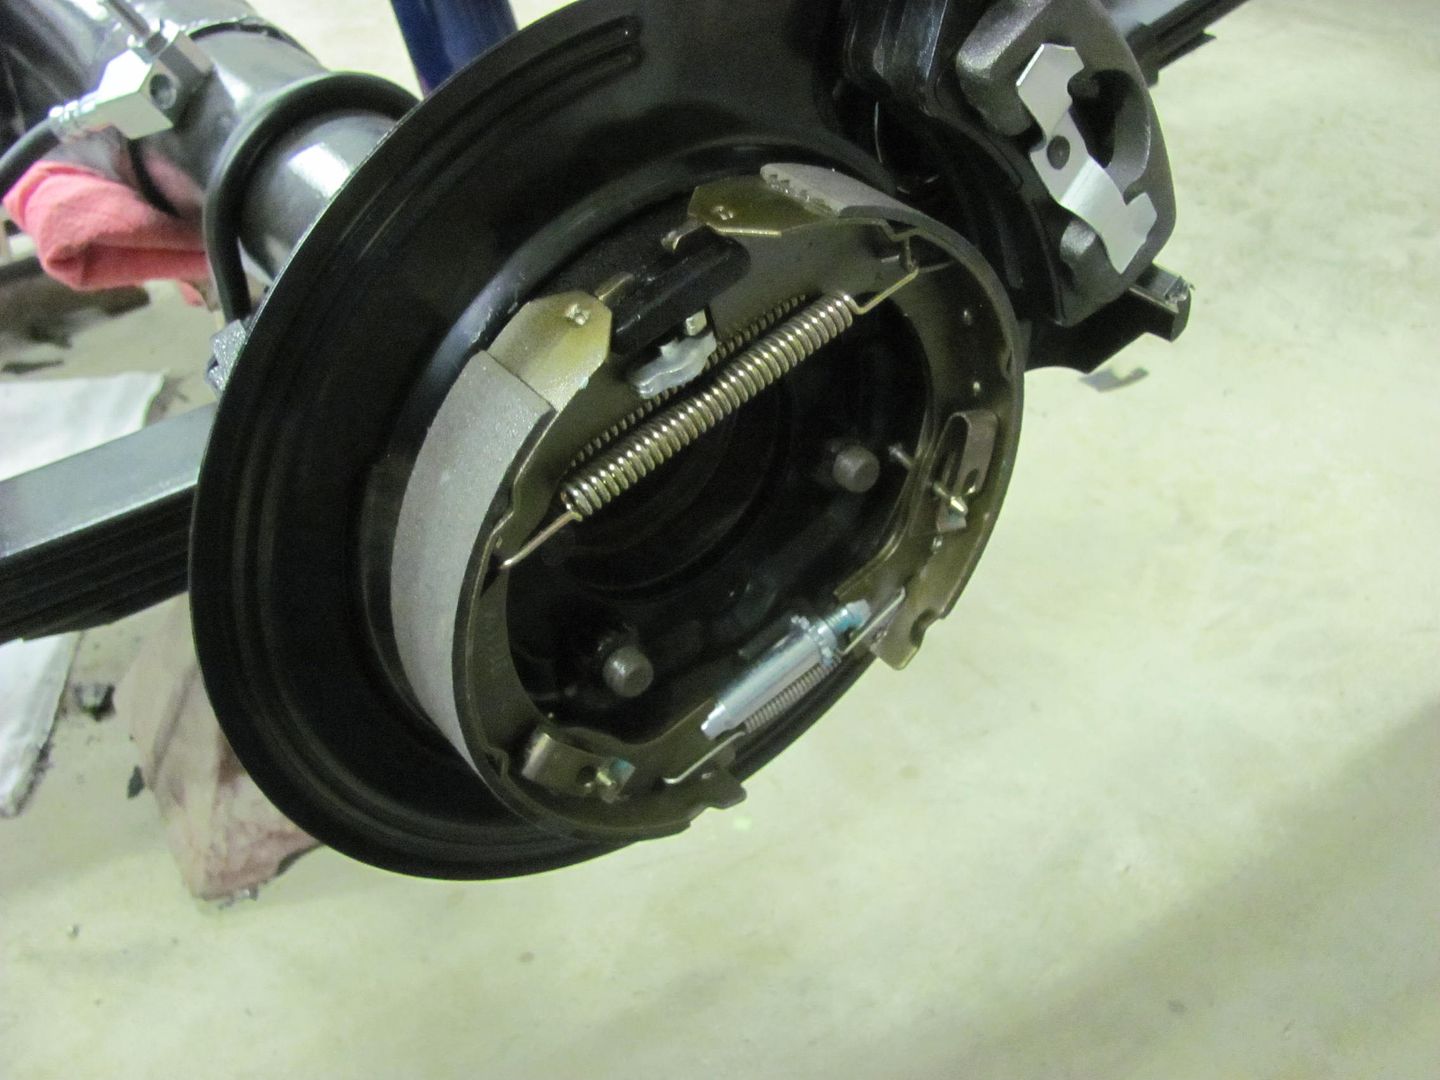 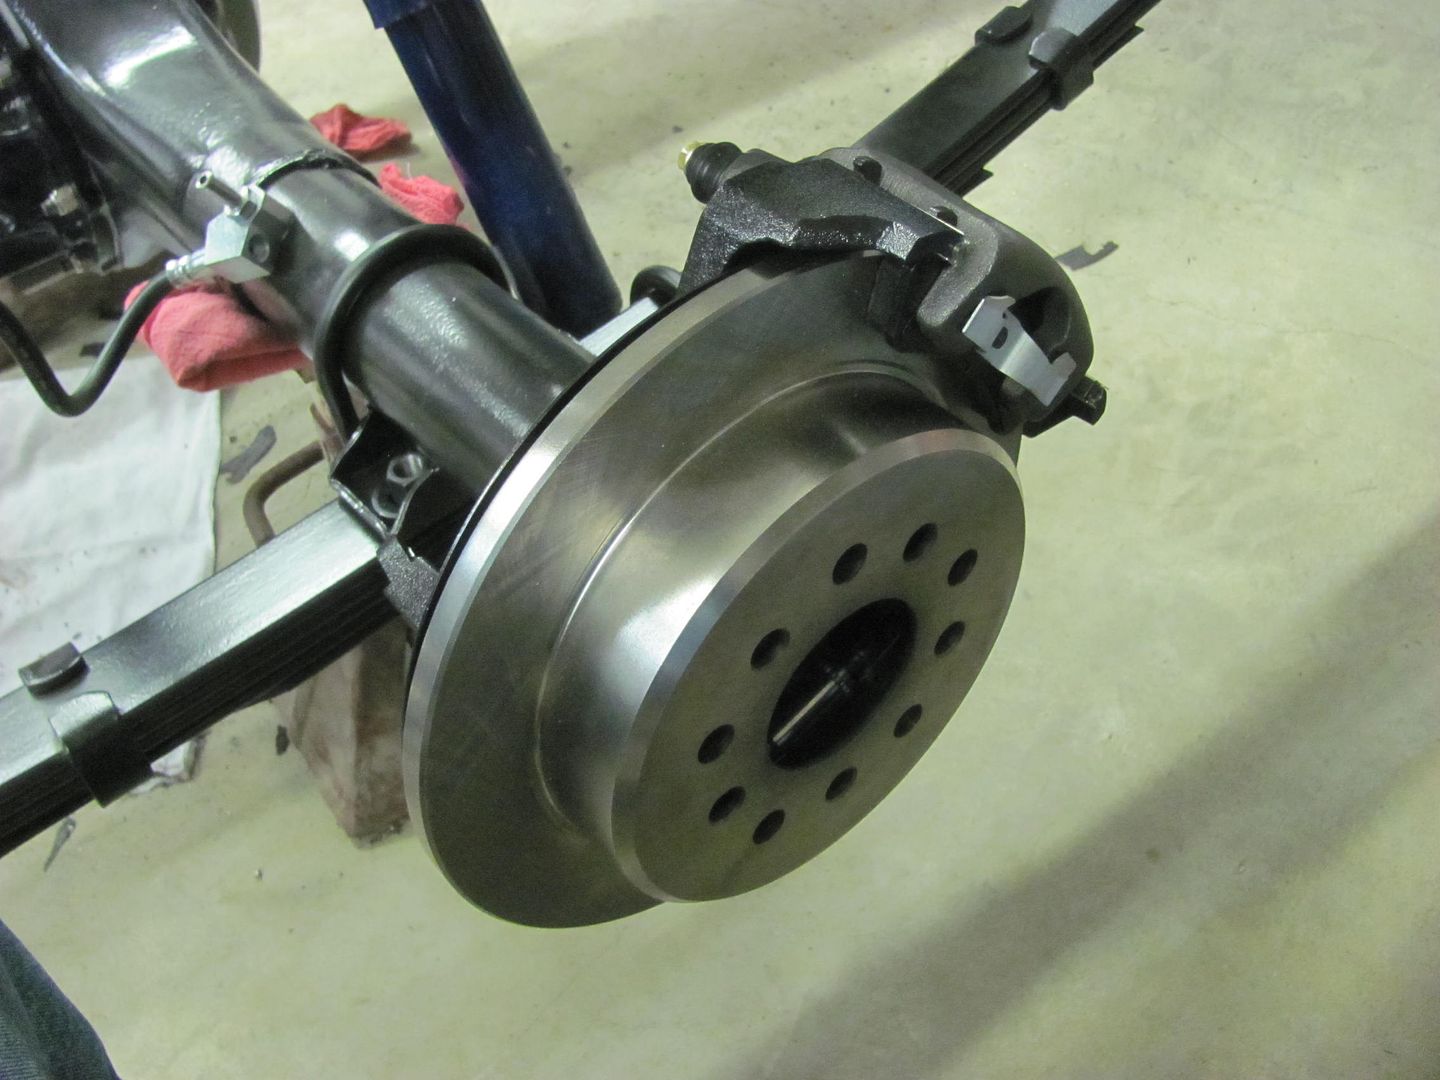 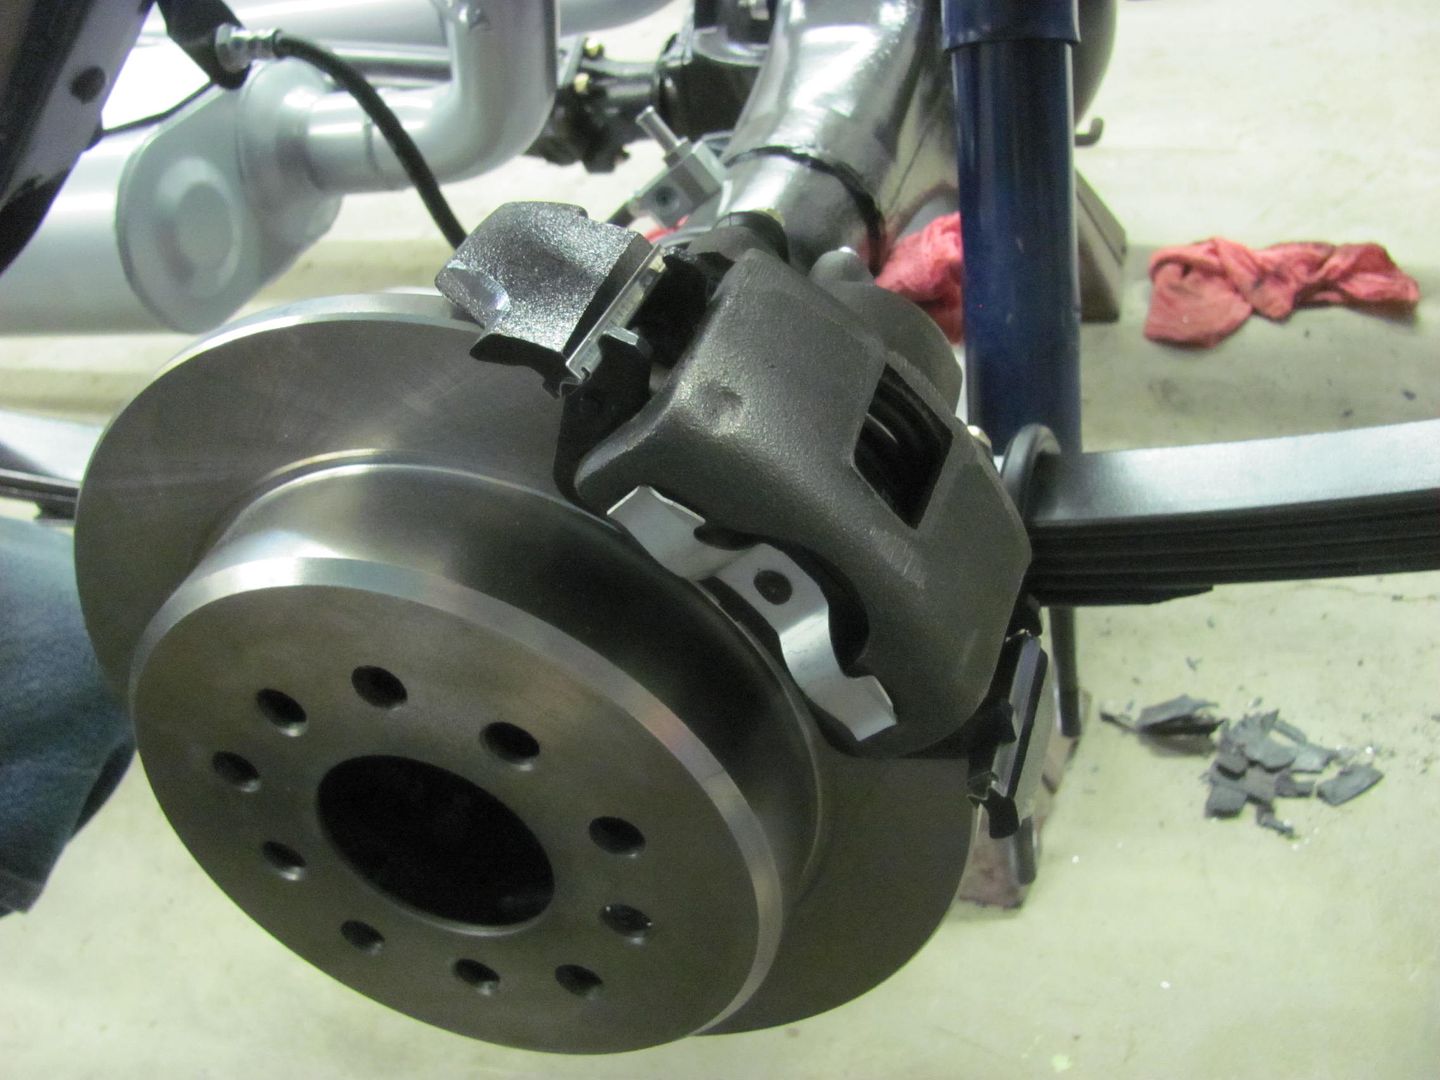 Went digging through the brake hose selection at the local Napa store, Guy Auto Parts. This should work for the rear, front hoses should be here Saturday. 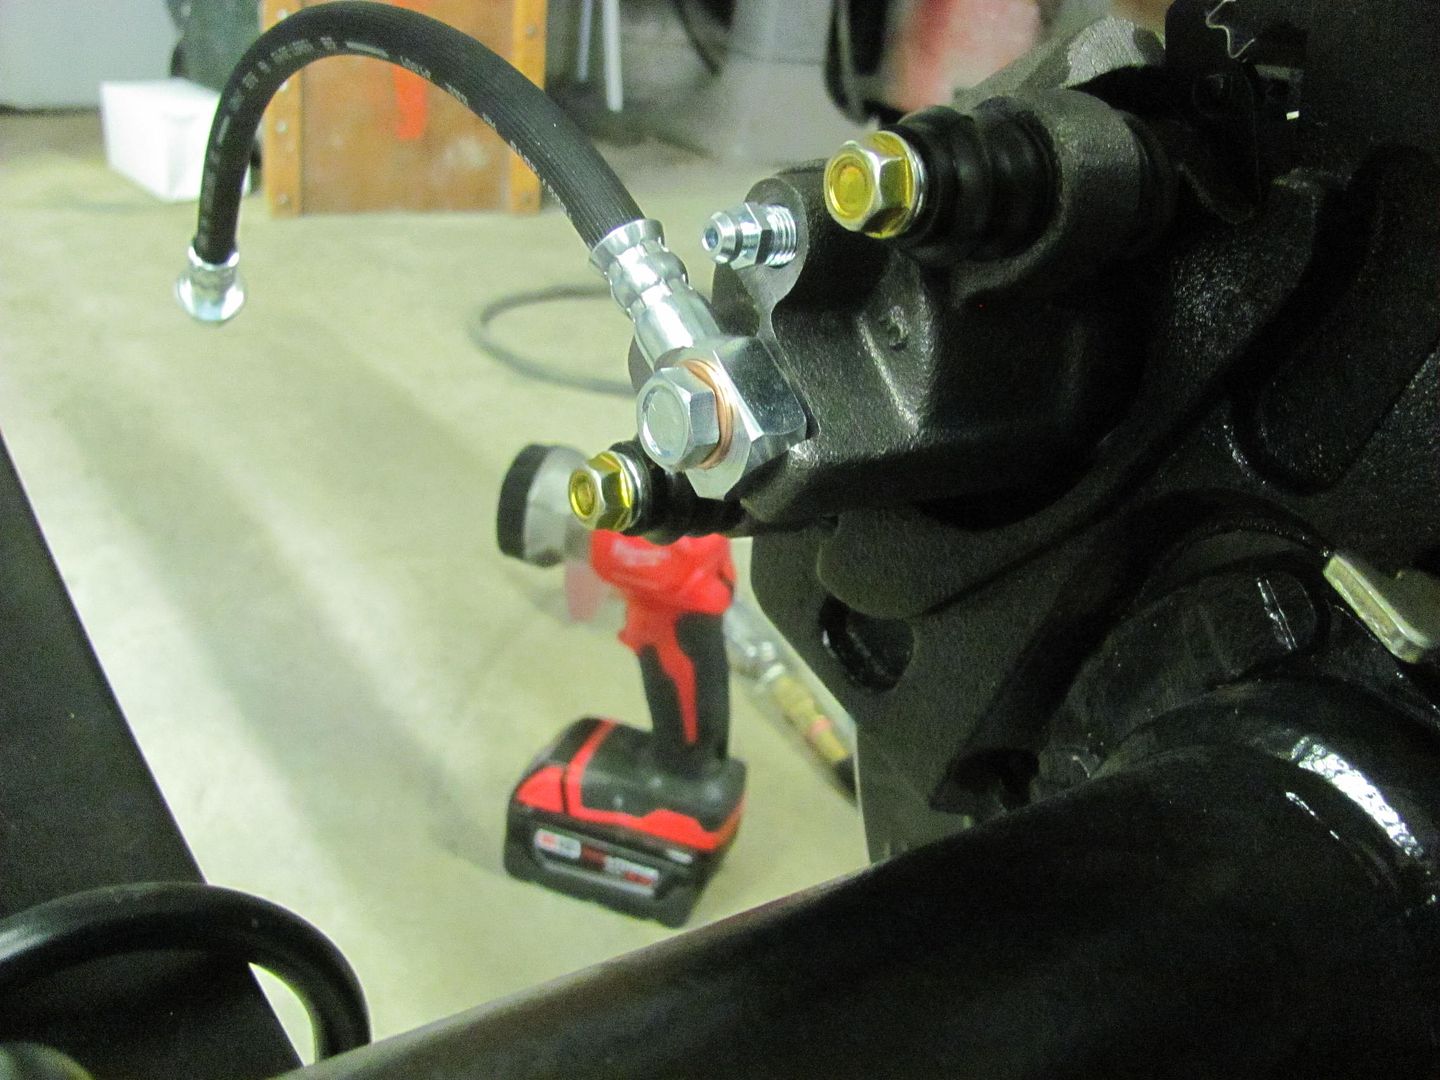 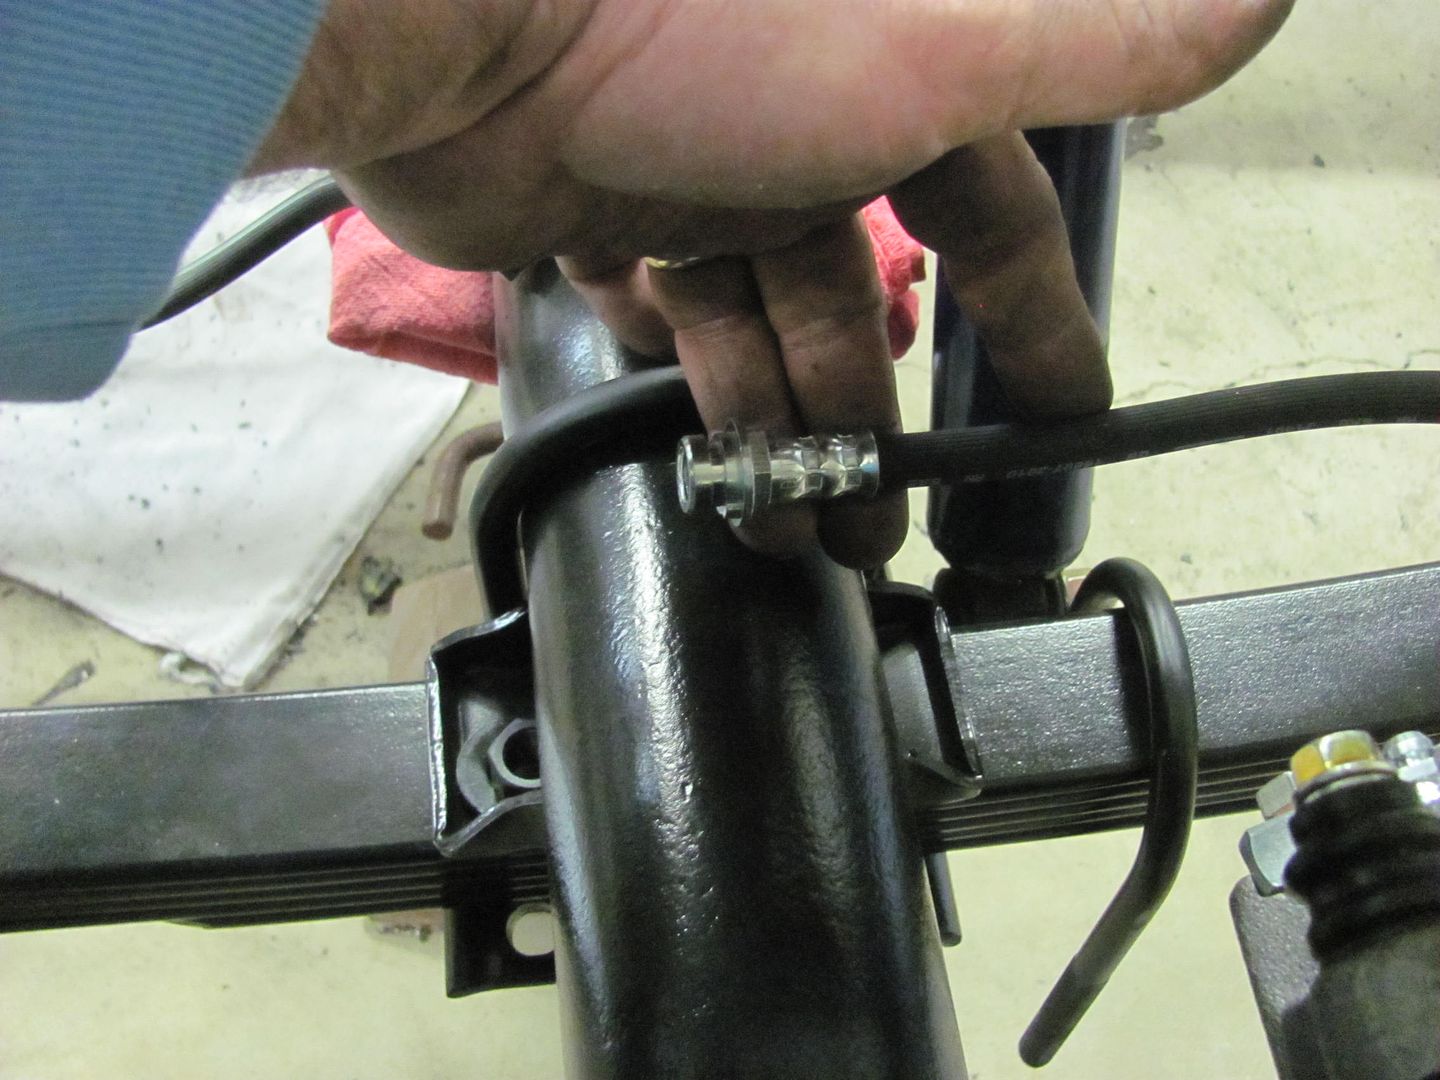 Now we need a bracket to anchor the hose end... We came up with this design using 16 gauge CRS, and planned to clamp it under the U-bolts... 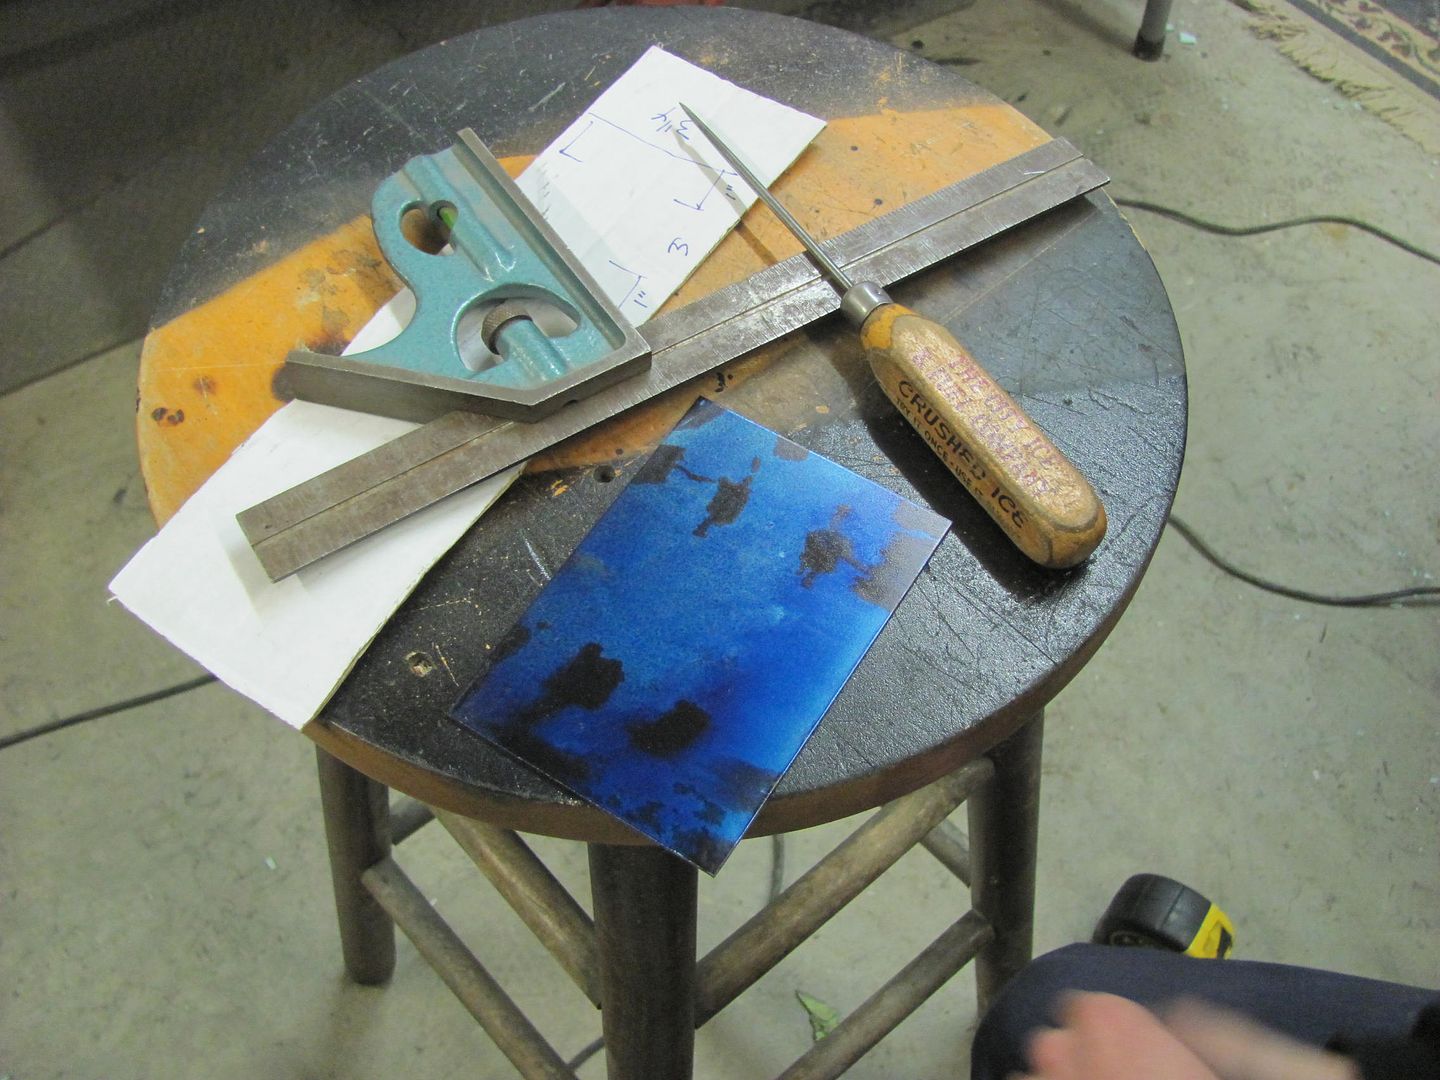 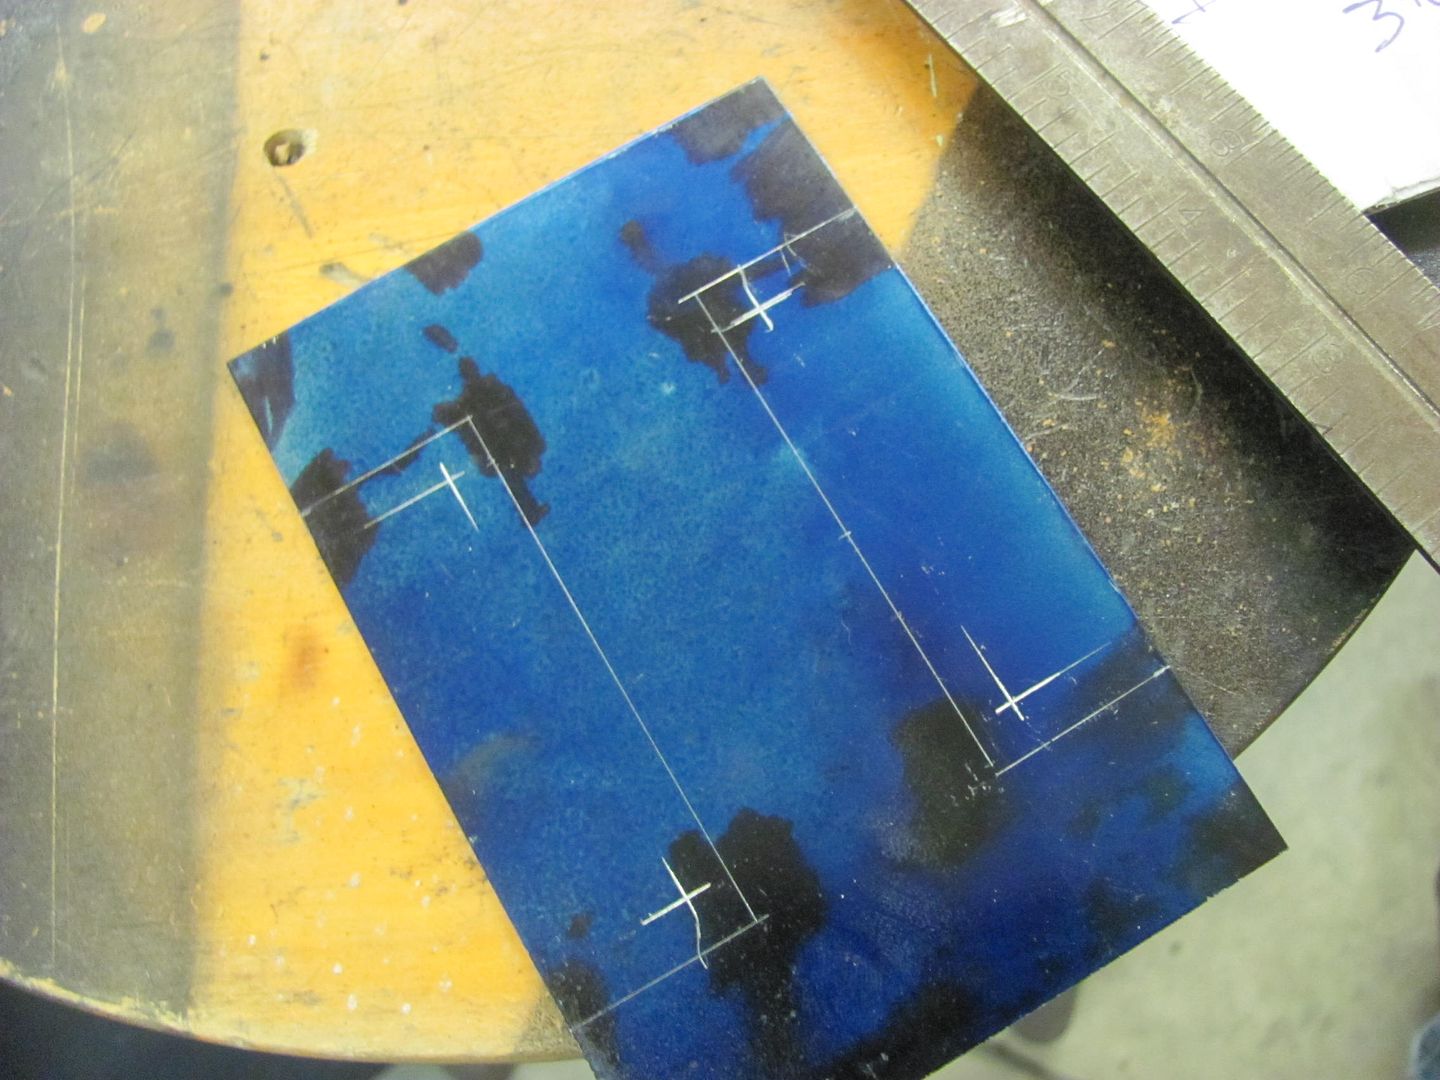 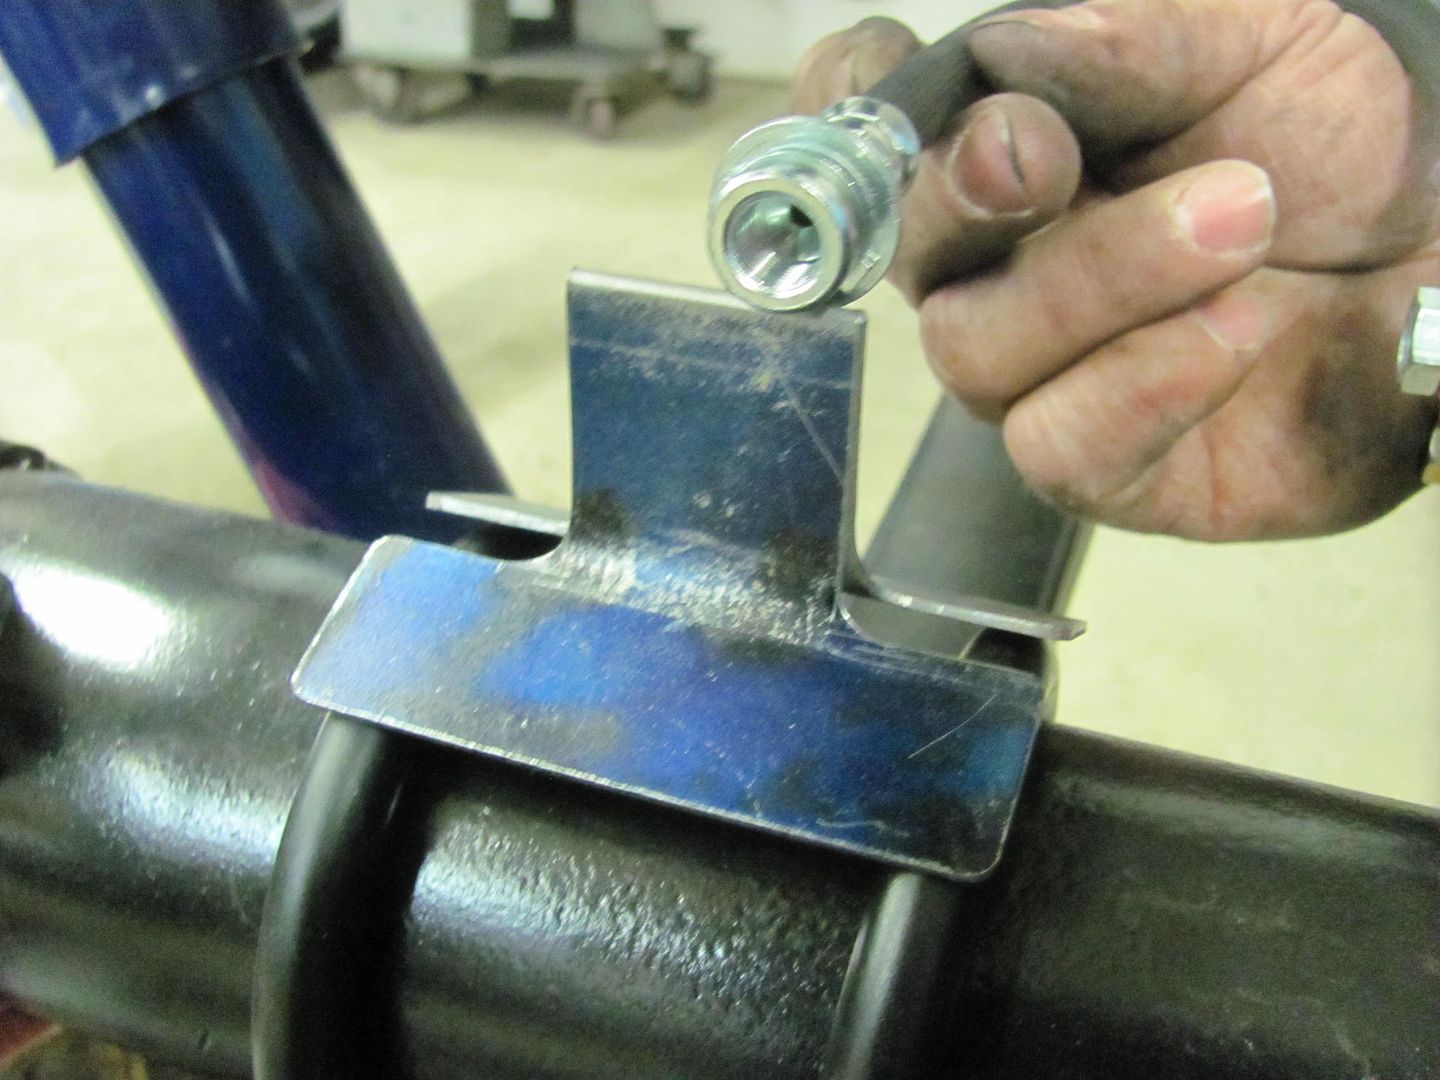 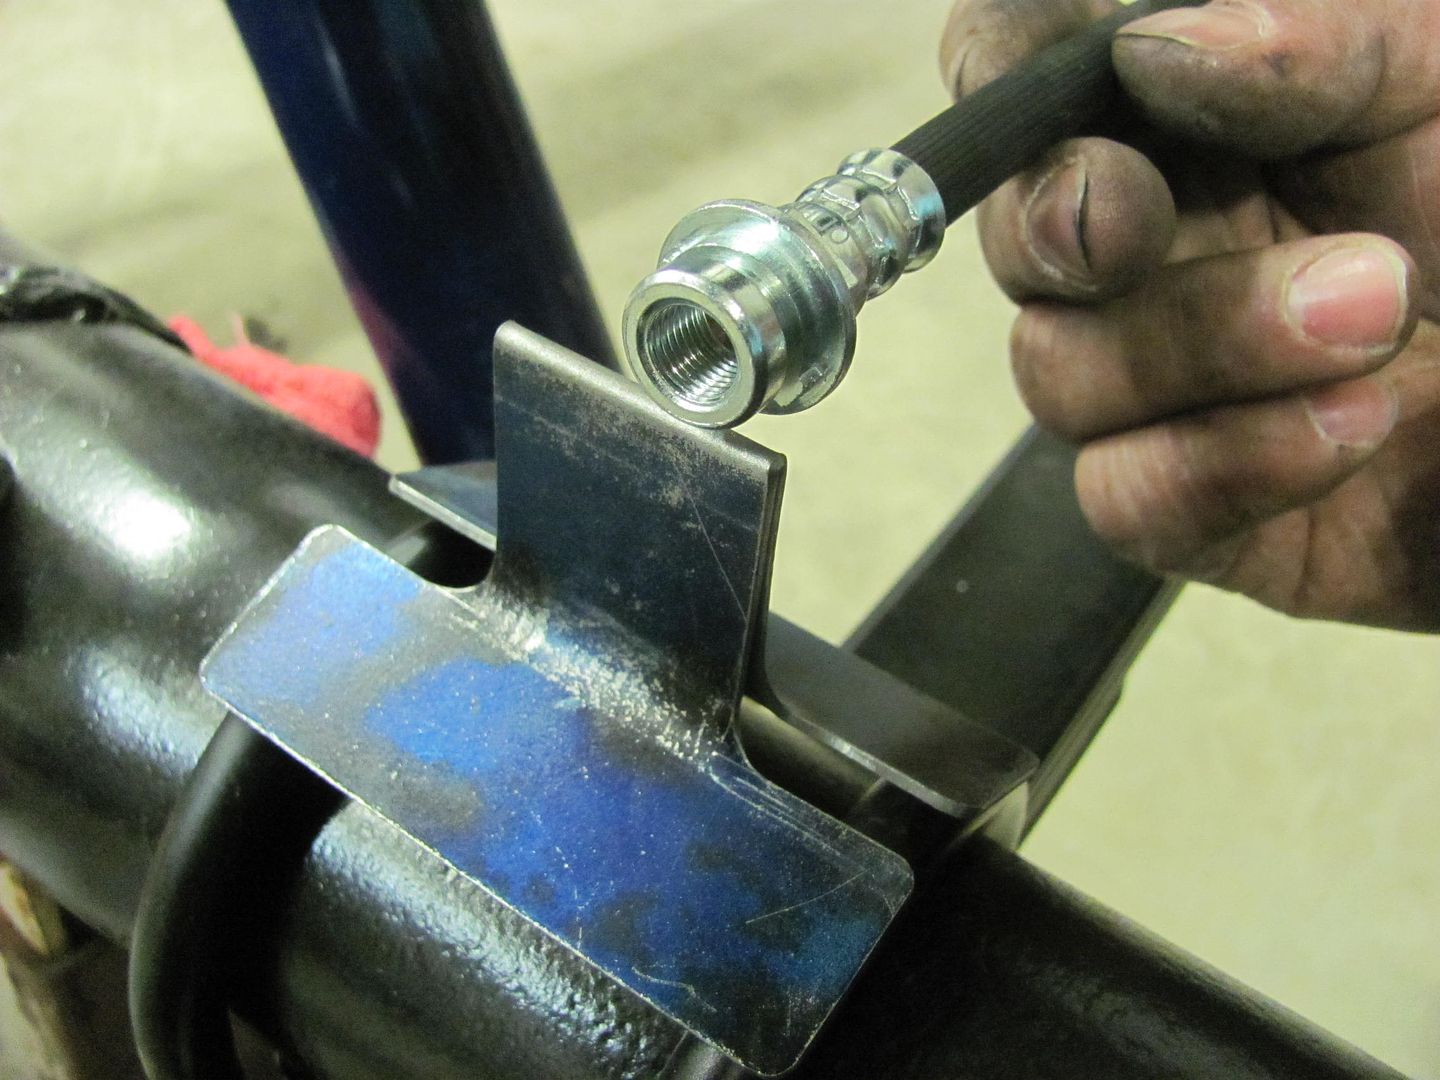 Now looking at it, I'm not sure I want the U-bolts off the axle housing, and may just cut the ears off and plug weld the bracket to the housing. Thoughts?
__________________
Robert |
|
|
|
|
02-12-2016, 08:56 AM
|
#647 |
|
Registered User
Join Date: Jan 2012
Location: Eastern Ontario, Canada
Posts: 1,041
|
Re: 55 Wagon Progress
Nice! Wouldn't it be better to have the flex to hard line bracket on the frame? Less vibration and flexing on the frame. Just my thoughts and not necessarily the right way. I'm in the middle of figuring out what flex lines I need on my build. Having a hard time with it.
__________________
1952 Canadian Chevy 1300 C4 IFS & D44 IRS 5.3 HO L33 My Build: http://67-72chevytrucks.com/vboard/s...d.php?t=632938
|
|
|
|
|
02-12-2016, 09:17 AM
|
#648 |
|
Registered User
Join Date: Jan 2013
Location: Leonardtown, MD
Posts: 1,637
|
Re: 55 Wagon Progress
This one is the flex to the frame, and has the distribution block for each side of the axle housing. The flex at the calipers are only to allow for caliper movement..
__________________
Robert |
|
|
|
|
02-12-2016, 10:17 AM
|
#649 |
|
Registered User
Join Date: Jan 2012
Location: Eastern Ontario, Canada
Posts: 1,041
|
Re: 55 Wagon Progress
Ok Gotcha! Do you mind schooling me on brake lines? No idea on what fittings to use on the hard lines as well as what type of flare to use. I can PM you if you want so not to derail your build thread.
__________________
1952 Canadian Chevy 1300 C4 IFS & D44 IRS 5.3 HO L33 My Build: http://67-72chevytrucks.com/vboard/s...d.php?t=632938
|
|
|
|
|
02-12-2016, 10:37 AM
|
#650 |
|
Registered User
Join Date: Jan 2013
Location: Leonardtown, MD
Posts: 1,637
|
Re: 55 Wagon Progress
typically they are a reverse flare
__________________
Robert |
|
|
|
 |
| Bookmarks |
|
|


 Linear Mode

